
Whenever you find yourself in a bit of a creative slump, Pinterest is a saviour — and that was absolutely the case with this project. I simply adore cross stitching but unfortunately not quite a pro in it. My mum creates beautiful cross stitch embroidered table runners and napkins – so prim and unique. Recently I came across this beautiful cross stitch inspired wall mural created by natalme and I decided to recreate something similar in paper and share the steps so that you can have a rough idea how to make one. This concept is a delight to create and looks super realistic once completed.
Supplies
(This post contains affiliates)
- Watercolor ( I have used Winsor and Newton : Permanent Rose and Daler Rowney : Sap Green and Vermillion )
- Spotter brush Size 1/0
- Palette
- Pencil
- Ruler
- Watercolor paper ( anything of min 200 gsm)
Steps
Firstly, use a watercolor paper of desired size. I have used a square 5X5 inches as I had some leftovers from a previous project.Since I do not have a lightbox, I used a square grid notebook as my guidance to draw grid on my watercolor paper.
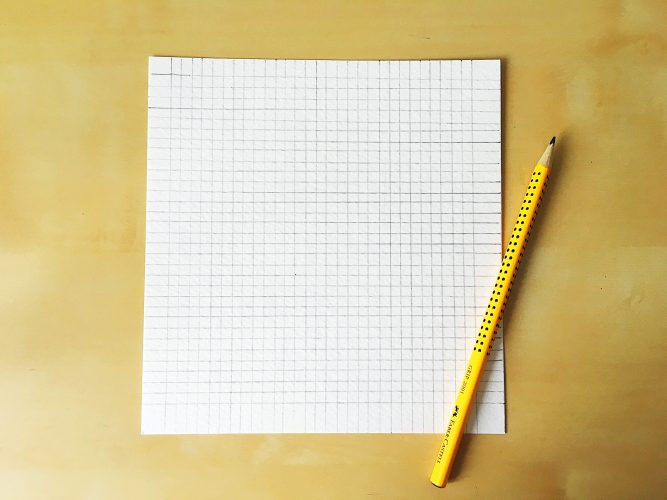
I placed my paper on top of the notebook secured with wash tapes and started drawing lines as shown in this timelapse video. It took forever to create but looks perfect isn’t it? (P.S : Please ignore my ugly nails. Just been back from a holiday and didn’t have had the time to repaint them 😛 )
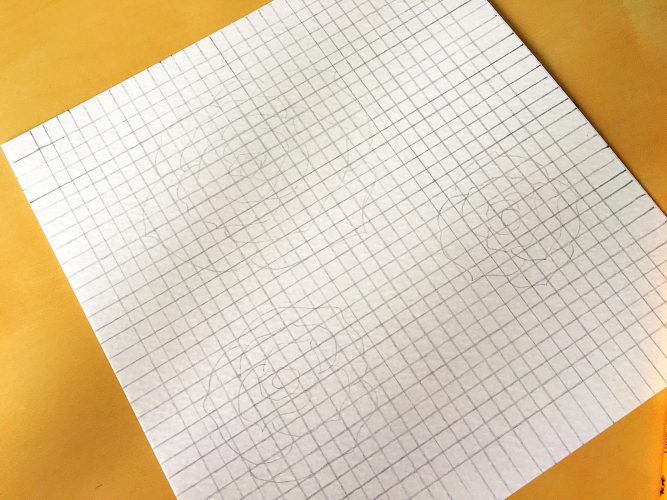
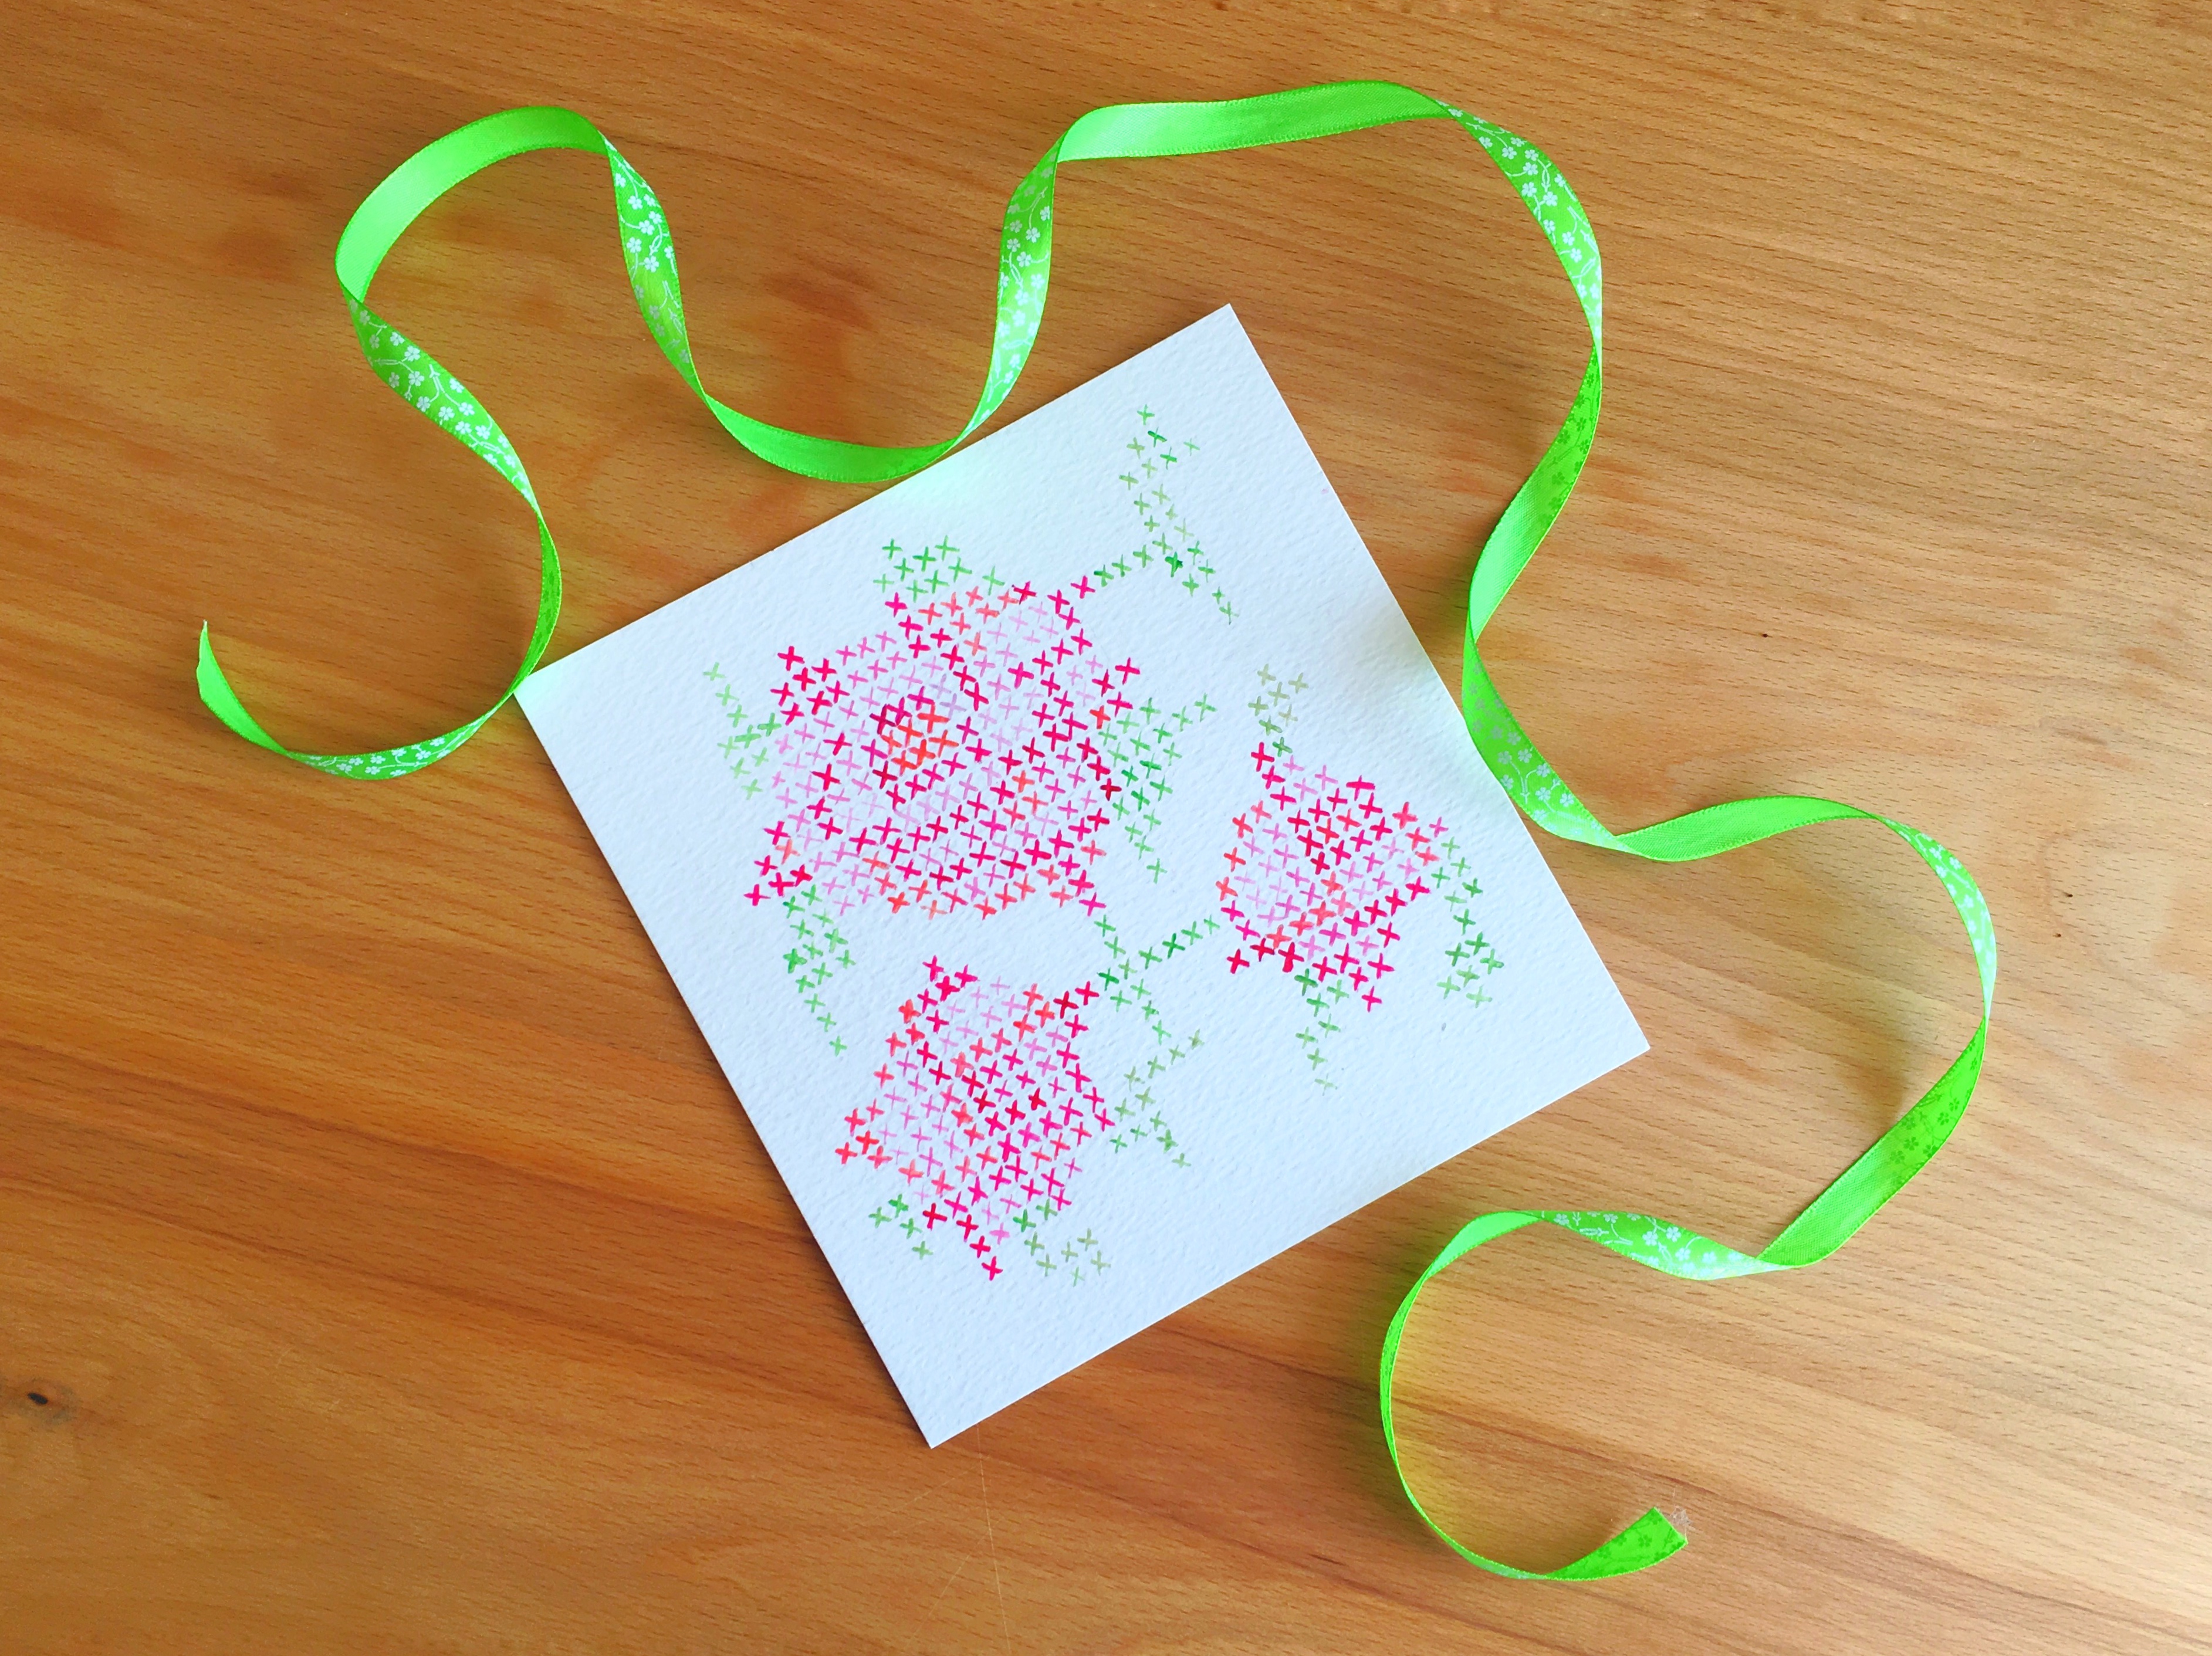
Next, draw a rough outline of the flower you want to create. I have created three roses of varied sizes for my artwork.
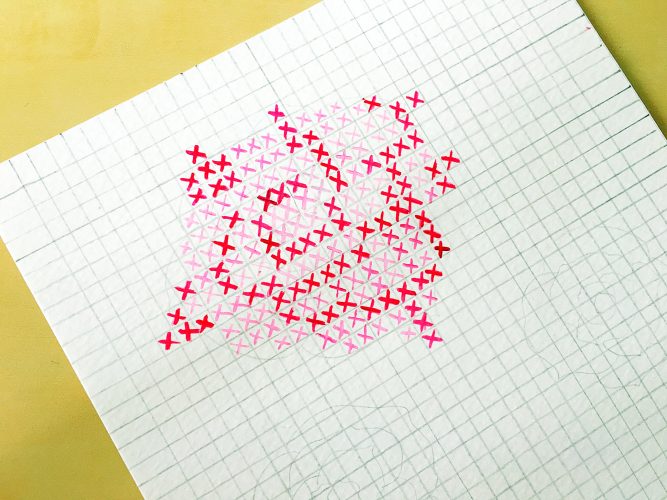
One and only golden rule for cross stitch inspired painting is every square fits only one cross. I used Permanent Rose watercolor pigment to initially fill the entire rose. I used more water and less pigment to create a homogenous background of crosses. I would recommend to use spotter brush as this requires detailing.
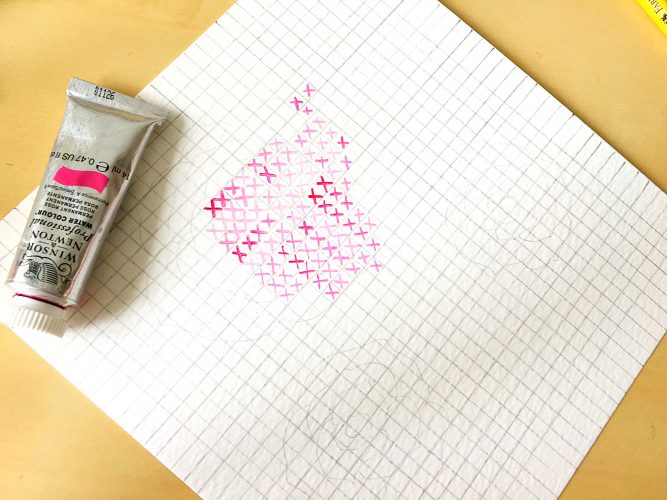
If you might notice some crosses are darker than the rest which is not much of a problem as we can totally blend it in later to create highlights and shadows.
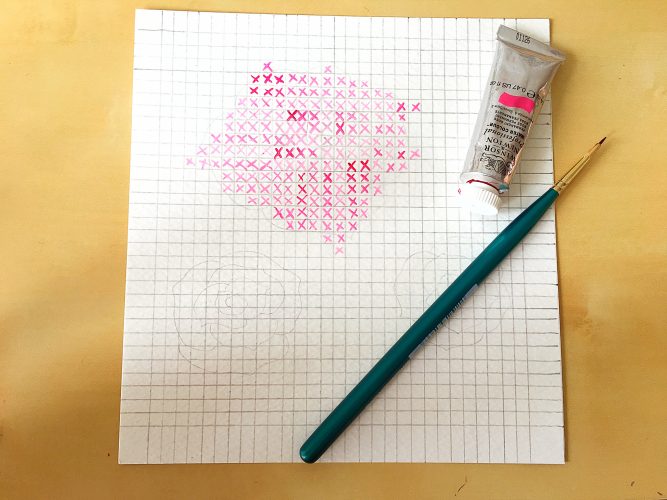
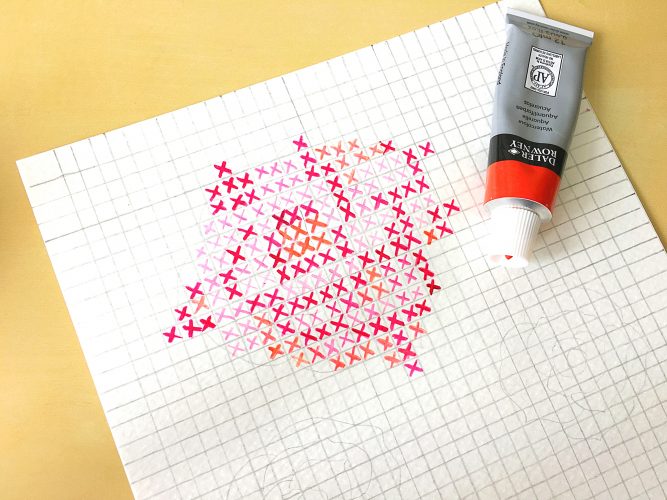
Use more of the Permanent Rose pigment and less water to darken the borders of the petals to create shadow areas. I basically painted the crosses twice for darker sections.
I used a third color – Vemillion to spice up the look. Create crosses using this color next to the darker crosses so that it signifies the highlights. The rose is already starting to look pretty isn’t it?
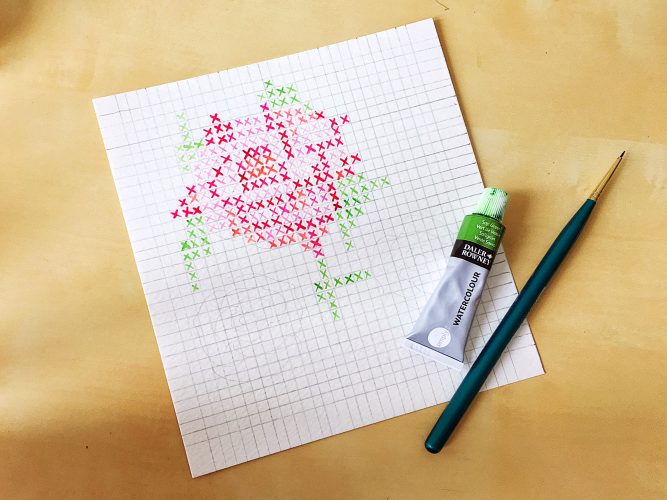
For the leaves I used Sap green. The crosses need not be necessarily in real leafy shape as shown. Just some elements of green in different patterns fill the negative spaces as shown above. Moreover you would like your painting to appear realistic!
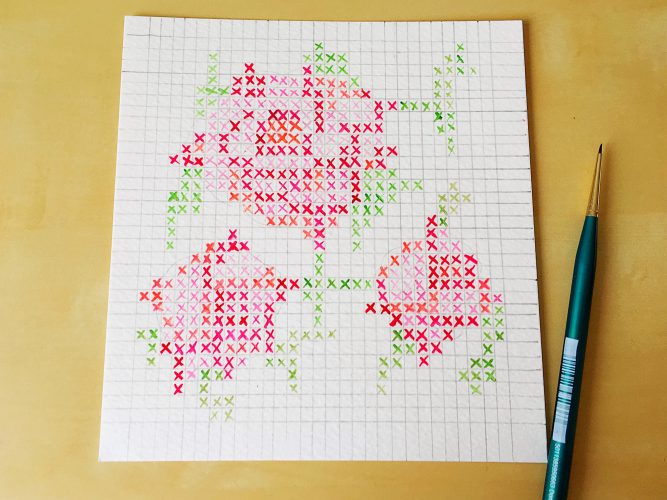
The mail goal is to repeat the pattern to create similar flowers. Once you are done, don’t forget to take a step back and have a look at your creation. If you see too many negative spaces, fill those up with greens. I simply loved the finished artwork. The patterns are so intriguing when we take a closer look and from a distance it looks magnificent. P.S : Do not forget to erase the line grids after you are done with painting.
If you’re curious to see the cross stitch inspired rose creation in action, here’s that time-lapse video I uploaded on Vimeo.
Though I have shown how to create this cross stitch inspired art using watercolor, you can modify the concept however you would like! Go wild and use different material and colors- no matter what , your piece will end up looking fabulous. Create greetings cards and wall arts and many more fun project with this idea.
Download free watercolor cross-stitch inspired roses printable
If you find this tutorial too complex. Fret not! You can now have a free printable of 5X5 inches of this beautiful cross stitched artwork. When you click on the link below, a pdf file will open in a new tab. Since it’s a large file, it may take some time to load based on your internet connection. Use the save icon on top and print.
Please note that this free printable is for personal use only and not for commercial use. If you would like to feature them on your website, please link back to original post.
If you have any questions about this project, please feel free to ask! And do not forget to tag me in your creations at #Diylifeathon.
