
I was at my mother-in law’s place the other day and I was totally fascinated when she showed me her handwritten recipe book which she maintained since she was a teenager. And at that very moment I realised that I really need to start writing down my favourite recipes instead of having to search them over internet every time I want to cook something new. Hence the idea of handwritten Recipe book occurred to me. So in todays’s tutorial, you will learn to have make a simple cover for a recipe book that will help to preserve your culinary know-hows and meaningful recipes for years to come. This is the first step of creating a recipe book that will definitely encourage you to pen down a few recipes.
Supplies
- Notebook of any size
- Colored pencils ( I used Faber-Castell watercolor pencils)
- Ruler
- Pencil
Steps
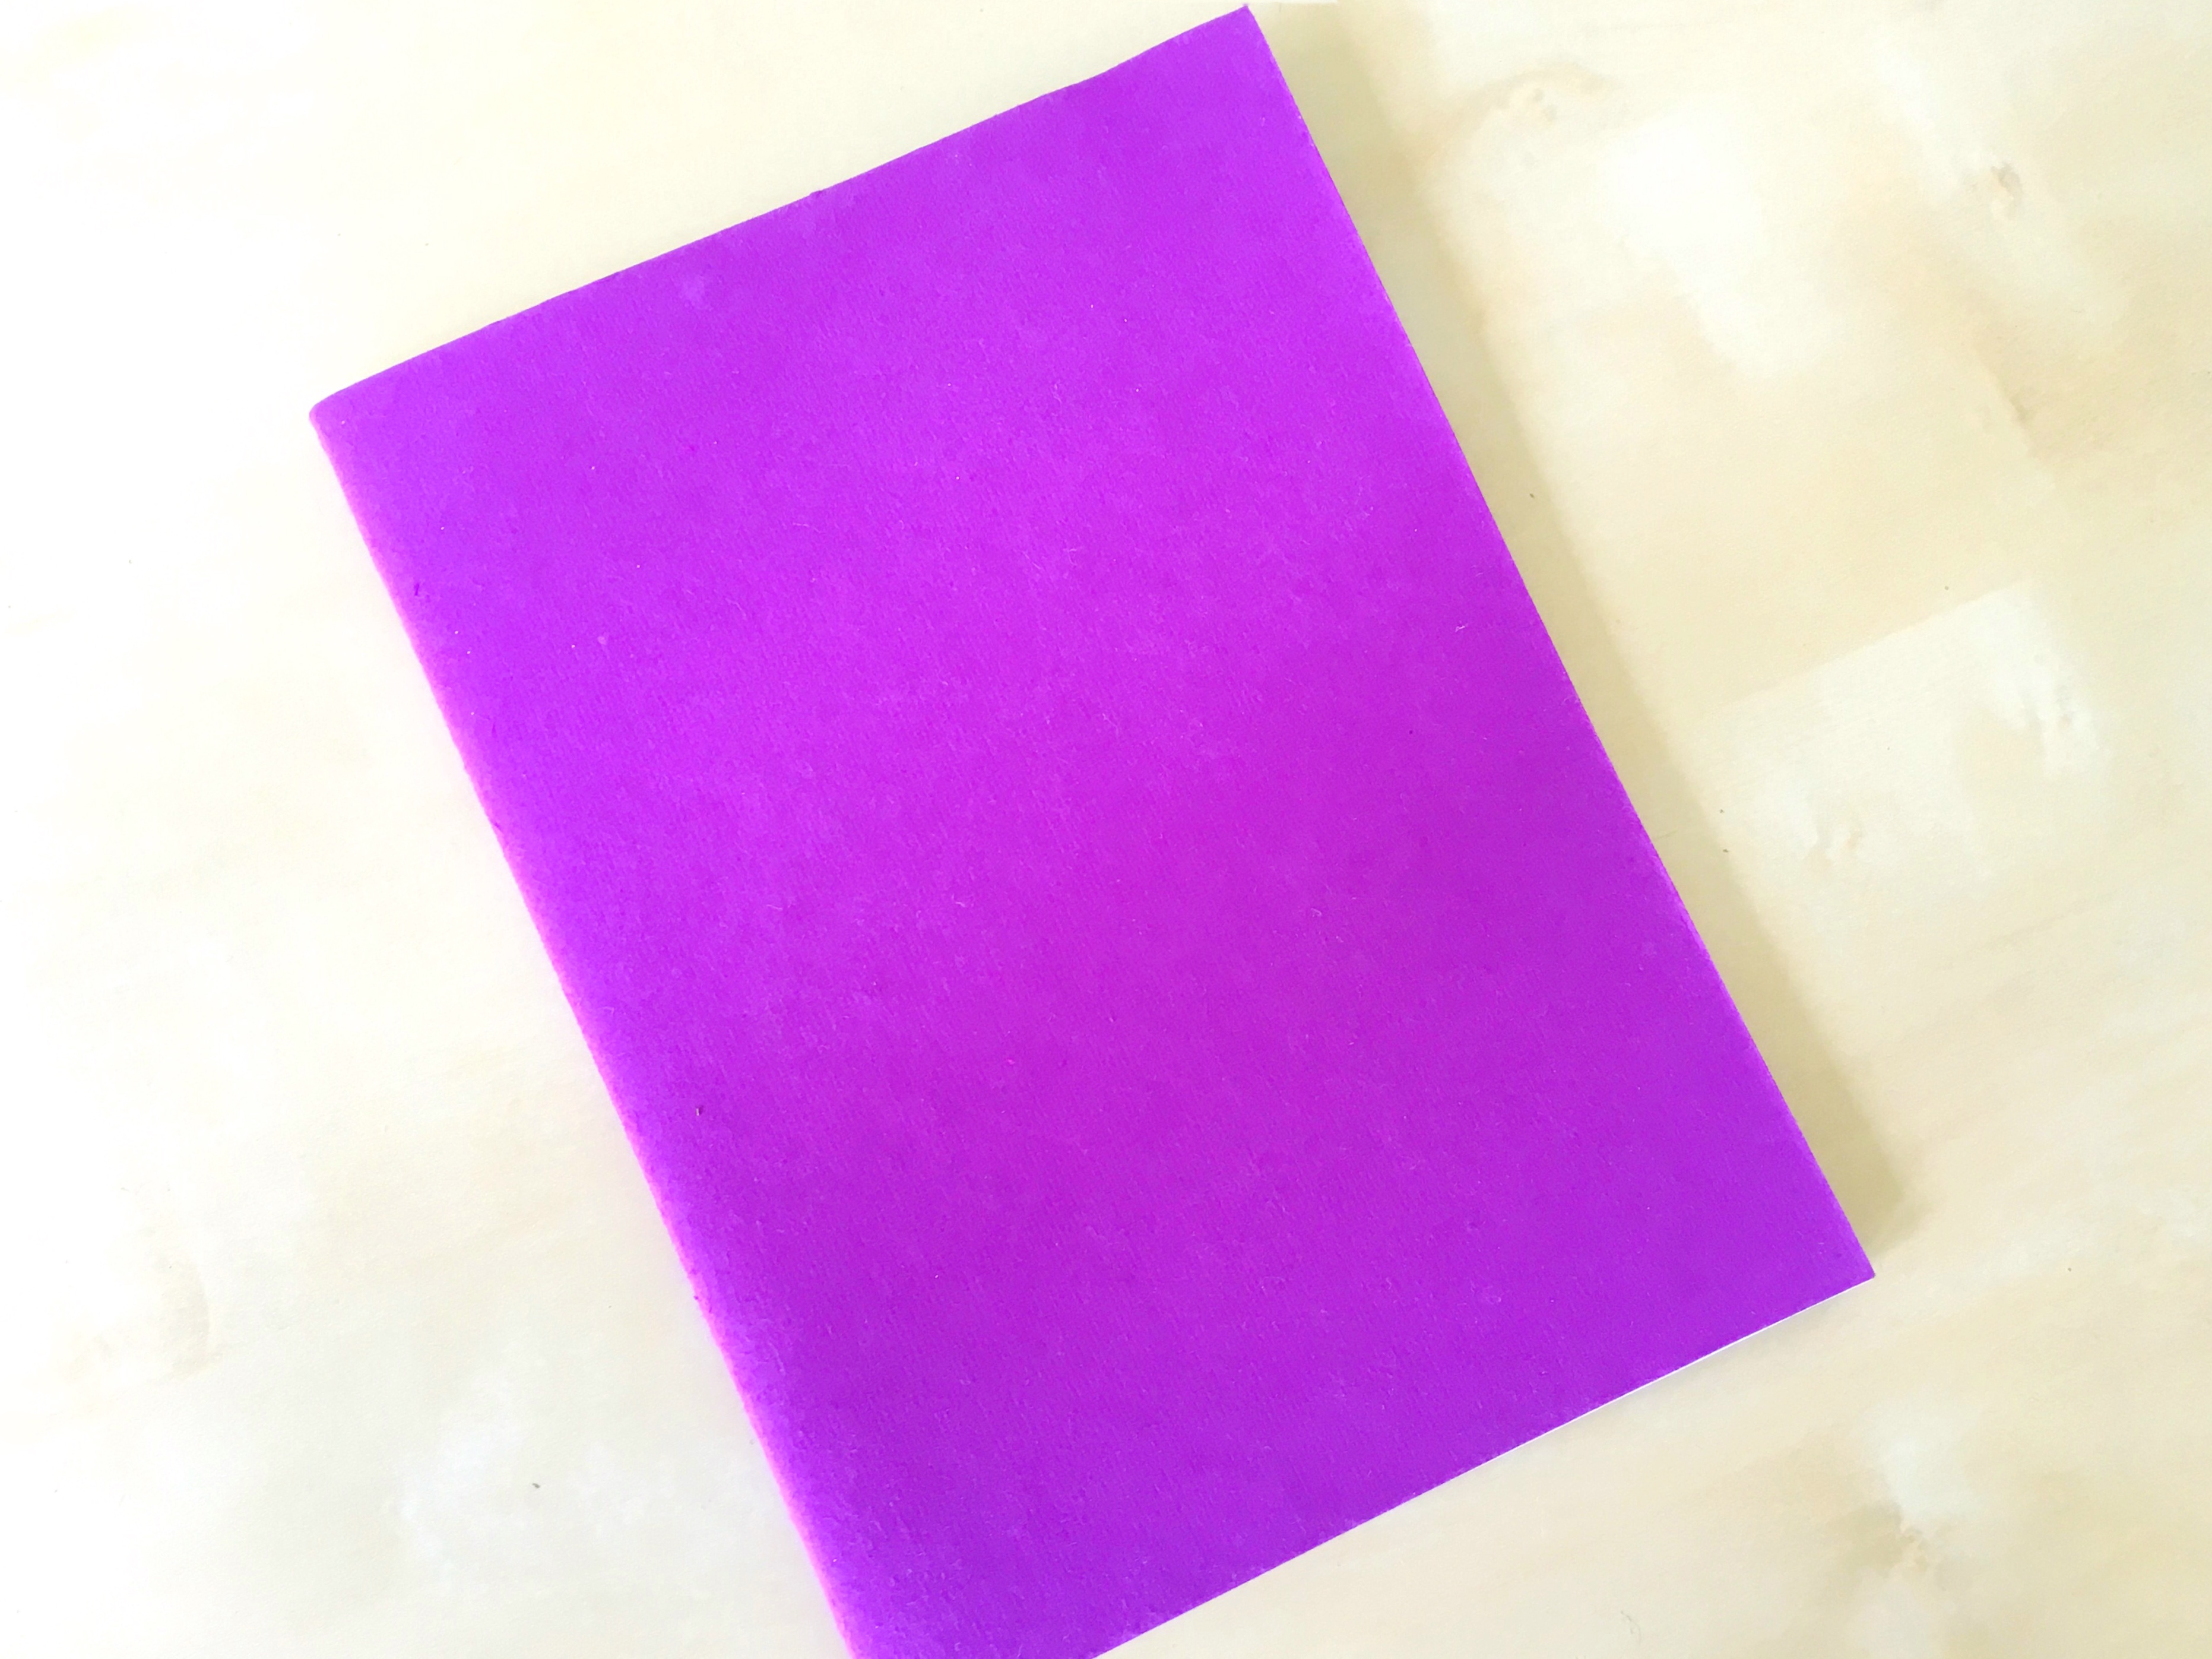
For this tutorial you will need a notebook of any size you prefer. I picked this one with a gorgeous, plain purple cover from a handmade paper shop.
You can use pencil to create a guideline of approx 3 cm around the cover to form a rectangle. The outer space is for you to create your motif pattern. I highlighted the rectangle in black for your better understanding.

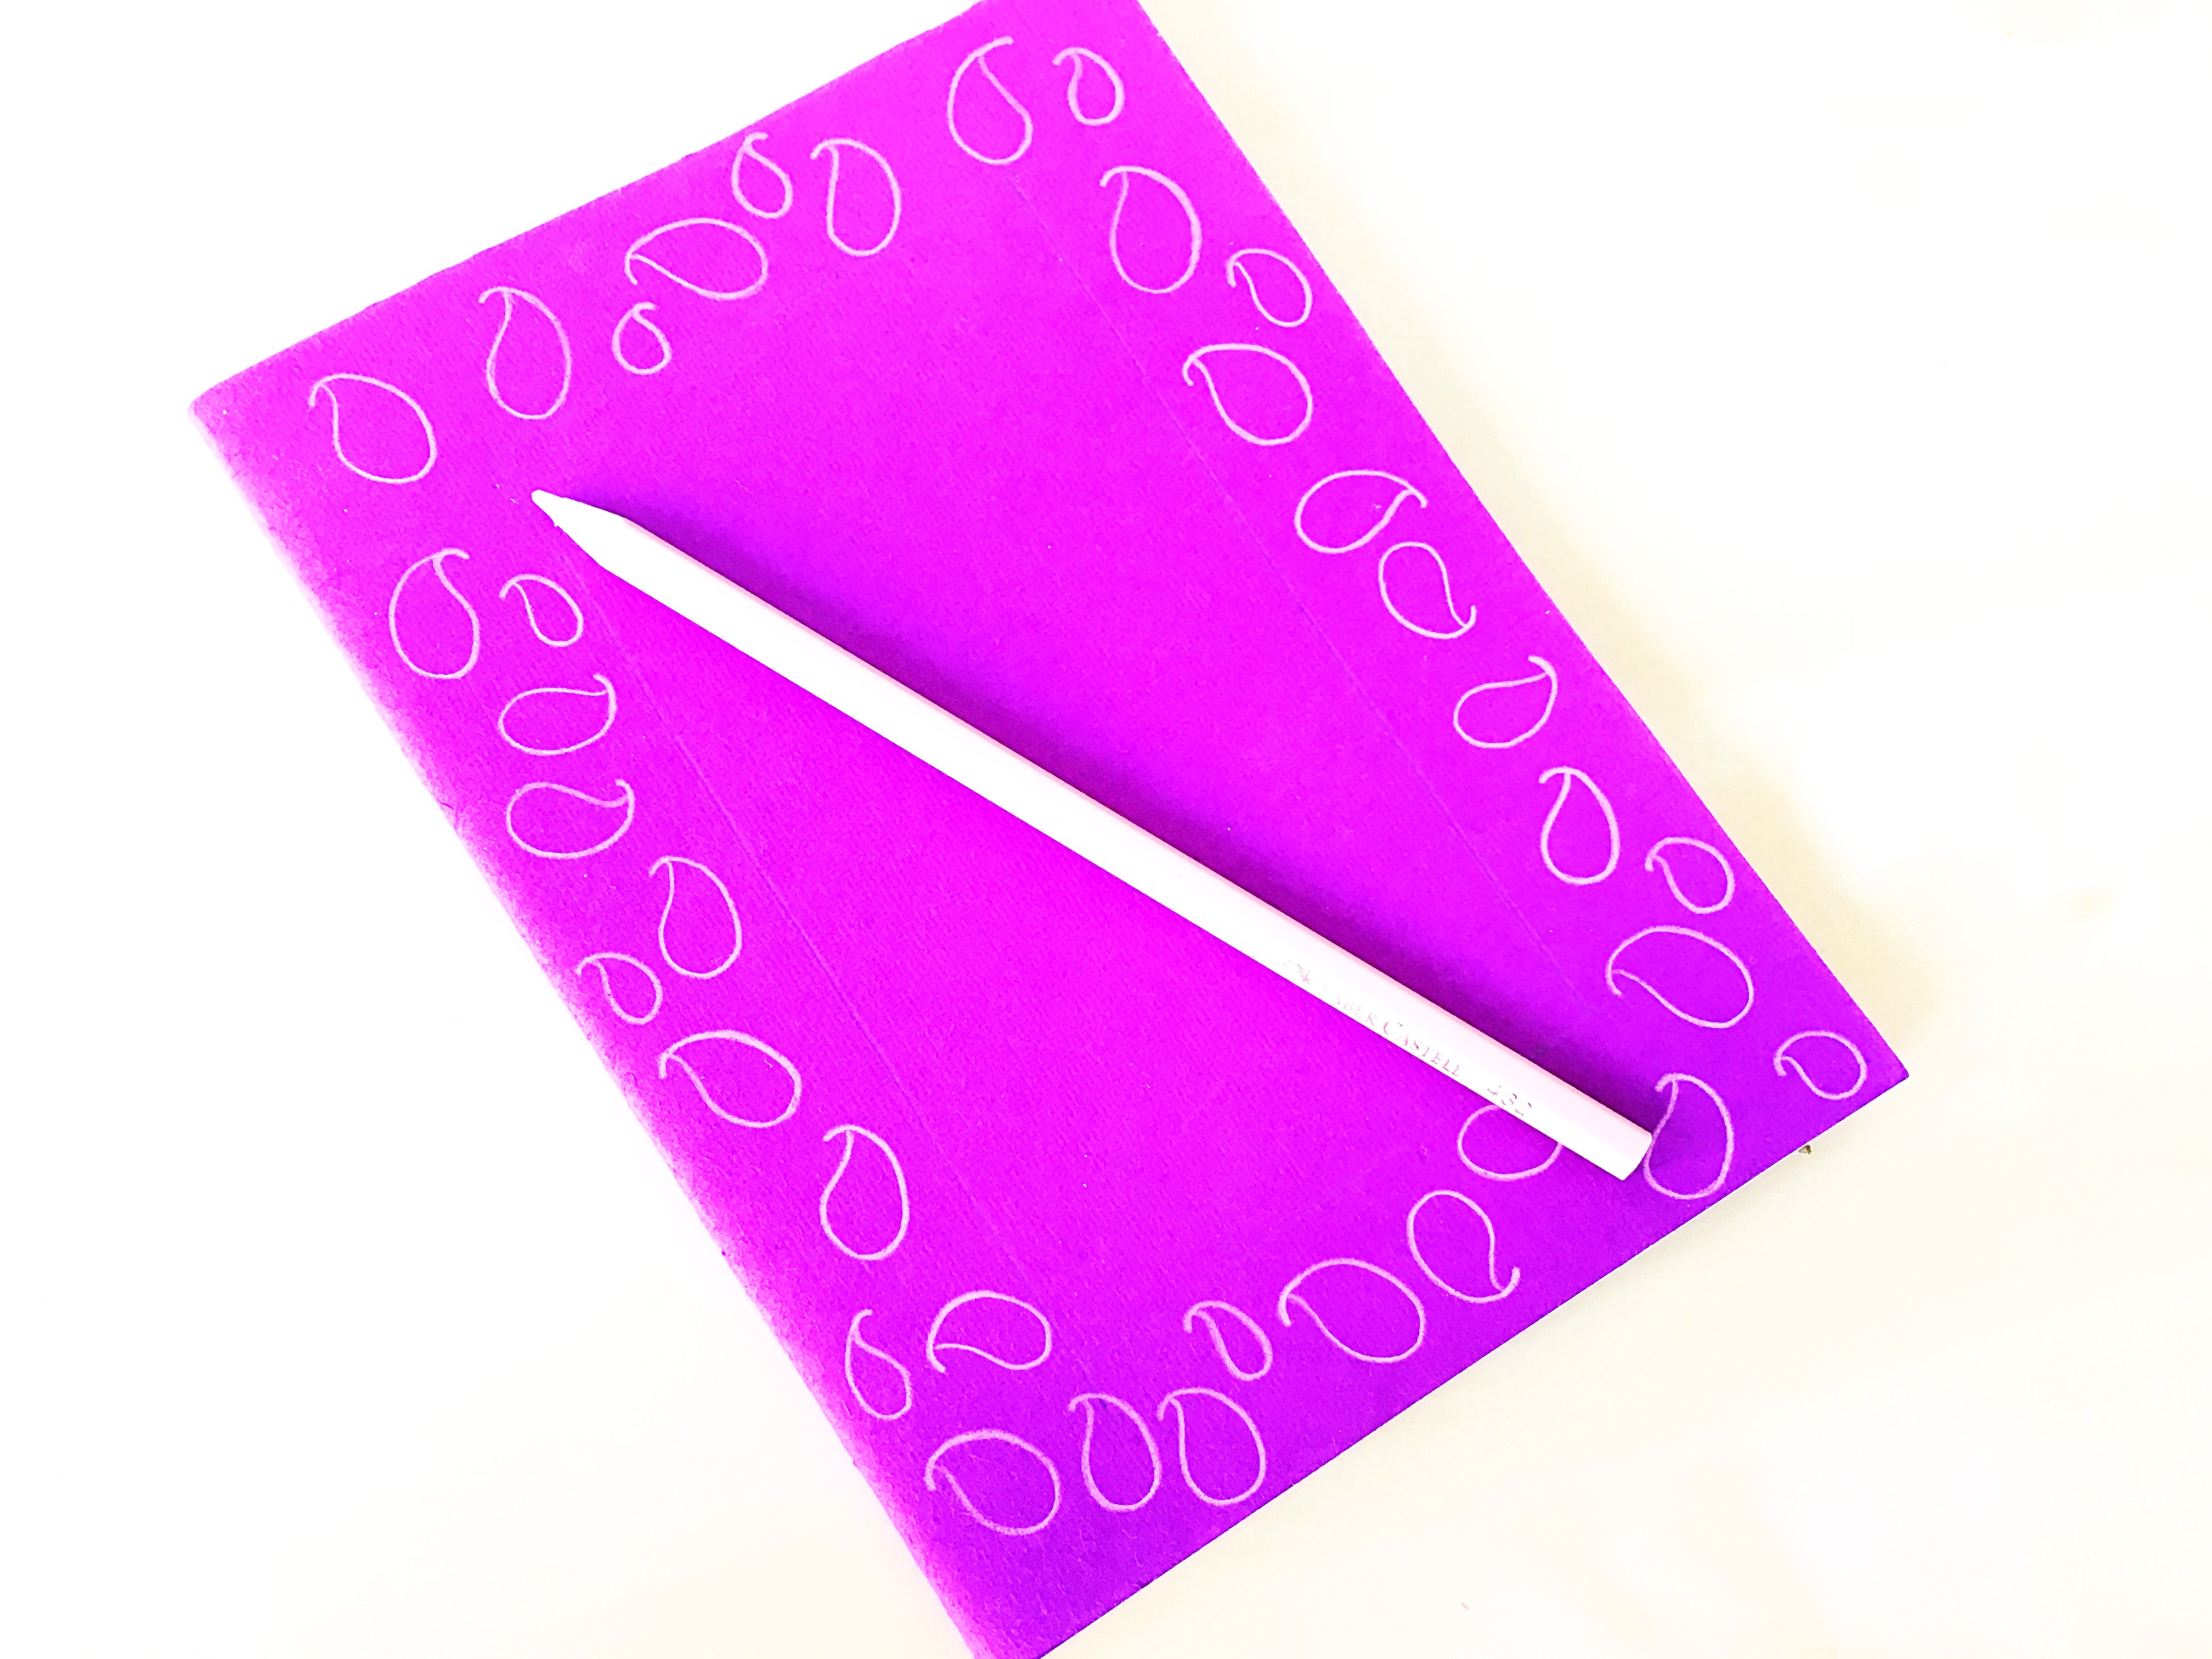
I love the paisley motifs in Henna designs and hence I decided to incorporate it in my today’s illustration.I used my Faber Castell watercolor pencils to create this illustration simply for the fact that they are so easy to use. I started with a light pink pencil to create motifs of different sizes all around the space shown below.
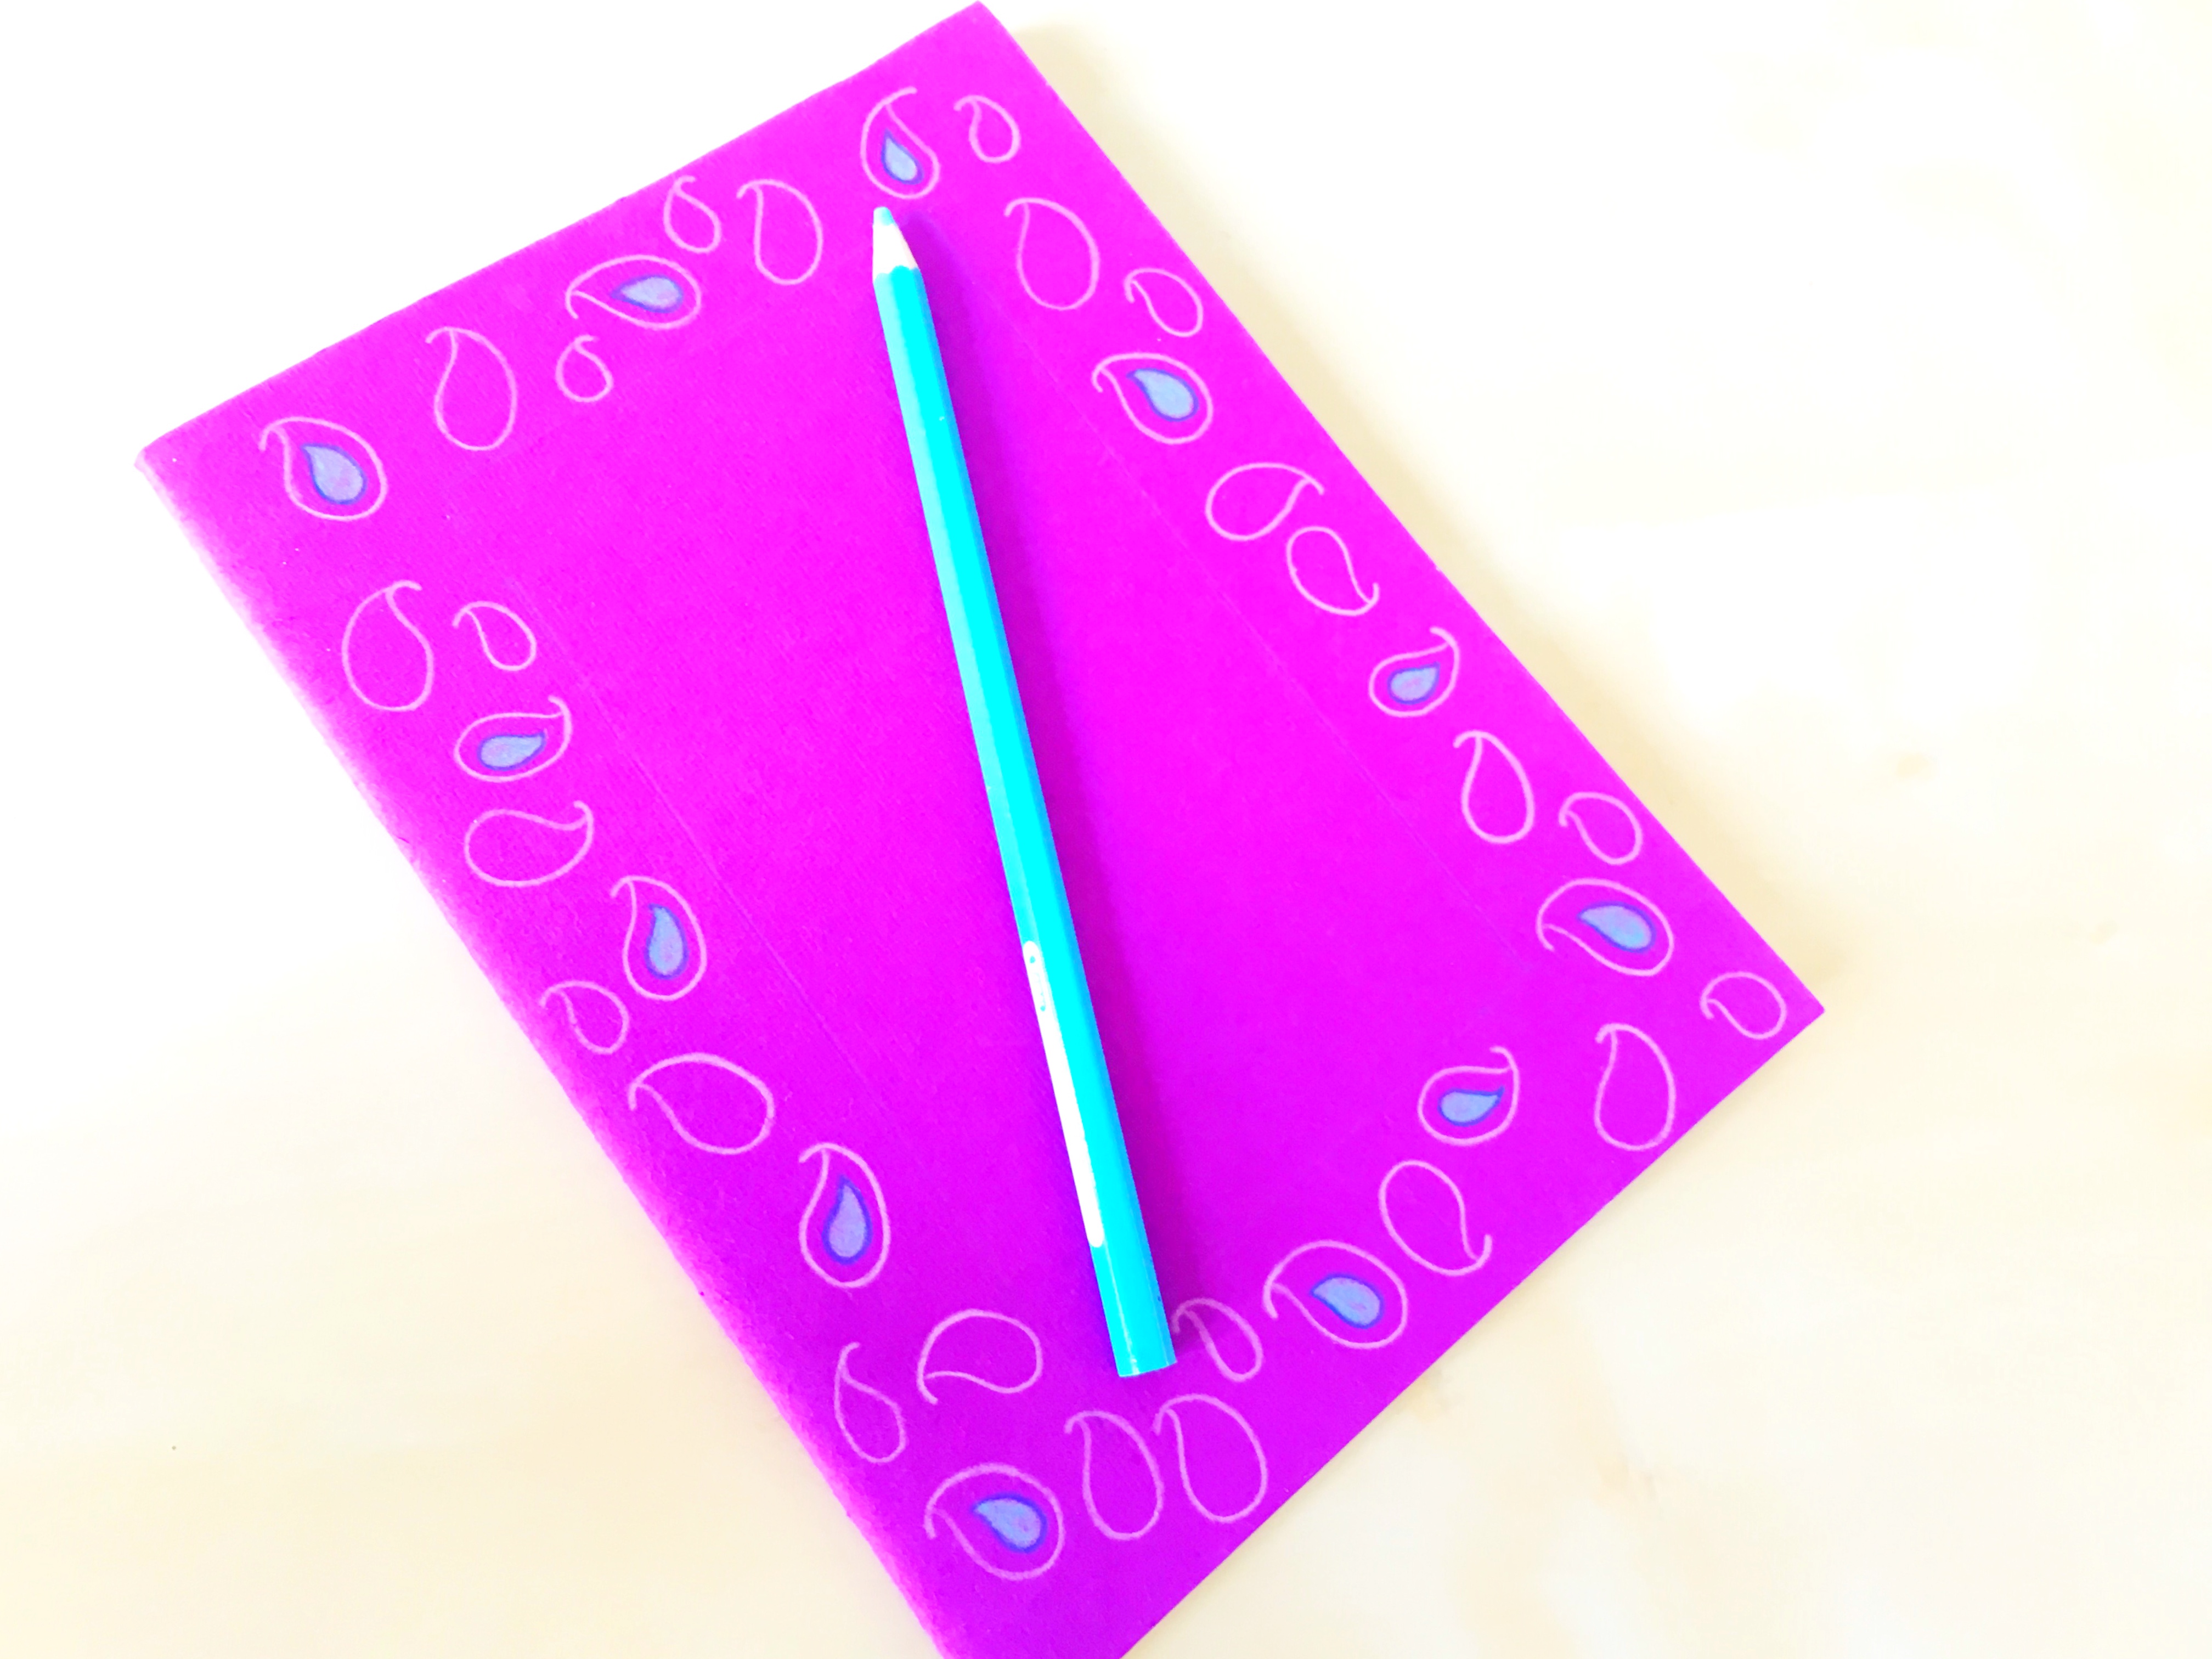
Next I used a blue coloured pencil to create a tiny paisley inside the larger ones and fill it up with color. If you have noticed I have not added blue to all the paisleys, this is because I would fill the rest with a different color later.
I used vibrant yellow for the tinier ones.
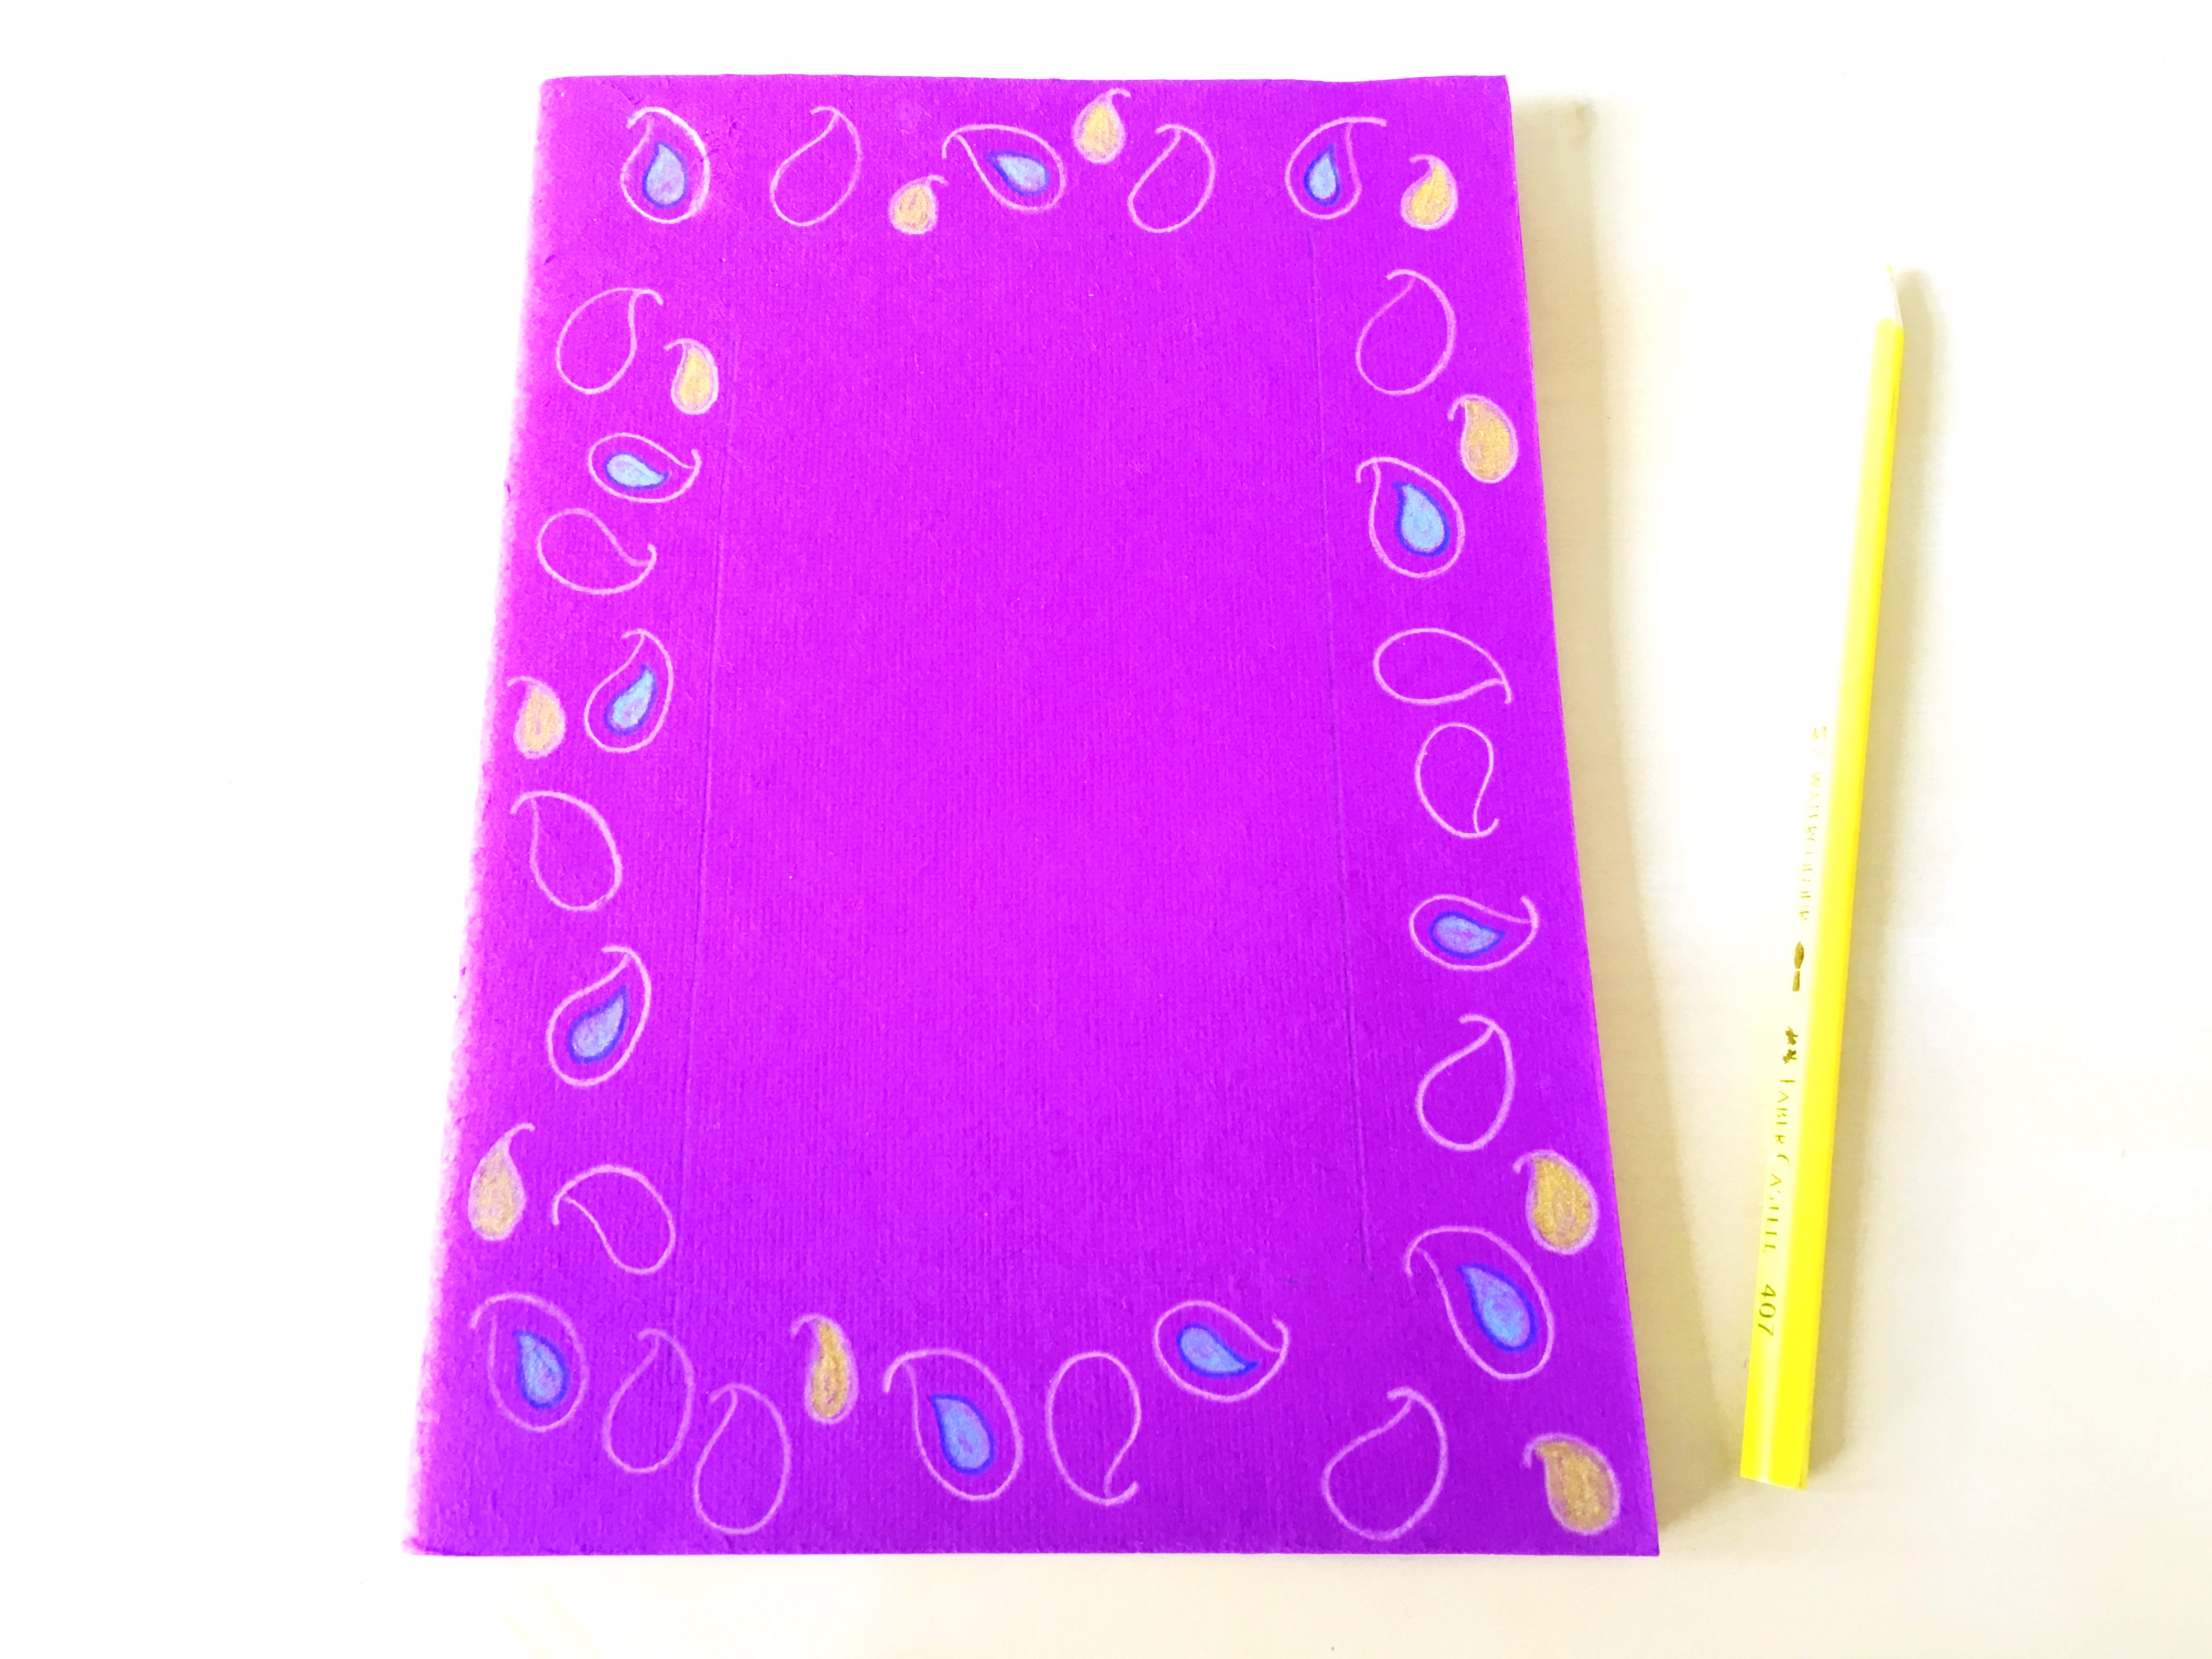
I want my cover to look colourful and striking. Use as many bright colors as you can. I filled up the remaining with pink and orange color.

I found a bit of negative space and as you might be aware I am not a great fan of it. So I decided to add some swirls around the paisleys with blue pencil. However I still feel that I could have used a brighter shade of blue. I highlighted the inner rectangle with pink pencil

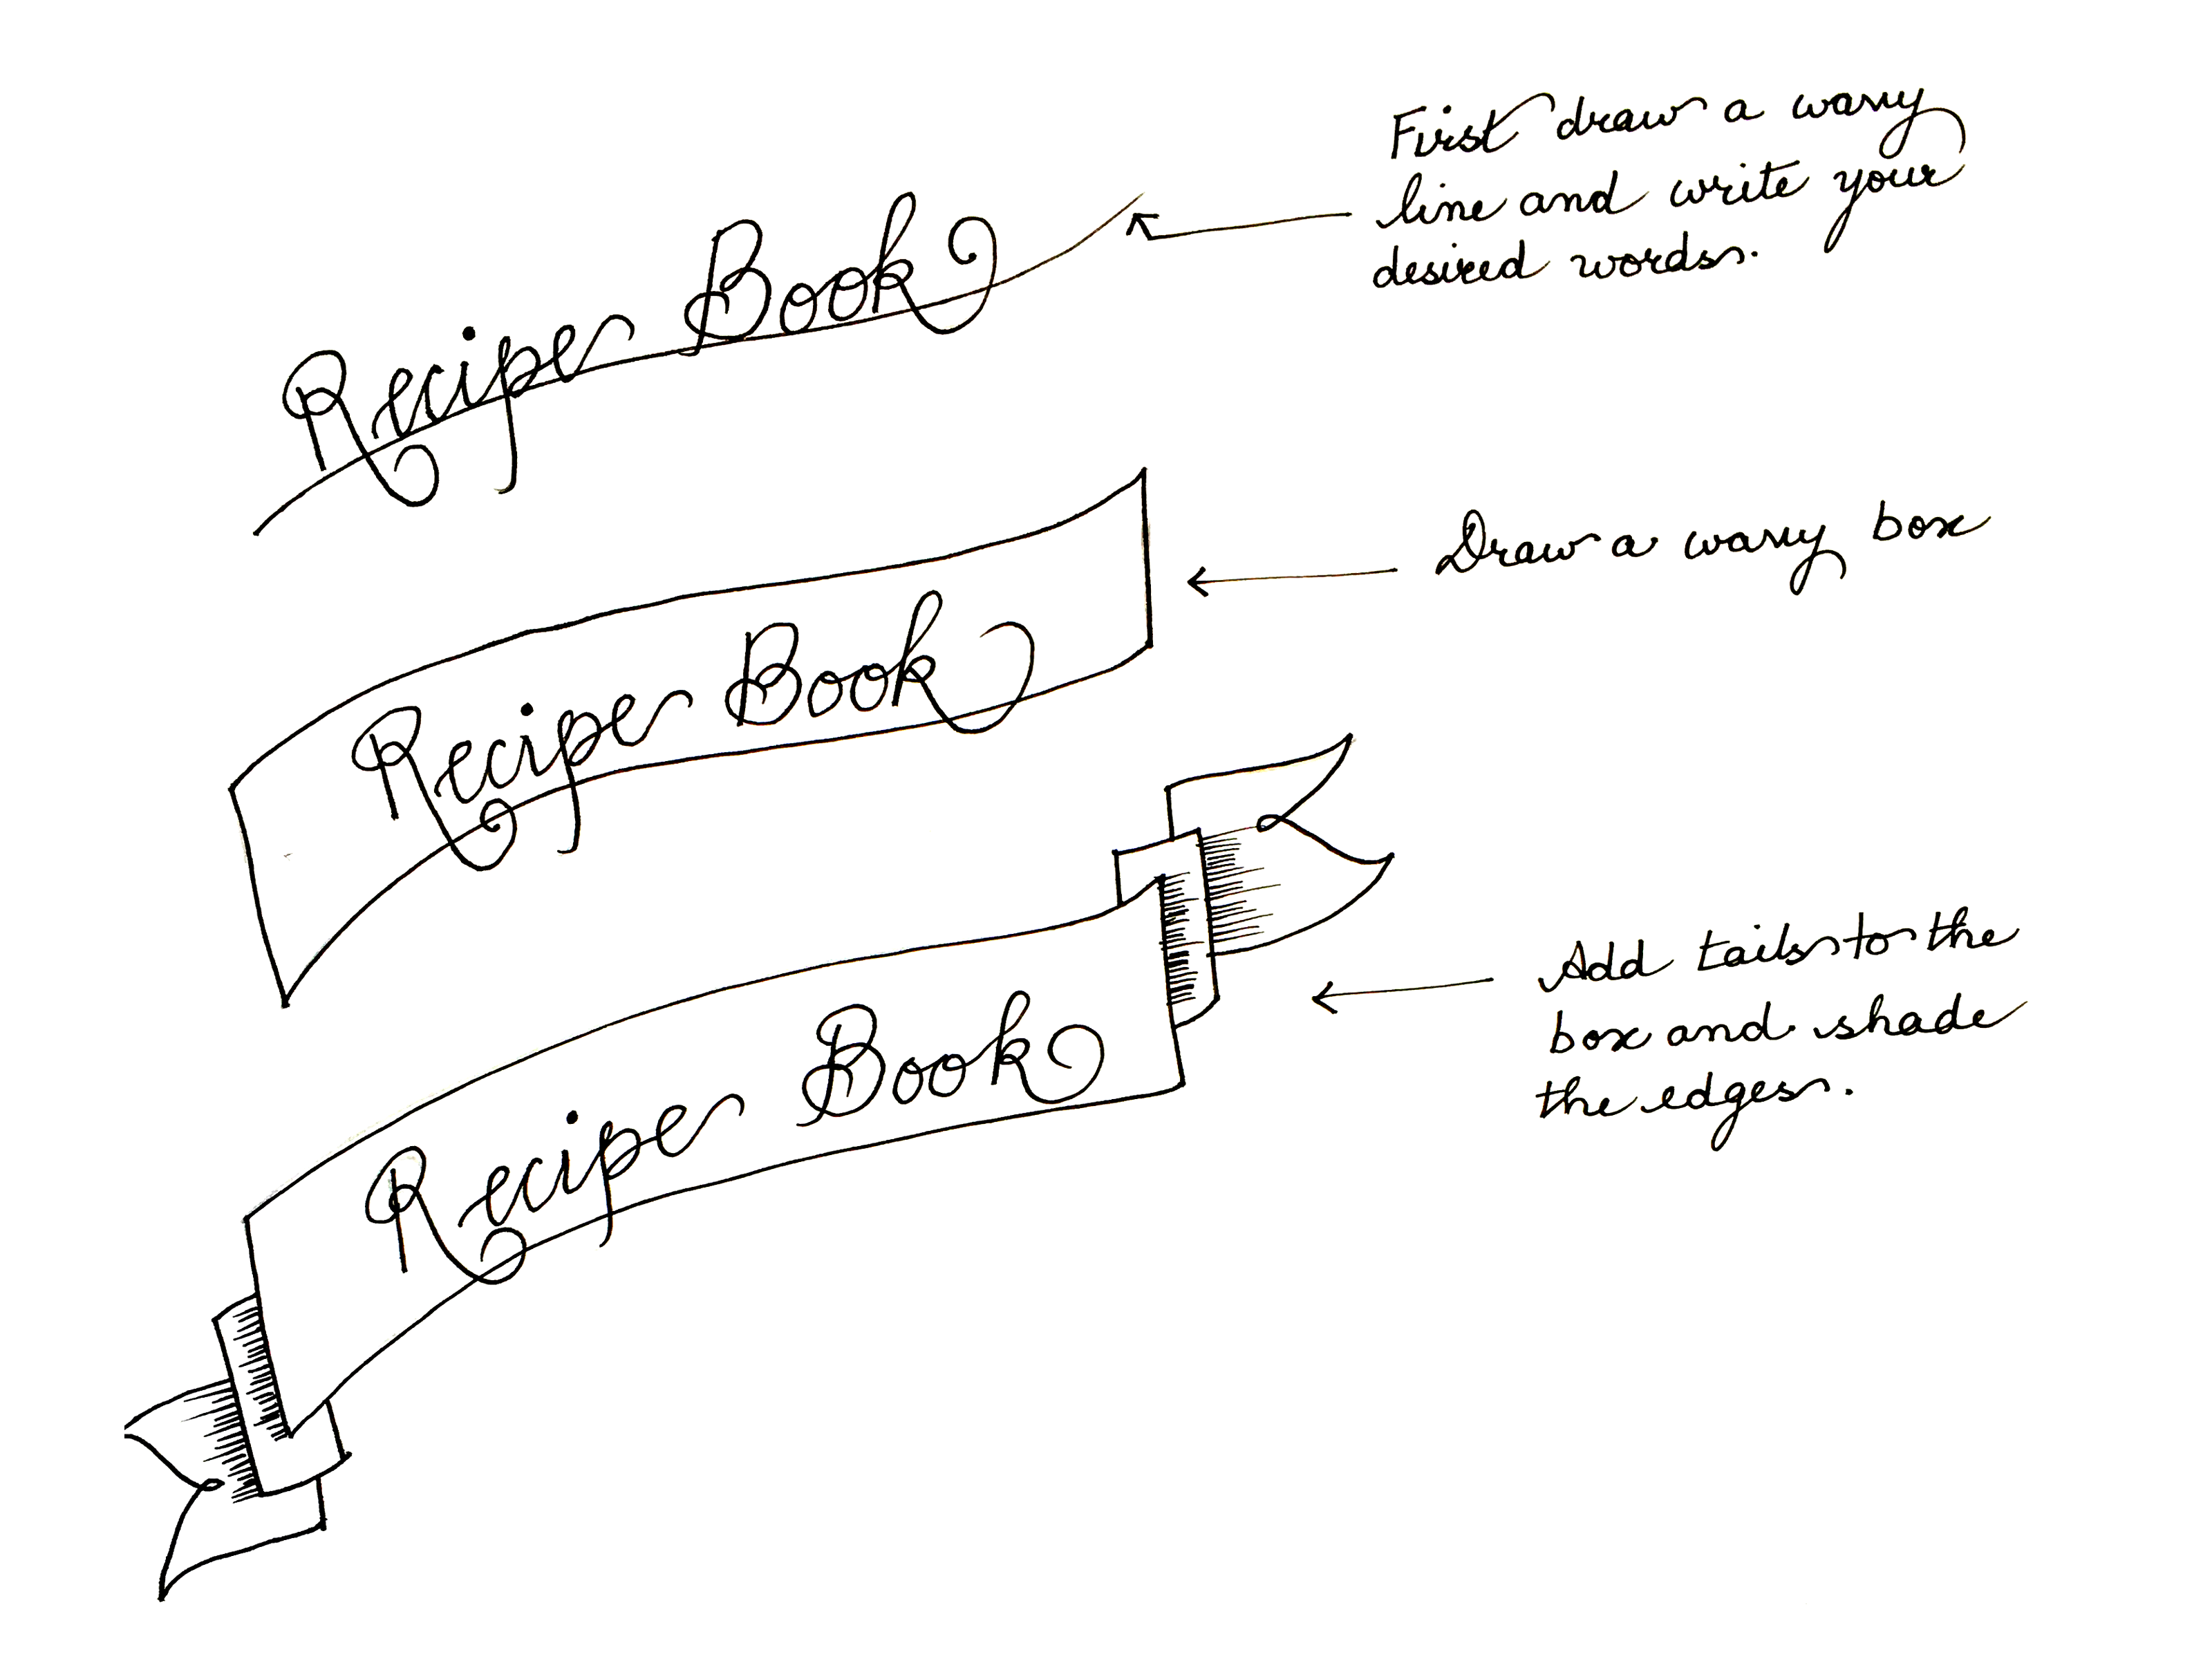
You would definitely want to personalise this book with your name and a header. I created an arch banner and added the text “Recipe Book” in a faux calligraphy script using my white uniball pen. To learn how to create easy faux calligraphy in minutes click here. Don’t forget to add the name of the proud owner below.
Learn to create a simple arch banner in 3 steps as shown below.
And voila´!!! A beautiful paisley motif cover for your recipe book is ready in 30 minutes. Isn’t it as simple as ABC? In my next tutorial, you will learn how to create simple handwritten illustrated recipe leaflets.

Implementation suggestion
- Food always brings people together, so it’s so much fun to share your favourite recipes with your friends. You can also use this as a beautiful handmade gift to a dear one who loves to cook.
- Alternatively you can use this design to create any book cover such as diaries, journals, sketchbooks, notepads etc.
- The paisley border is perfect to outline a card, invitation or even bookmarks.
Cheers

One thought on “Notebook cover design tutorial”
Comments are closed.