
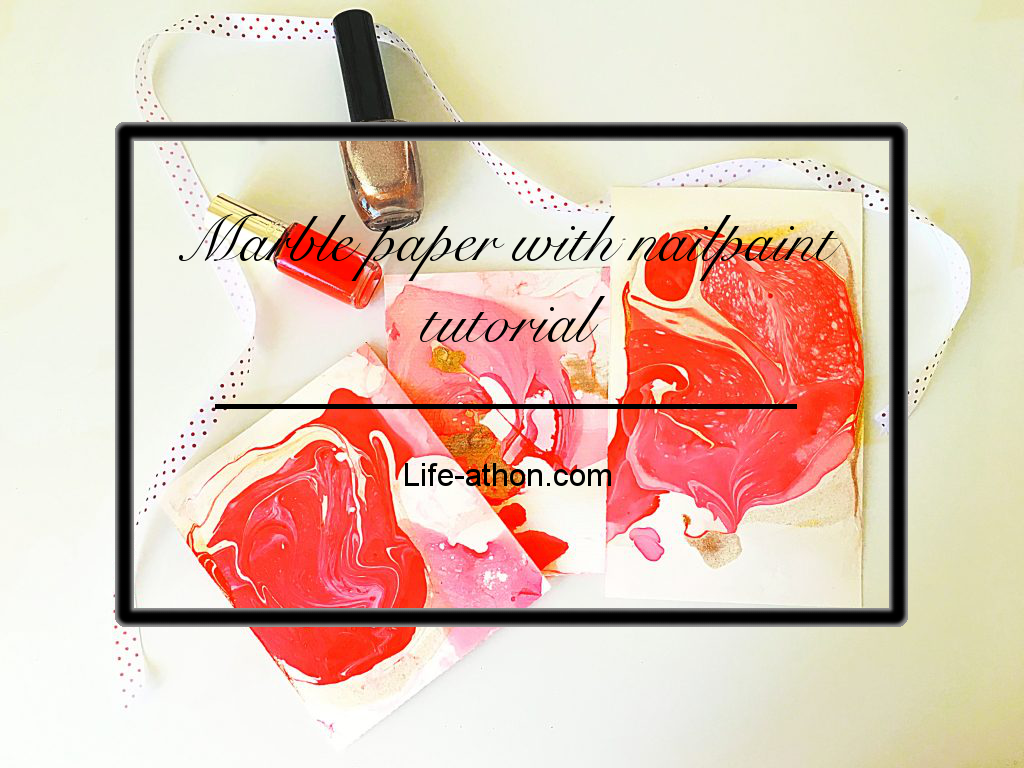
Recently I have been obsessed with marbled paper in Pinterest. They are so colorful and vivid and can serve as the perfect name card, greetings card, gift tags, bookmarks or notebook cover for yourself or for a dear one. There are tonnes of different approach to create one in the internet and I initially assumed that it would be really difficult process. When, after a little research, I discovered that it was incredibly easy, I was so excited to try it out and share the steps with everyone. So let’s create beautiful marble paper with nail paint this weekend. Be careful its addictive!!
Supplies
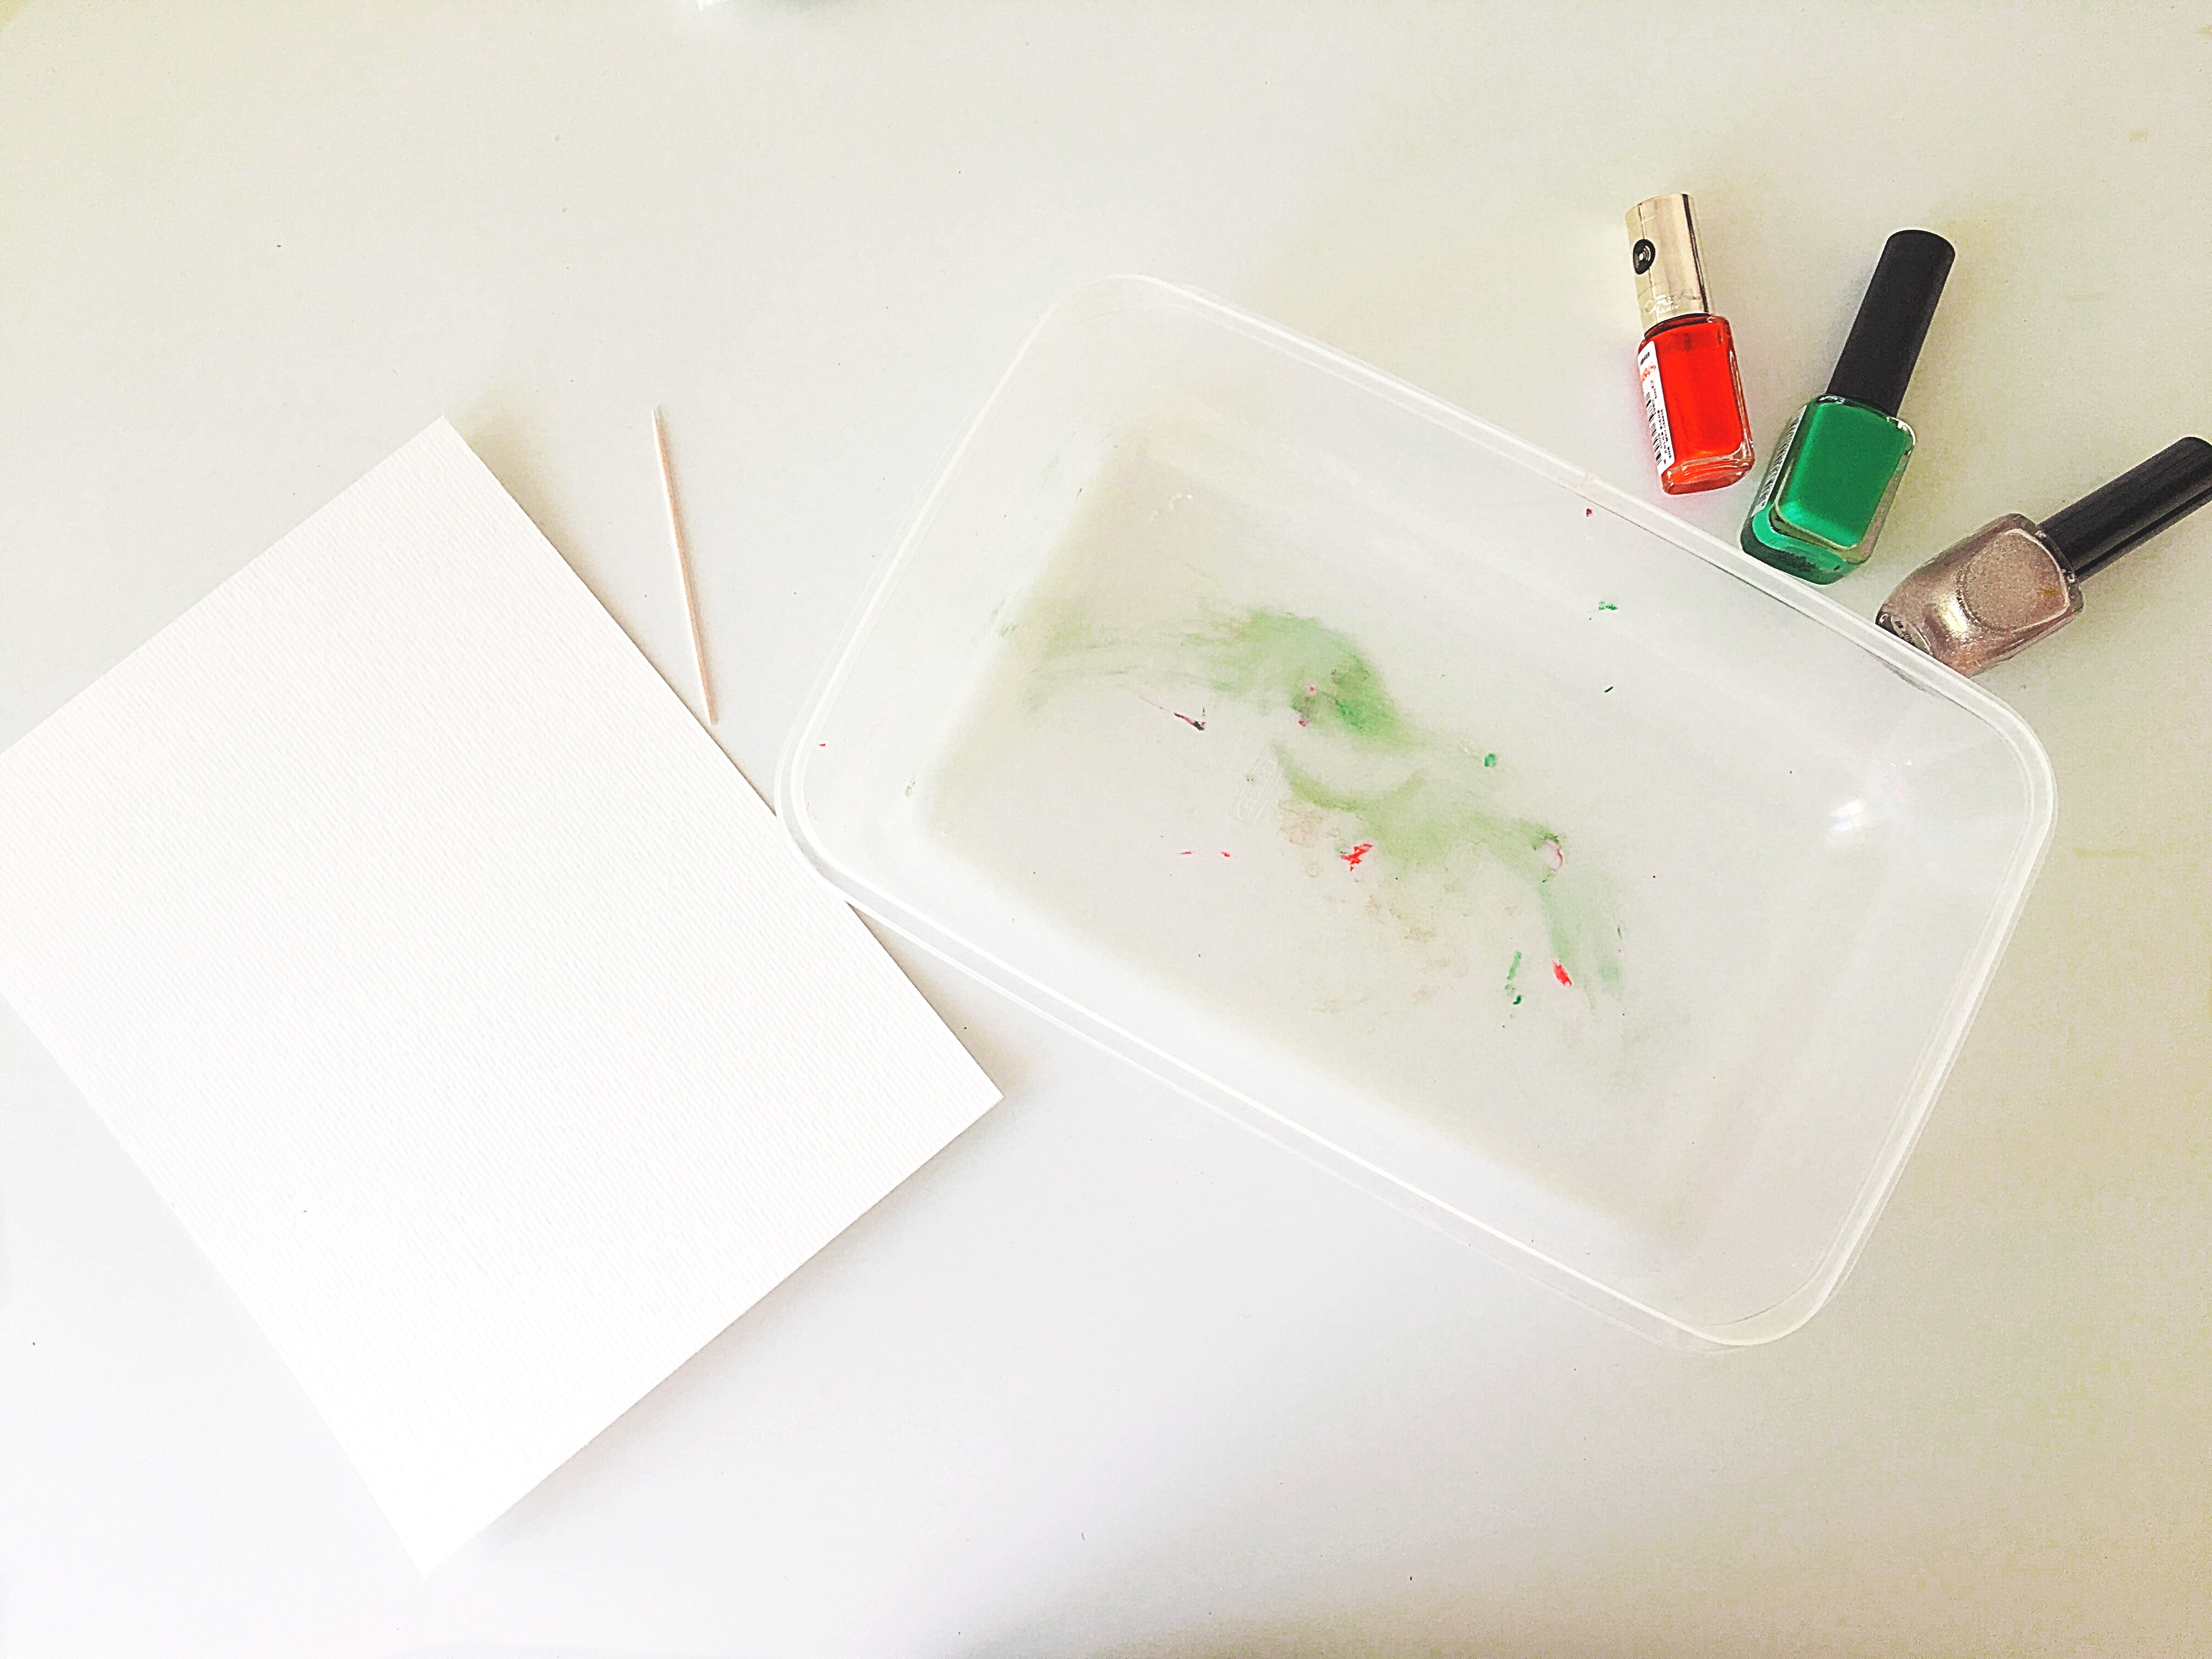
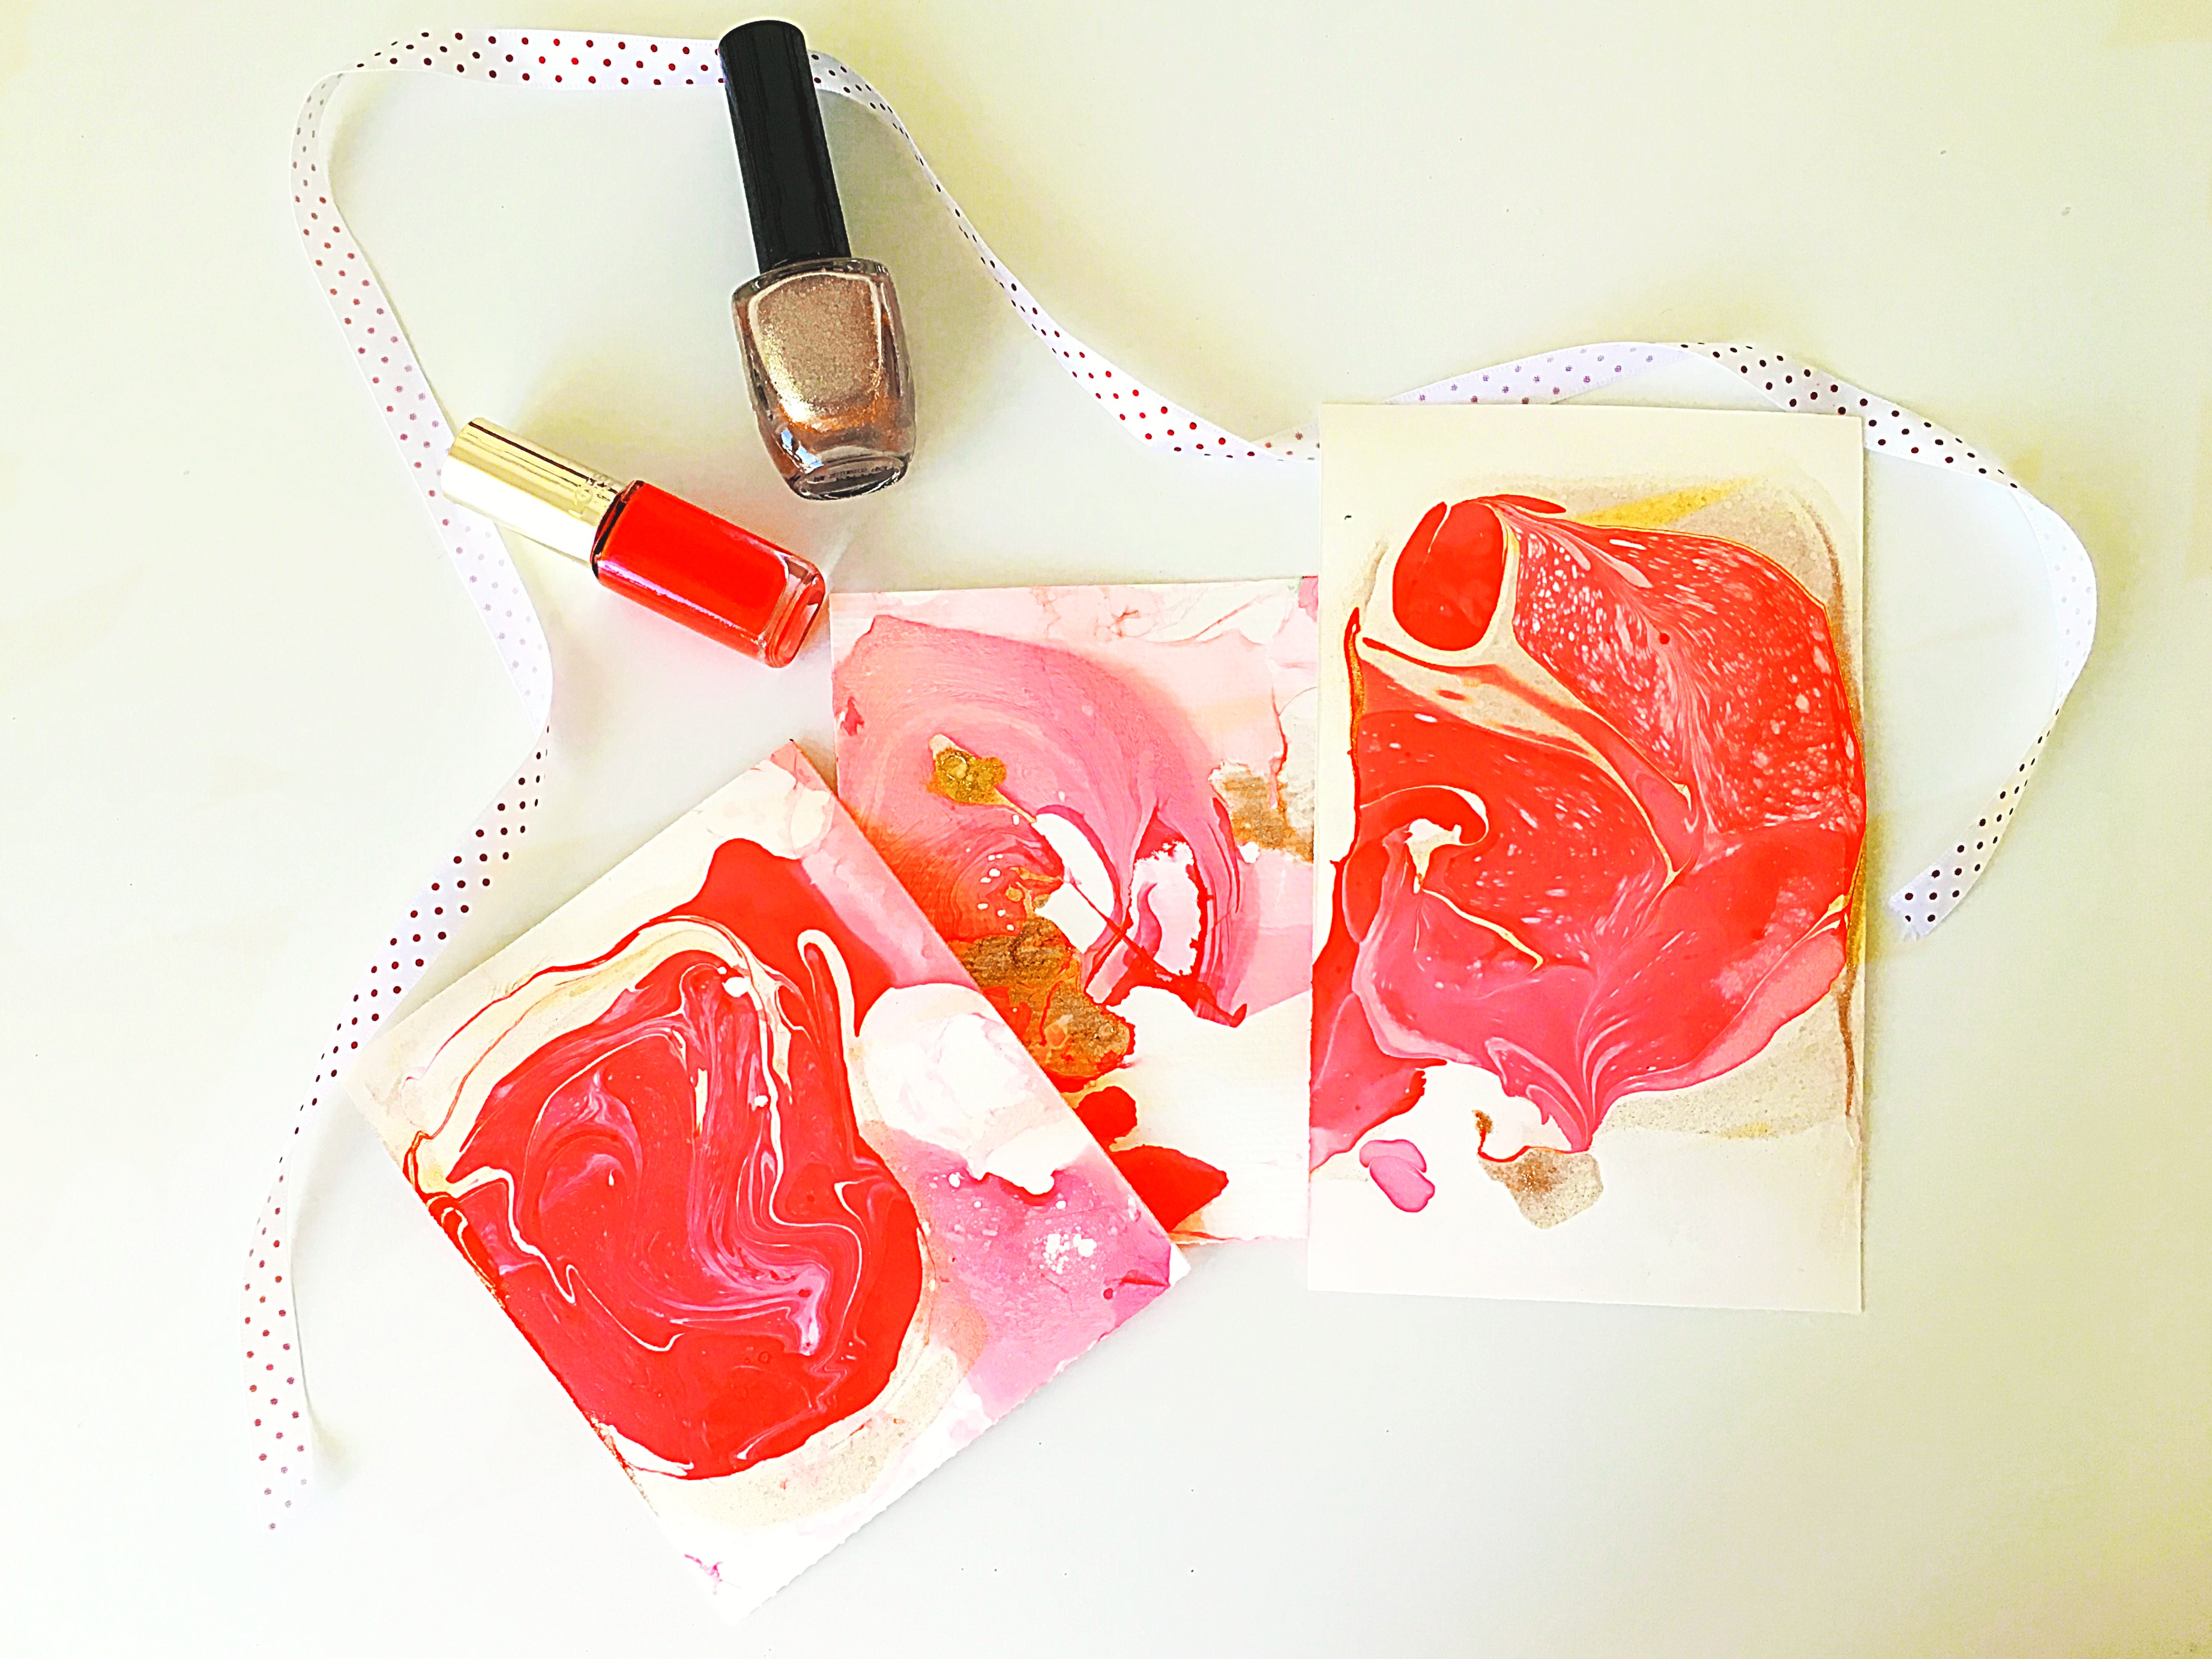
- Oil nail paint
- Water
- Plastic container
- Paper ( I used aquarelle watercolor paper as I wanted something more absorbent )
- Toothpick
- Nail polish remover / acetone for clearing up
Warning : This is really a messy project and my hands look like a rainbow. You might want to cover your workspace with an old paper and wear gloves if you wish.
Steps
Let us begin with a quick Time-lapse video of the whole process of creating a Marble paper.
Now that you have a tiny glimpse of how the process is going to be, let’s get started with the steps. First of all, start with pouring water on a container 2-3 cm high.

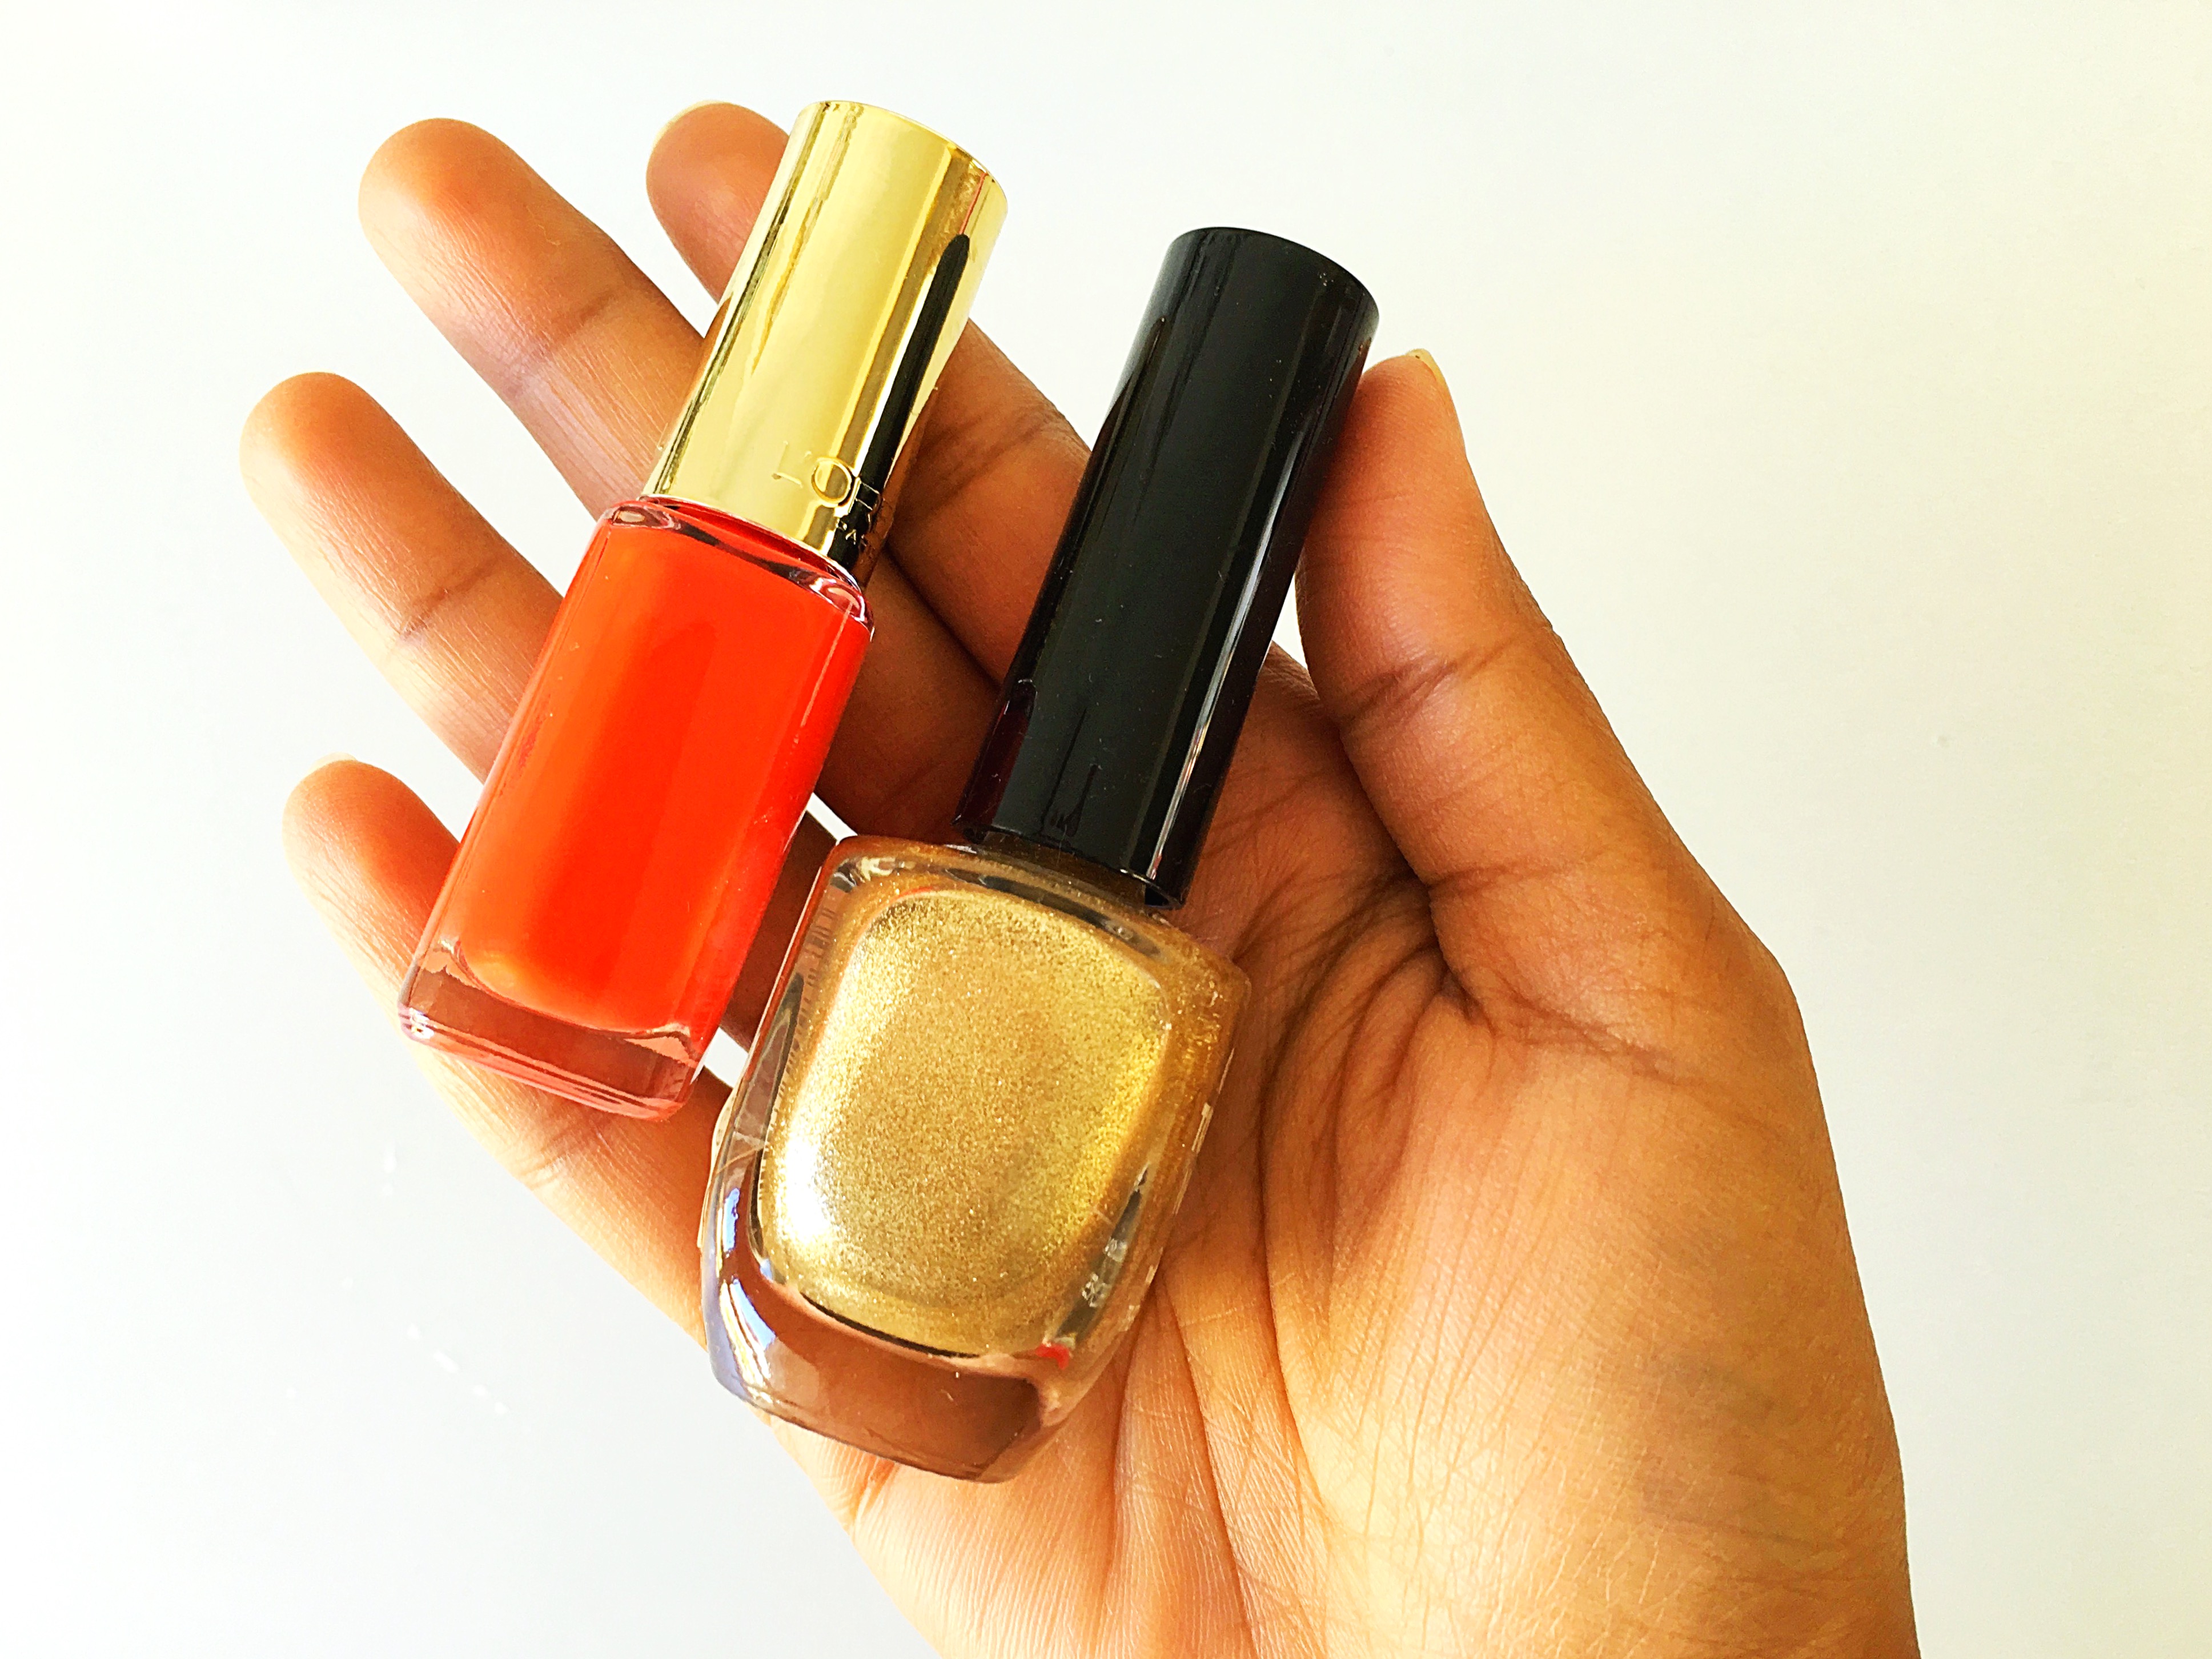
Work in a properly ventilated room because the nail paint can be really smelly and can make you dizzy. Next, choose your colors. I have decided to work with gold and red. Just remember, we have to be really fast in this project because nail paint dries instantly on water. So keep all your stuff handy and within reach.
Start with pouring nail polish on water one after the other as fast as possible. Swirl it using the toothpick to create a pattern. Put your paper on the water container face down and leave for few seconds. Make sure your paper is floating rather than touching the bottom of the container and covering the full nail paint area.
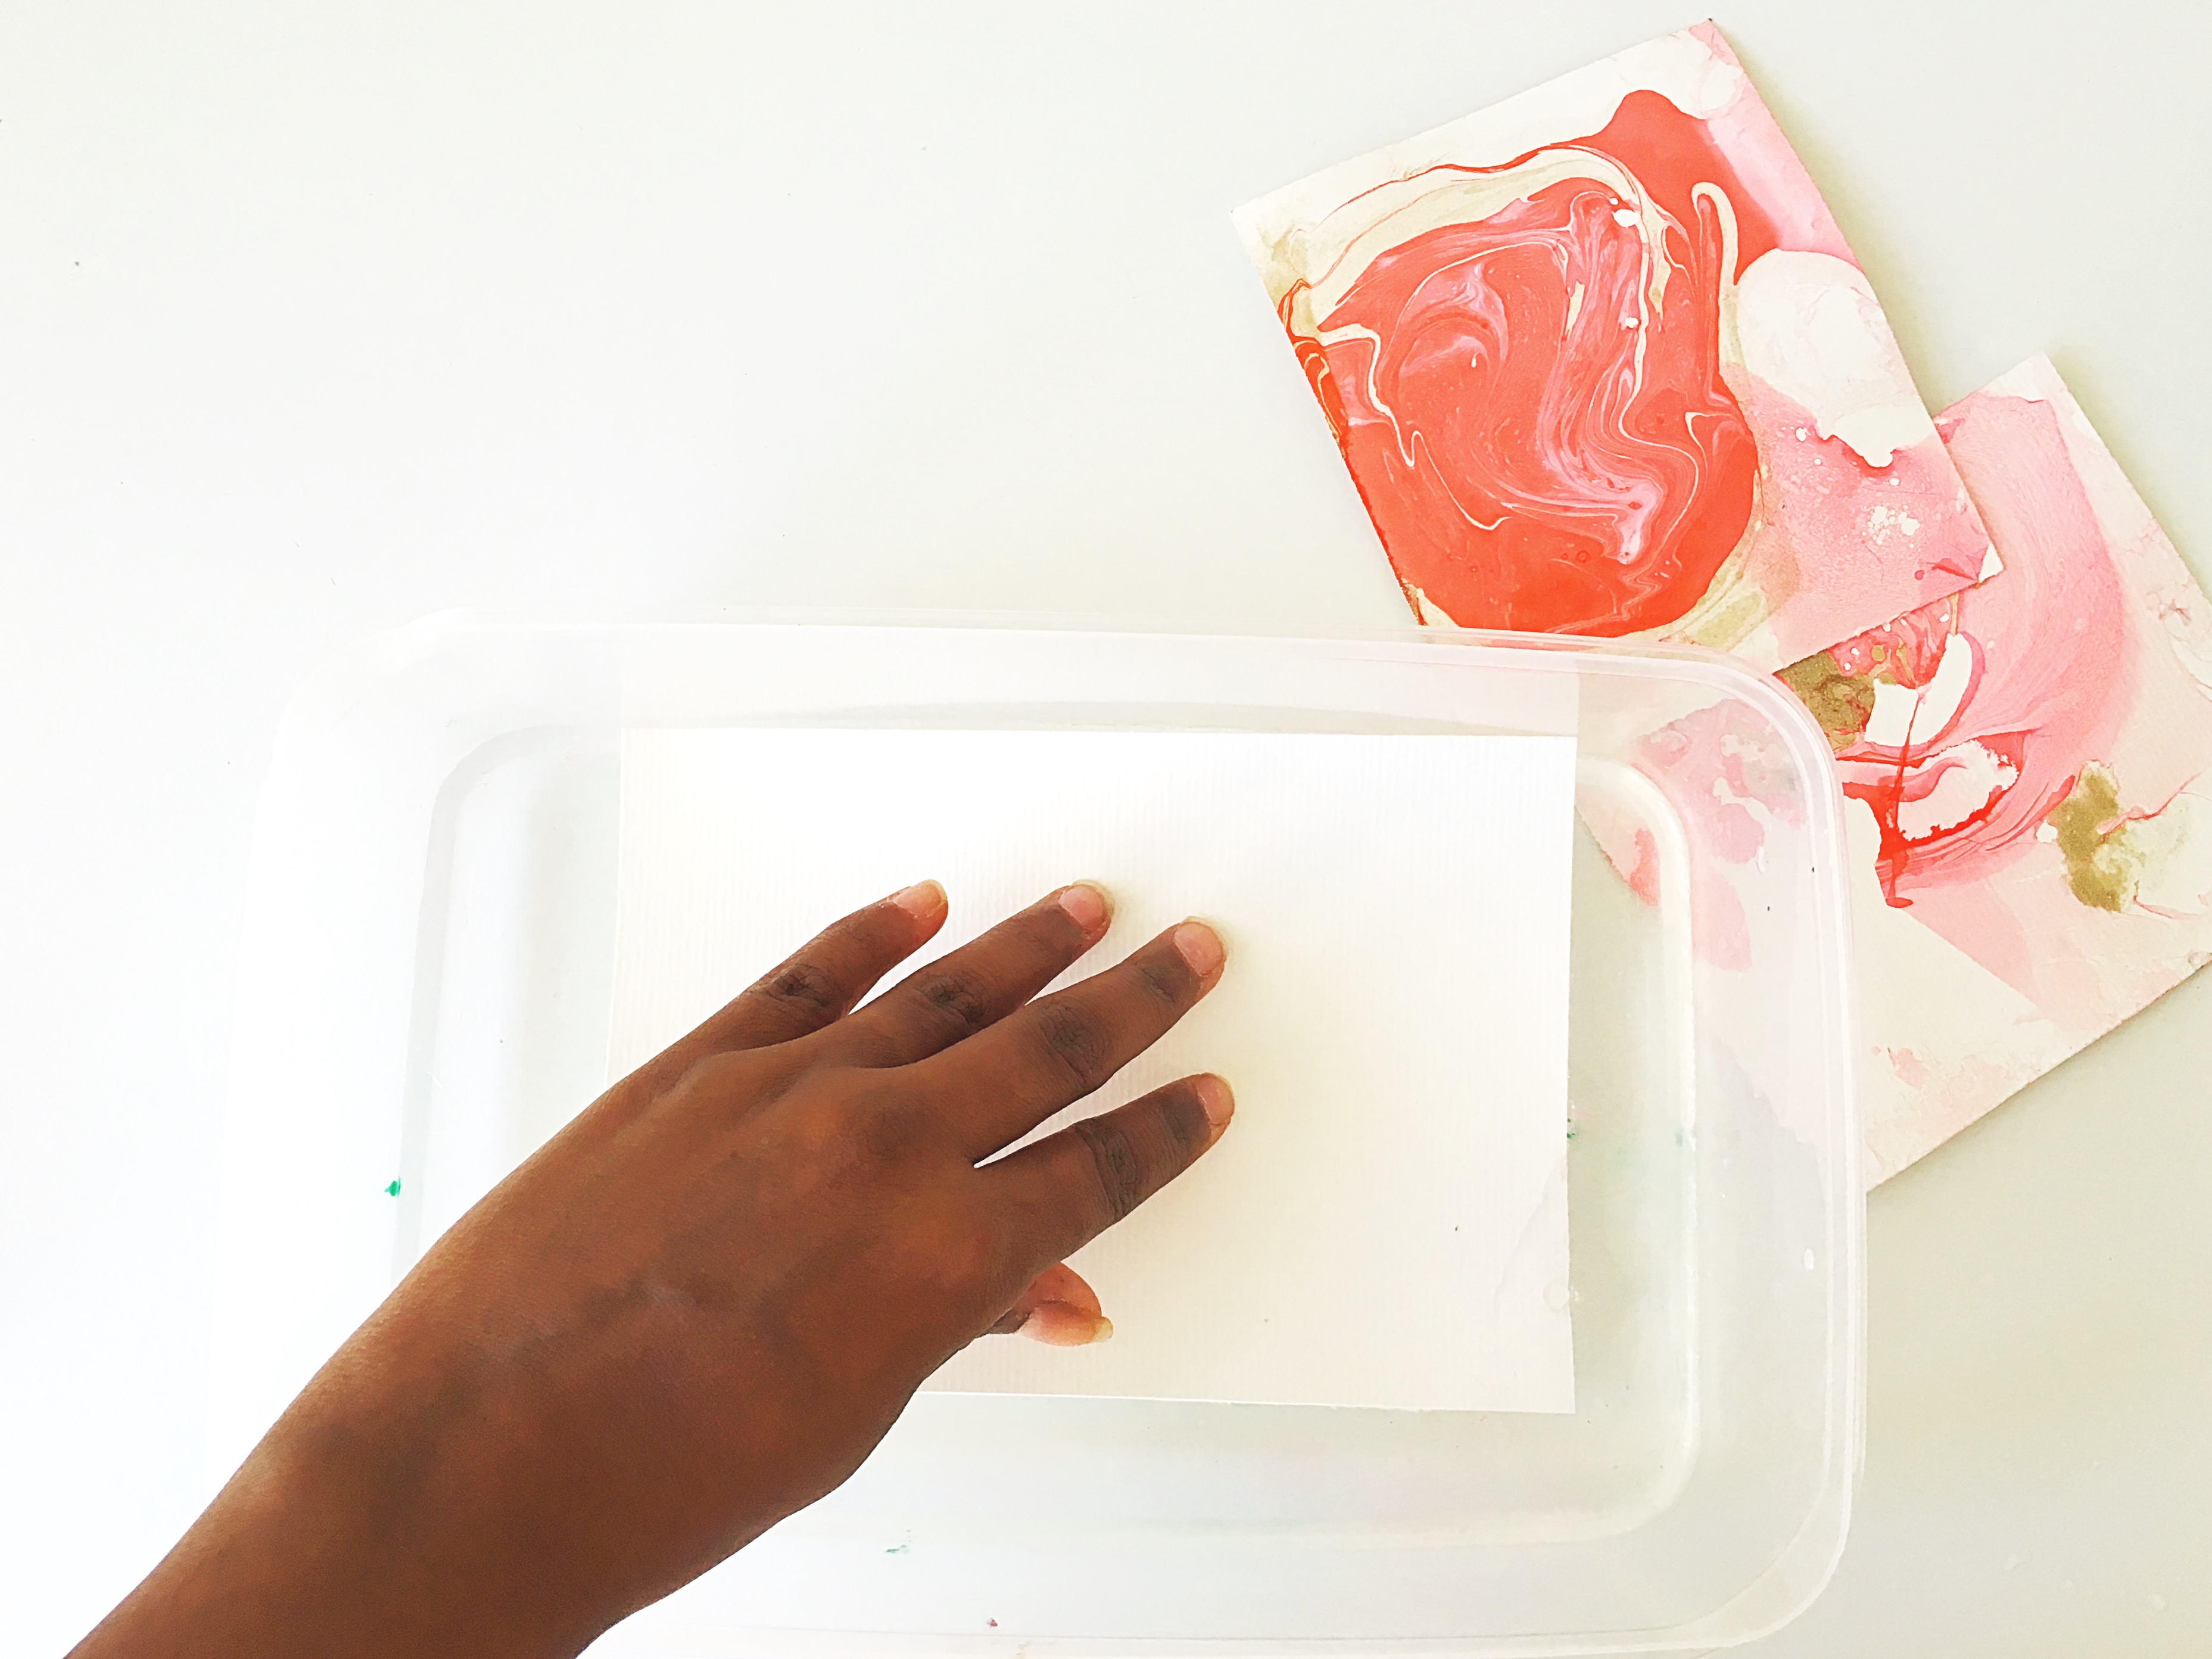
Finally, lift the paper and let it dry. If you rather prefer a faster drying approach, you can use a hair dryer for drying. Tada!!! Super colorful Marble paper is ready.
Don’t worry if your first few tries look a little off. Once you’ve experimented with a couple sheets of paper, you’ll get an idea how to optimise the time and master the technique. In conclusion, I think this is a very good and easy technique to make some gorgeous looking paper for gift and decorations. I have used my Marble paper as a background to create a wedding stationary set.

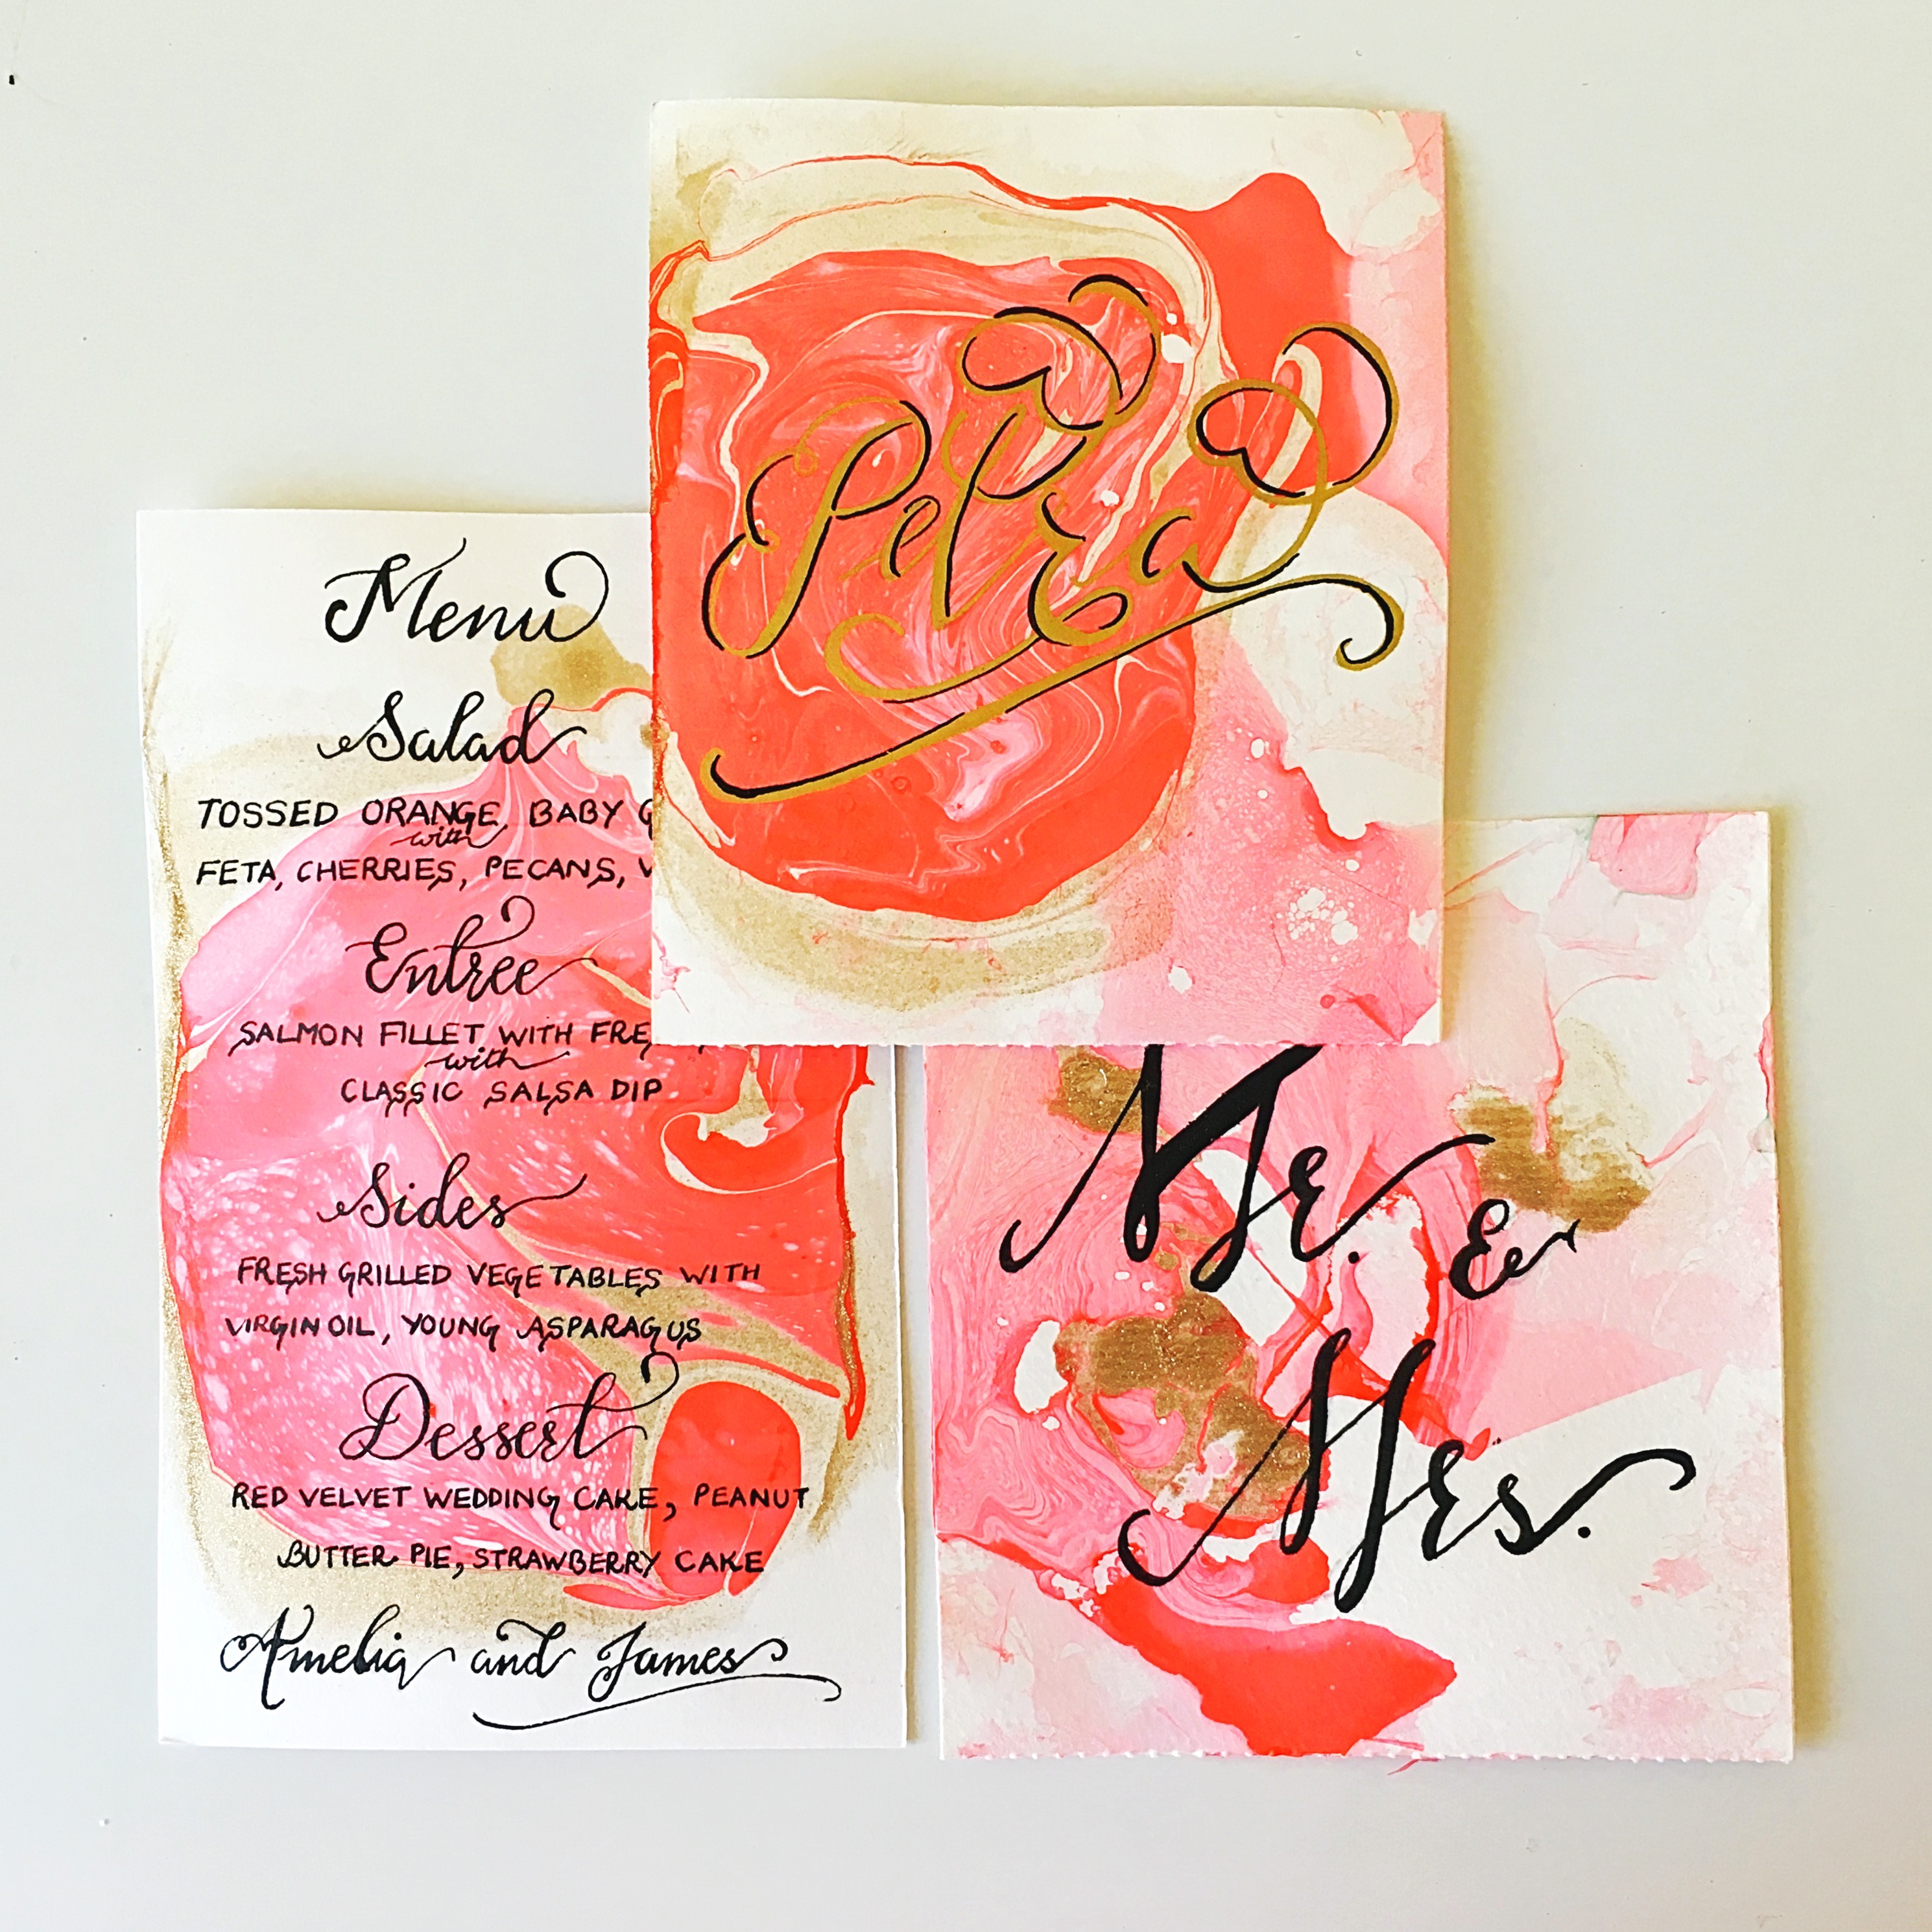
You can further explore DIY marbling projects on scarfs, eggs, planters, mugs, jewellery and even nails. Just check my Pinterest board “World of Marbling” by clicking here to find a guided way to the world of marbling and don’t forget to follow me in Pinterest for more goodies.
Have a creative weekend!
Cheers