
Watercolor wash is very versatile and it creates an organic texture in your art project. You can use it to create abstract designs and backgrounds for various DIY projects. For example : envelope liners, post cards, bookmarks, greetings card, gift tags etc. In today’s tutorial we will learn three different styles to create textured designs through some fun techniques. The most important thing about this project is, it is unbelievably easy to create and therefore can be incorporated into so many handmade projects. So let’s get started.

Supplies
- Flat Wide Paintbrush
- Medium sized brush
- Watercolor Paper ( White, 300gsm )
- Palette
- Fine Paintbrush
- Watercolor of your choice
- Table salt
- Paper Towels
- Toothbrush
- Acrylic Paint in contrasting color
Steps
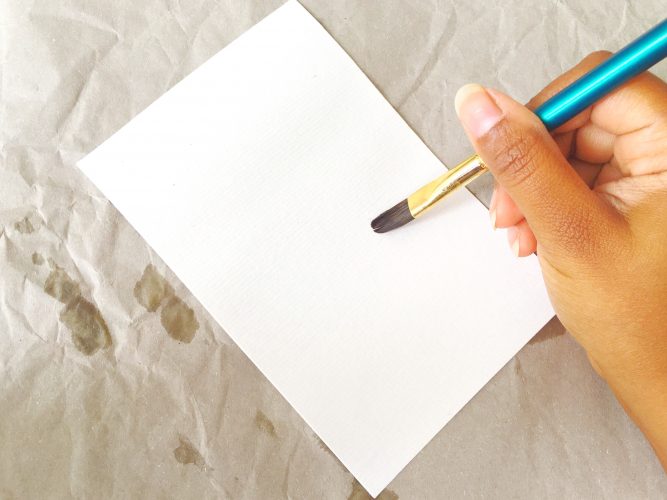
First of all , ensure to cover your workspace with old paper to avoid a mess. I didn’t want my shiny new white table to be a color mess so I opted for this foolproof method. As you can see, I have cut my A4 sized paper into smaller A6 sized notecard. Feel free to use any size.

Watercolor wash -Formal Style
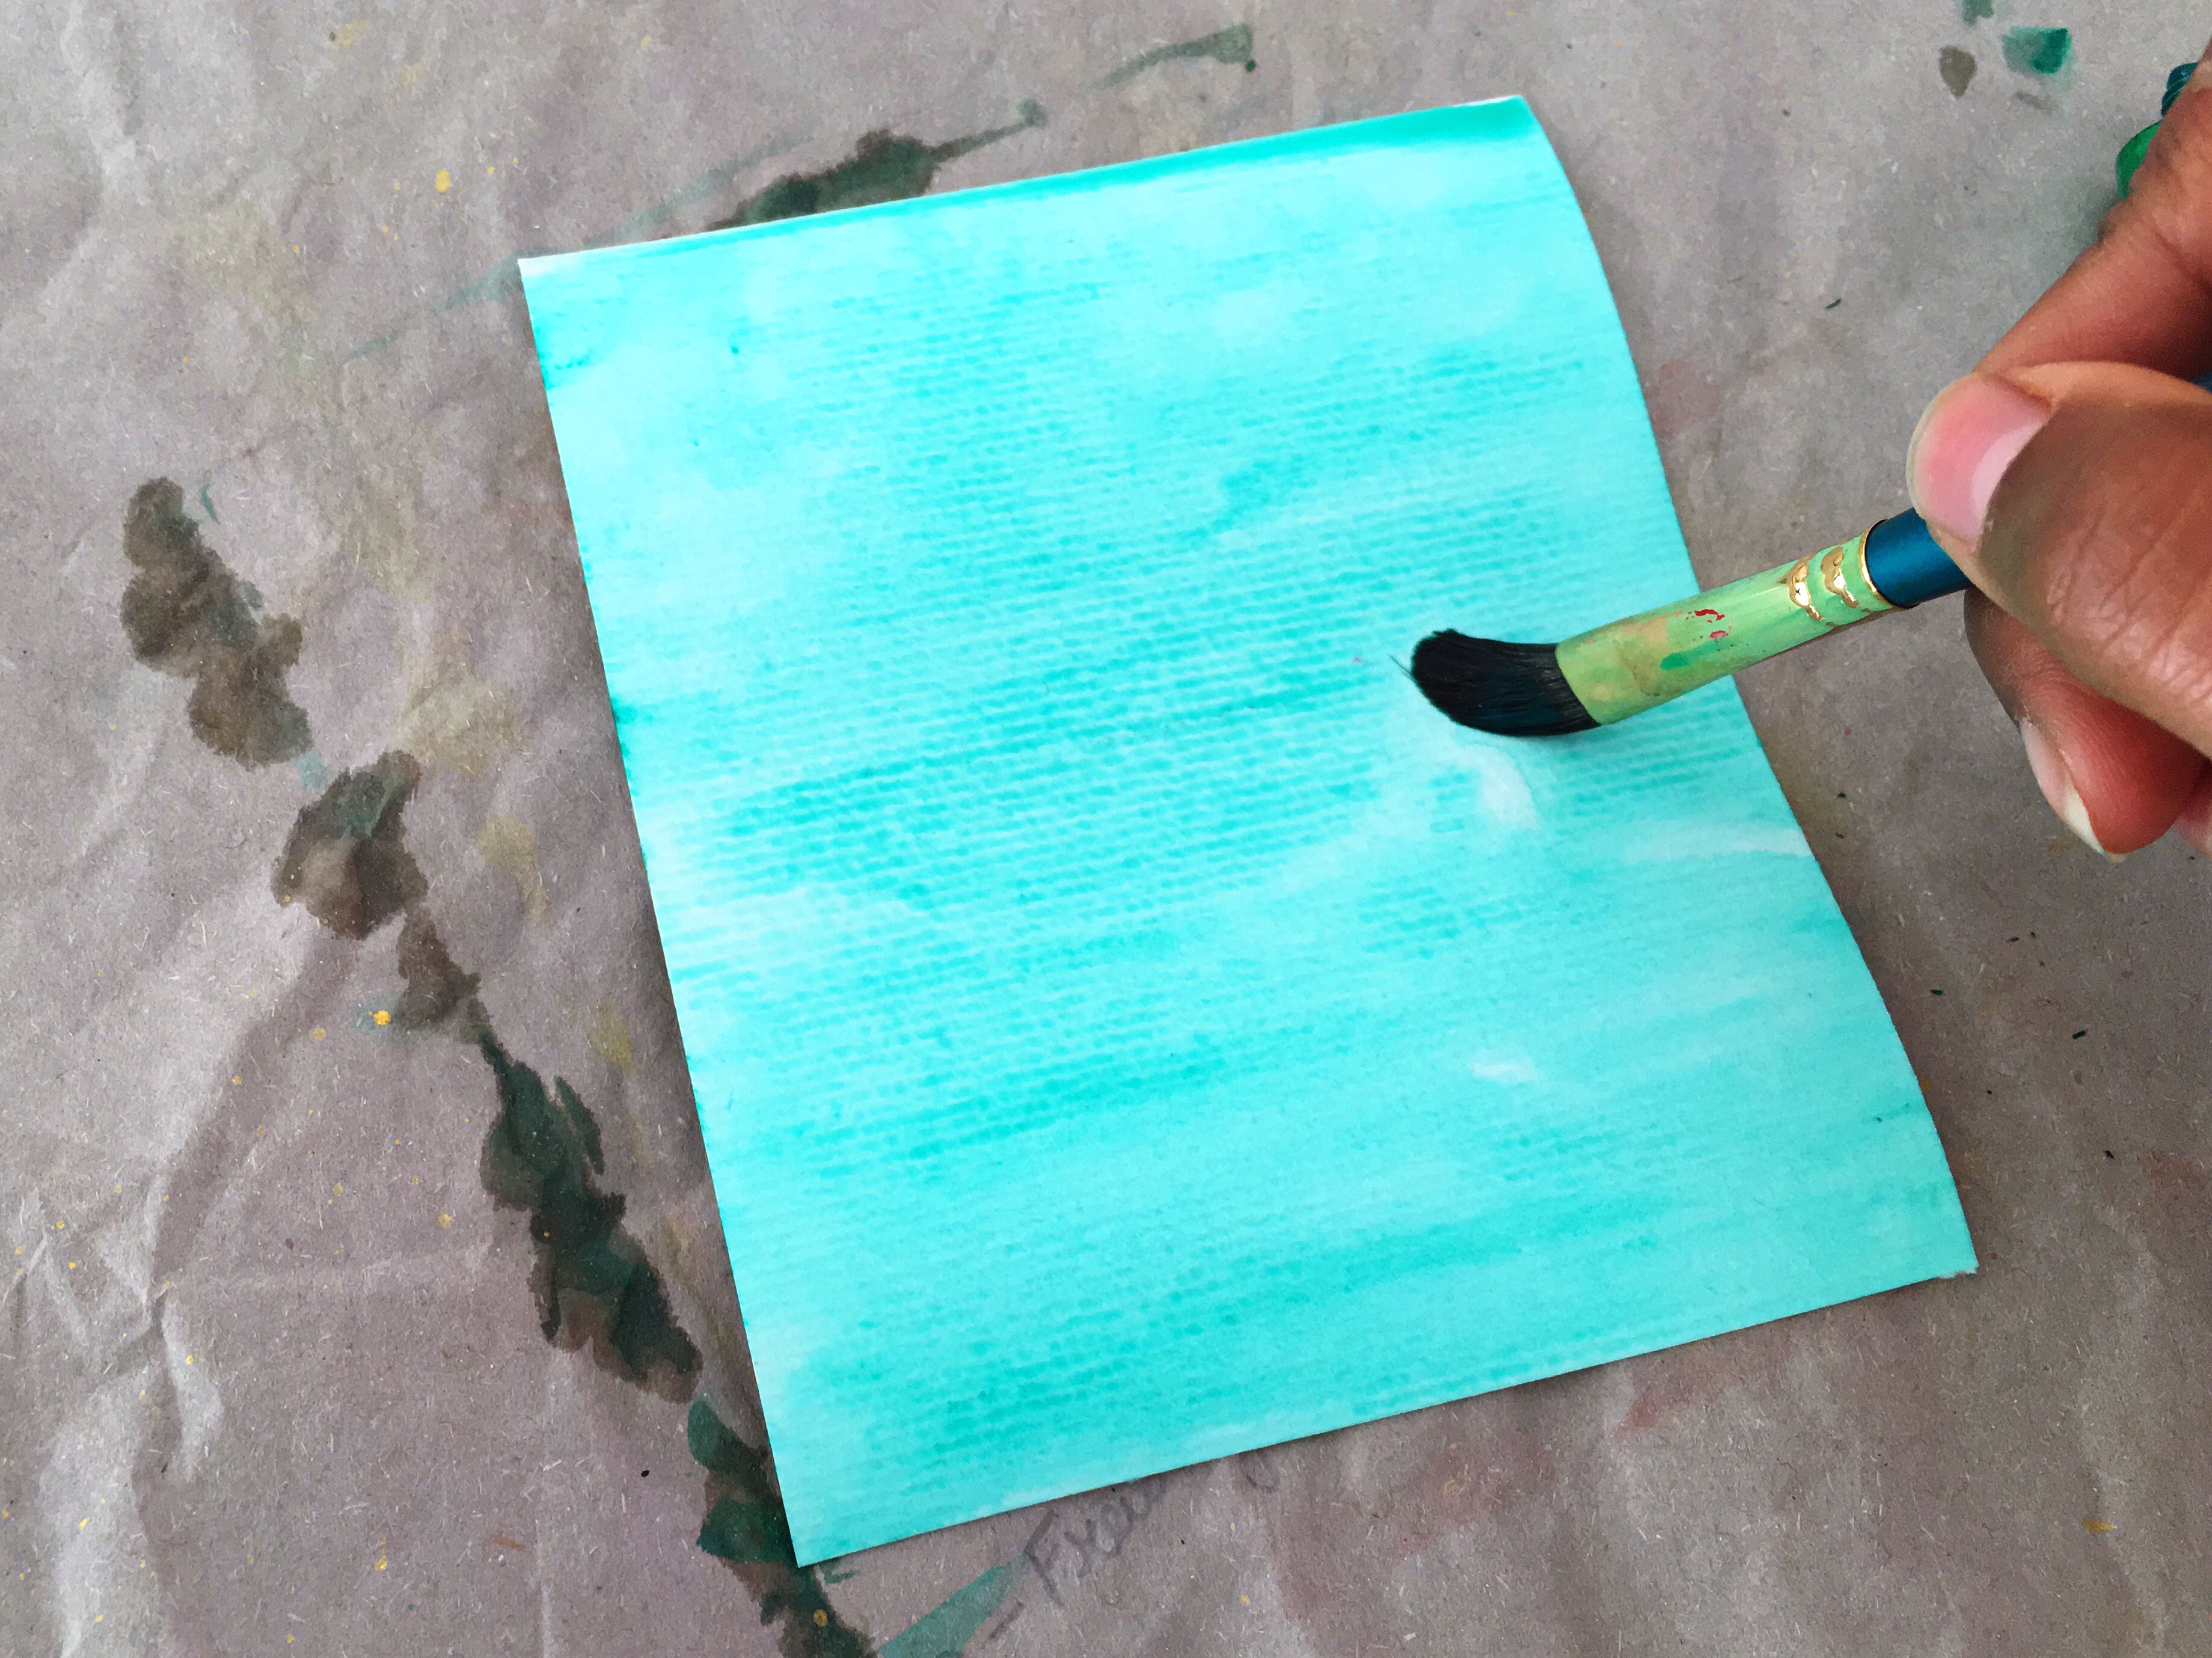
Let us start with the easiest style. Wet the watercolor paper on the front and back using the wide flat brush but ensure not to pool it with water. Please use a paper towel to dab out excess water. A wet wash will help to expand the fibres of the paper.
While you wait for the paper to dry, select the watercolor of your choice. Starting with the light hue of your choice fill the page randomly using a medium sized brush. Add a second color in related hue and repeat until the page is filled up. For my demo, I have just used a single paint. Check out the time-lapse video for a better understanding.
Take a paper towel and quickly dab on the areas you want to lift some pigments. Control the pressure depending on how defined you want the effect to be.
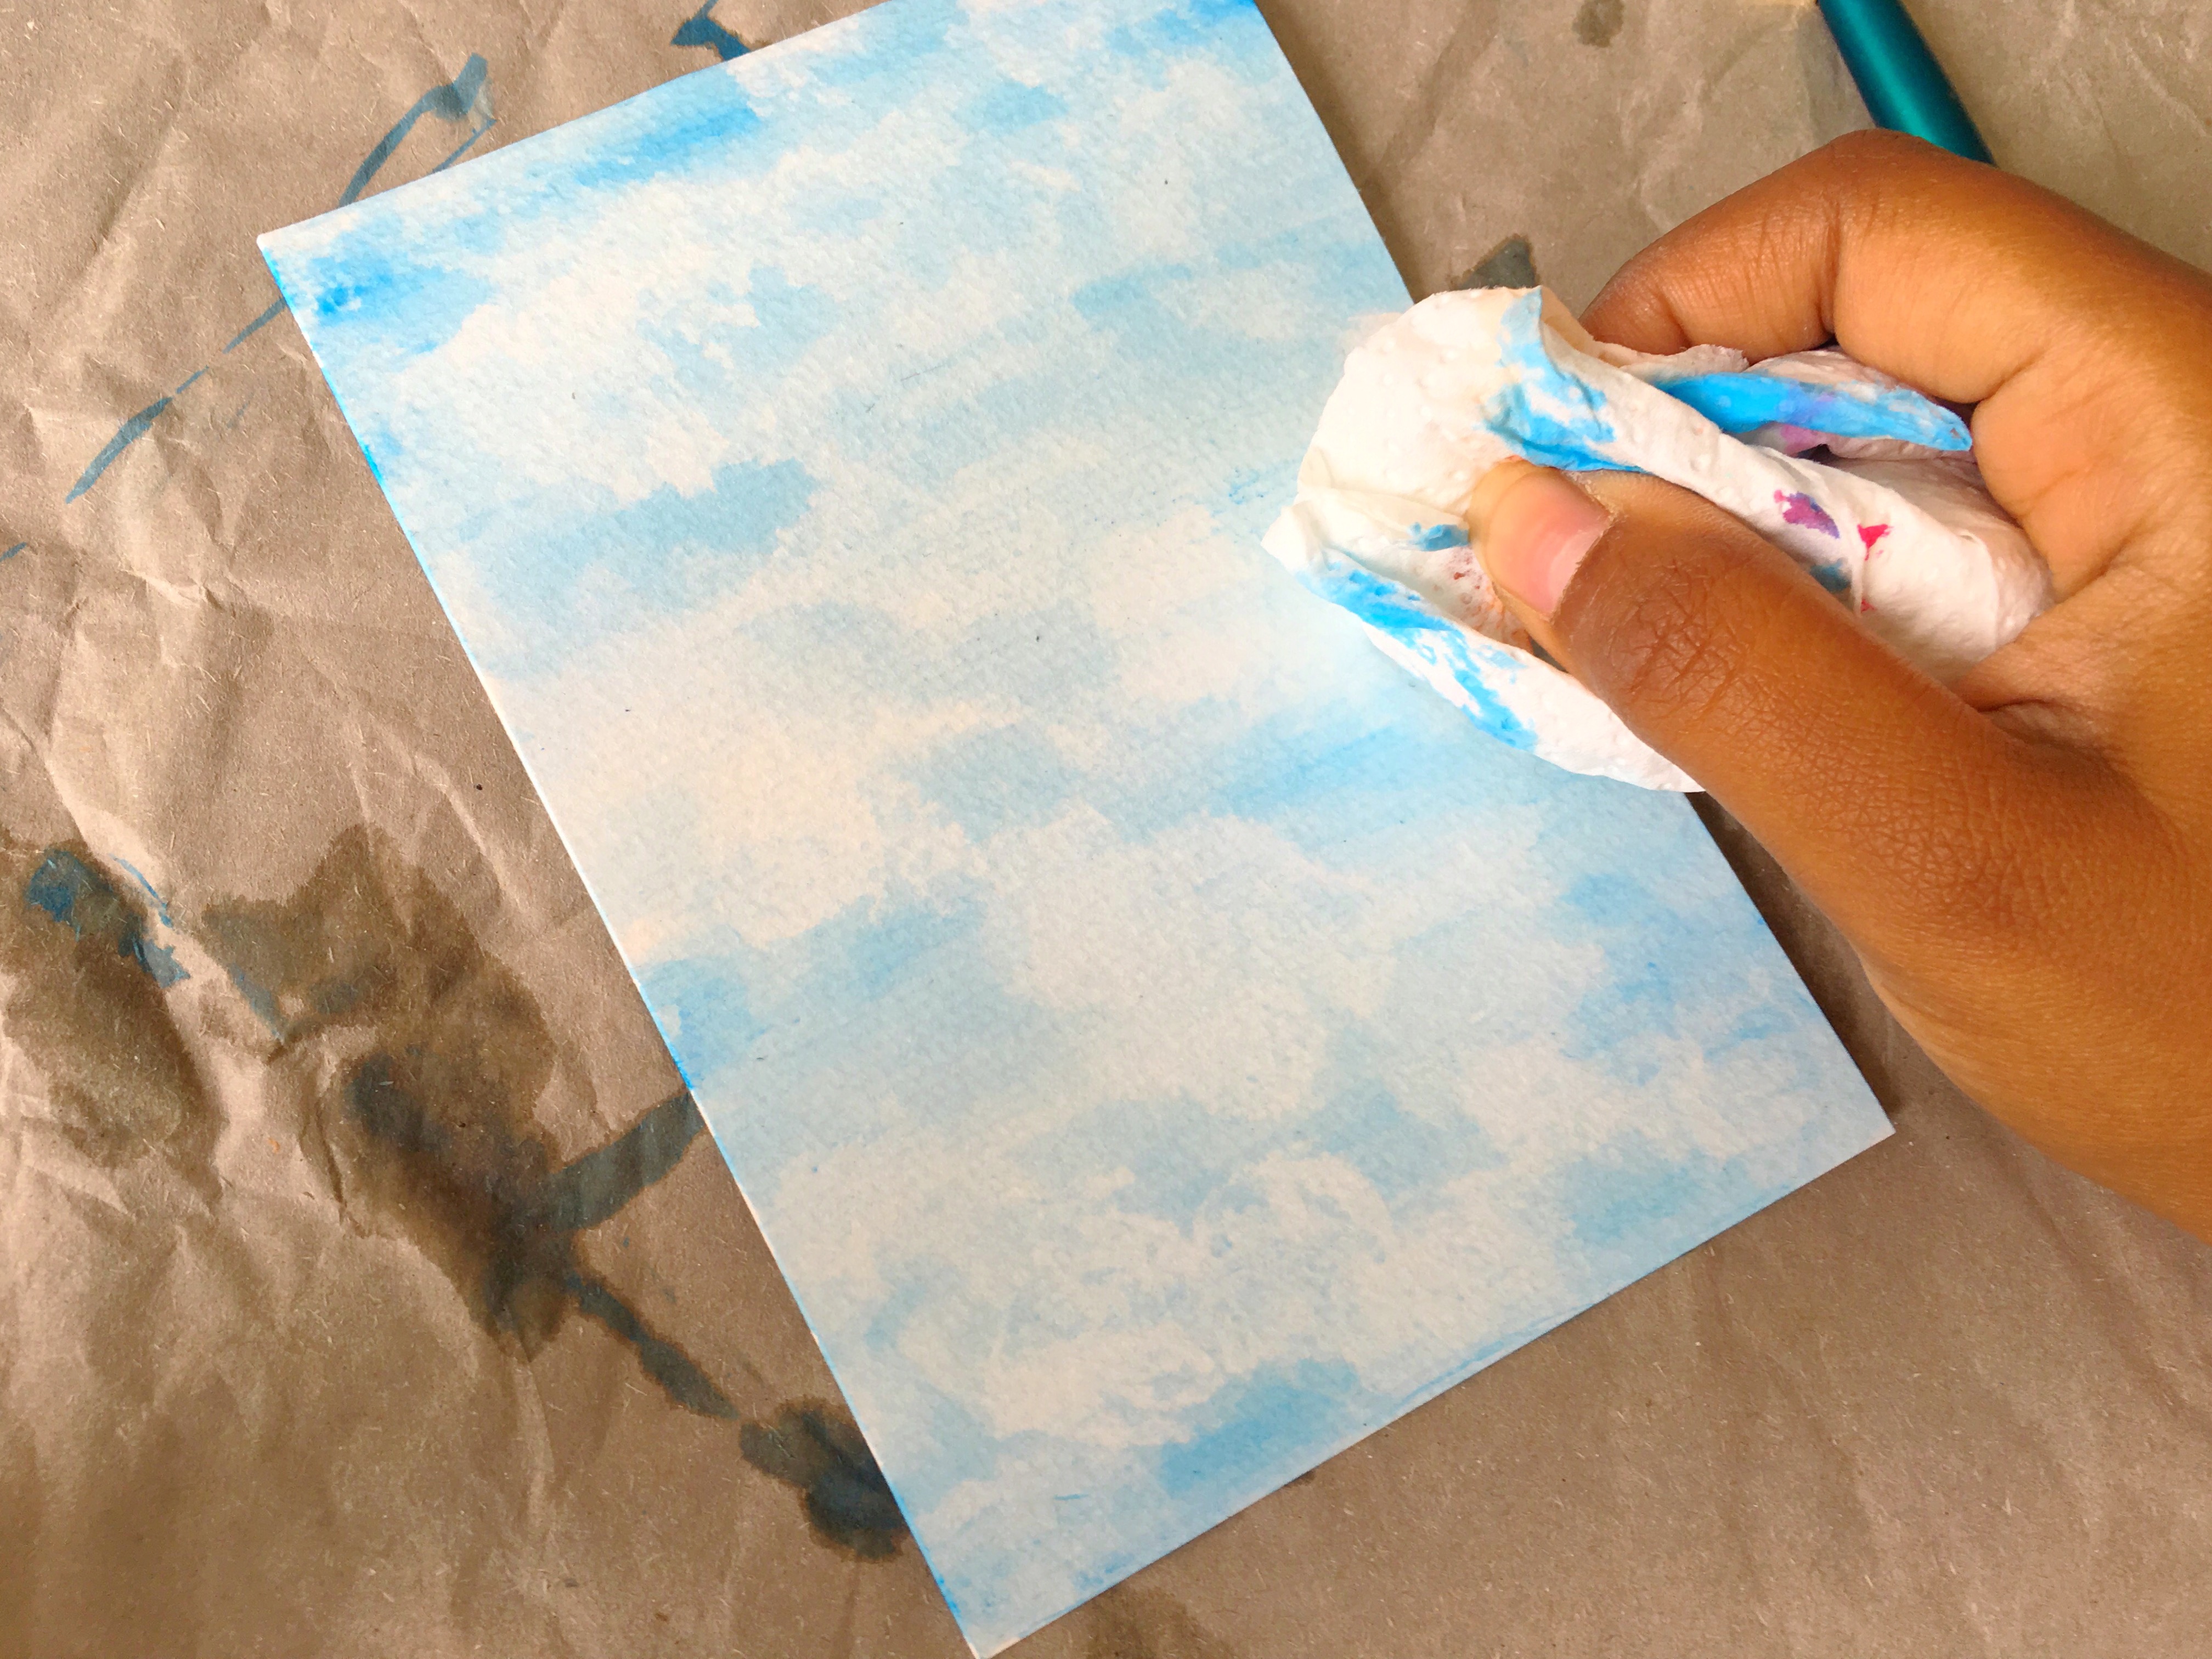
I love the whimsical dreamy effect. It takes just a couple of minutes and the result is awesome. Doesn’t it look like fluffy clouds?

Watercolor wash-Fun style
Give a watercolor wash to the paper with a light color. Check out the time-lapse video for a better understanding.
While the paper is still damp, drip large drops of color randomly over the paper and let the paint trickle down the page. This is a fun process and there is no right or wrong approach. The end result is a nice beautiful blend of colors. Let your imagination run wild. I opted to use bright contrasting colors for a fun and festive style.

Furthermore with a toothbrush full of acrylic color, splatter randomly over the paper by flicking the bristles.

I have used gold paint on bright color for a glittery look. So gorgeous isn’t it? (P.S: In this picture, the paint hasn’t dried yet)
See how beautifully it shines and dazzles
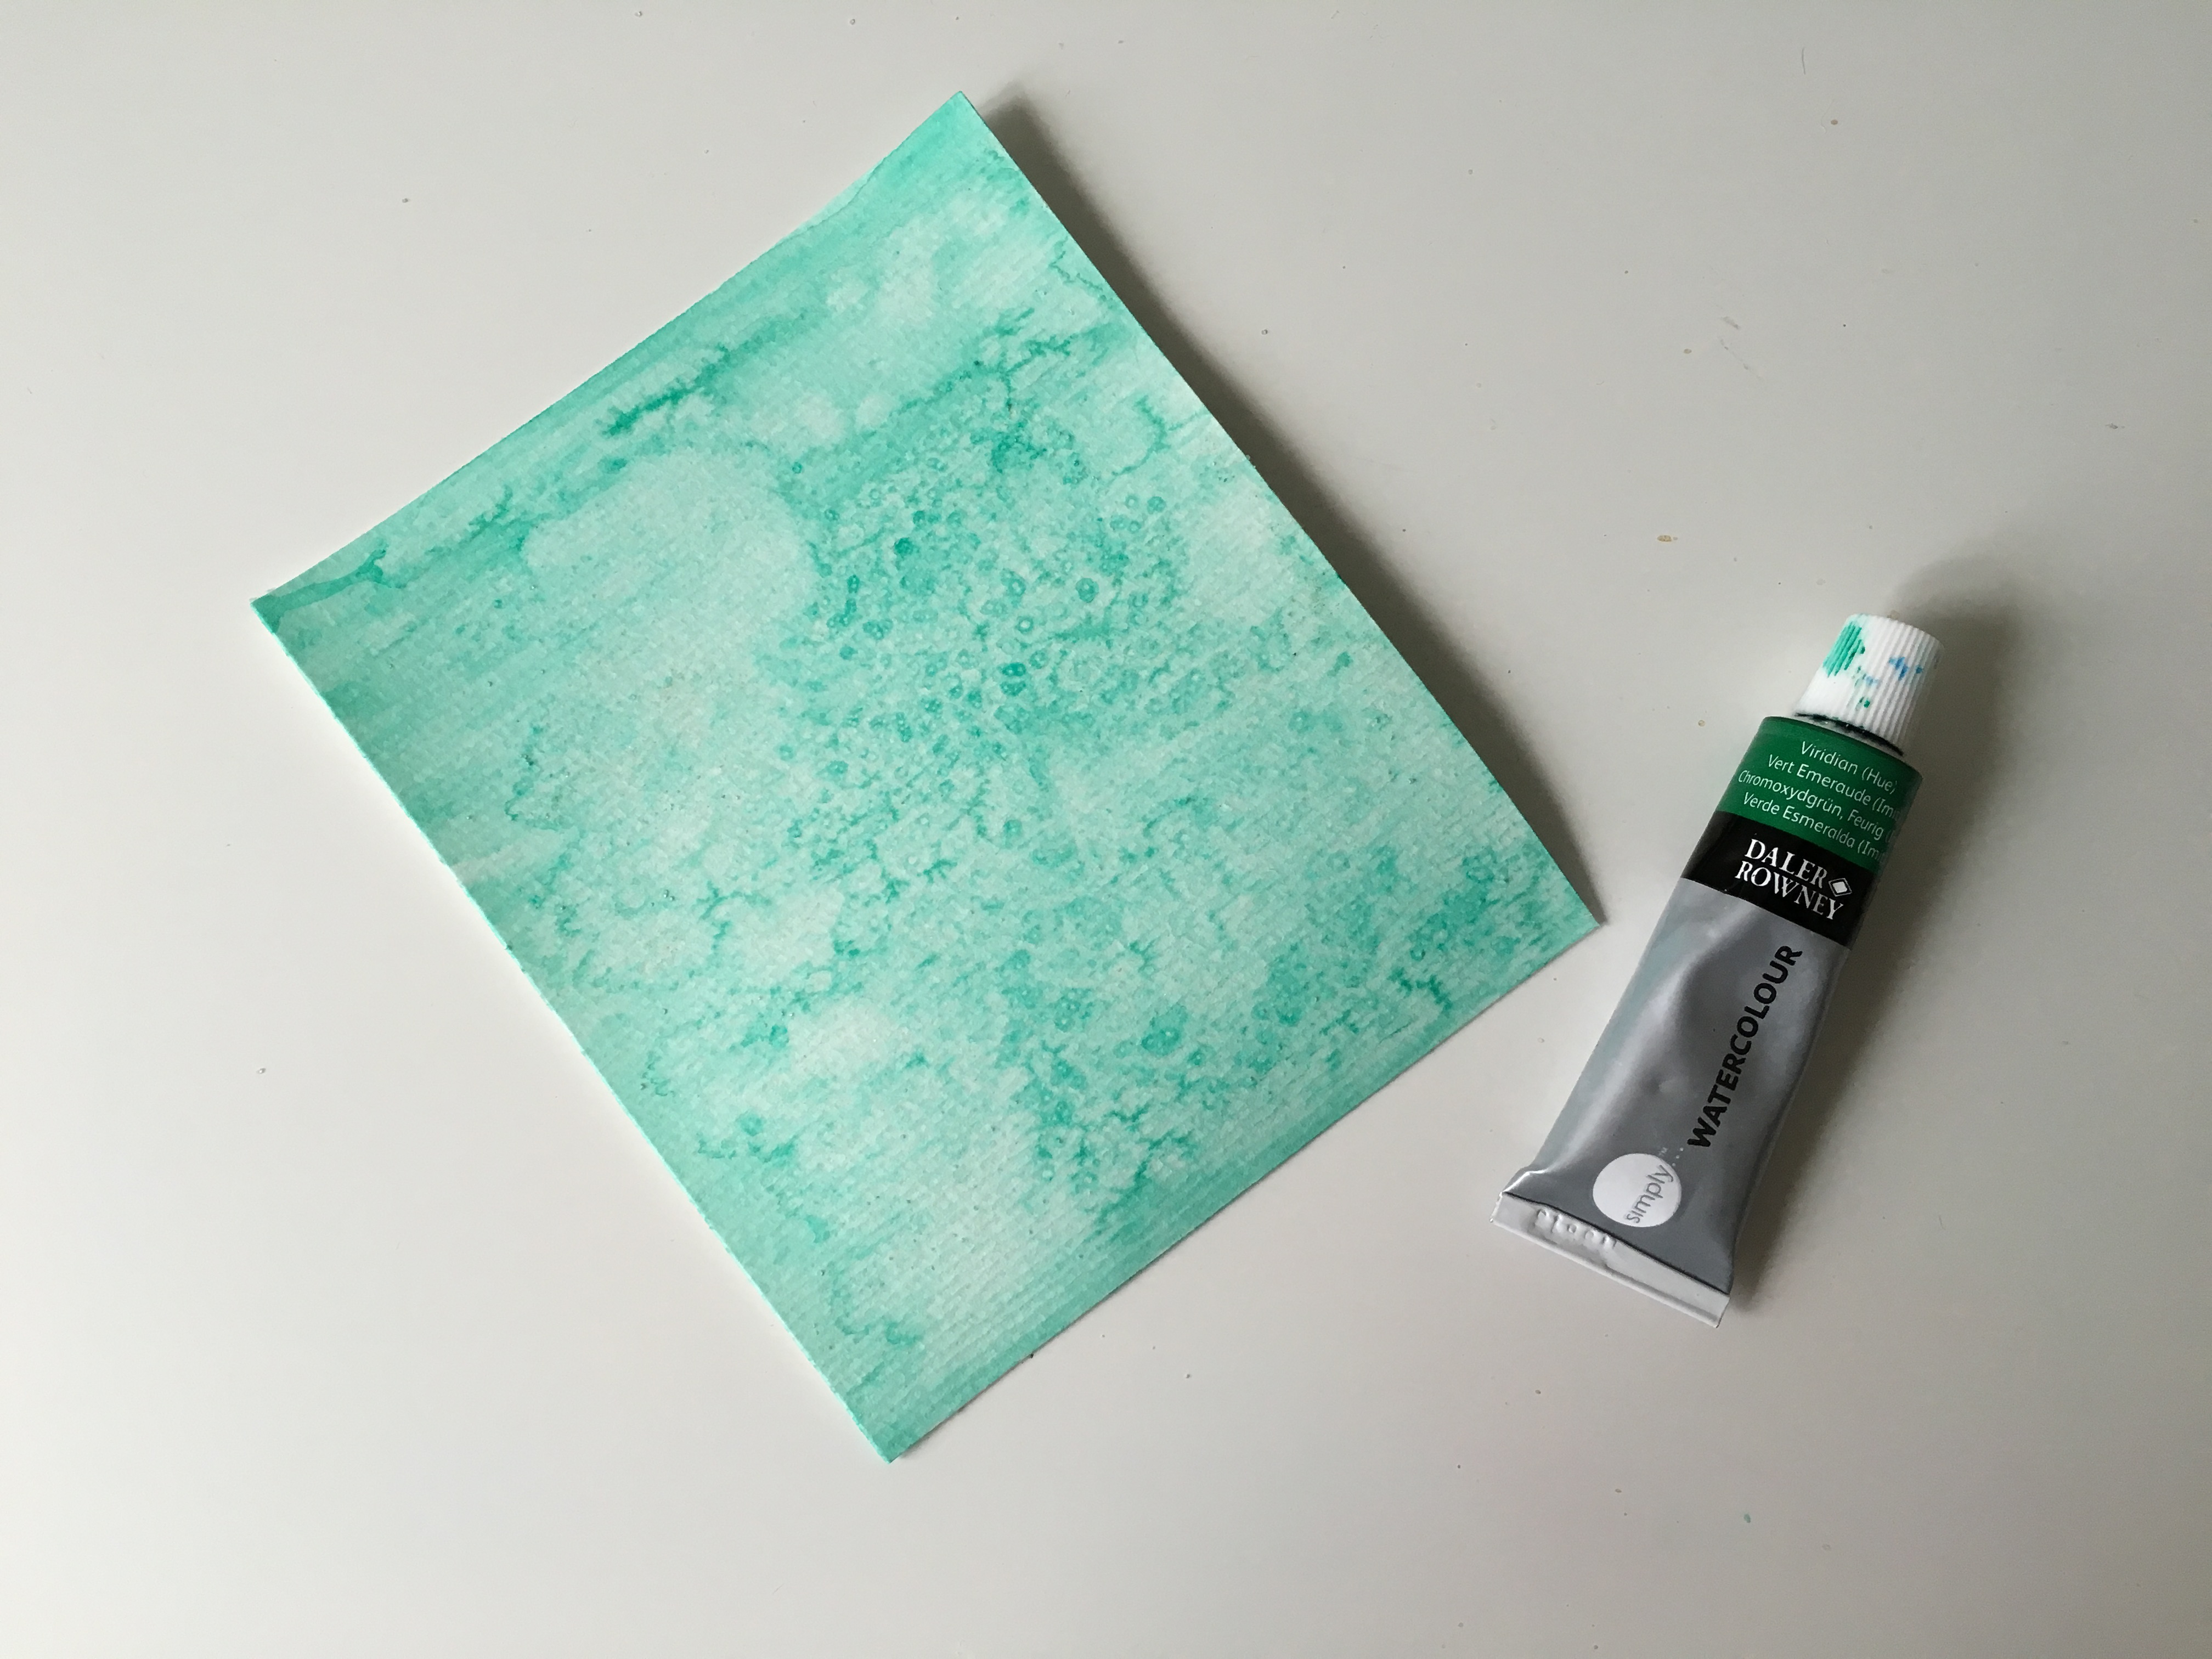
Watercolor wash-Elegant style
Wet the surface of the paper with a watercolor wash.
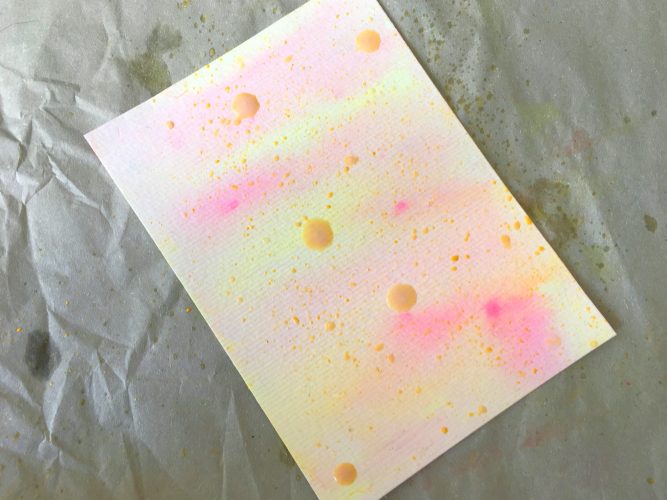
Drop some particles of fine or coarse salt while the paper is still wet.

These salt crystal creates an unique patterm by absorbing the wet color and appears as a starburst after you brush off the salt.
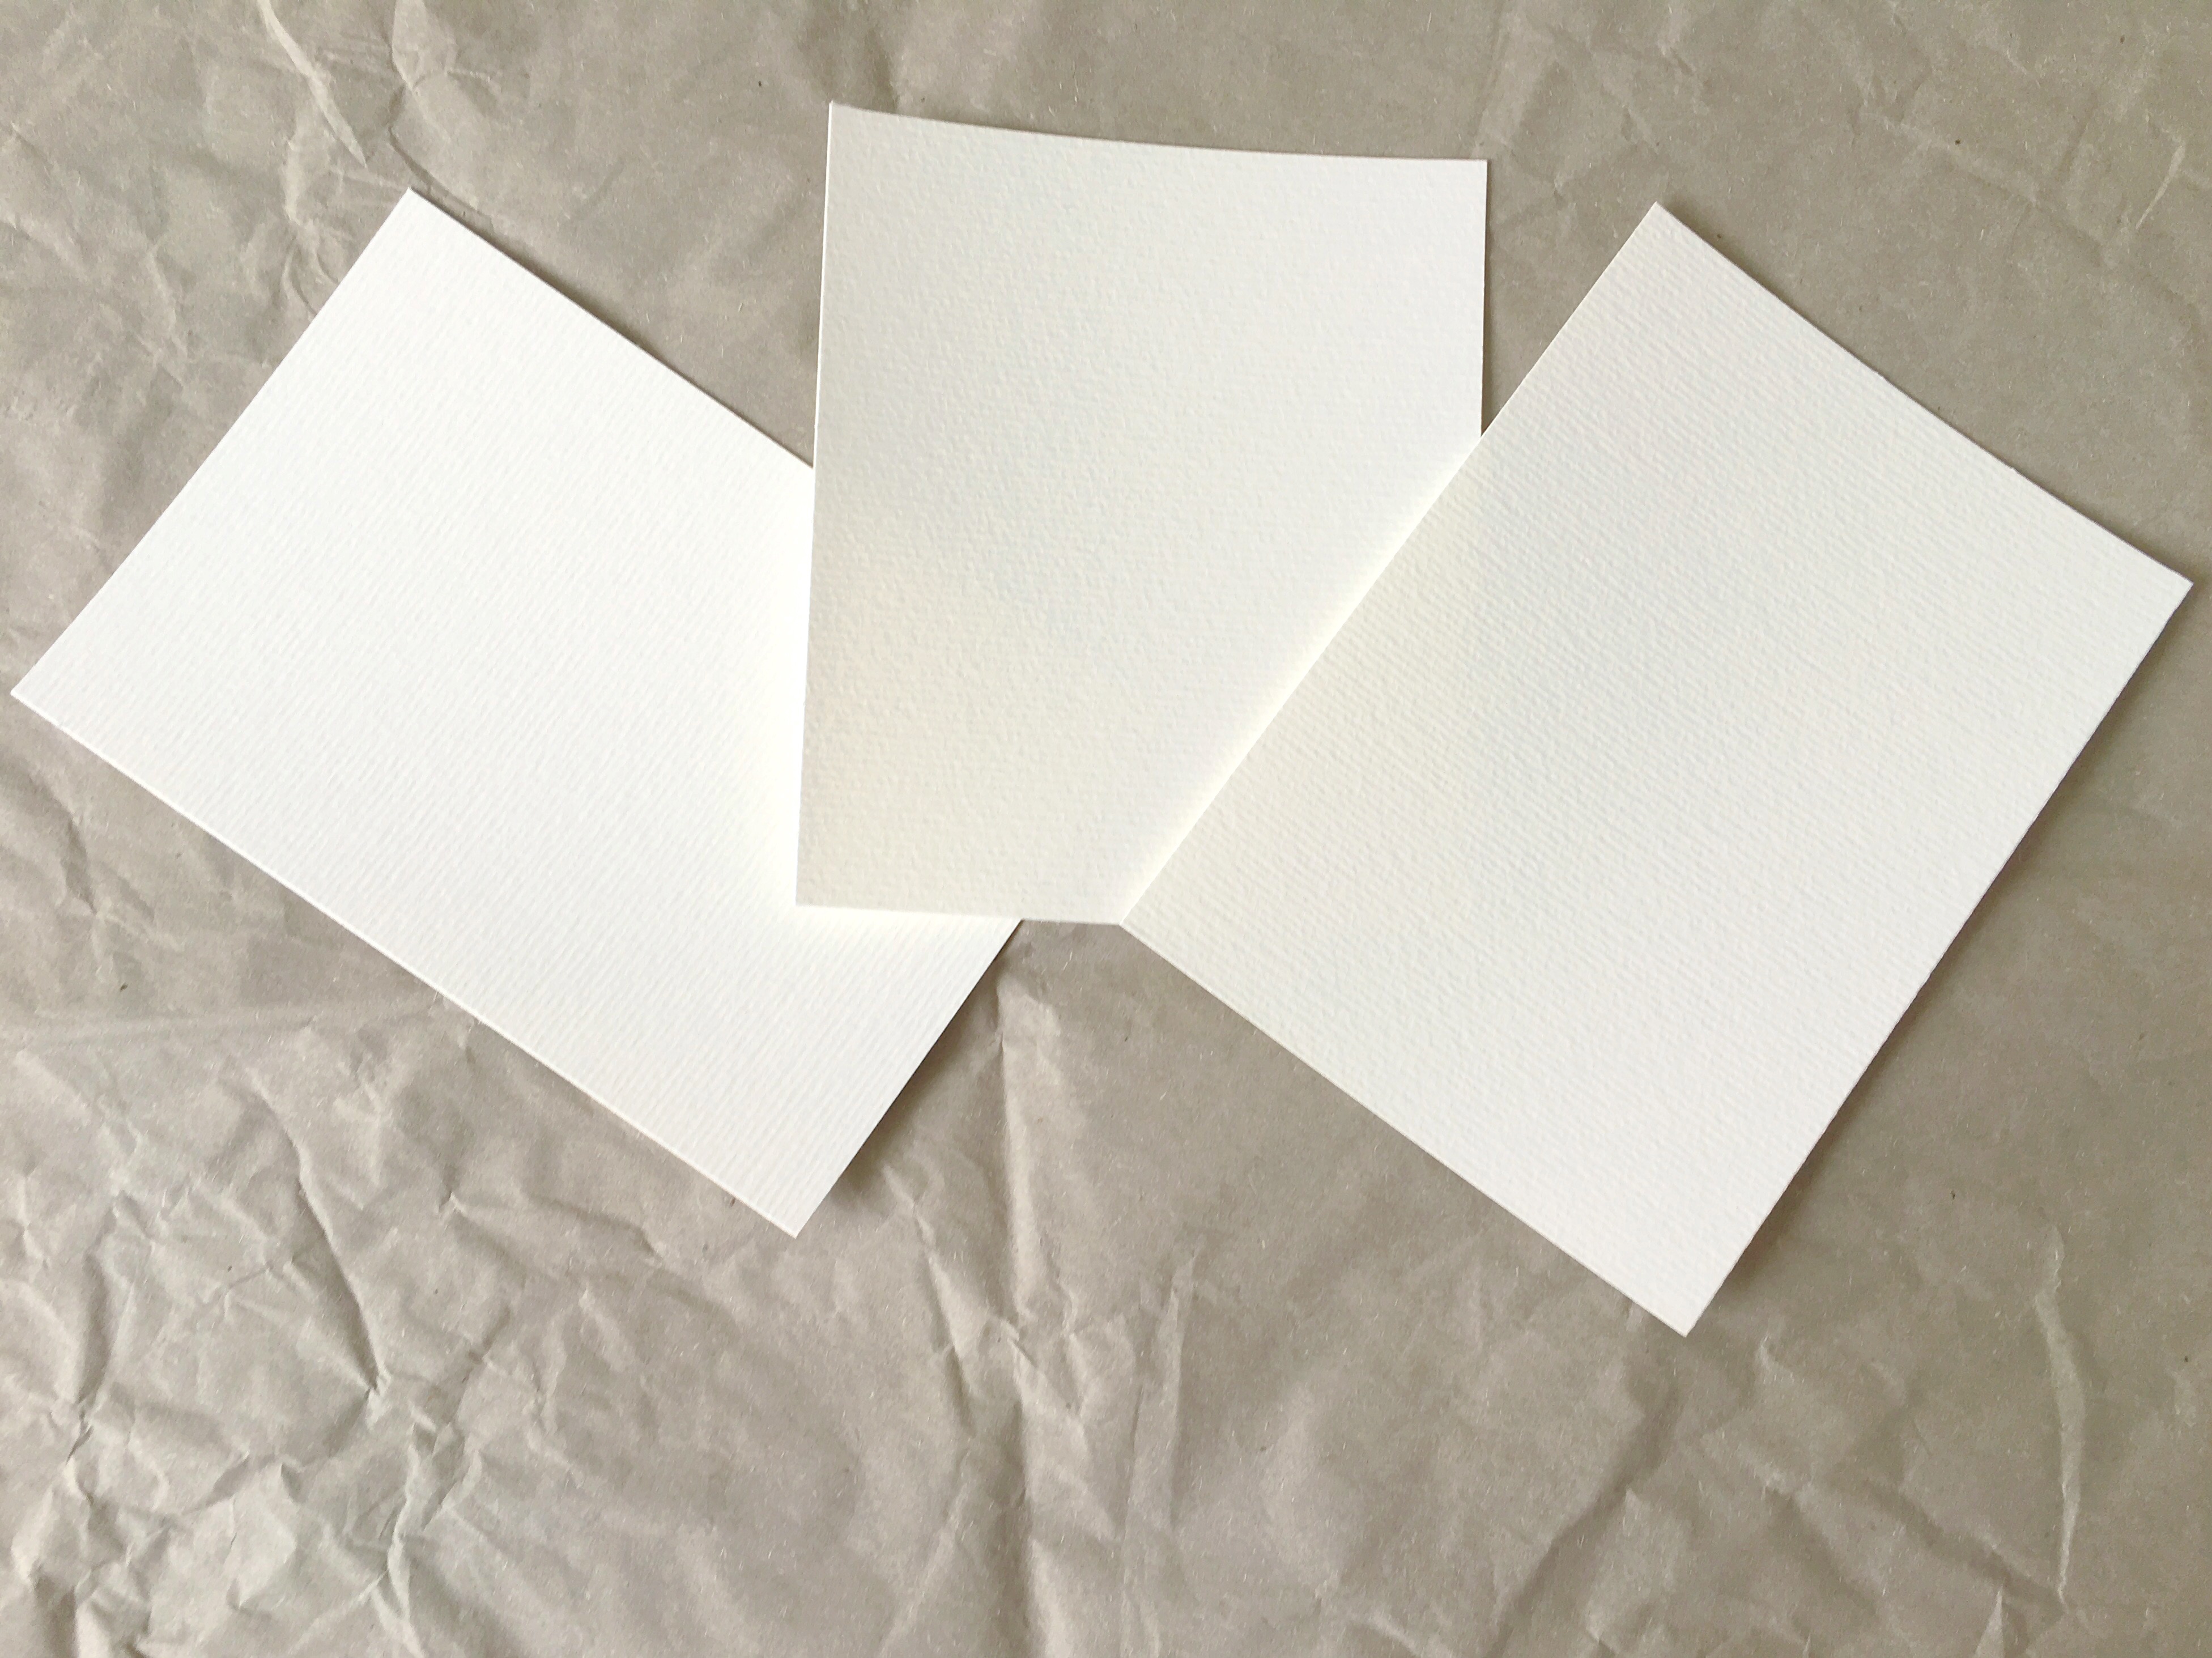
Now all your beautiful papers with different watercolor wash are ready. Your can transformed them into envelope liners, bookmarks, gift tags and greetings card.
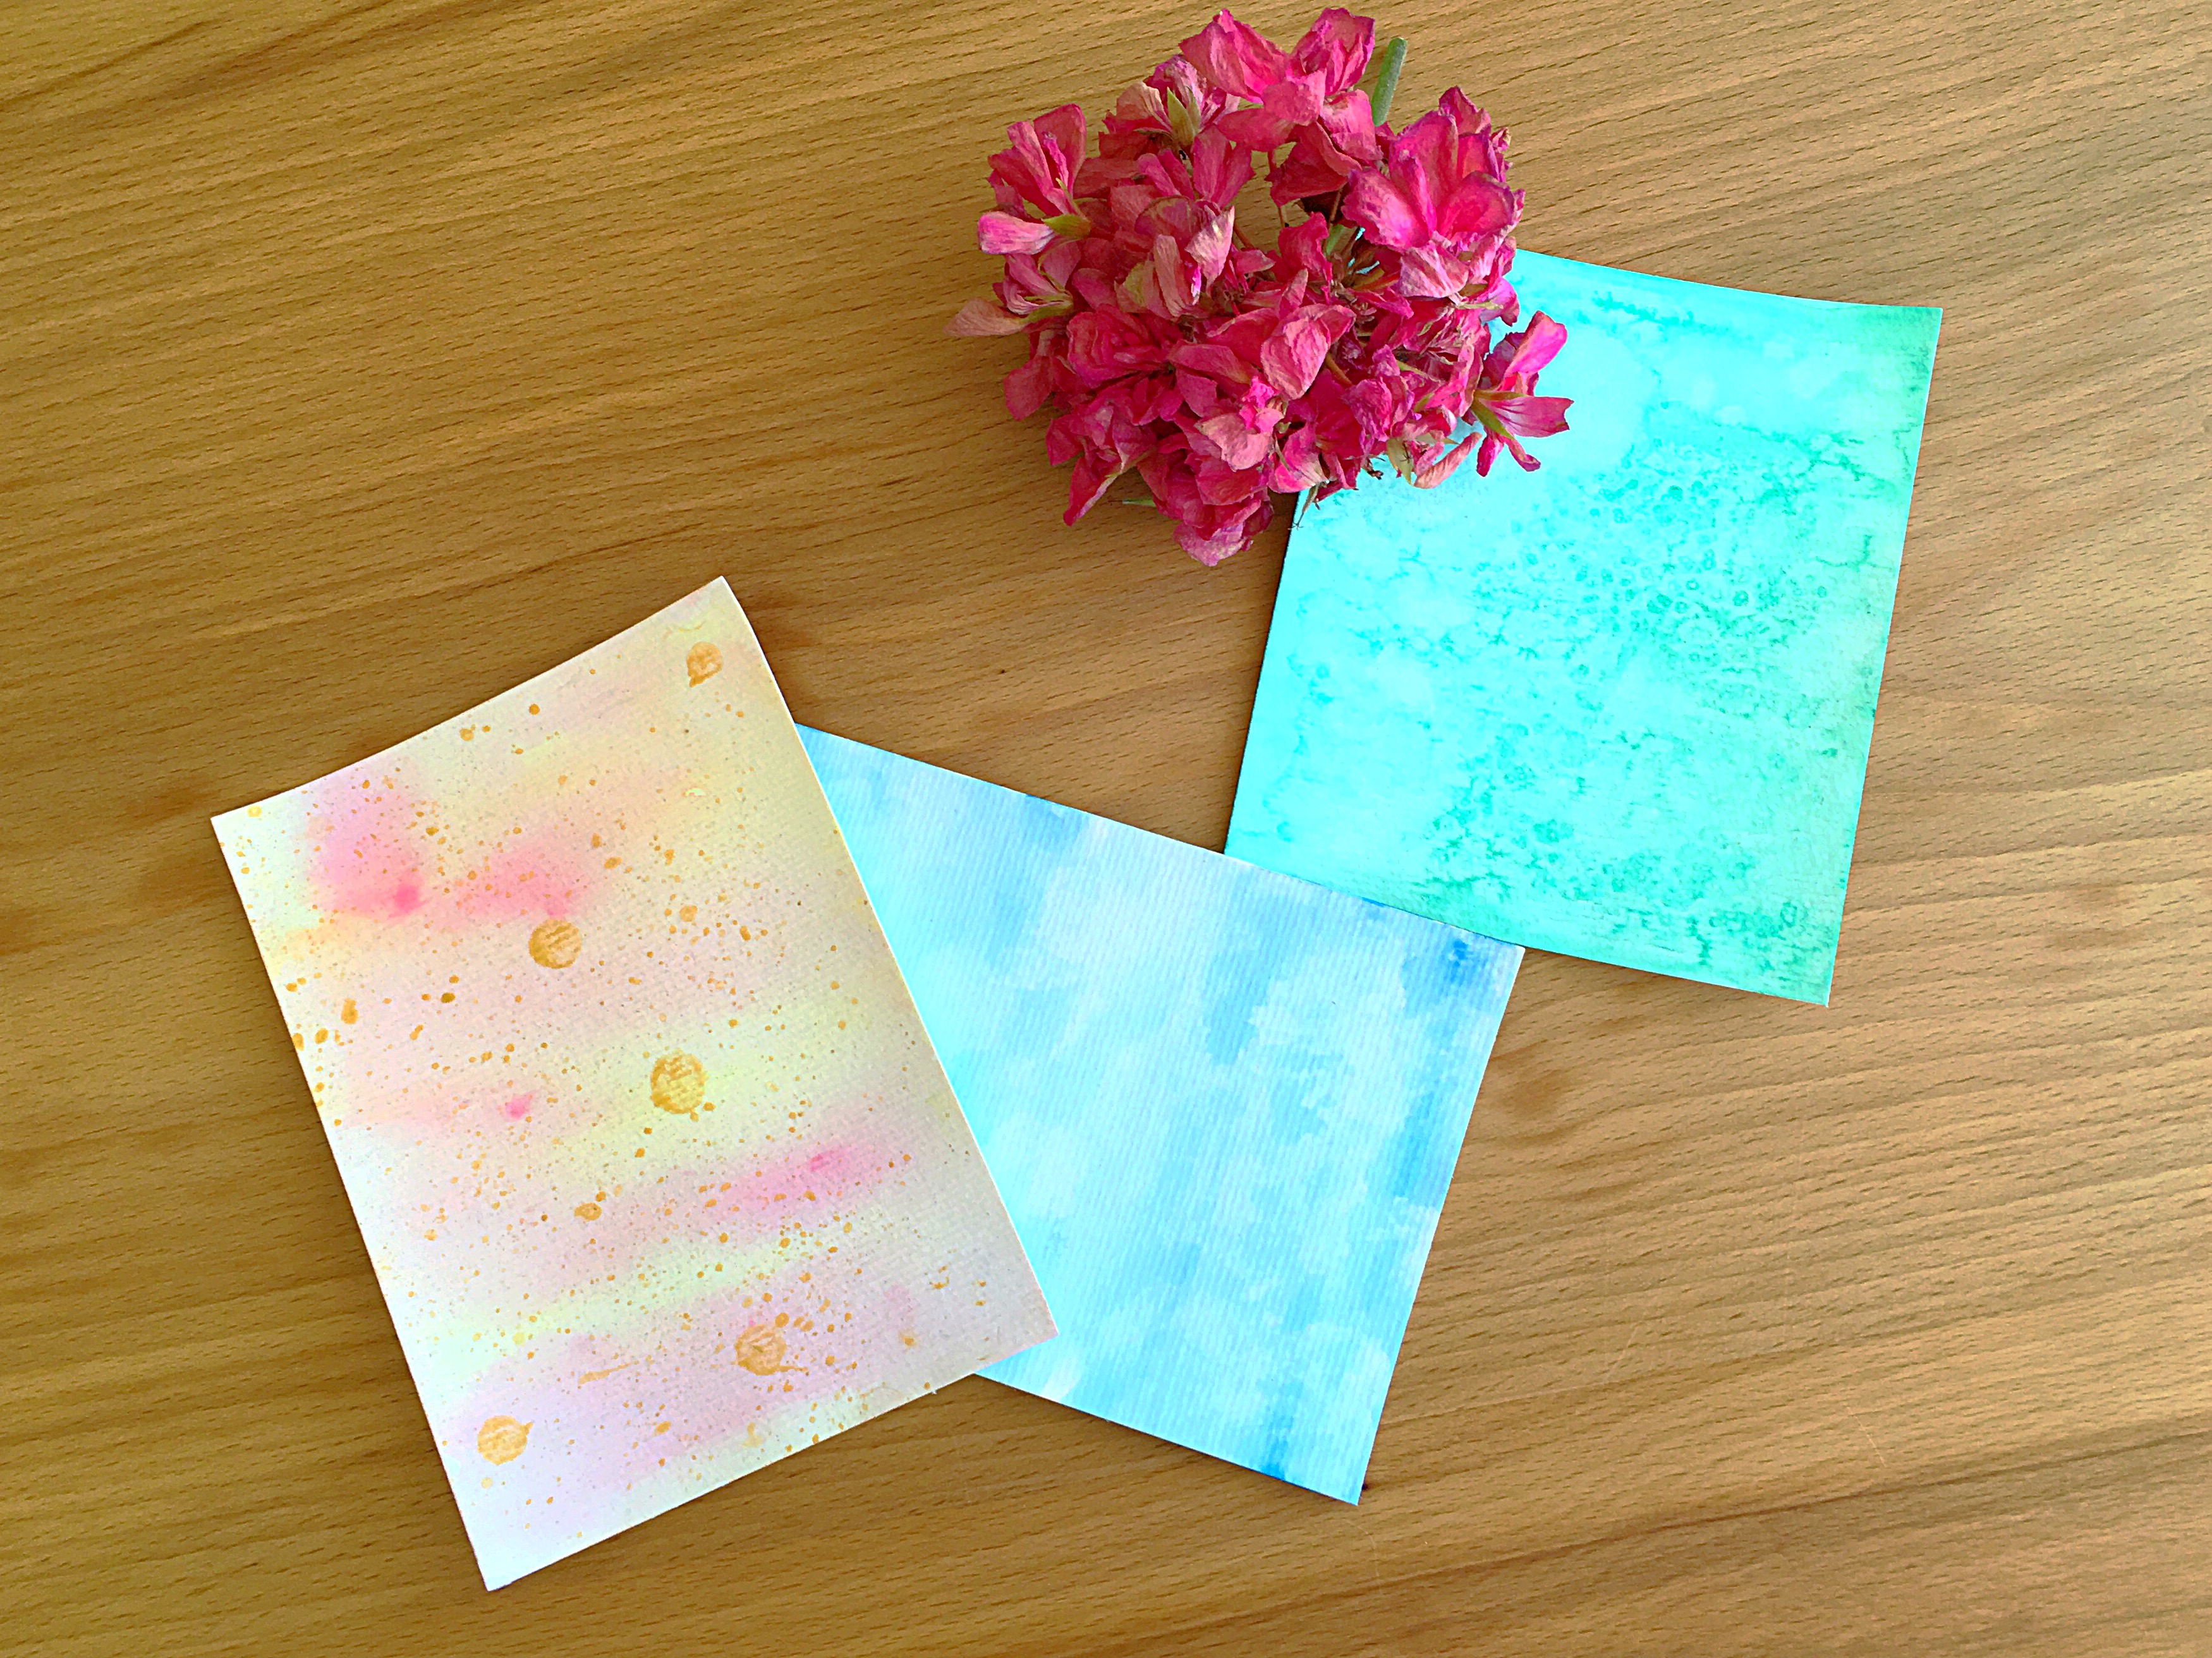
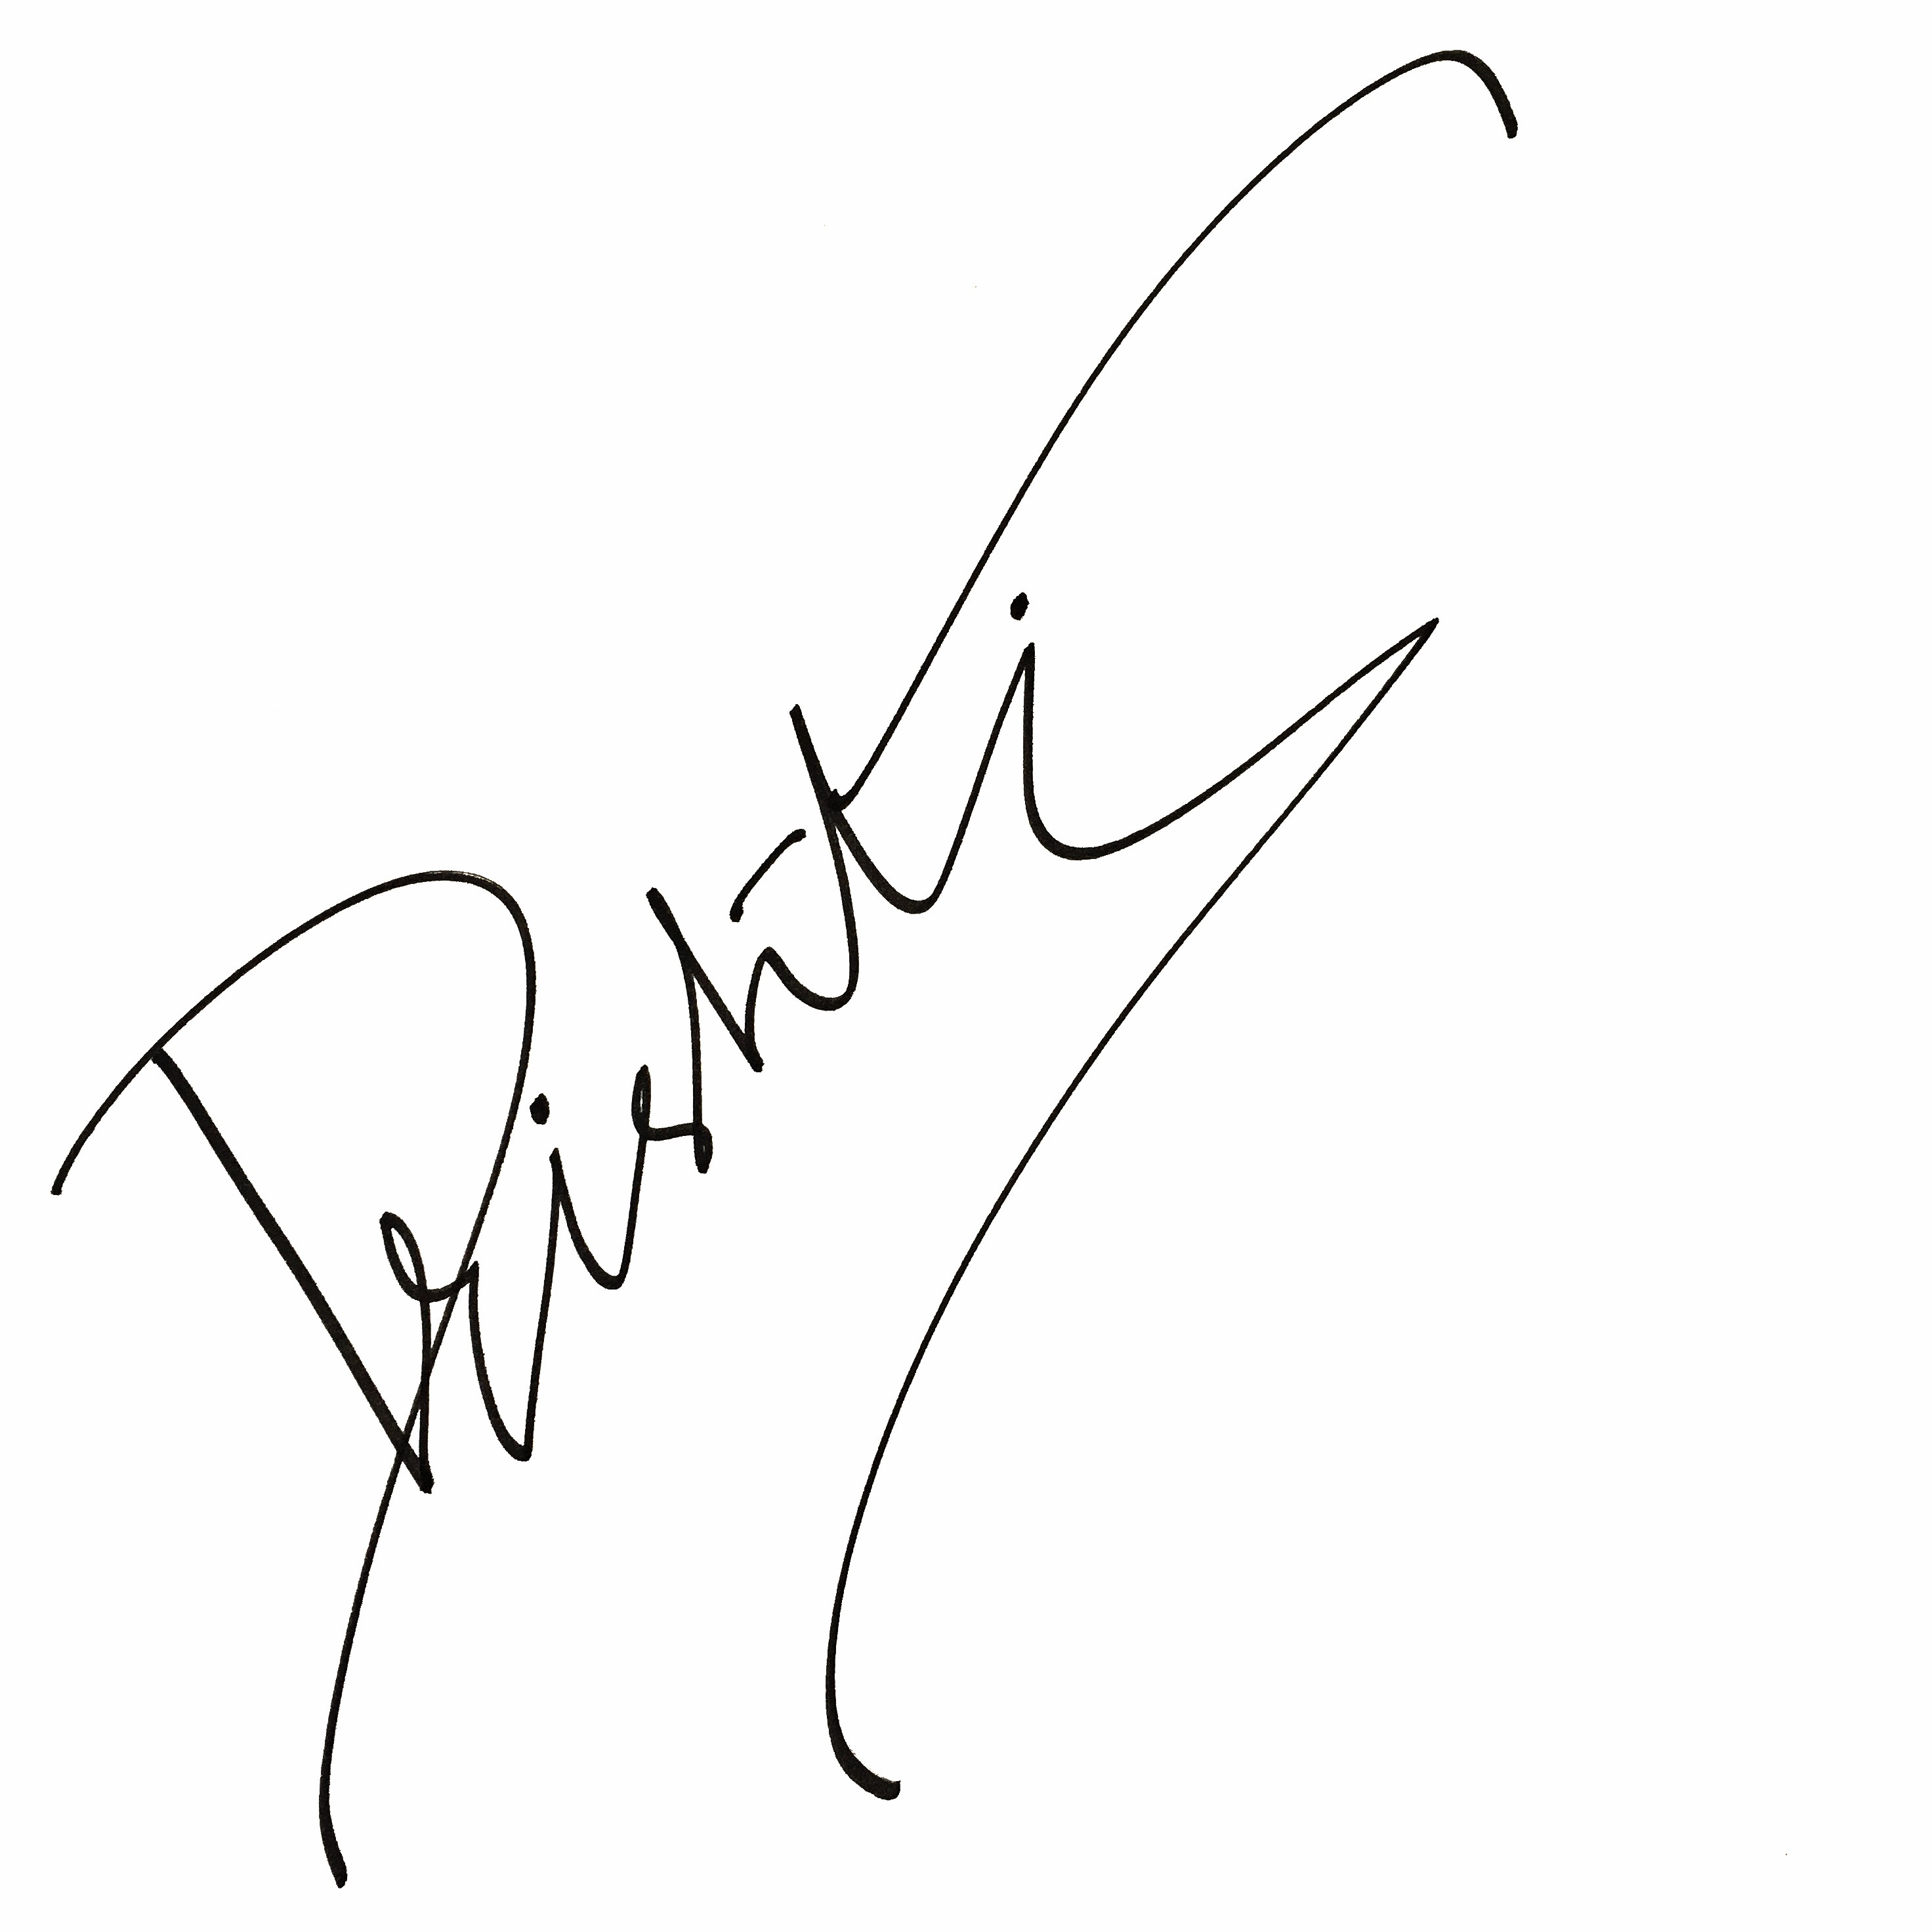
If you are into experimenting, you can furthermore use these paper as a background for your calligraphy. In conclusion, I hope you liked this tutorial and do share your views on the comment section below.
P.S : From now onwards, Life-athon studios will come up with a tutorial every Saturday so that you can actually use your weekend to read, learn and try something new.
Cheers
great technics will diffenely give this a try