
In this blog post, you’ll learn two more ways to draw beautiful desert blooms ! This article wraps up the watercolor succulent tutorial series with easy step by step tutorial with pictorial guidelines. In the Watercolor succulent tutorial – Part 1 post, you have already learned how to create eye-catching rosette succulents. Today,its time to widen your horizon of watercolor succulents with two new entries : Spikey cactus and Aloe Vera. I encourage you to try creating both of them and incorporate them in as your botanical elements.
Supplies
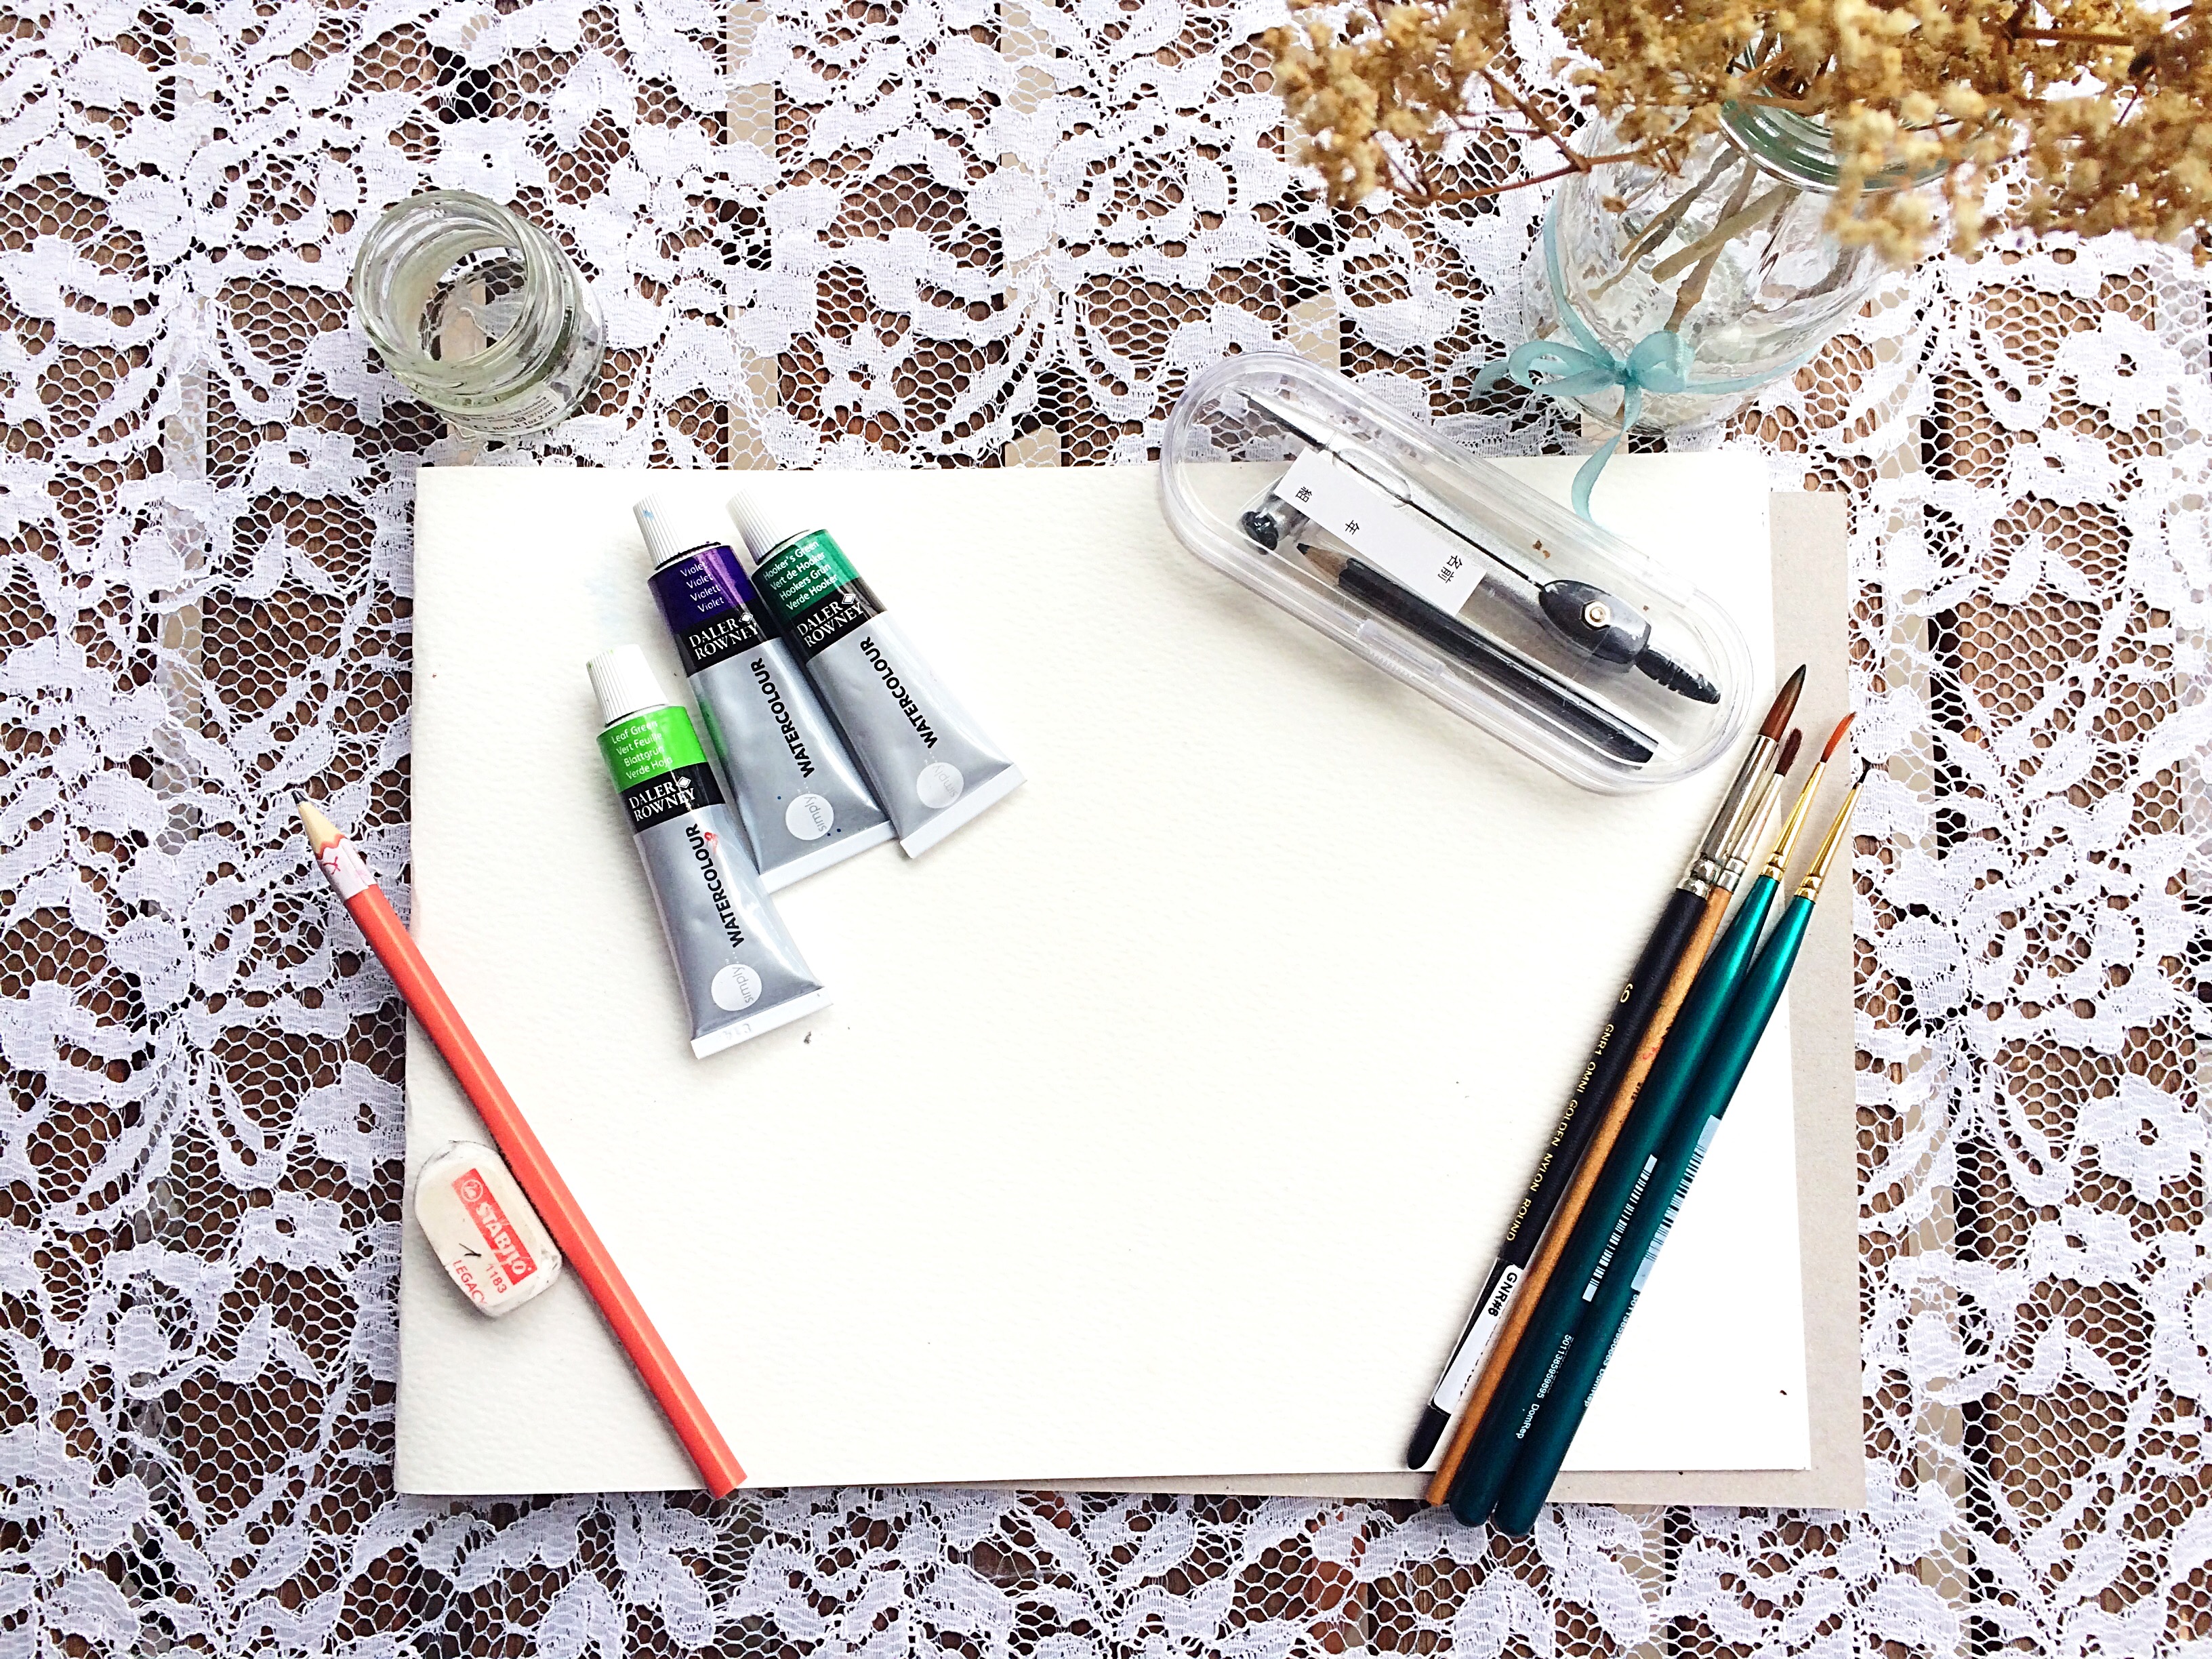
- Watercolor paints ( I used Daler Rowney- Daler Simply Watercolour Aquarelle Set 24 ( I will explain the colors used for each succulent in the instructions)
- Pencil
- Circular object to outline
- Paint brush
- Palette
- Watercolor paper- (I am using Daler Rowney Aquafine Pad A4 size with 140lb cold pressed paper , 225 gsm)
- Water
- Sigma Micron 01 pens
Steps
Spikey Cactus
 Begin by using a HB pencil to trace out a a large egg shaped oval. Then stack some medium and small size ovals on top of the large base oval. Ensure to reduce the size of the ovals as you proceed higher.This will serve as the outline for your cactus.
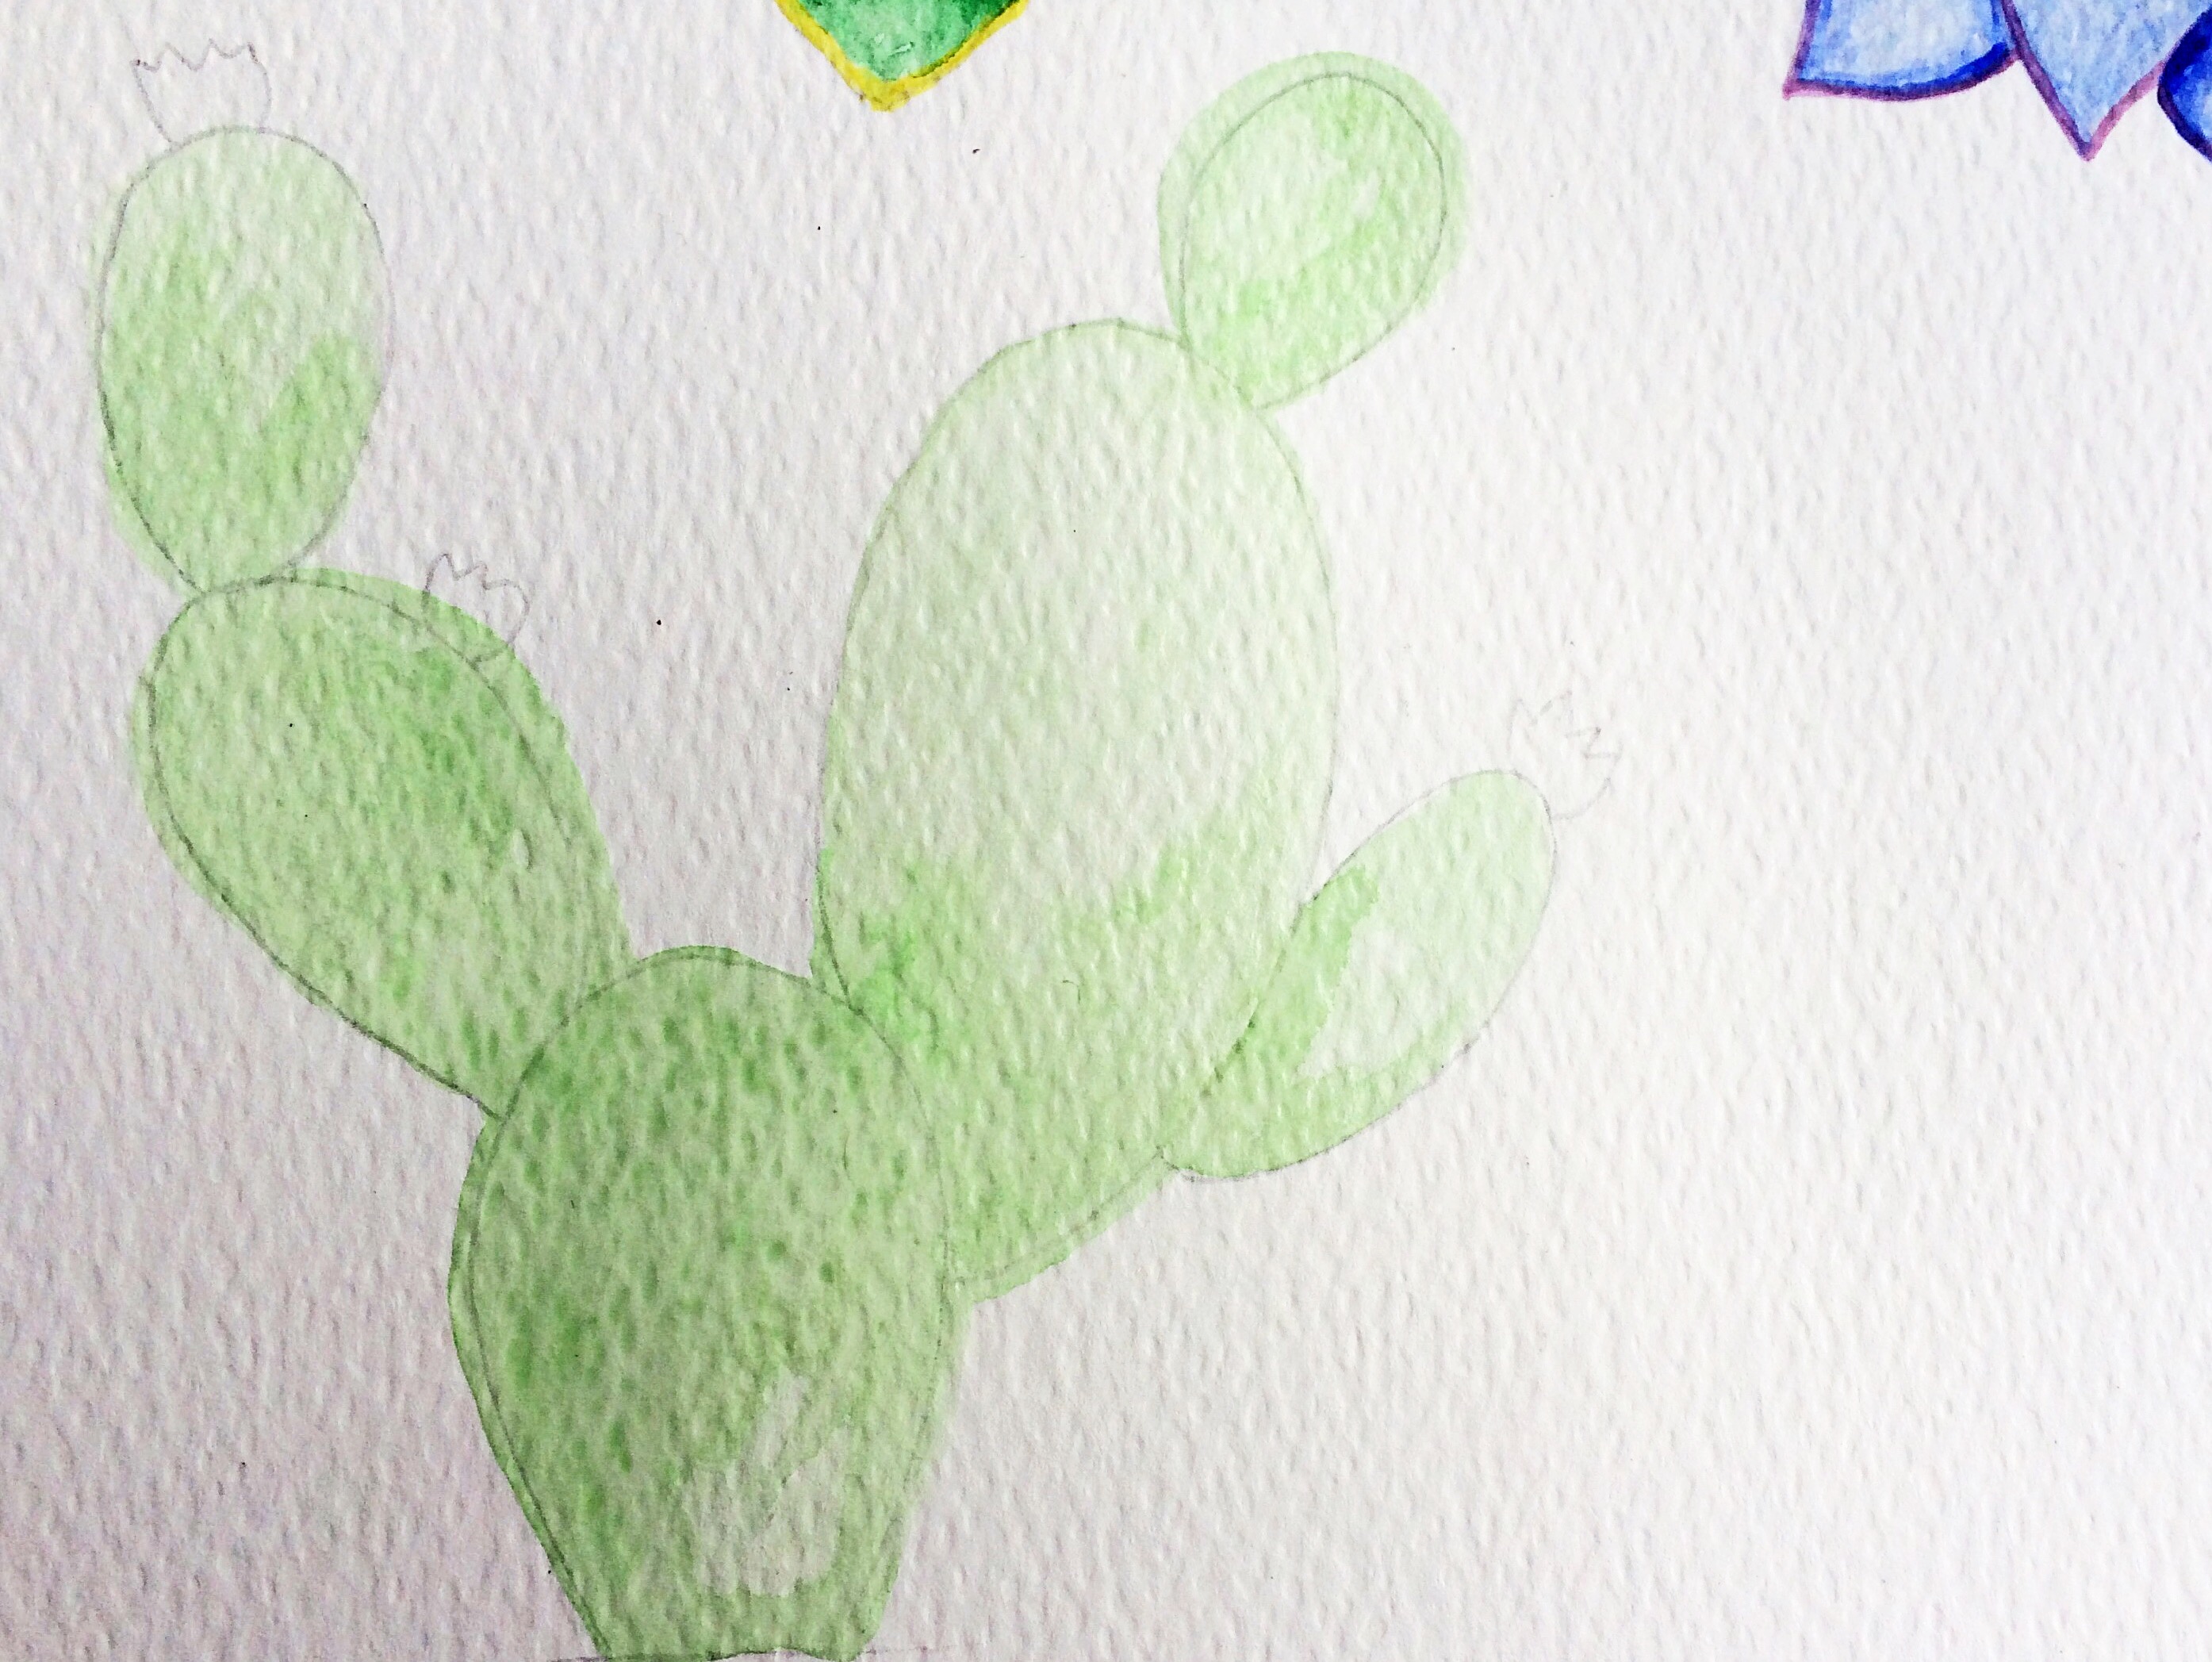 At this point, you can call it good and proceed to add color.I first coated the individual oval shape with a light wash of Leaf Green color using a round size 6 brush and added more water and less color. Make sure you give individual attention to each leaf, sound boring and tedious but trust me this will give you magnificent results.
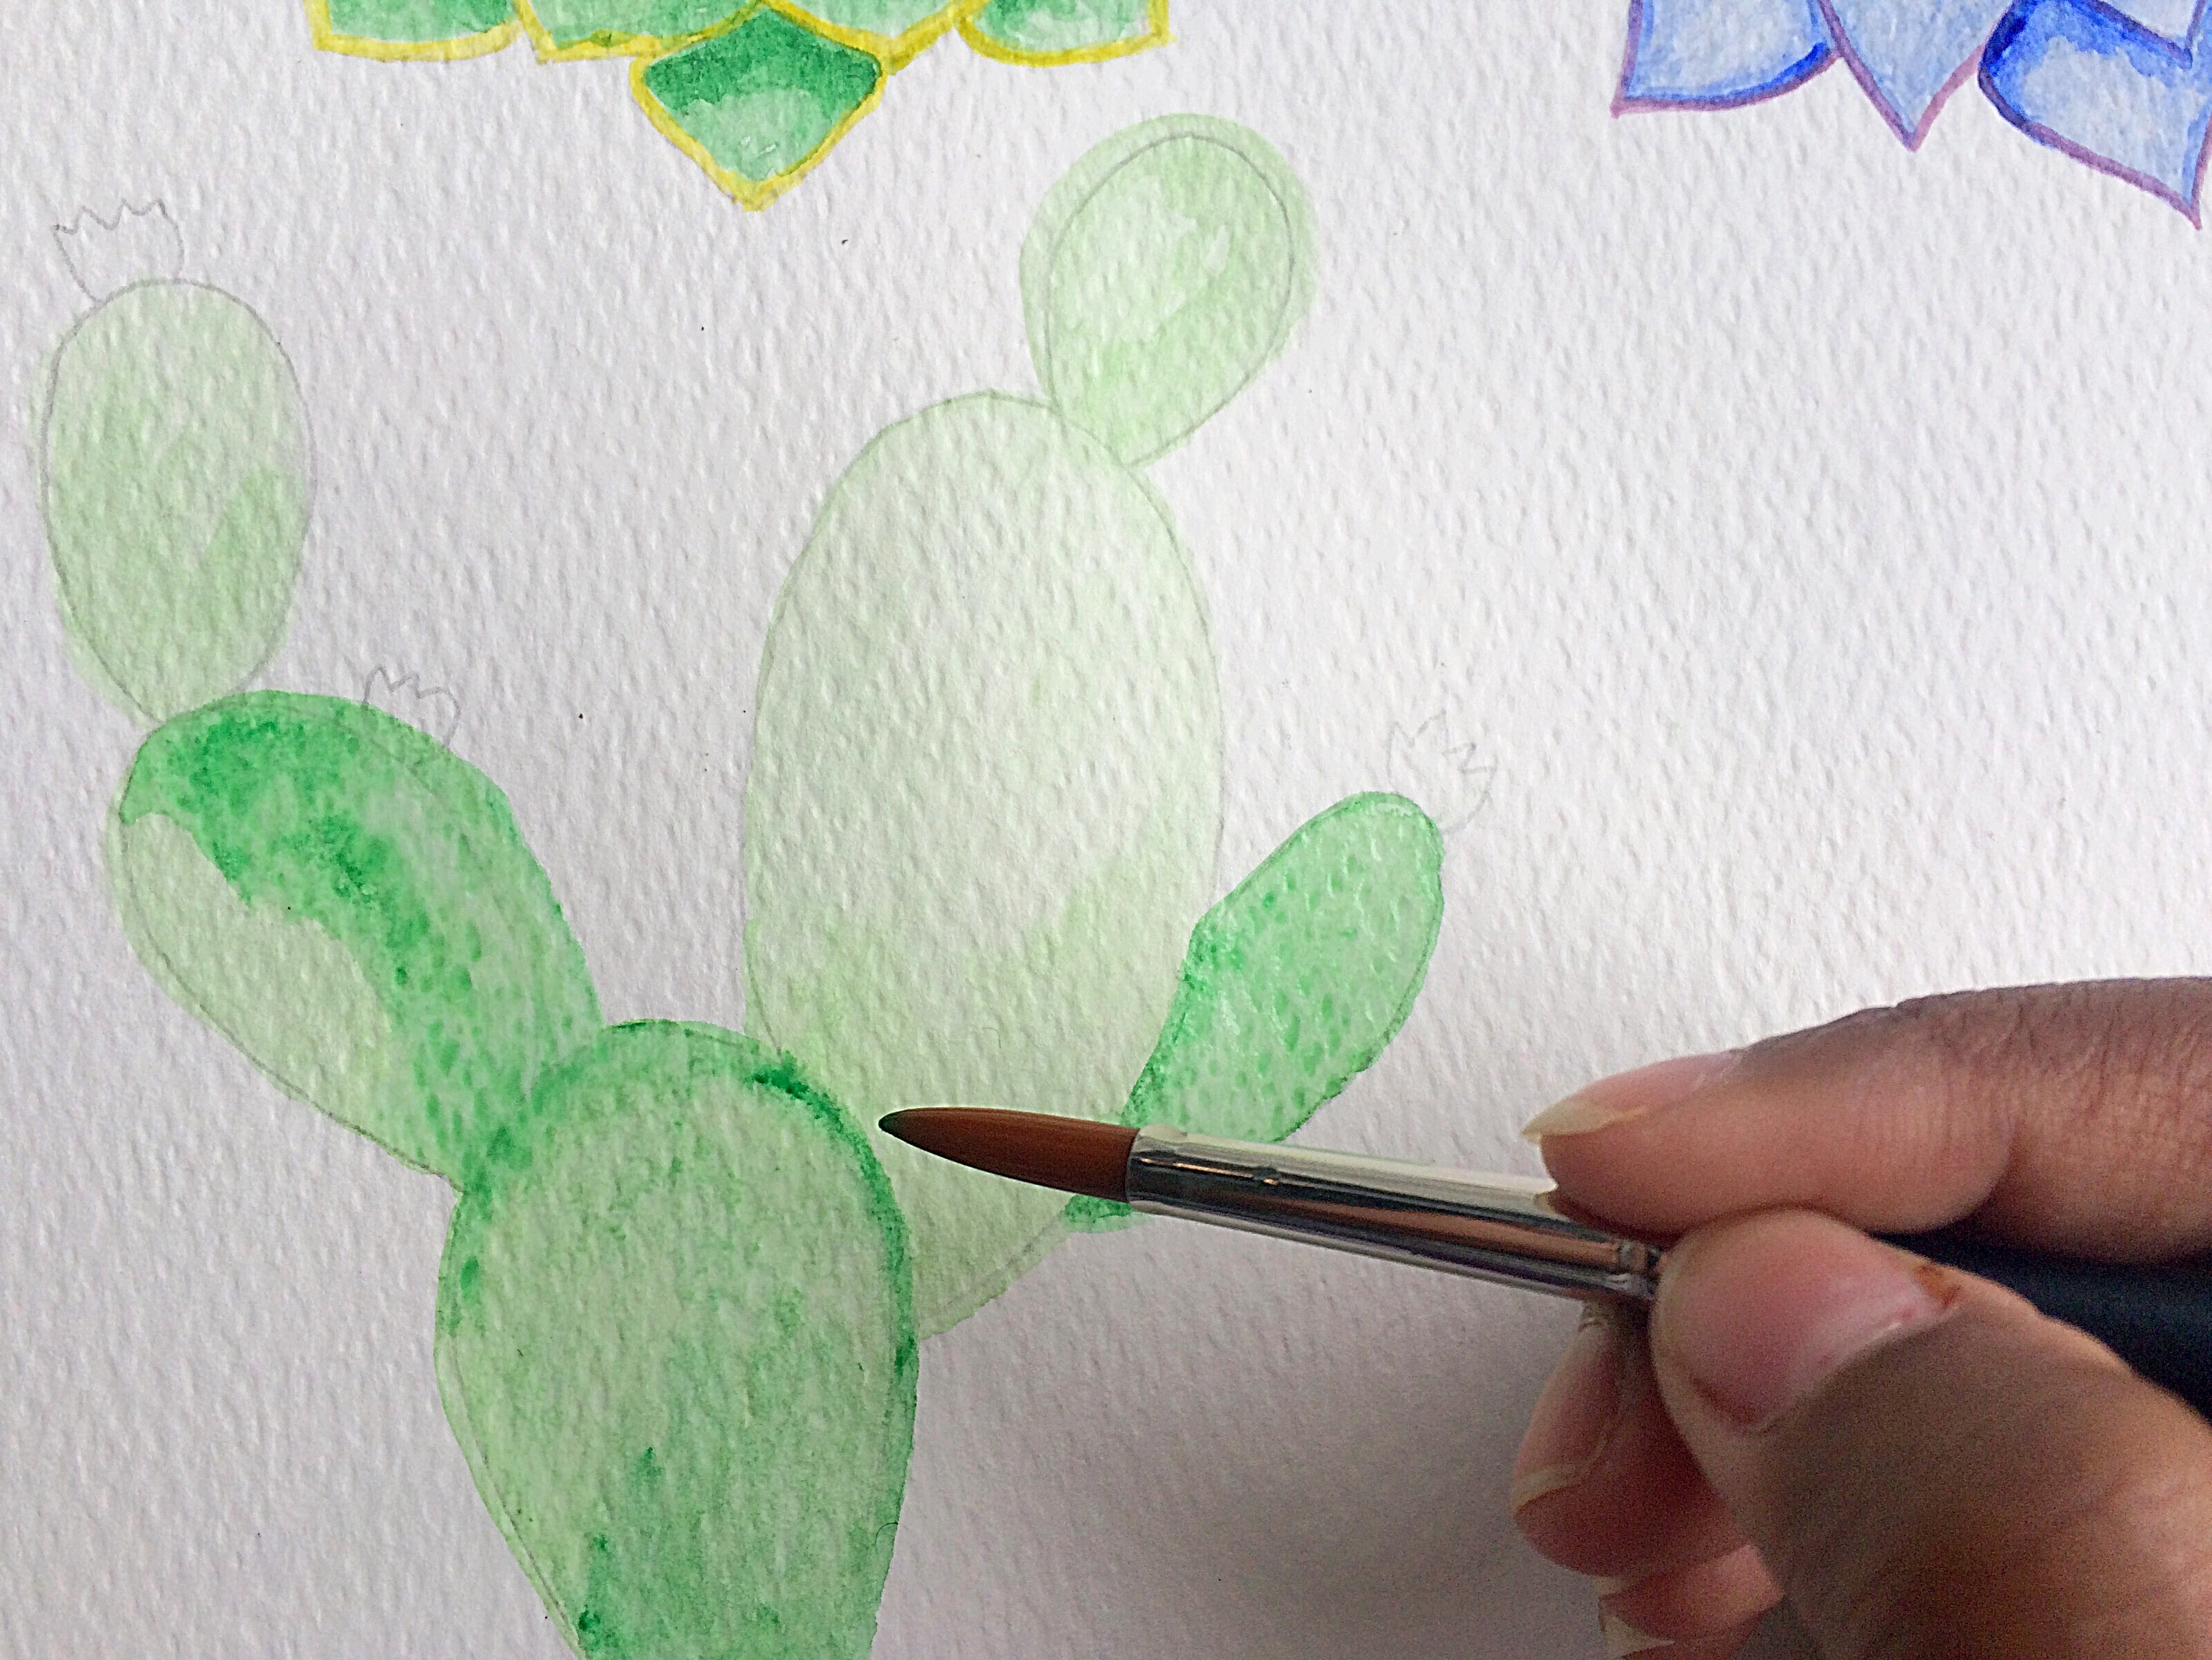 Without having to wait for the colors to dry to attain maximum blending, run a second coat of Leaf Green on the ovals highlighting the corners and the outer edges.
 As you may see some of my ovals are not well blended as I waited too long between my coatings (P.S : was busy documenting my progress).
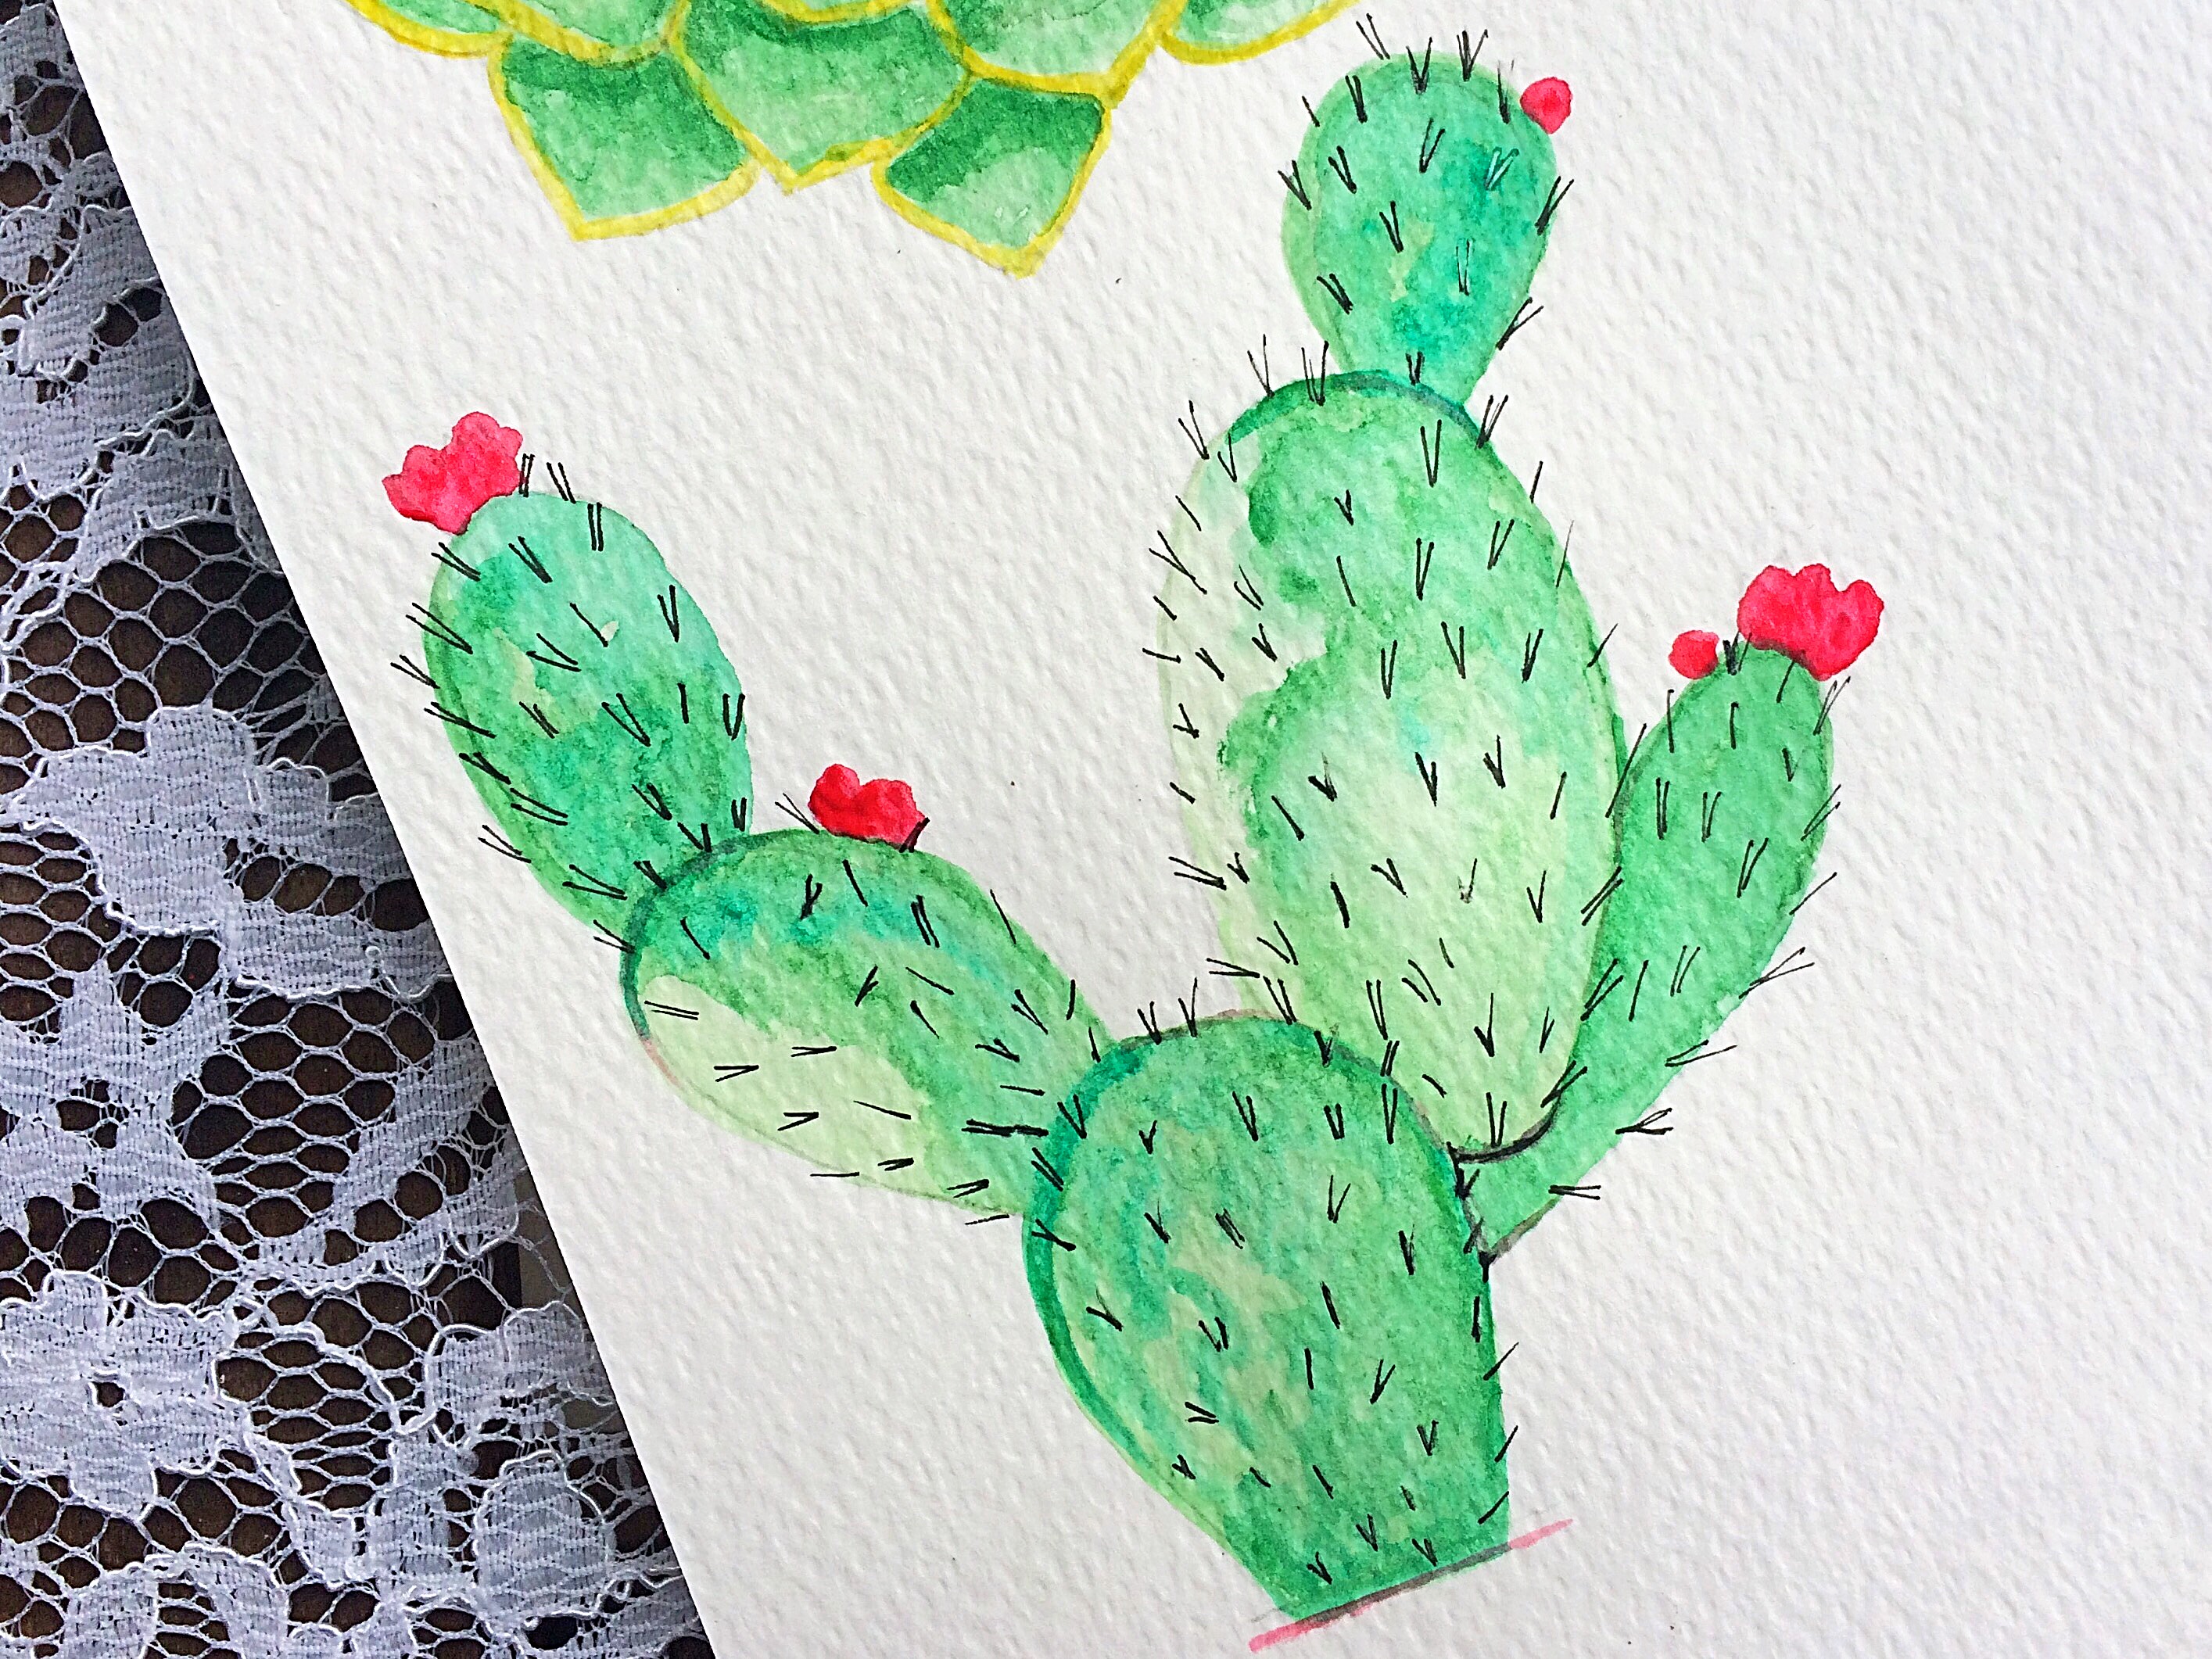 Give your paint a few minutes to completely dry, then draw pokey spikes all of your ovals with a dip pen and ink or a regular gel pen. Make sure your spikes are evenly dispersed.You will finish up the project to add some tiny red blossoms on the outer edge of the oval leaves. I used Crimson Red color and a spotter brush to add hints of red on my cactus.
And voilà! The Spikey Cactus that is artistic, beautiful and far from anything but ordinary.
Aloe Vera
The last succulent element that I am going to show you is very common and household Aloe Vera.
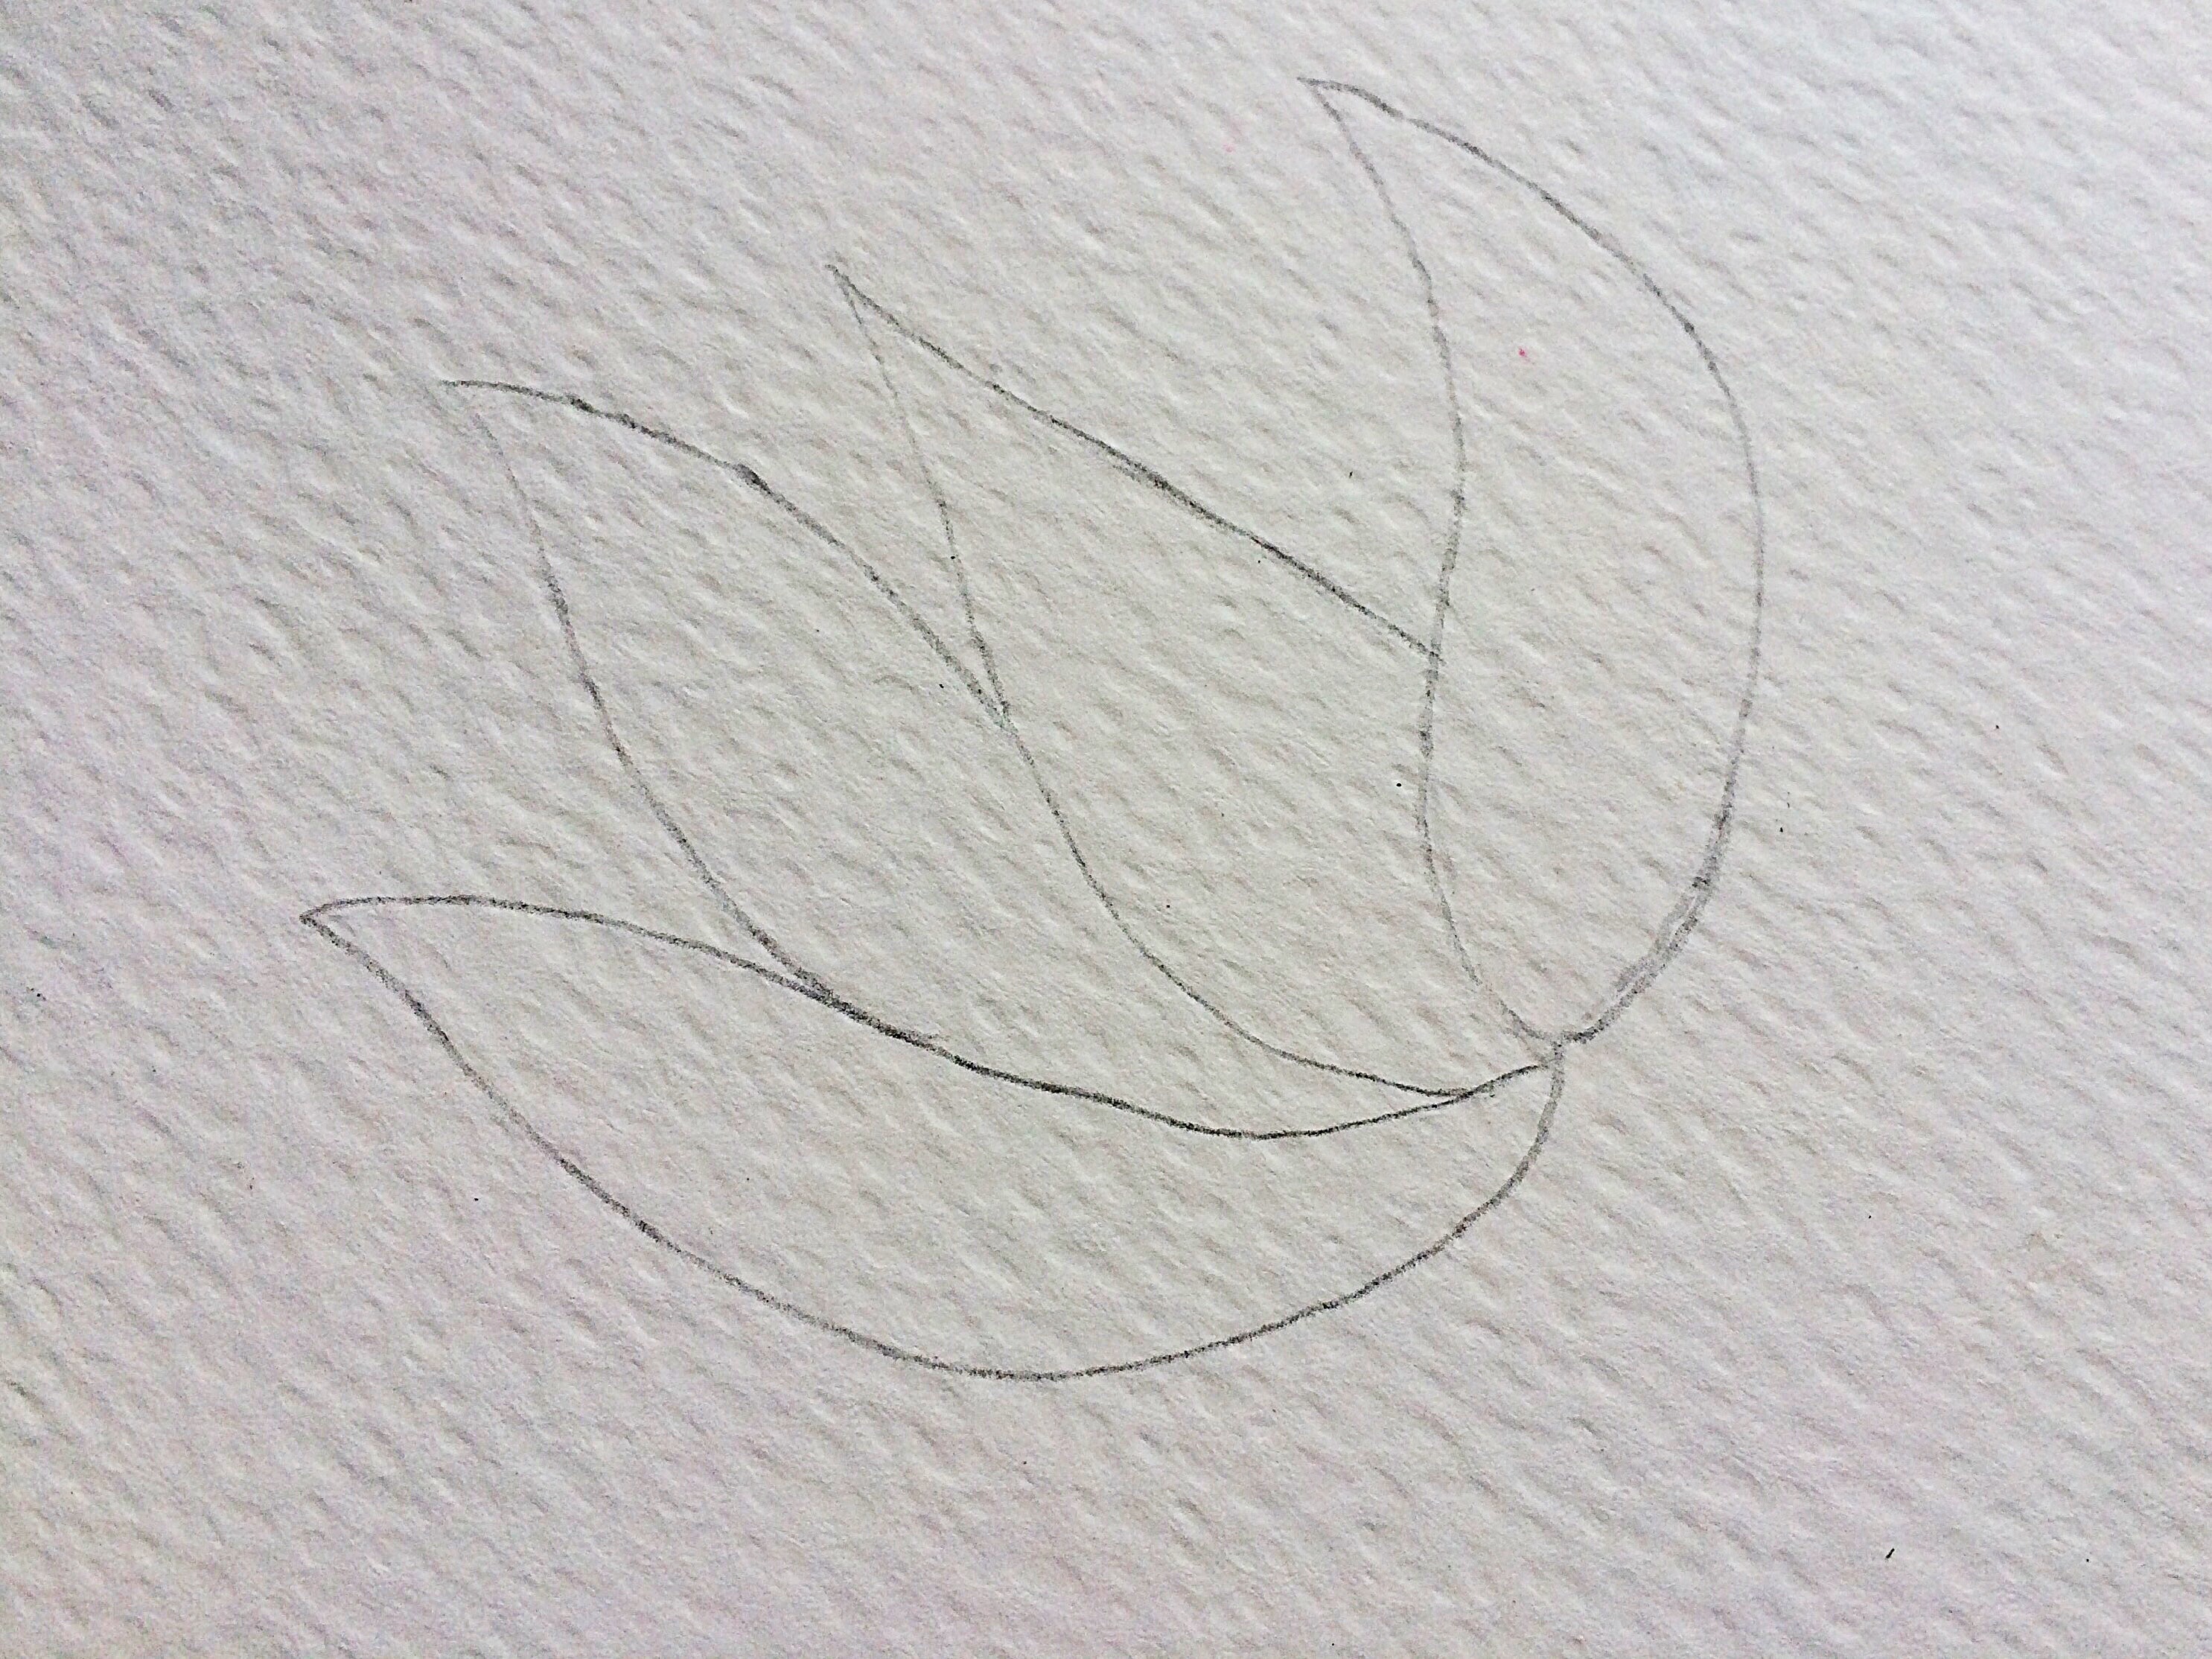 Start by making a boat shape or pointed oval shape by a pencil. This will be the center leaf of the aloe vera. Now proceed to extend similar pointed oval shaped leaves from the base dispersing them evenly in the front and back of the center oval leaf to create a realistic appearance. Create some tiny leaves emerging from the bottom too. The finished version will look like the one above.
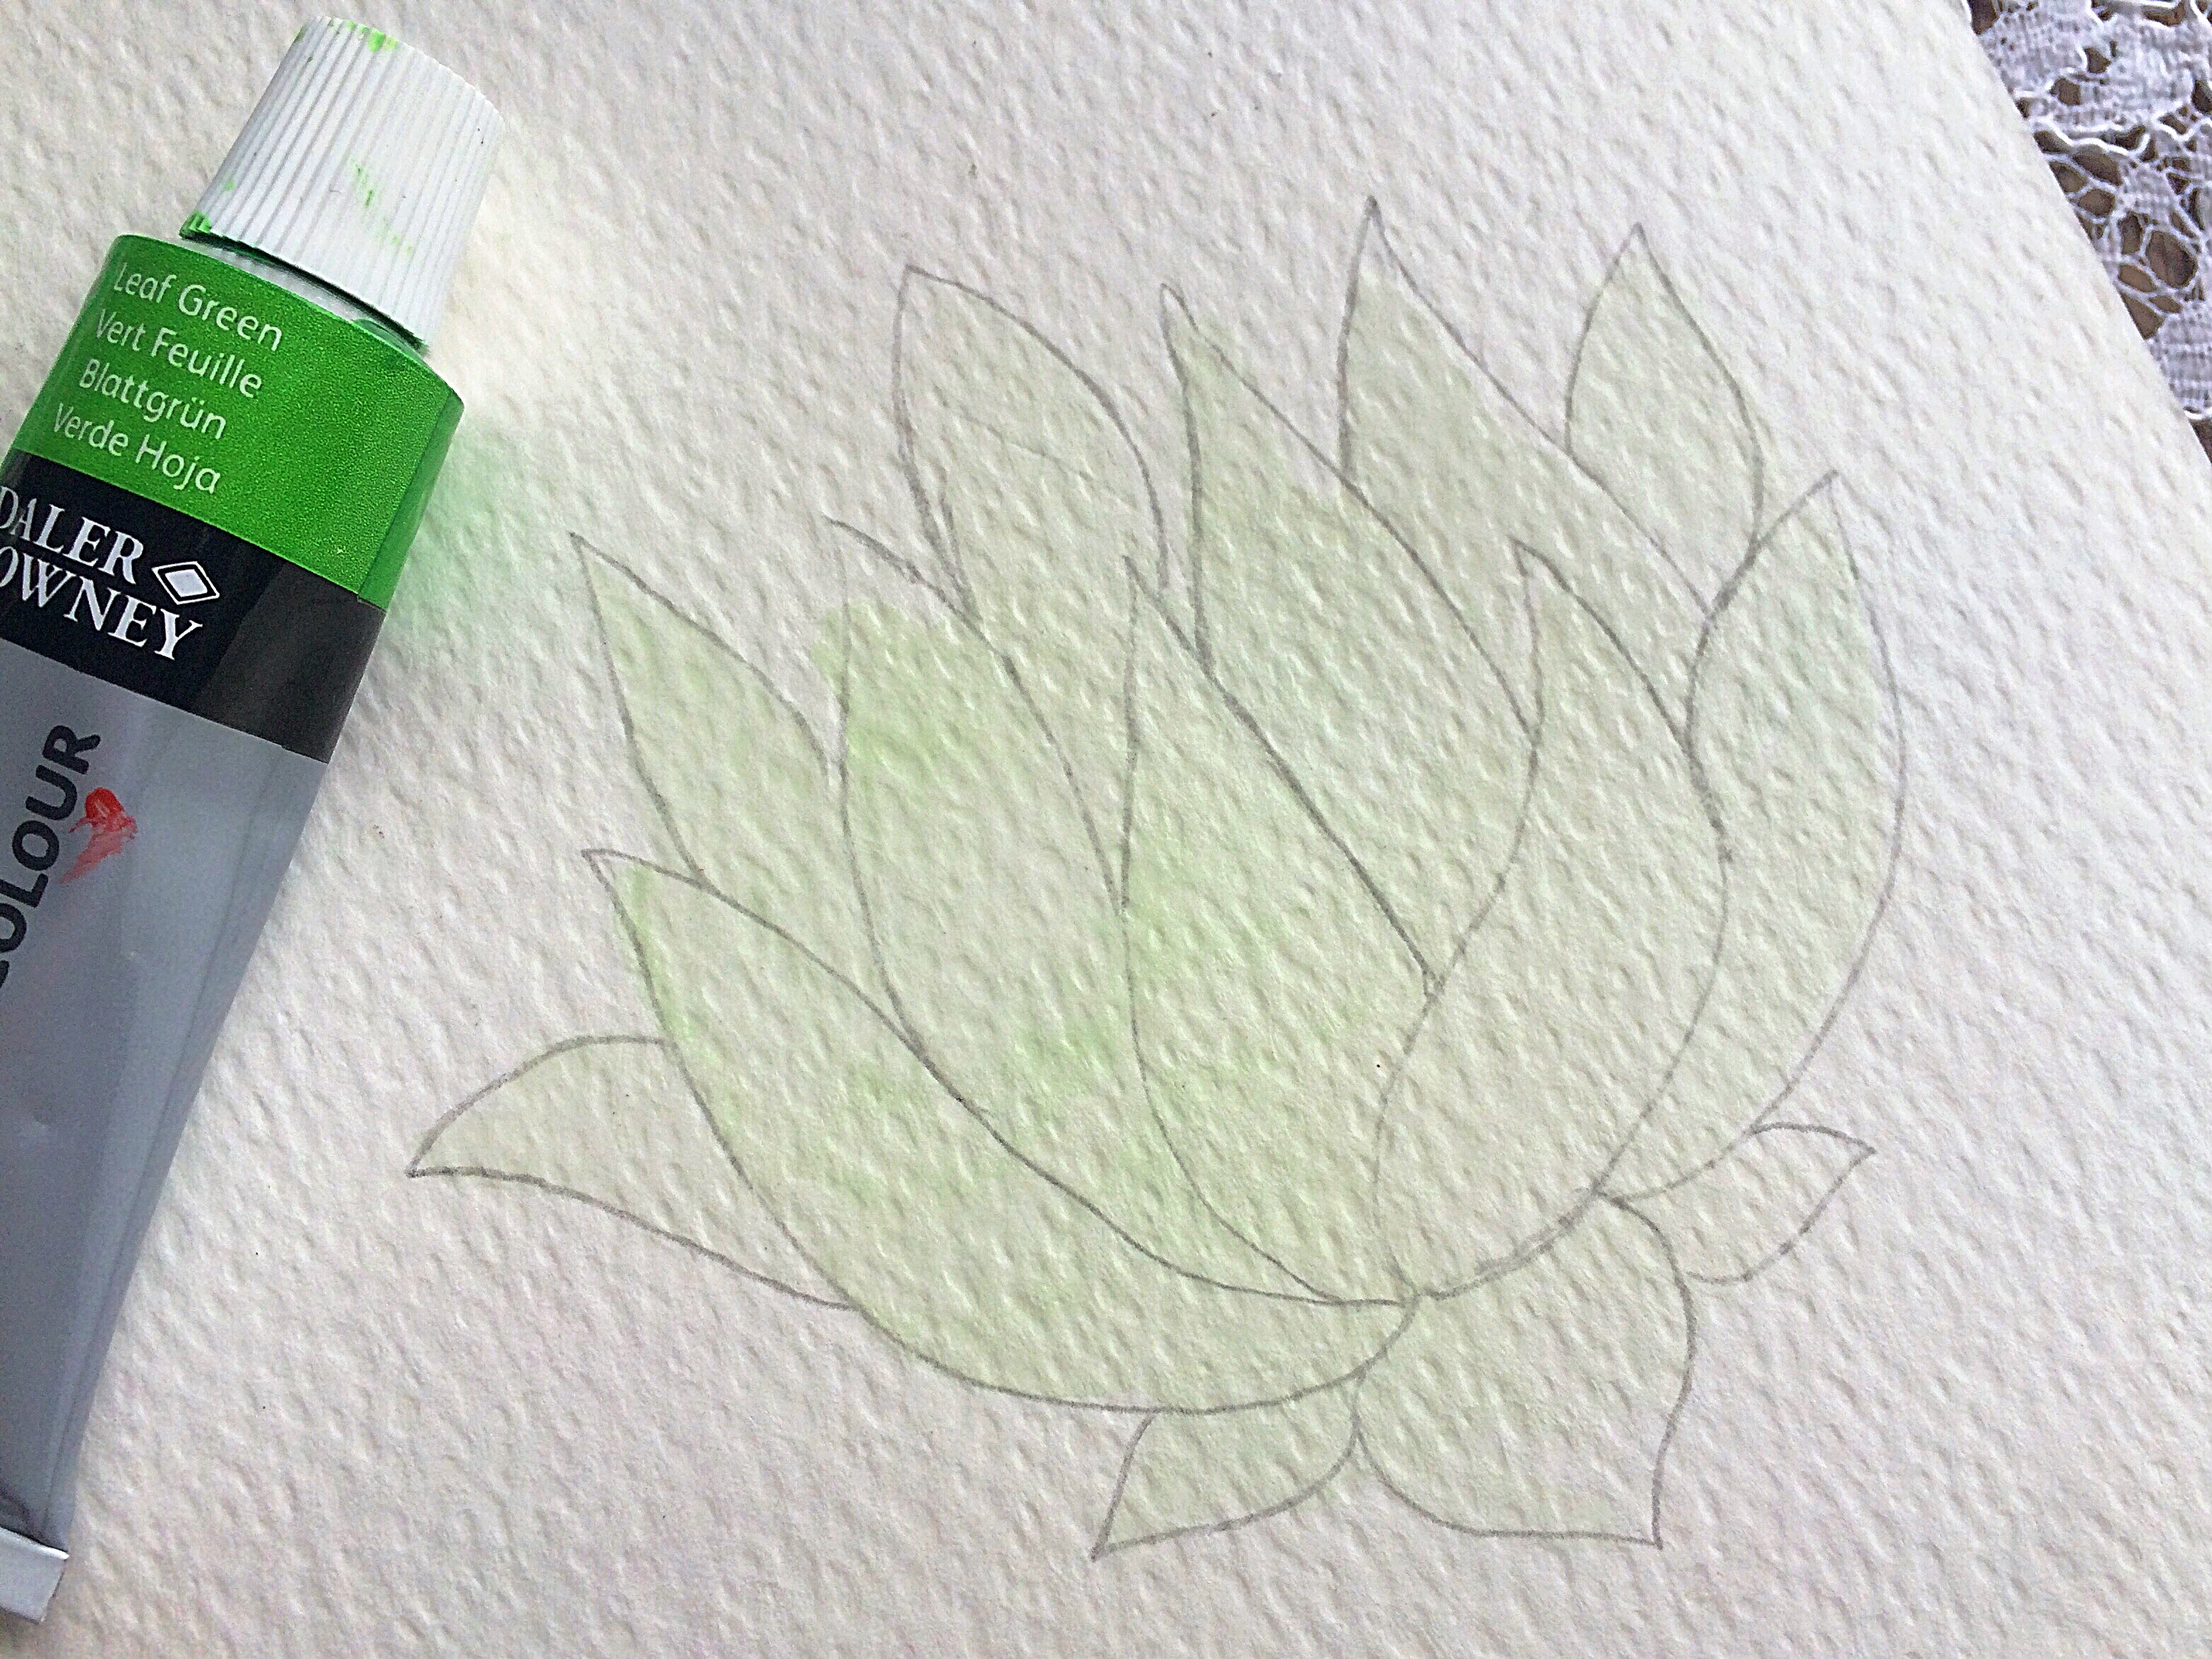 Similar to the previous succulent, we will make a light wash with plenty of water and a dash of Viridian Green using a Size 6 round brush.
 While the coat is still wet, create the shadow by adding more color to the corners and the pointed tops. Painting with watercolor is all about layering.
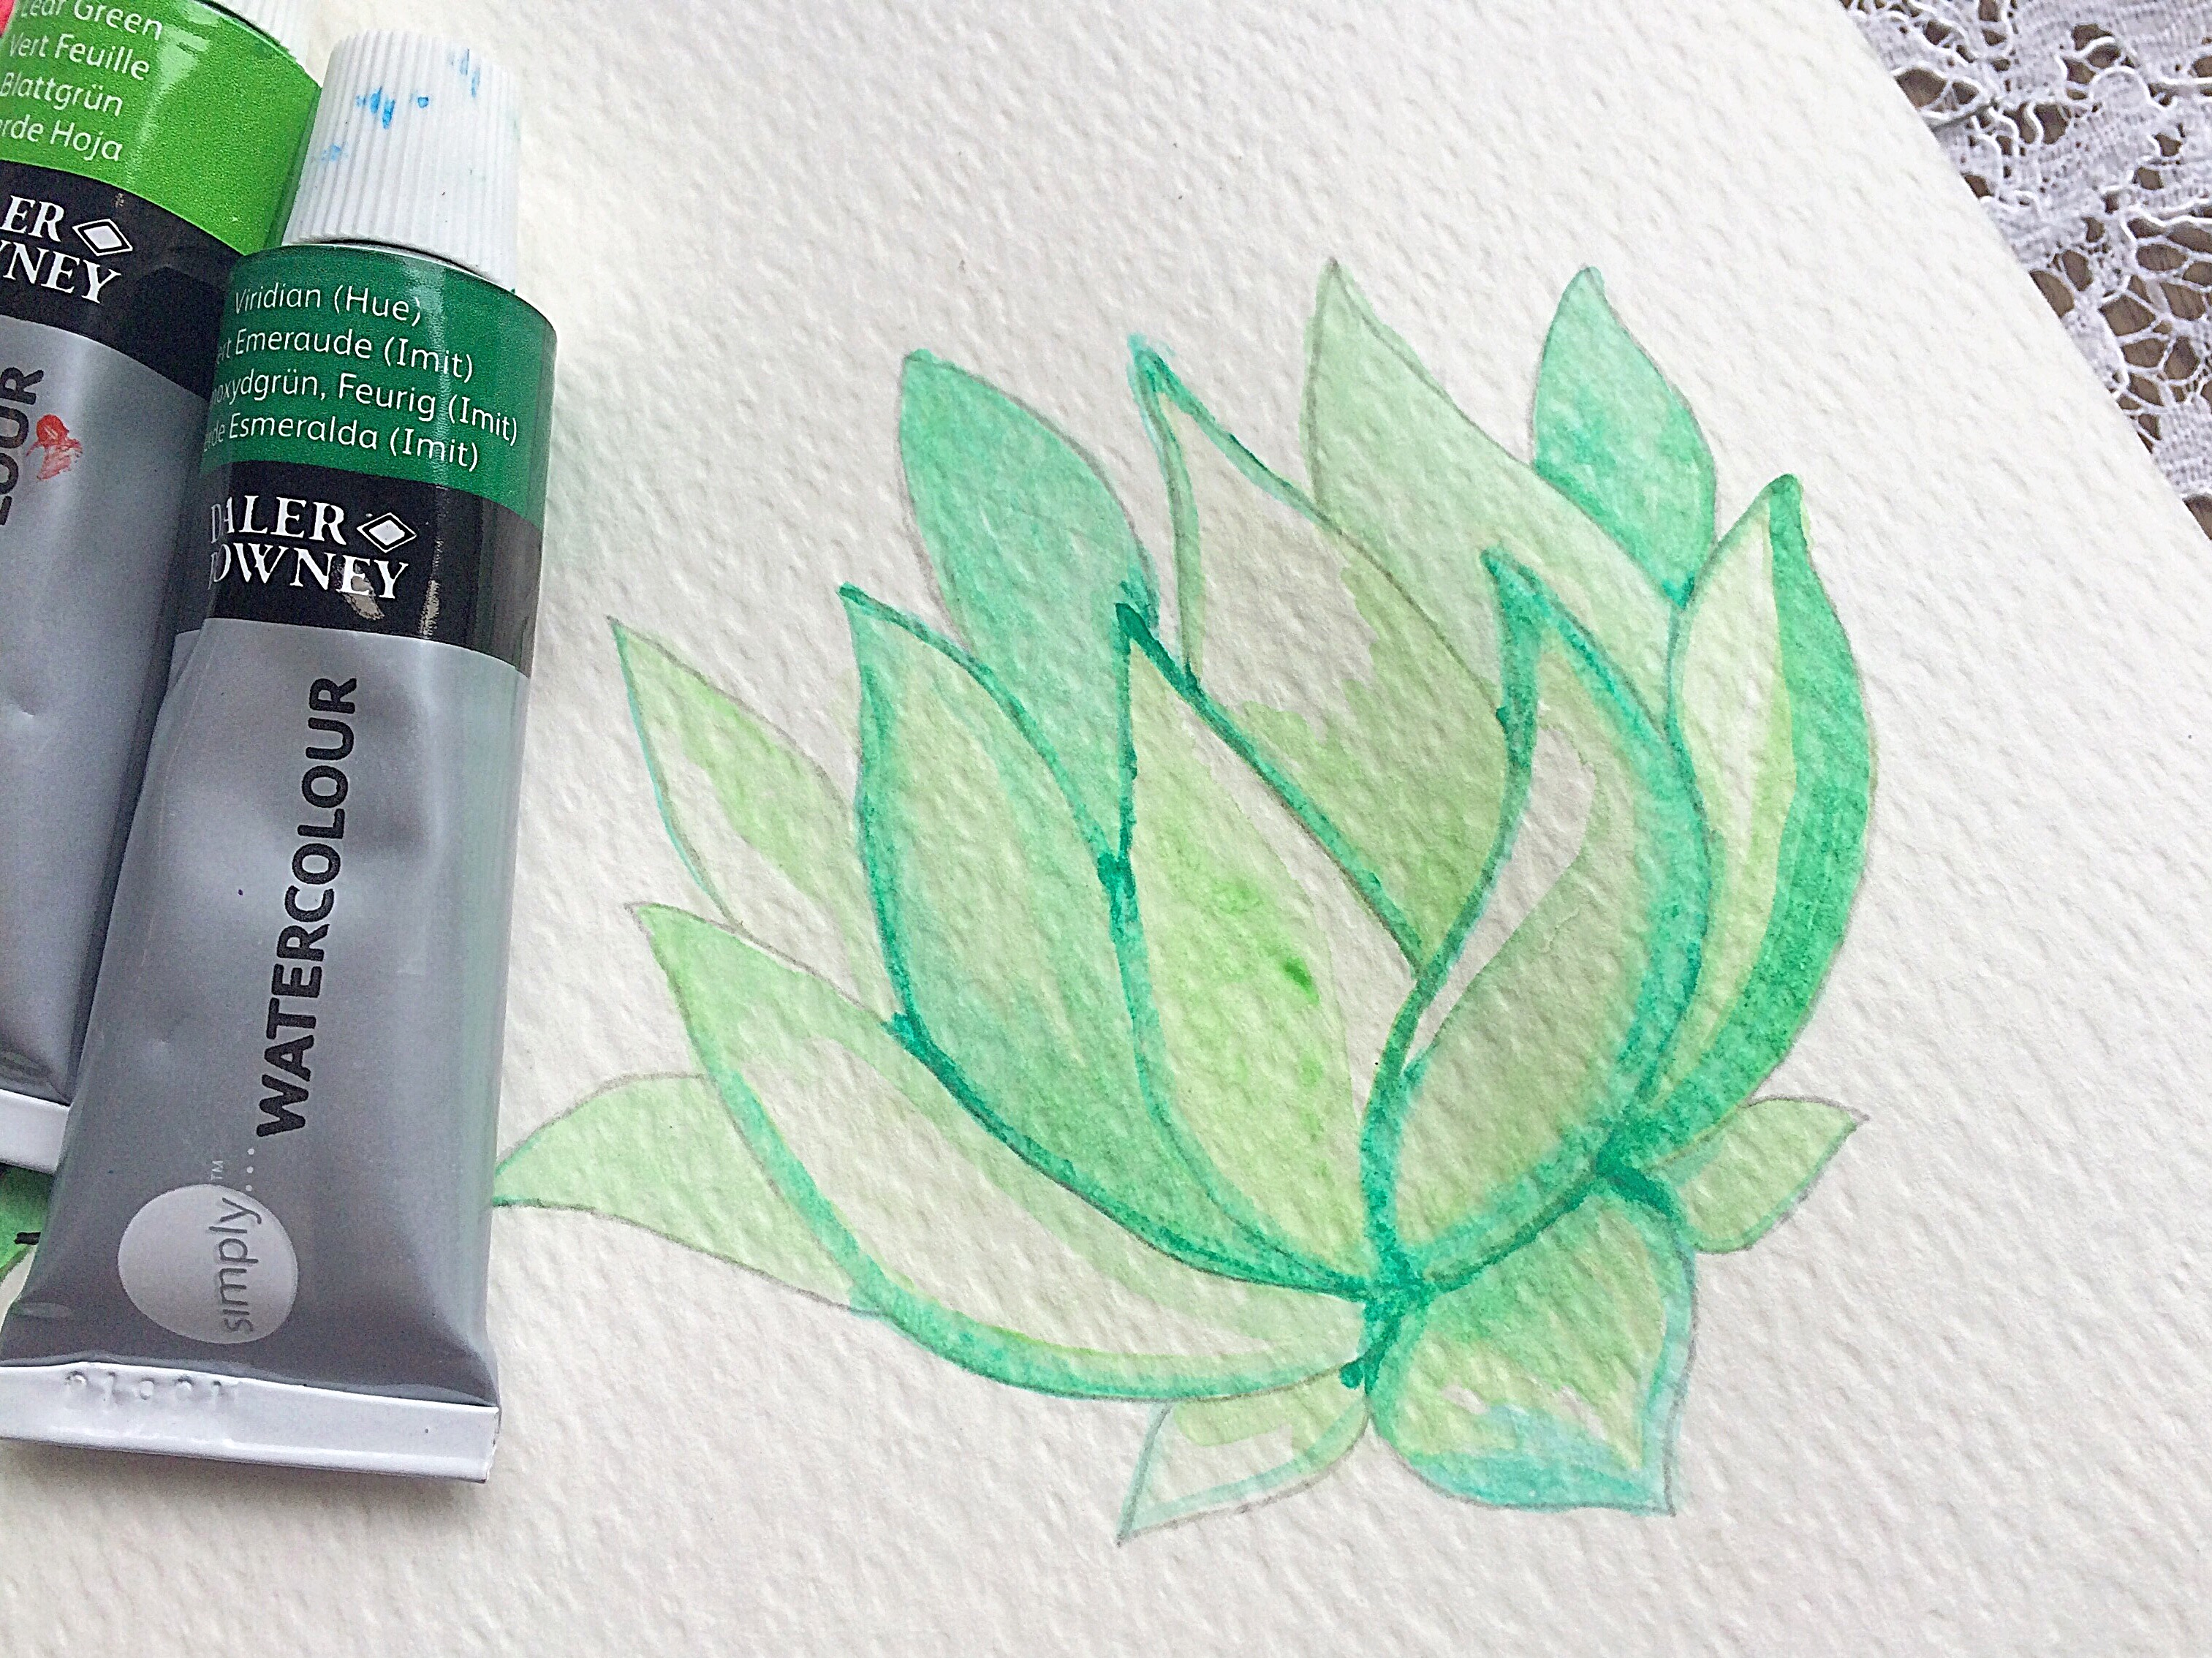 I have also outlined each leaf using my spotter brush. This help to distinguish them from each other. The completed version will look like above.
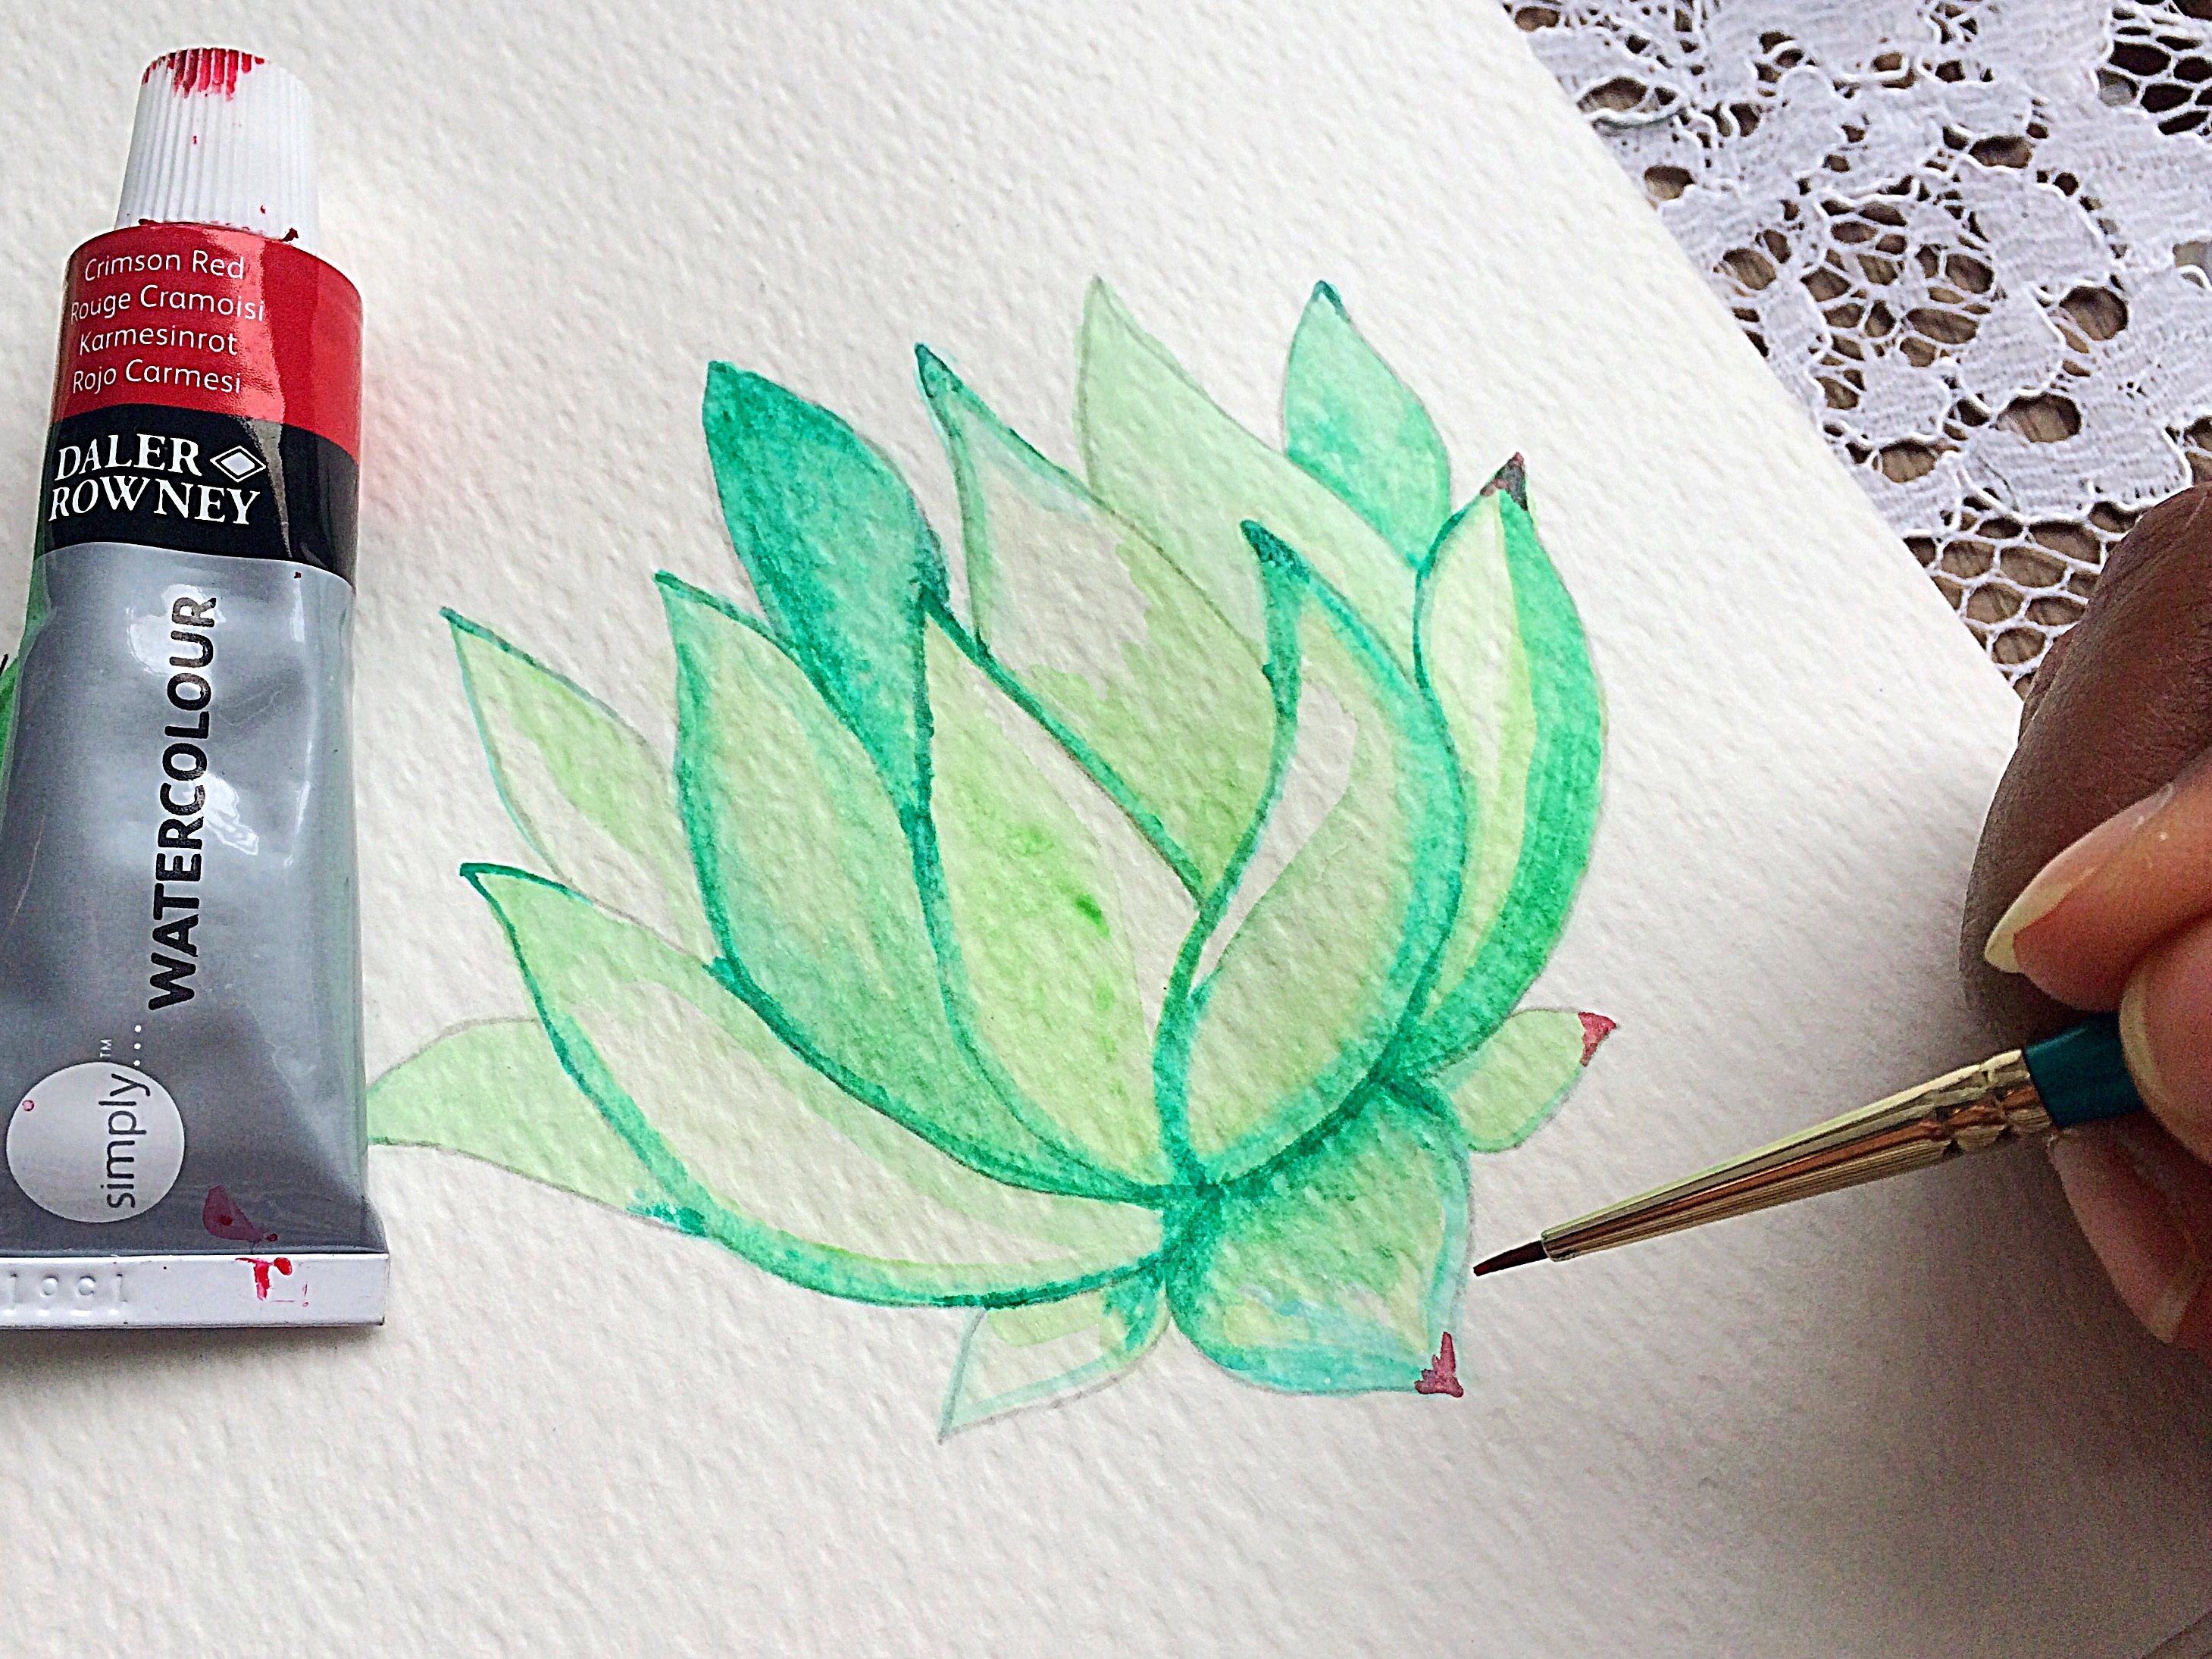 Finish your project by coloring the tip of the leaves with Crimson Red. I like this dramatic effect. However whenever you paint anything, the end product solely depends on your creativity.
 Here’s a picture of all my succulent elements together put together under one frame. Don’t they look extremely pretty and ready to be implemented in you art projects.
Implementation Suggestion
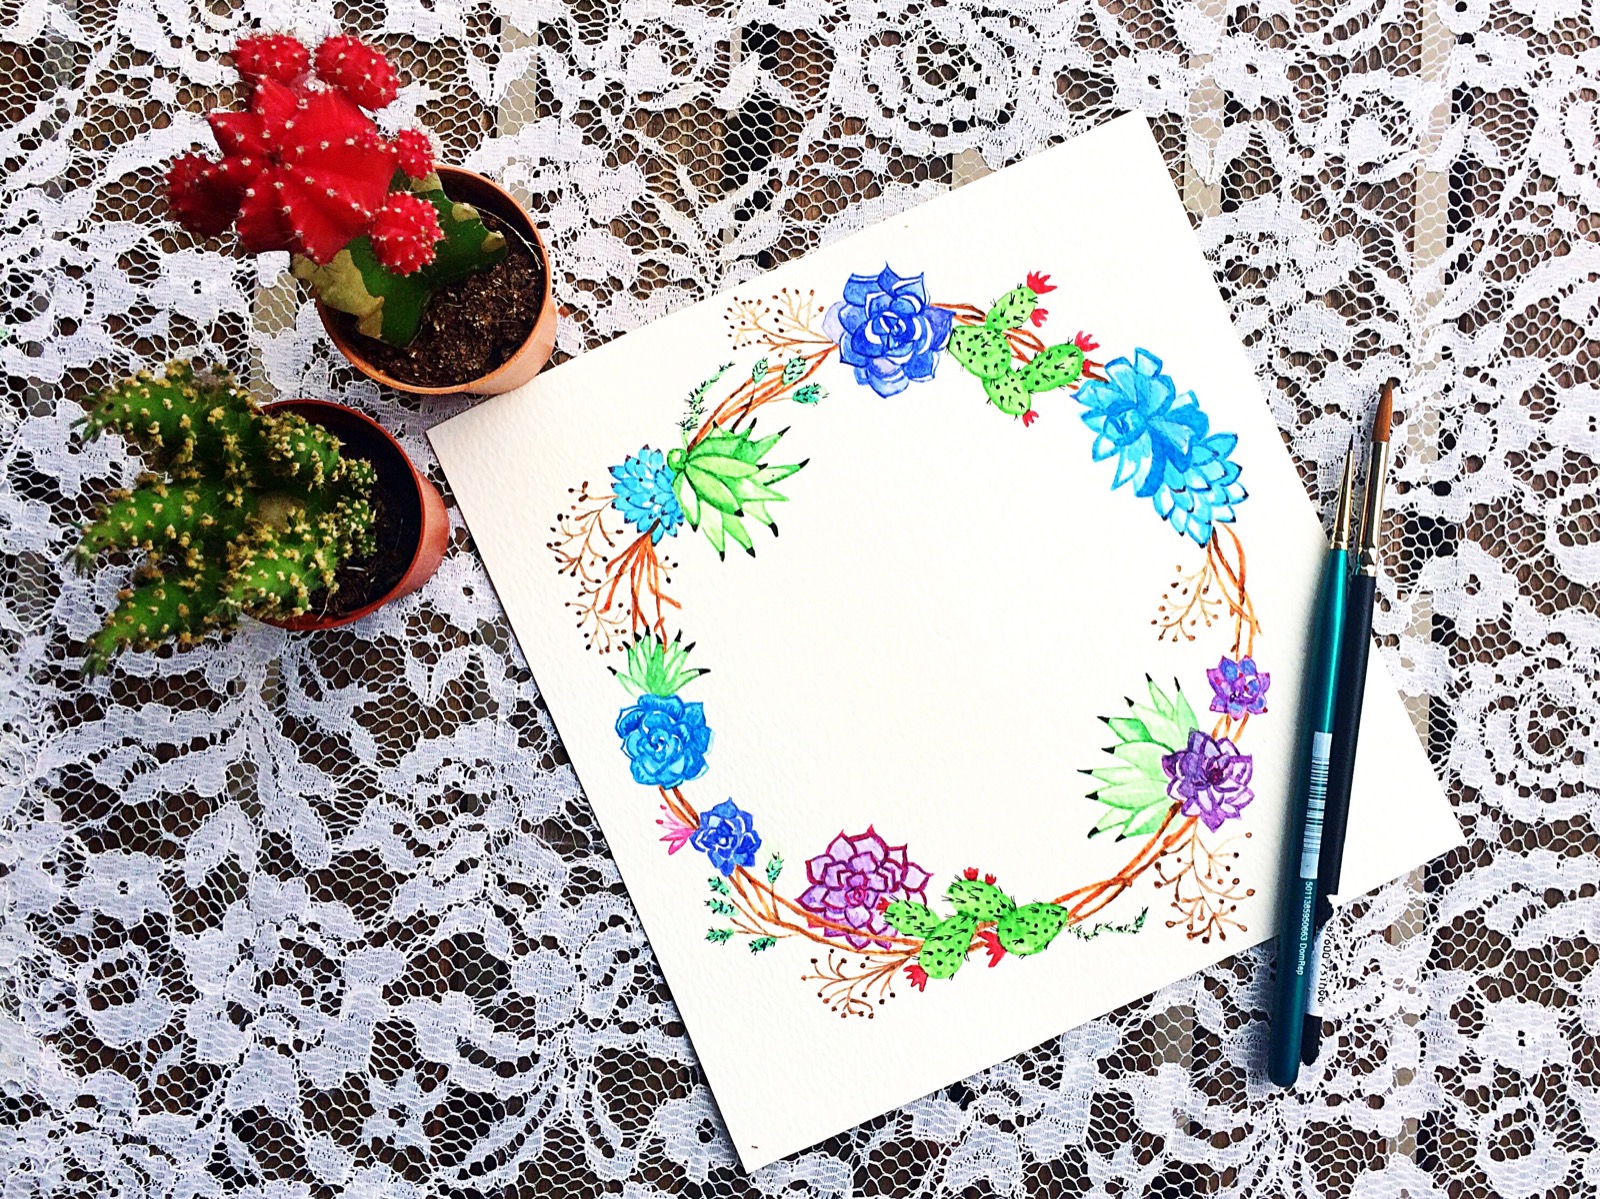
- Create a lovely succulent wreath. I have created one combining the elements from this tutorial with some additional fillers as shown above.
- Making a simple gift tag. Punched a hole and put a string through it. Then use your awesome calligraphy skills to create a earthy, botanical tag.
- If you like your tag, you can print several copies of it to use them as wedding party name cards/escort cards. Fabulous idea!
I hope you liked this tutorial. Using and playing with watercolor is so relaxing and is very friendly medium for anyone ranging from newbie to pro. If you have any questions along the way, I’m glad to help you out; just leave a comment! Please do not forget to share your work and tag me in my instagram.
Cheers
Drishti
No matter if some one searches for his essential thing, so he/she desires to
be available that in detail, thus that thing is maintained over here.
Thank you a bunch for sharing this with all of us
you actually know what you are speaking approximately!
Bookmarked. Please also talk over with my web site =). We can have a link
exchange agreement among us
Very nice write-up. I certainly love this site. Thanks!