Hi Guys.
How have you been? I have taken a good 2 months long break for my big fat Indian Wedding followed by a getaway to Maldives. It was a lot of fun. But now I am back to work with a fresh mind and full of energy. I always wanted a personalized art piece for my gallery wall. And what is better than a Botanical monogram lettering ? As I love botanical elements and motifs, I decided to create a Monogram with botanical flourishes. So, today’s tutorial is all about Botanical monogram lettering. With this tutorial you can easily personalize a room, door or flair up a gallery wall in your home – a great addition to your home, work space, or perfect as a gift!
I have chosen Gouache as a medium of paint for this illustration as I wanted something opaque to give the right oomph to the letter to be prominent and have a posterized effect.
Supplies
{This post contains affiliate links}
- Gouache Paint ( Royal Talens)
- Pencil
- Scale
- Paint brush ( round size 6 and spotter brush for fine detailing)
- Palette
- Gouache paper- (I am using 190gr/sgm cold pressed)
- Water
- Micron 01 pen
Steps
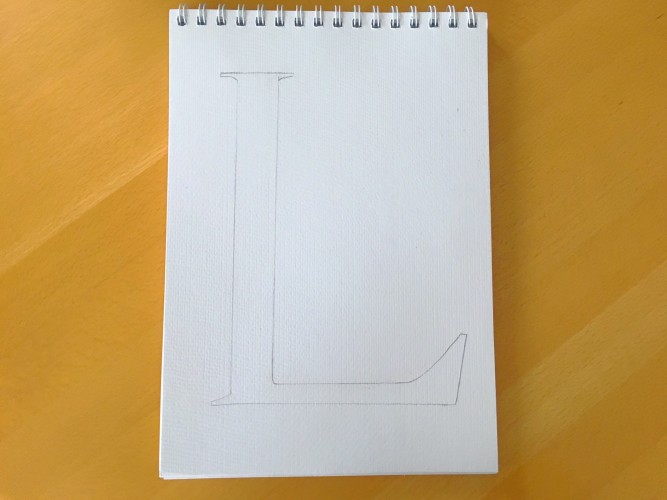
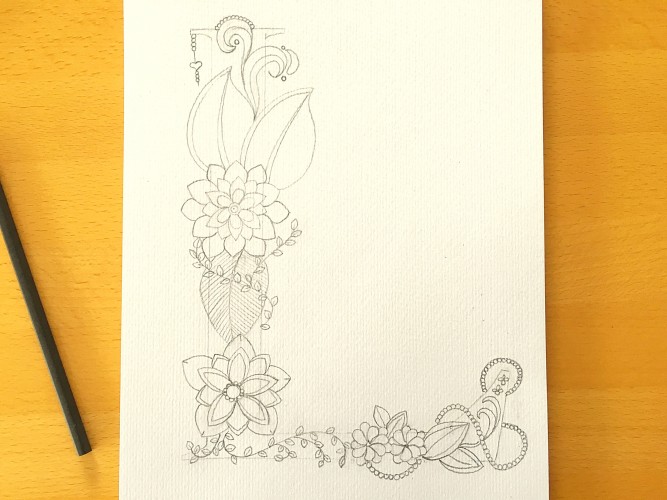
Today’s letter I have chosen for illustration is “L” because firstly it’s easy to draw and secondly because “L” stands for Love (I sound super cheesy). To get the perfect shape please use a scale/ruler. I have chosen a neat Sans Serif font from the internet as shown above.
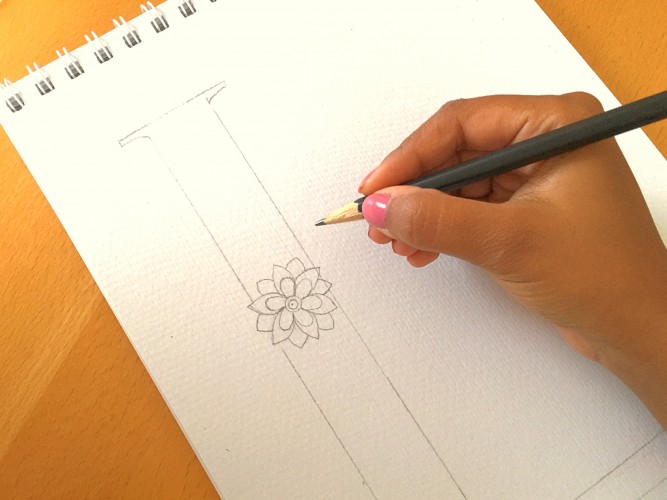
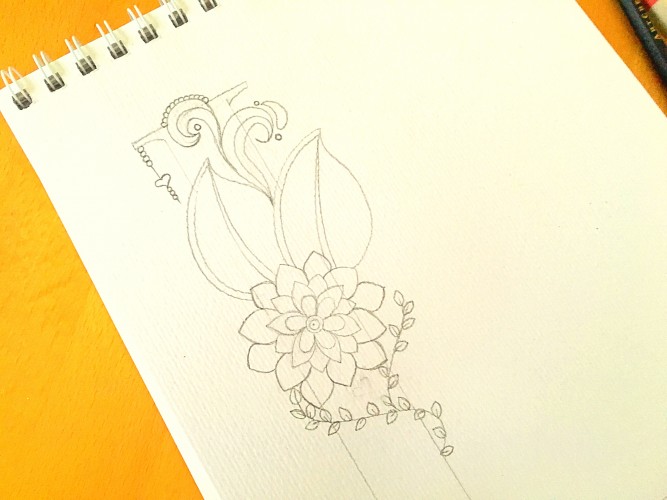
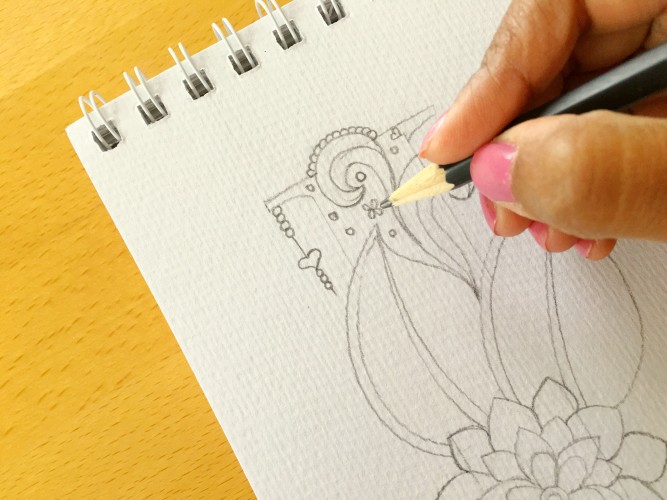
Now it’s time to fill the block letter with the botanical motifs. I have started from the center of the straight line by drawing a giant floral element and extended outwards with leafy branches and smaller floral embellishments using a pencil. You can basically fill the monogram with anything under the sun!
You do not need to stick to the inside of border of the letter as we are looking for a free flowing look. Just ensure that you have covered the major areas within the letter.
I found some empty spaces between the botanical motifs and filled the gaps with tiny dots, hearts and floral. I do not want to completely hide the border of the alphabet as you can see below.
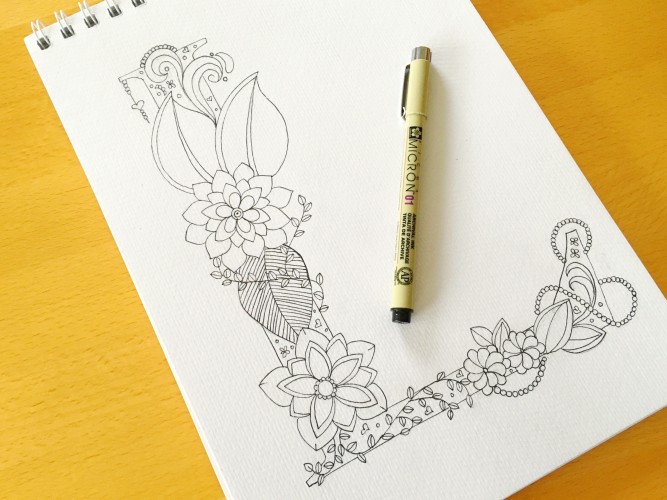
Once you have completed your pencil pattern, it’s time to add ink to it. I have opted for a Micron Pen as it is waterproof and easier to use as compared to dip pens. But if you are looking for a very dark outline and you are into Dip pen calligraphy, then Ziller ink is your baby!
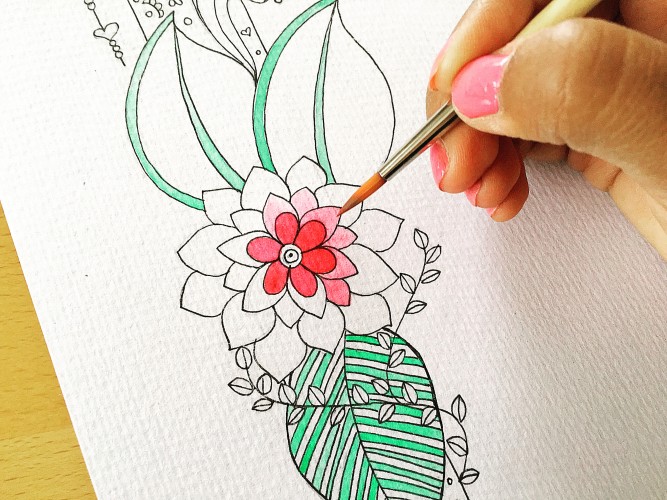
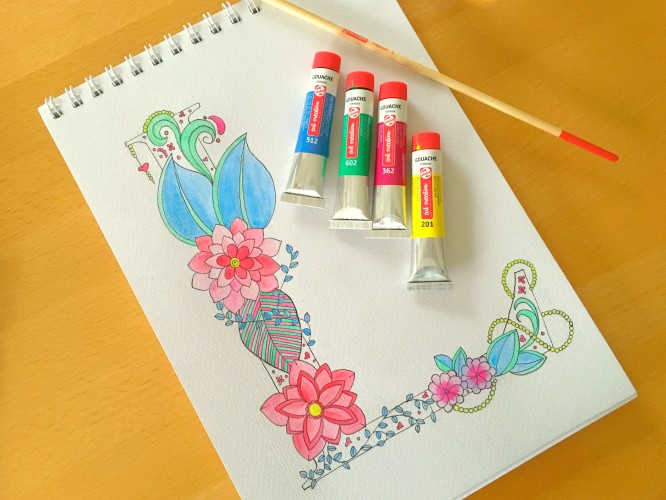
Let us fill up the botanical illustration with gouache paint. I wanted the botanical illustration to look vibrant and colorful so I tried to add almost all the basic colors. My mantra for coloring is that I paint all the elements with the same color at a time.
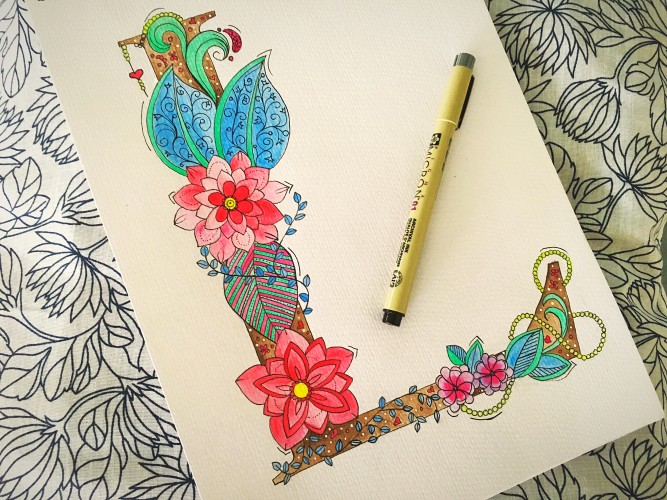
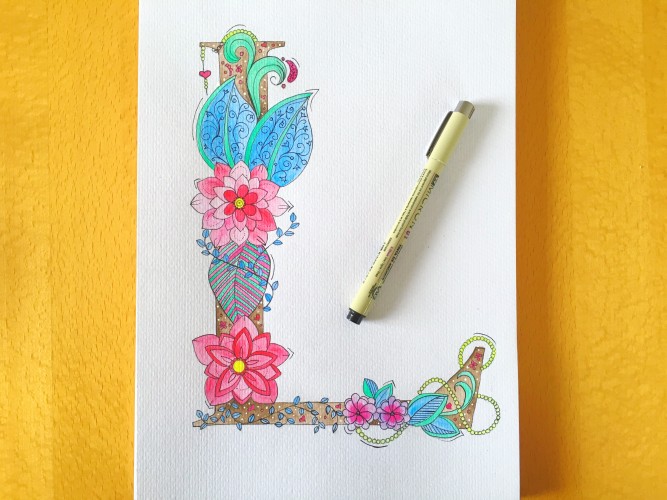
This is how the botanical elements in the letter would look like after painting. Isn’t it gorgeous?
For the body of the letter block I opted for brown. I also added tiny white dots to the body to complete the monogram.
Implementation suggestions
- Perfect for wall gallery
- On a greetings card or gift tag for his/her special day
- Wedding invitation personalized monogram
- Fabric! Make a pattern, upload it to a customized printing site like Zazzle or Society 6, and have your artistic botanical monogram letter come to life as a cushion cover, table mat or tote bag.
I am going to place this giant “L” along with my other photos in the wall gallery. Can’t wait to share the picture with you once its setup. I hope you had fun learning this easy botanical monogram letter tutorial. Feel free to use any other pattern or illustration of your choice to fill the letter. Do you have any other suggestions? Feel free to comment below as I would love to know or share your works by tagging me in my Instagram.
Cheers
Drishti

Wonderful inspiration.
Thanks so much.. Hope you can create some amazing Monograms too.
Vielen Dank! Thanks so much. I would like to see your creation. Tag me in instagram @lifeathon
An easy DIY for a monthly growth sign that can easily be used in pictures and as decoration in your nursery.