
It is less than a month for Christmas. Do you want to add a handmade touch to your gifts this Christmas? You heard that right! Once you read this step by step tutorial on how to paint a simple Christmas botanical watercolor illustration, you will be a pro in no time! You can use it to enhance a gift tag, bookmark or a holiday greetings card. These lovely keepsakes are perfect for your loved ones to cherish for years to come.
My today’s artwork are inspired by lush green fir /pine branches and vibrant reds holly berries which makes it totally soaked up in holiday spirit.
Supplies
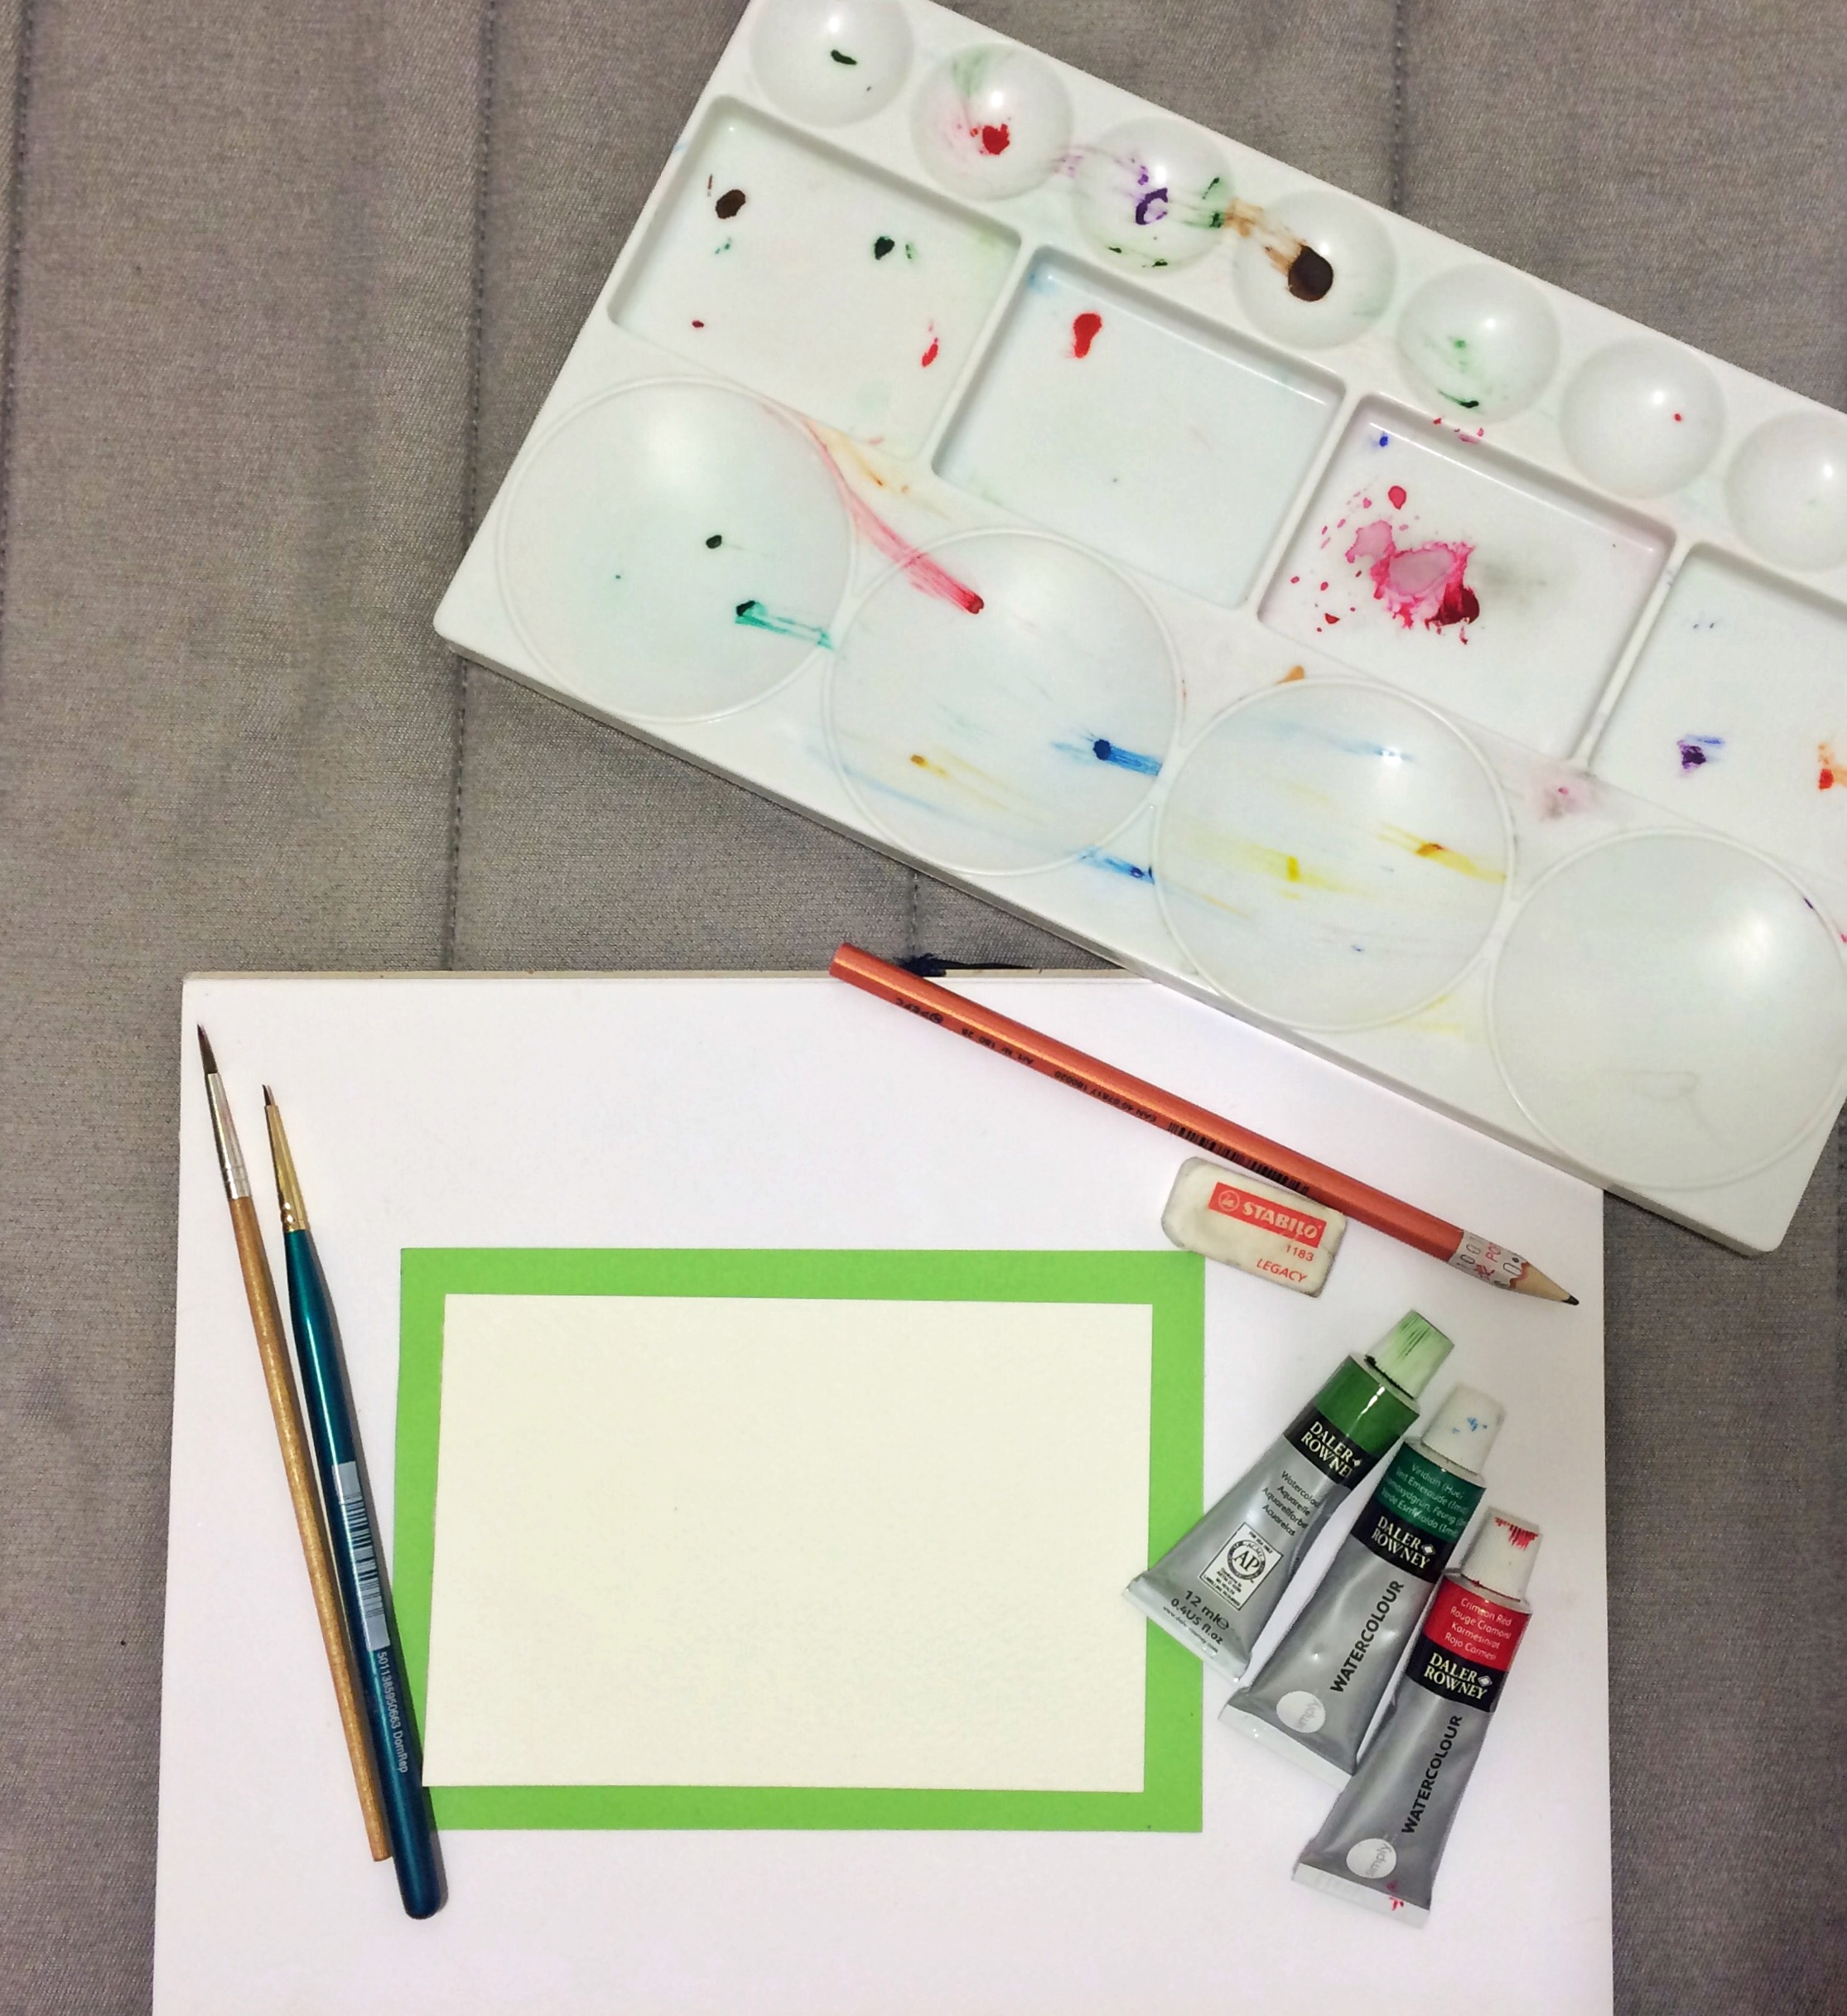
- Watercolor paper- (I am using 140lb cold pressed paper , 225 gsm)
- Watercolor paints –( I recommend Winsor and Newton Cotman watercolor for beginners)
- Watercolor brushes – (I am using 0 sized spotter brush and size 1 rigger brush)
- Palette
- Water
Colors used for Christmas nature palette:
- Sap Green
- Viridian Green
- Primary Red
- Yellow Ochre
STEPS
1) Pine needles
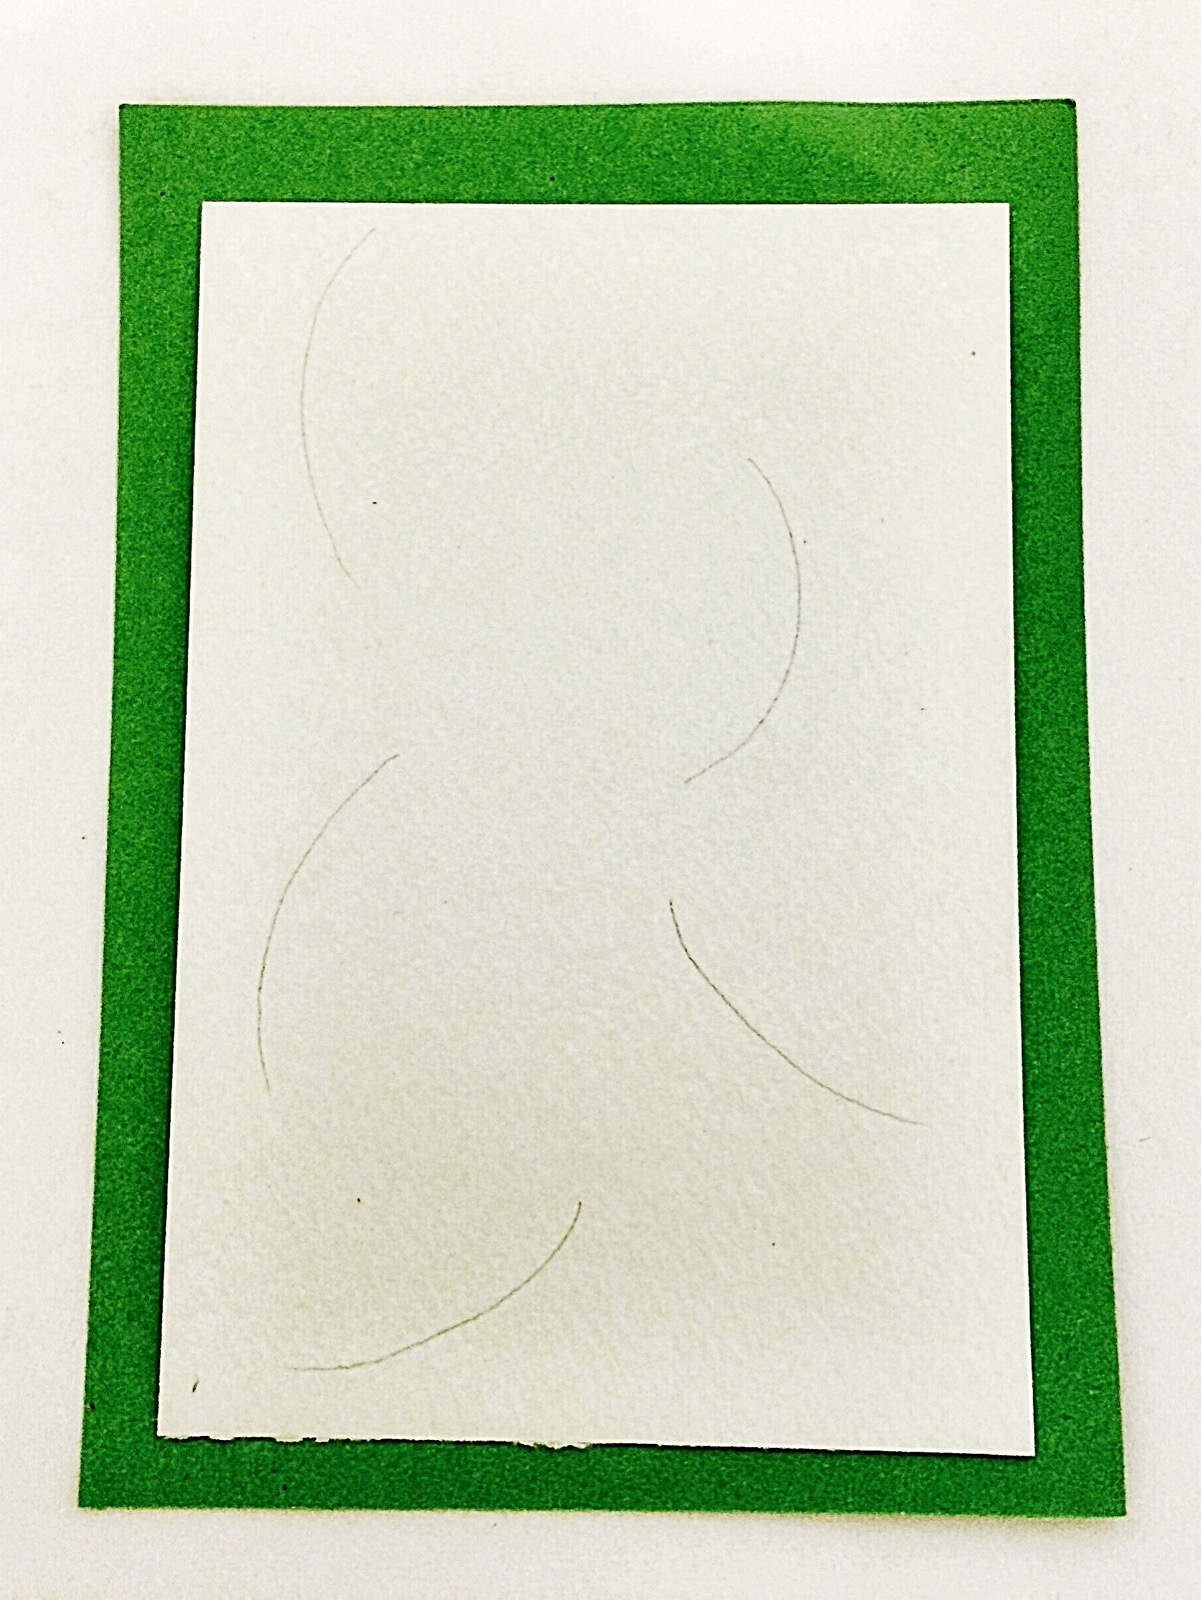
- Start with taking a watercolor card stock if you would like to make a holiday greetings card. Else you can use any watercolor paper with a thickness of or above 225 gsm and get it cut into any shape you want.
- To begin with, paint softly curved pine branches randomly in different directions. Despite its sophisticated appearance, this illustration is pretty straight forward. Start by painting a fine curved line using your size 0 spotter brush. Now start making the side branches in the similar curved fashion to the main branch. I used Viridian Green to make the pine branches because of its darker tone.

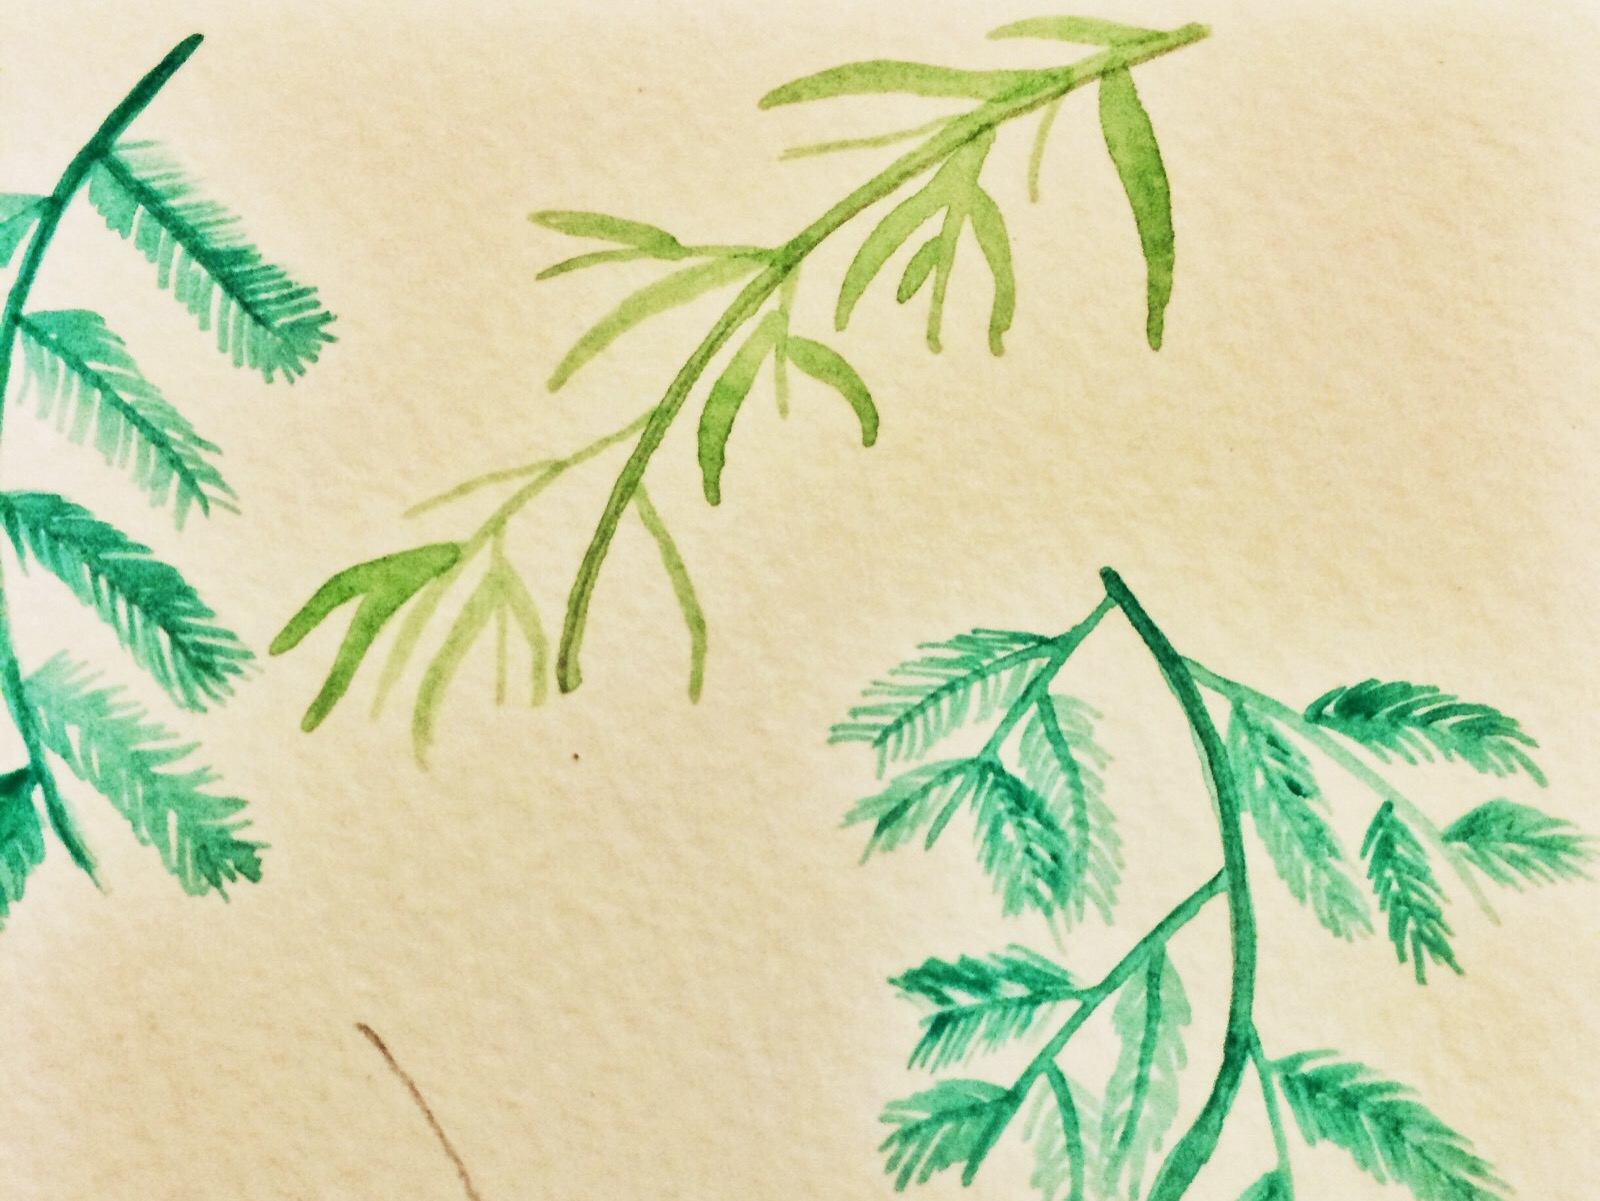
- Next draw the pine needles emerging from the side branches. To emulate a real life appearance, you can make some secondary branch emerging from the side branches and paint the needles onto it as shown below.
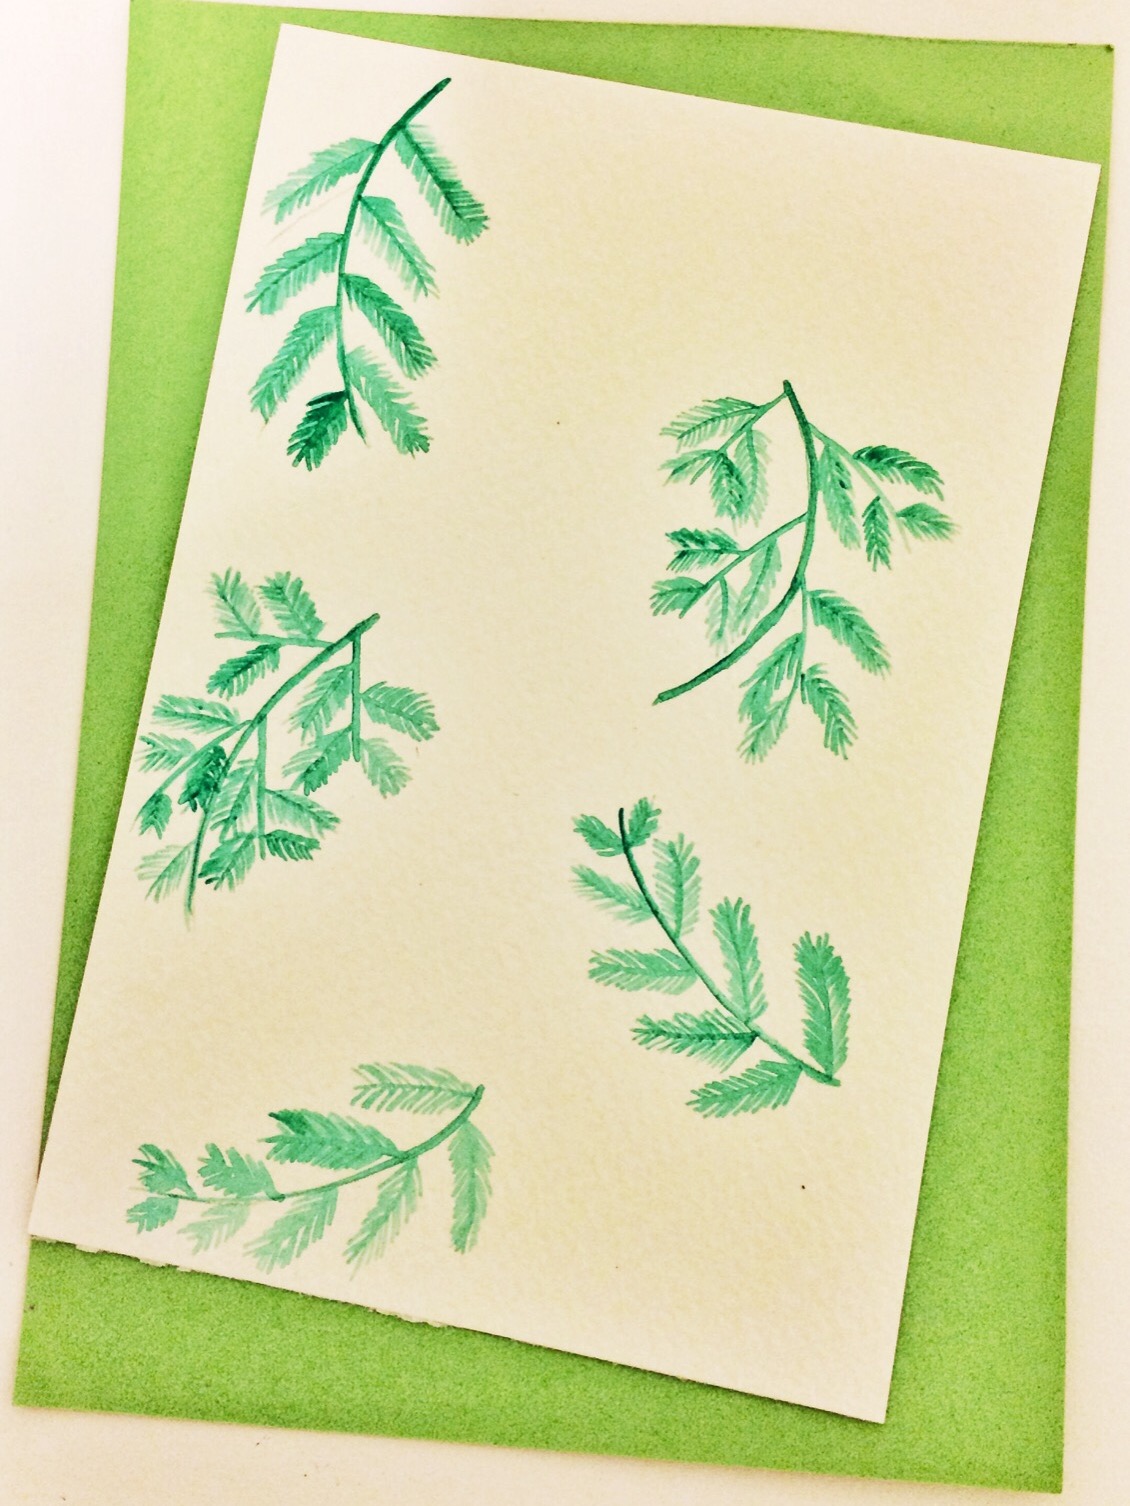
- You can either choose to fill the entire card with these pine needles or fill it intermittently. I painted both simple and bushy pine branches to my card to create a variety.
2) Holly berries
Adding a dash of red to the holiday card will create a more vibrant effect. Hence I decided to add holly berry branches to my artwork.
- To begin with, in a similar manner as the pine branches paint curved lines in different direction using a spotter brush. This time I used sap green for a warmer tone. Extend some in “Y shape” from the main branch.
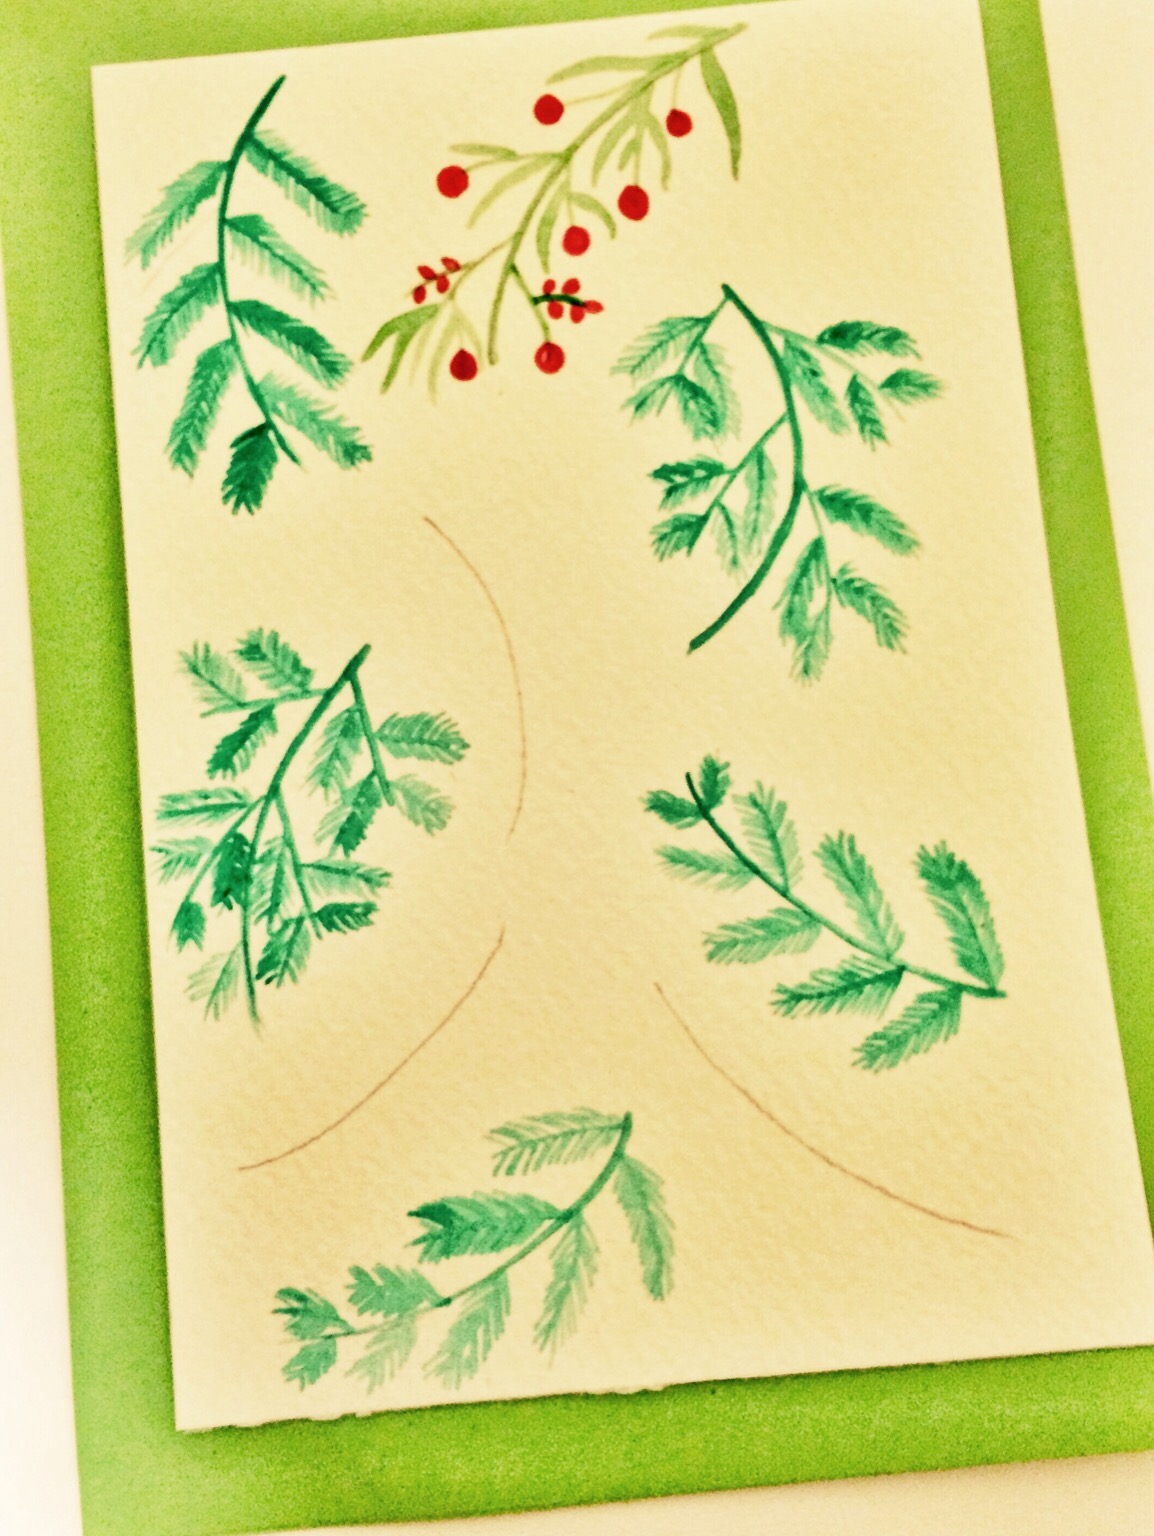
- Next fill the side branch with elongated leaves and holly berries. I used size rigger round brush for my berries.
- Continue to fill the painting with more pine and holly berry branches until you are happy with the placement of each element.
- Try to look at your artwork from a distance to ensure the negative space is balanced with filled area. I found some negative blank space in my illustration so I filled up the space with some additional twigs in yellow ochre mixed with sap green.
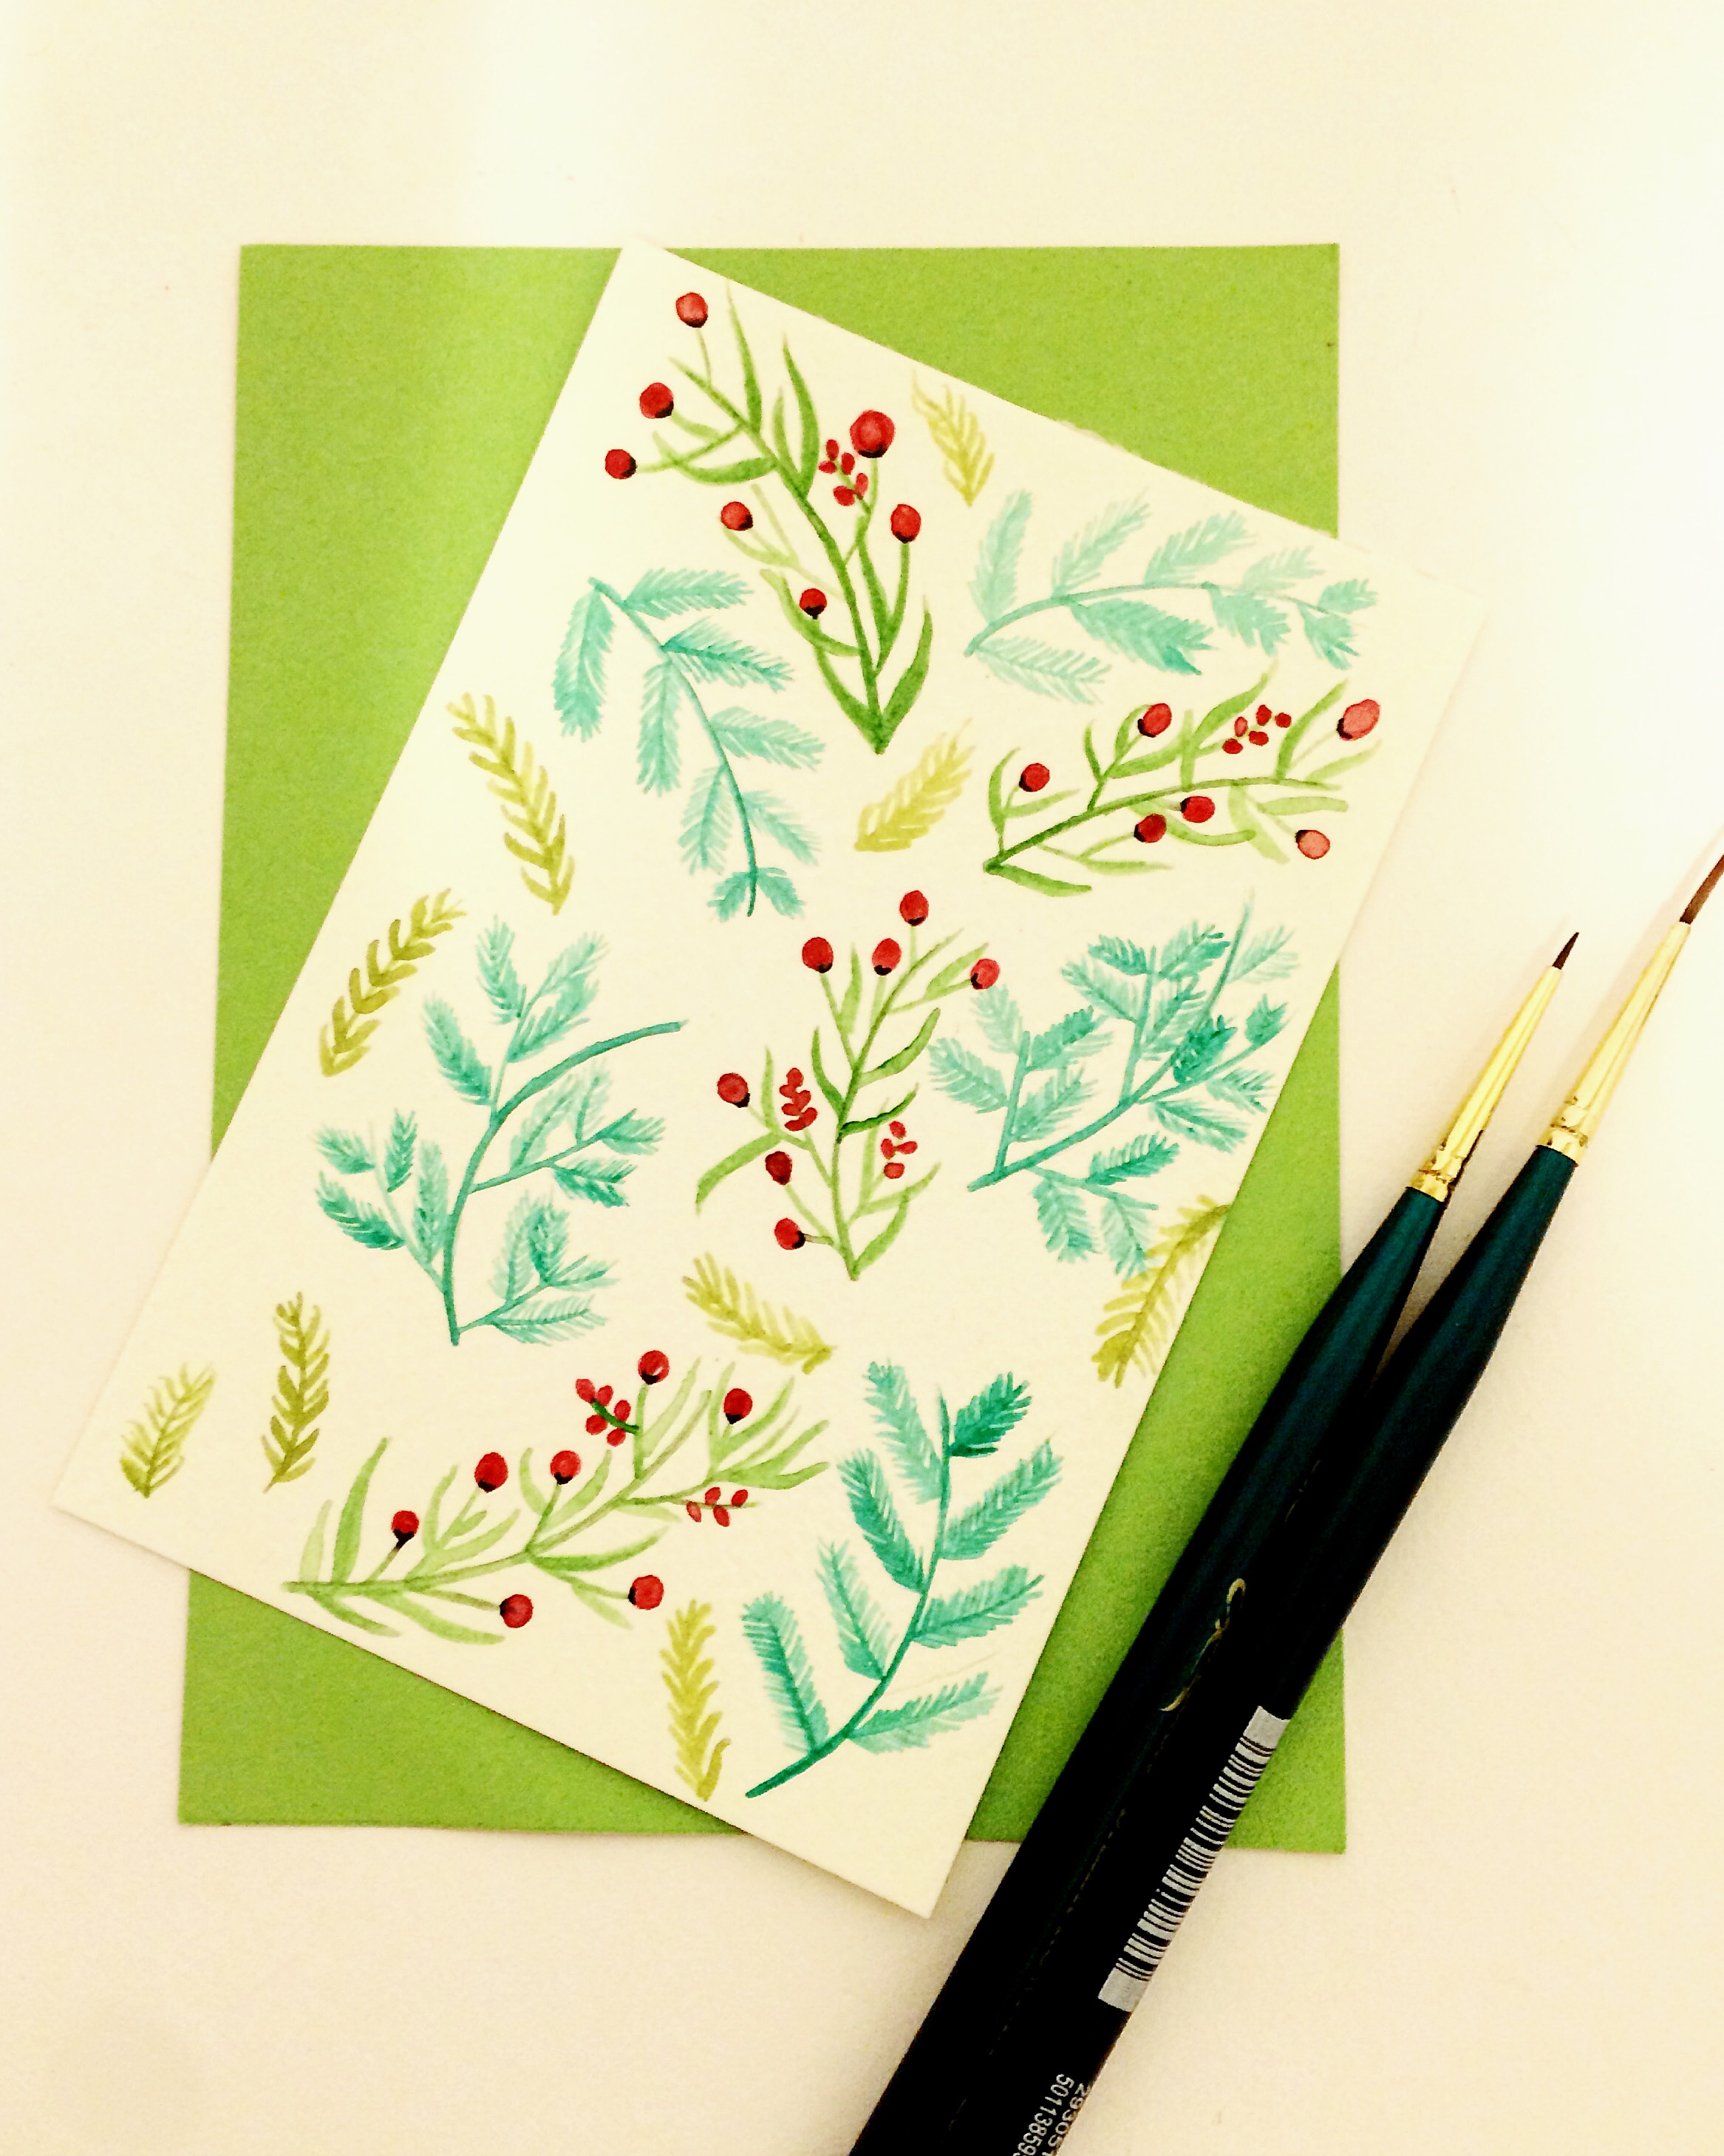
Don’t they look beautiful yet so less fuss involved while creating them?
I am sure you will get addictive to it. So get that cup of tea, put on some lounge music and enjoy the process to create these lovely Christmas nature illustration on your gift tags, bookmarks, greetings cards or mail arts.
I hope that you liked my tutorial. Please don’t forget to share with me your amazing artwork if you try this project. You can tag me on Instagram. Have fun creating these beauties!
Cheers!
Drishti