
It’s soon going to be the love season. Yes! Valentine’s Day is less than a month away. This year’s Valentine’s Day would no longer be tropical anymore for Me and Timo but would rather be a bit on the chilly side. (Trust me, after living in Singapore for so long, anything less than 20 Degrees C is already too cold for us ). We are relocating to the lovely green city of Freiburg in Germany from sunny Singapore and I am totally looking forward to it.
So as we all slowly warm up to celebrate love with our beloved, check out how to make this watercolor Jar of Hearts DIY card. Gifts always feel more meaningful once it has a little personal touch. Don’t you agree? These particular handmade Valentine’s Day cards are incredibly easy to make and will simple add the wow factor to your gifts. So hold on to your hats and glasses and go grab your supplies to get started.
Supplies
(This article contains affiliates which will help me earn a small percentage should you buy from the given links. Don’t worry you won’t be charged a single dime. )
- Watercolor Paints ( I used Winsor and Newton Professional watercolor)
- HB Pencil
- Paint brush
- Palette
- Daler Rowney Watercolor Postcards
- Water
- Sigma Micron 01 pens
- Heart Puncher
- Glue Stick or Craft glue
- Baker’s Twine ( I used a pink twine to compliment my color palette)
- Colored card stock ( I used a leftover Red card stock from a previous project)
- White Uniball Signo Gel Pen
Steps
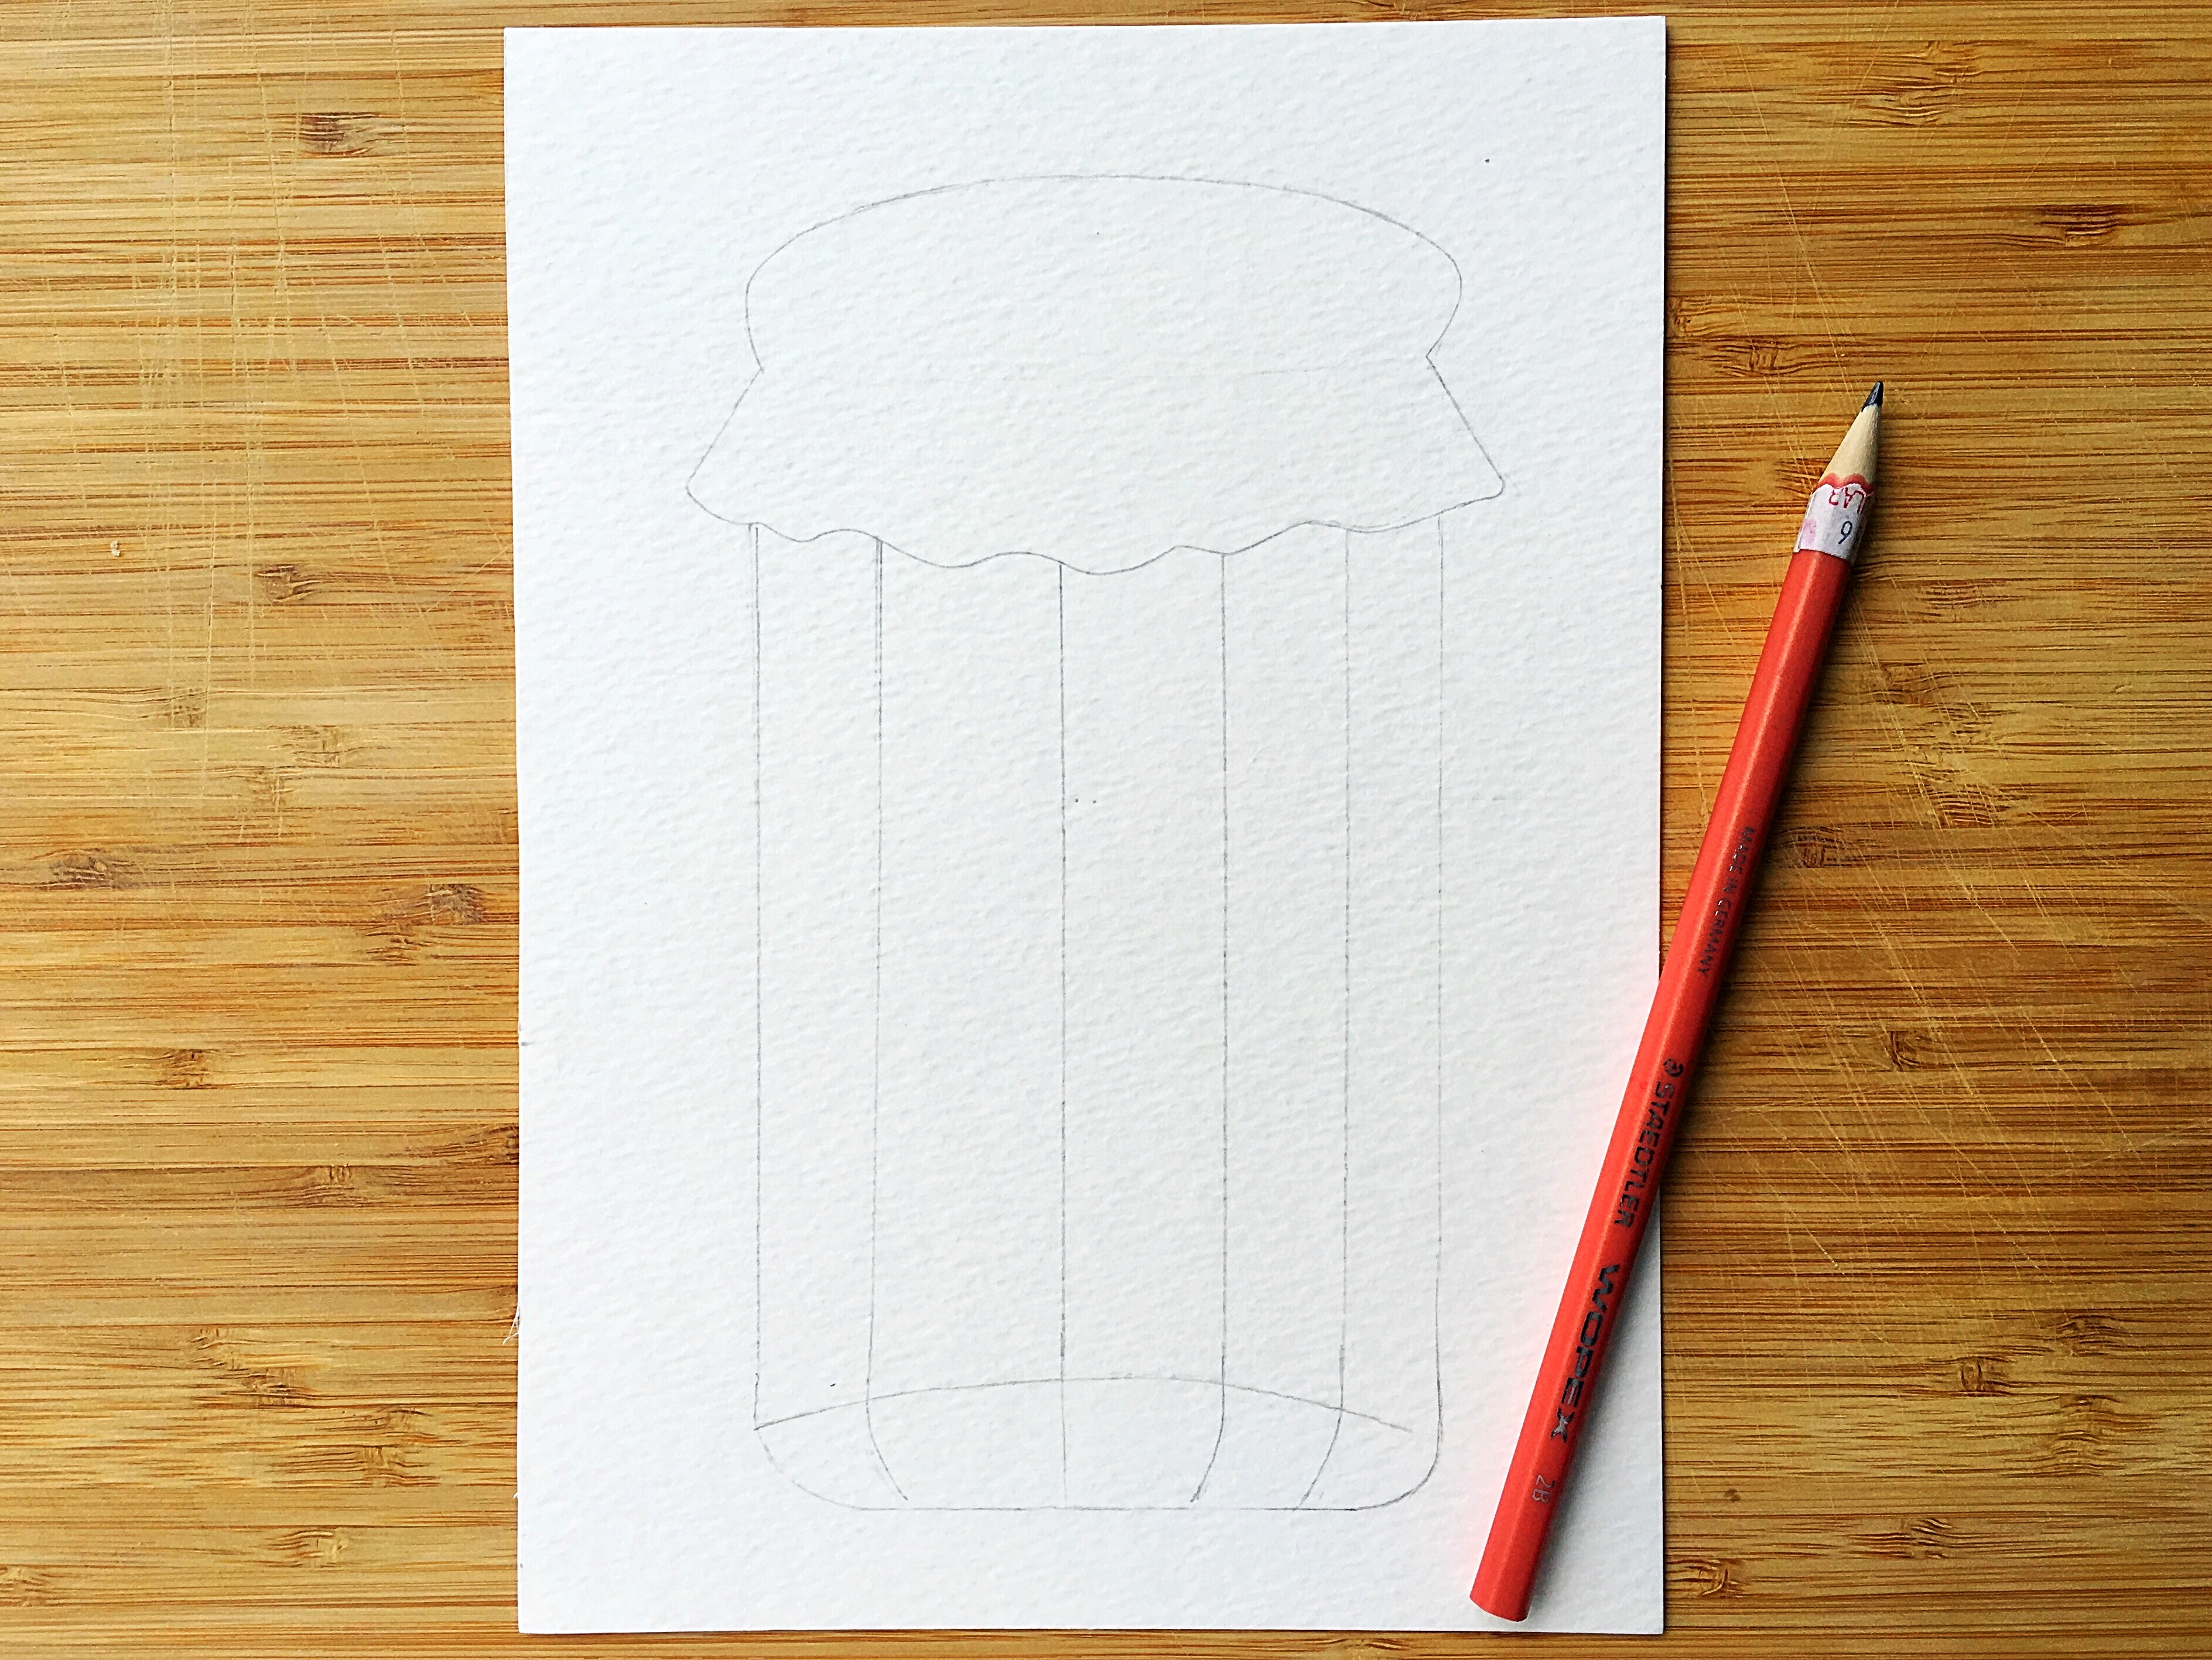 Once you have assembled these supplies, draw the jar outline as shown above with a HB pencil.Next trace the outline with a pen. You can feel free to use dip pens or regular Gel Pens. I used Micron 01 pen for my illustration.
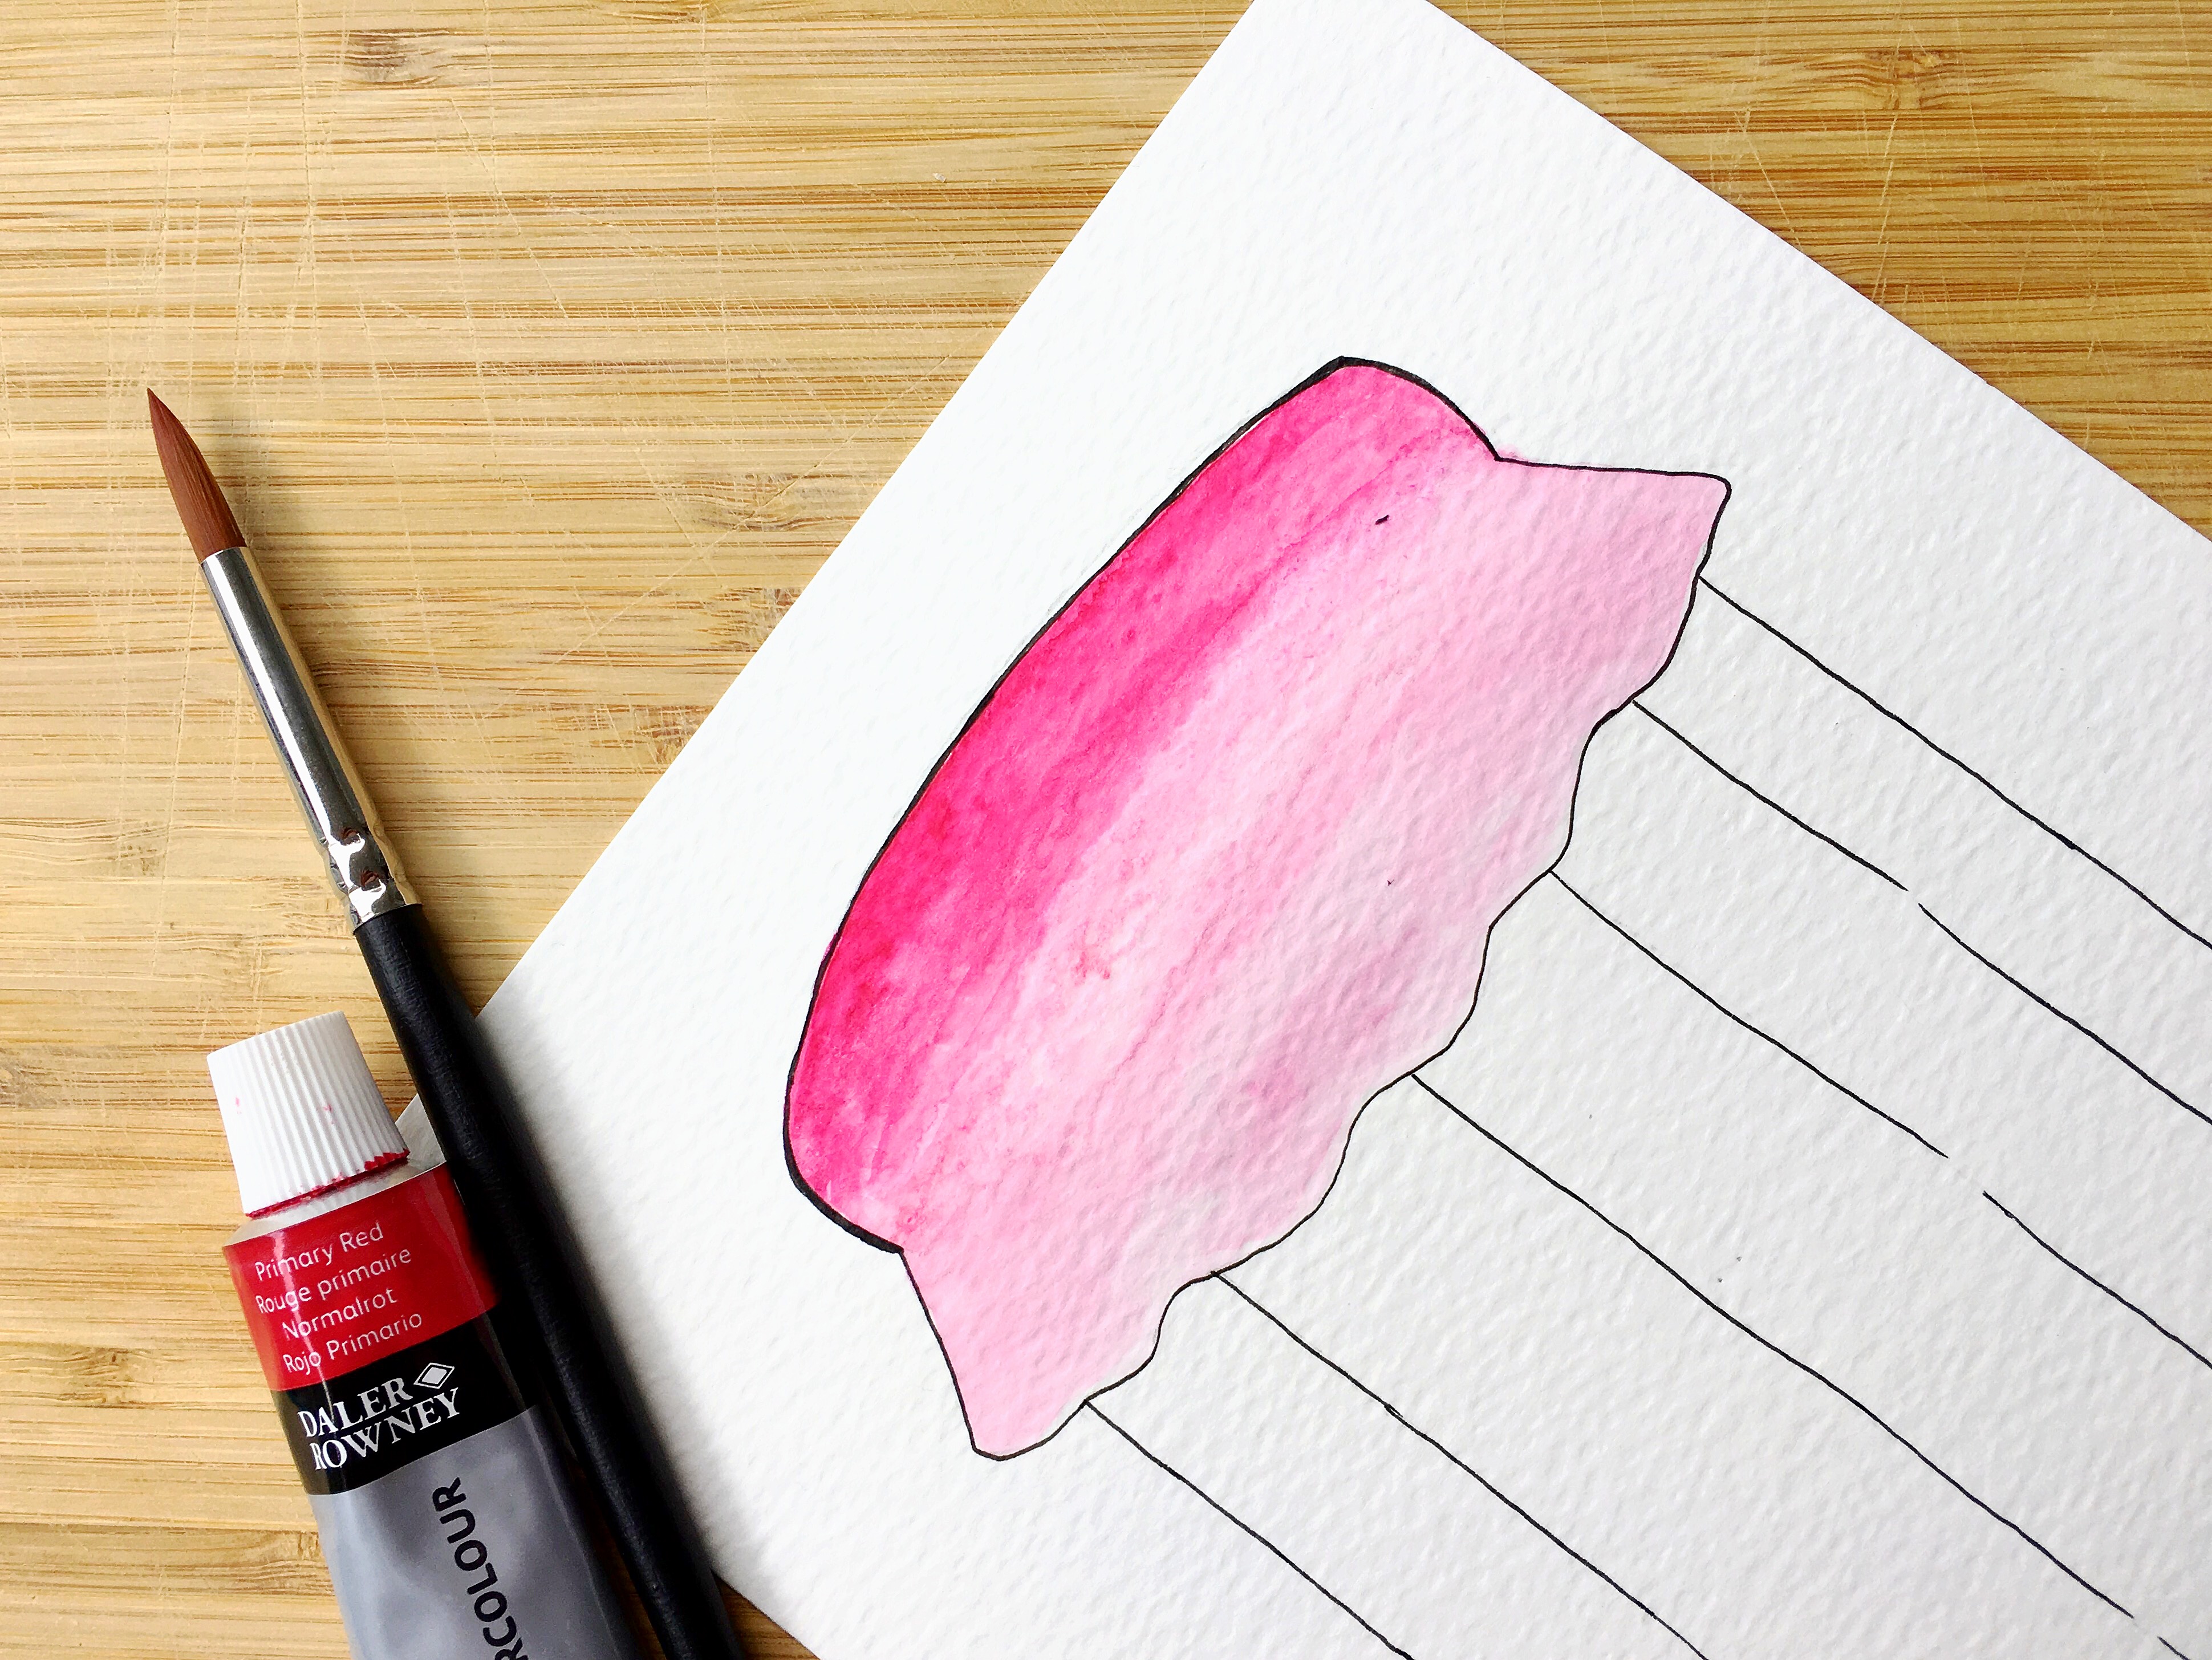 Now it’s time to fill color to the fabric cover section of the jar. Since this Jar is for Valentine’s Day, I would prefer to stick to shades of red and pink. I first gave a wet wash with my flat Daler Rowney Oval 3/8 Brush (link on the supplies).I used a wet on wet watercolor technique to create an ombre effect.
First squeeze a little Color (I used Primary Red by Daler Rowney) onto your palette and dip your brush with enough water to spread the paint without thinning out too much on the topmost section of your object. This is where you want the color to appear the darkest. The idea is to thin out the paint as you go downwards, so you can add a little more water each time until you get the lightest shade. The finished product will look like this.
 Next, it’s time to create pretty hearts to fill your jar. Now that you already have hands on experience with the ombre effect, let us do it on a bigger scale with two colors. Trust me this is going to be fun! Use a new watercolor cardstock paper and wet wash it with a flat brush. Then start to spread your first color ( I used Permanent Rose by Winsor & Newton) from the top of the paper lightening it with water until you reach the middle. Now begin to use your second color ( I used Cadmium Red by Winsor & Newton) from the bottom section of the paper and spread it upwards until you reach the center and you can see both the colors blend in at their lightest shades creating a lovely ombre effect. Make sure you keep the paper on a flat surface to dry out completely.
 Use a heart puncher to punch out ombre colored hearts for your jar and paste them using a glue stick inside the jar.
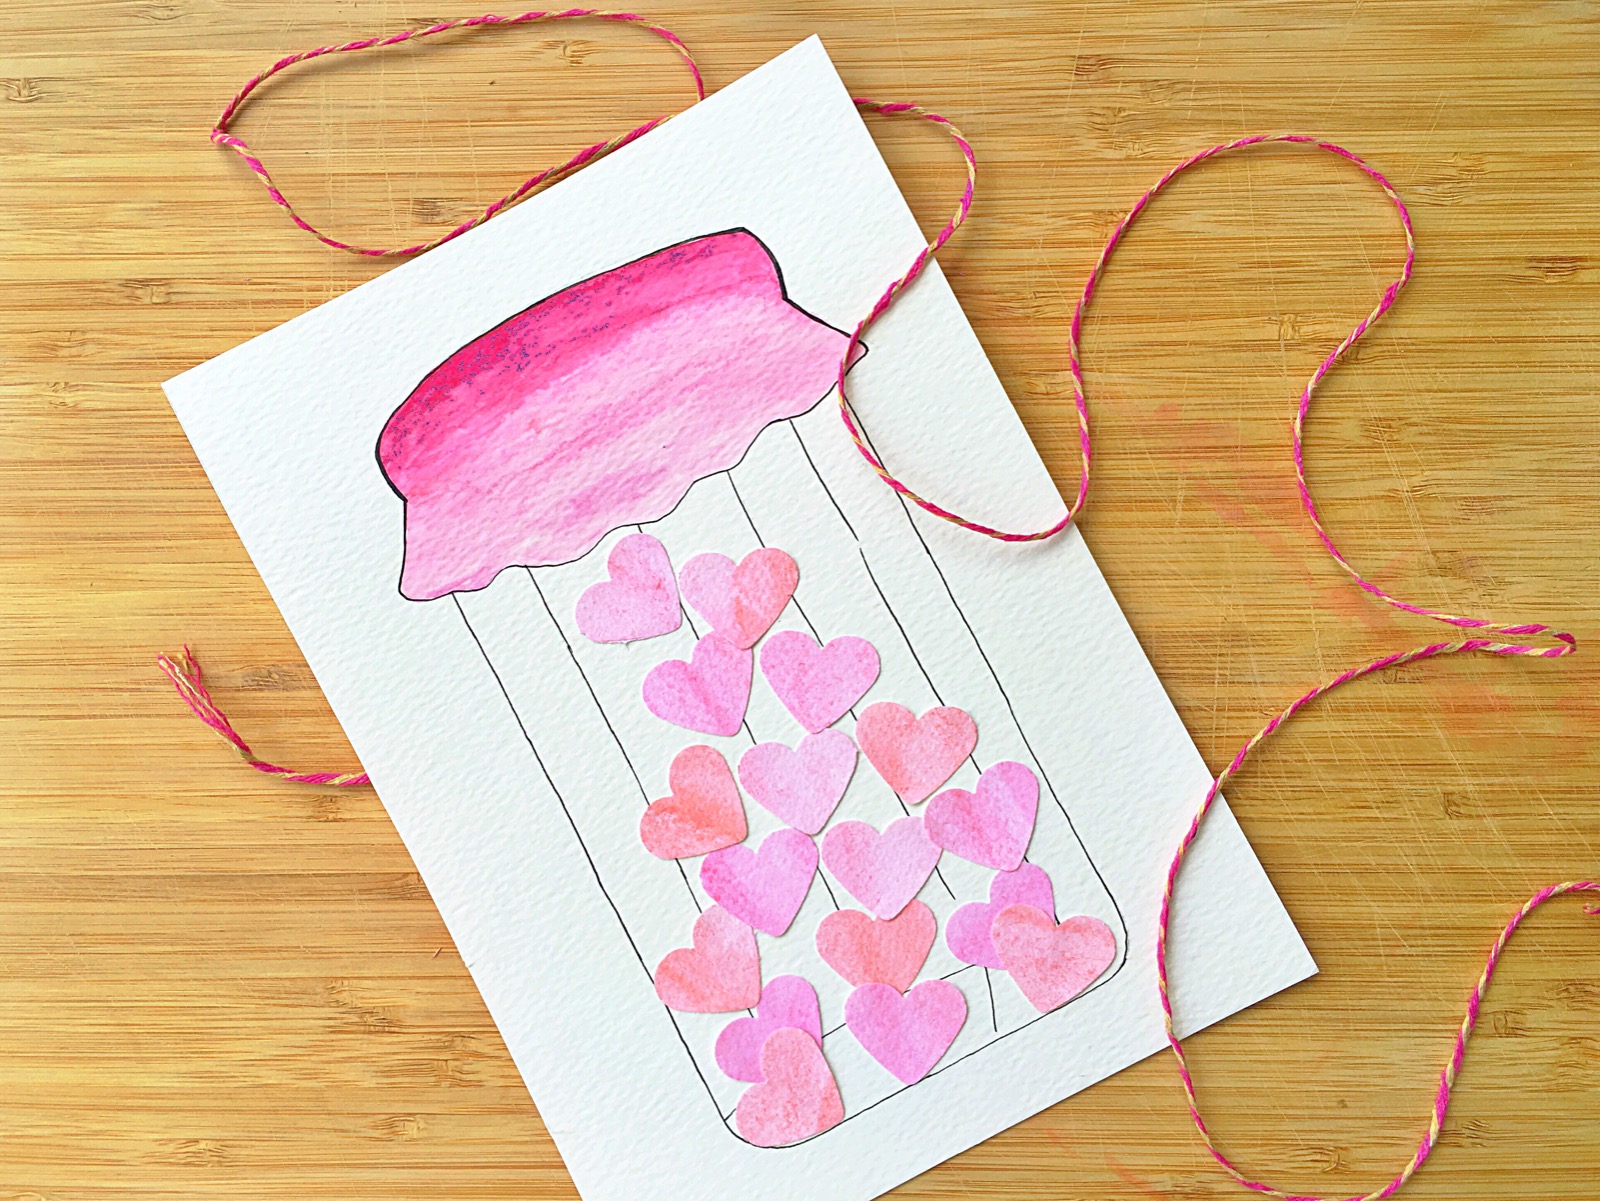 I wanted to create a bubbly effect so concentrated more hearts at the bottom of the jar.
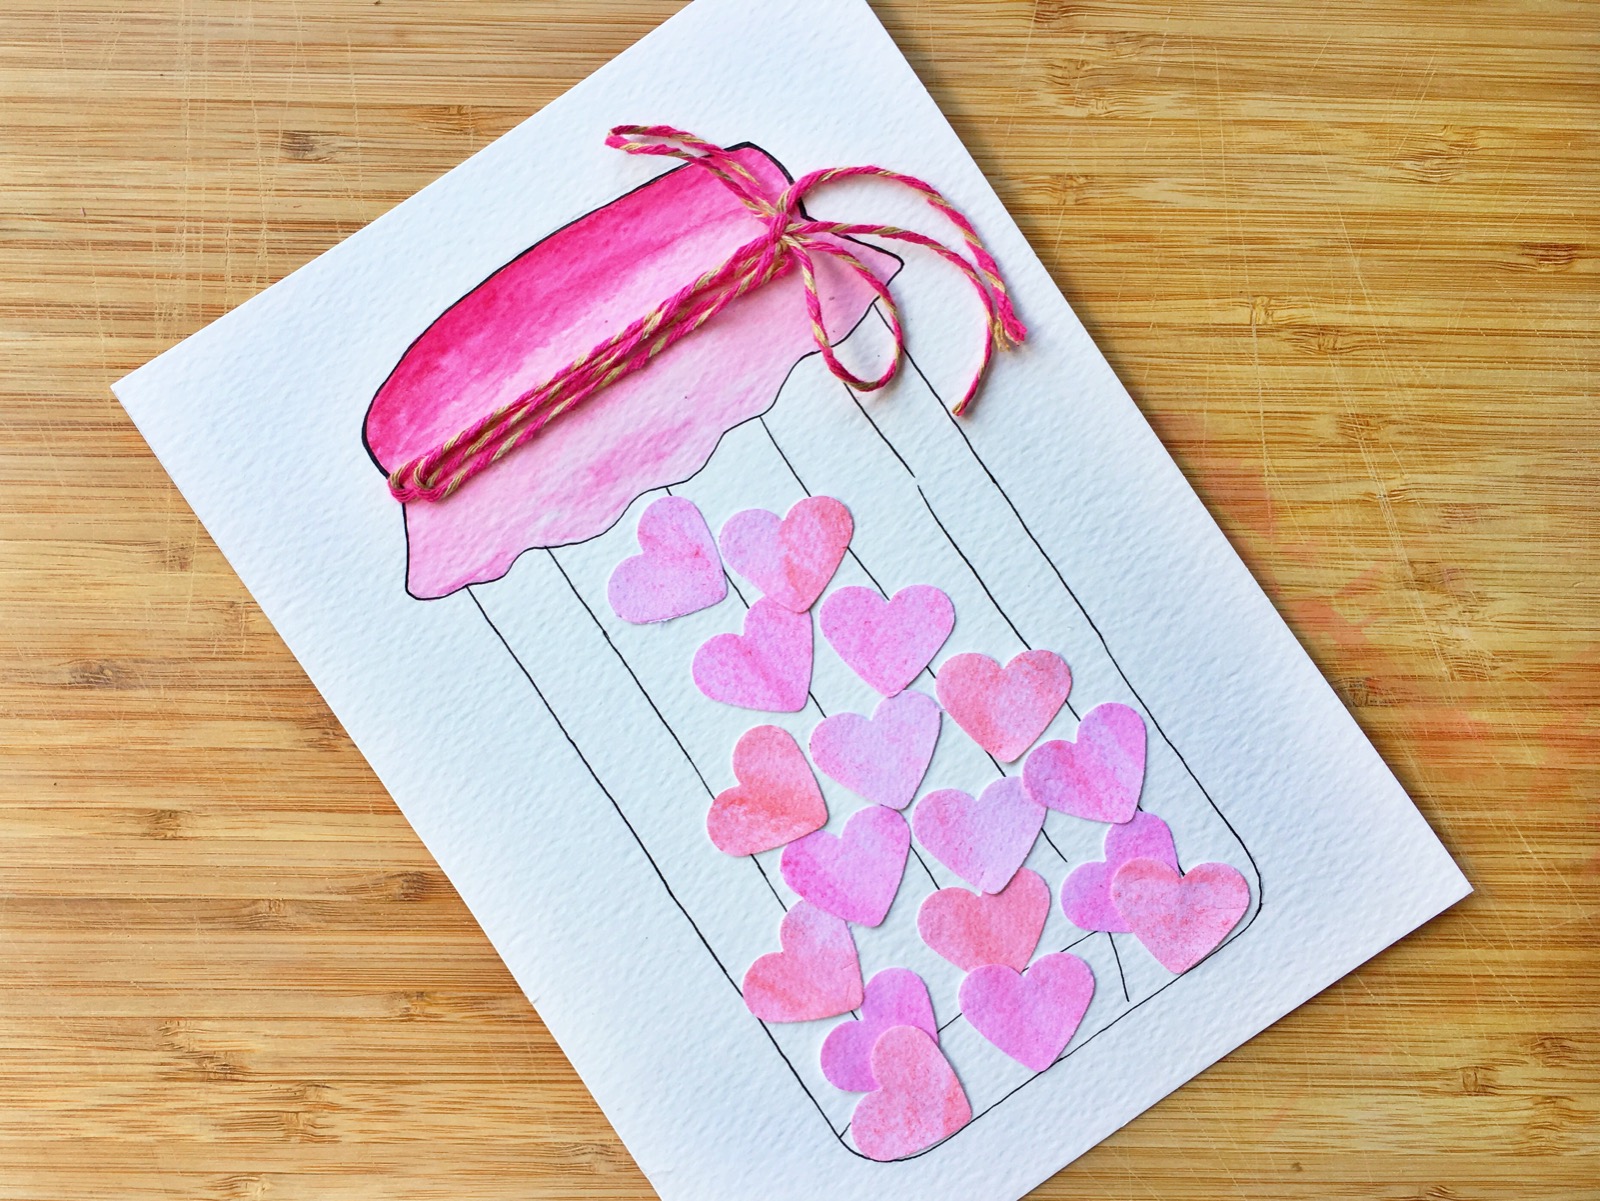 Create a realistic touch your card further by adding a baker’s twine around the fabric cover section. I make a tiny knot on the twine and glued it to paper by folding it once as shown. Isn’t it adorable?
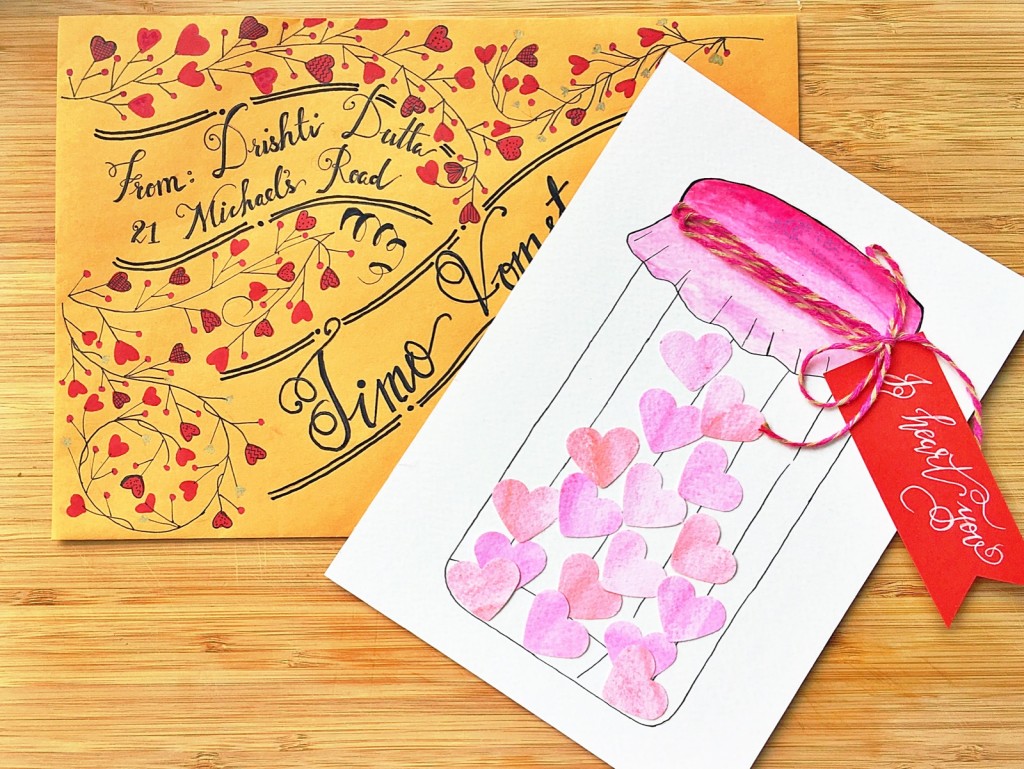
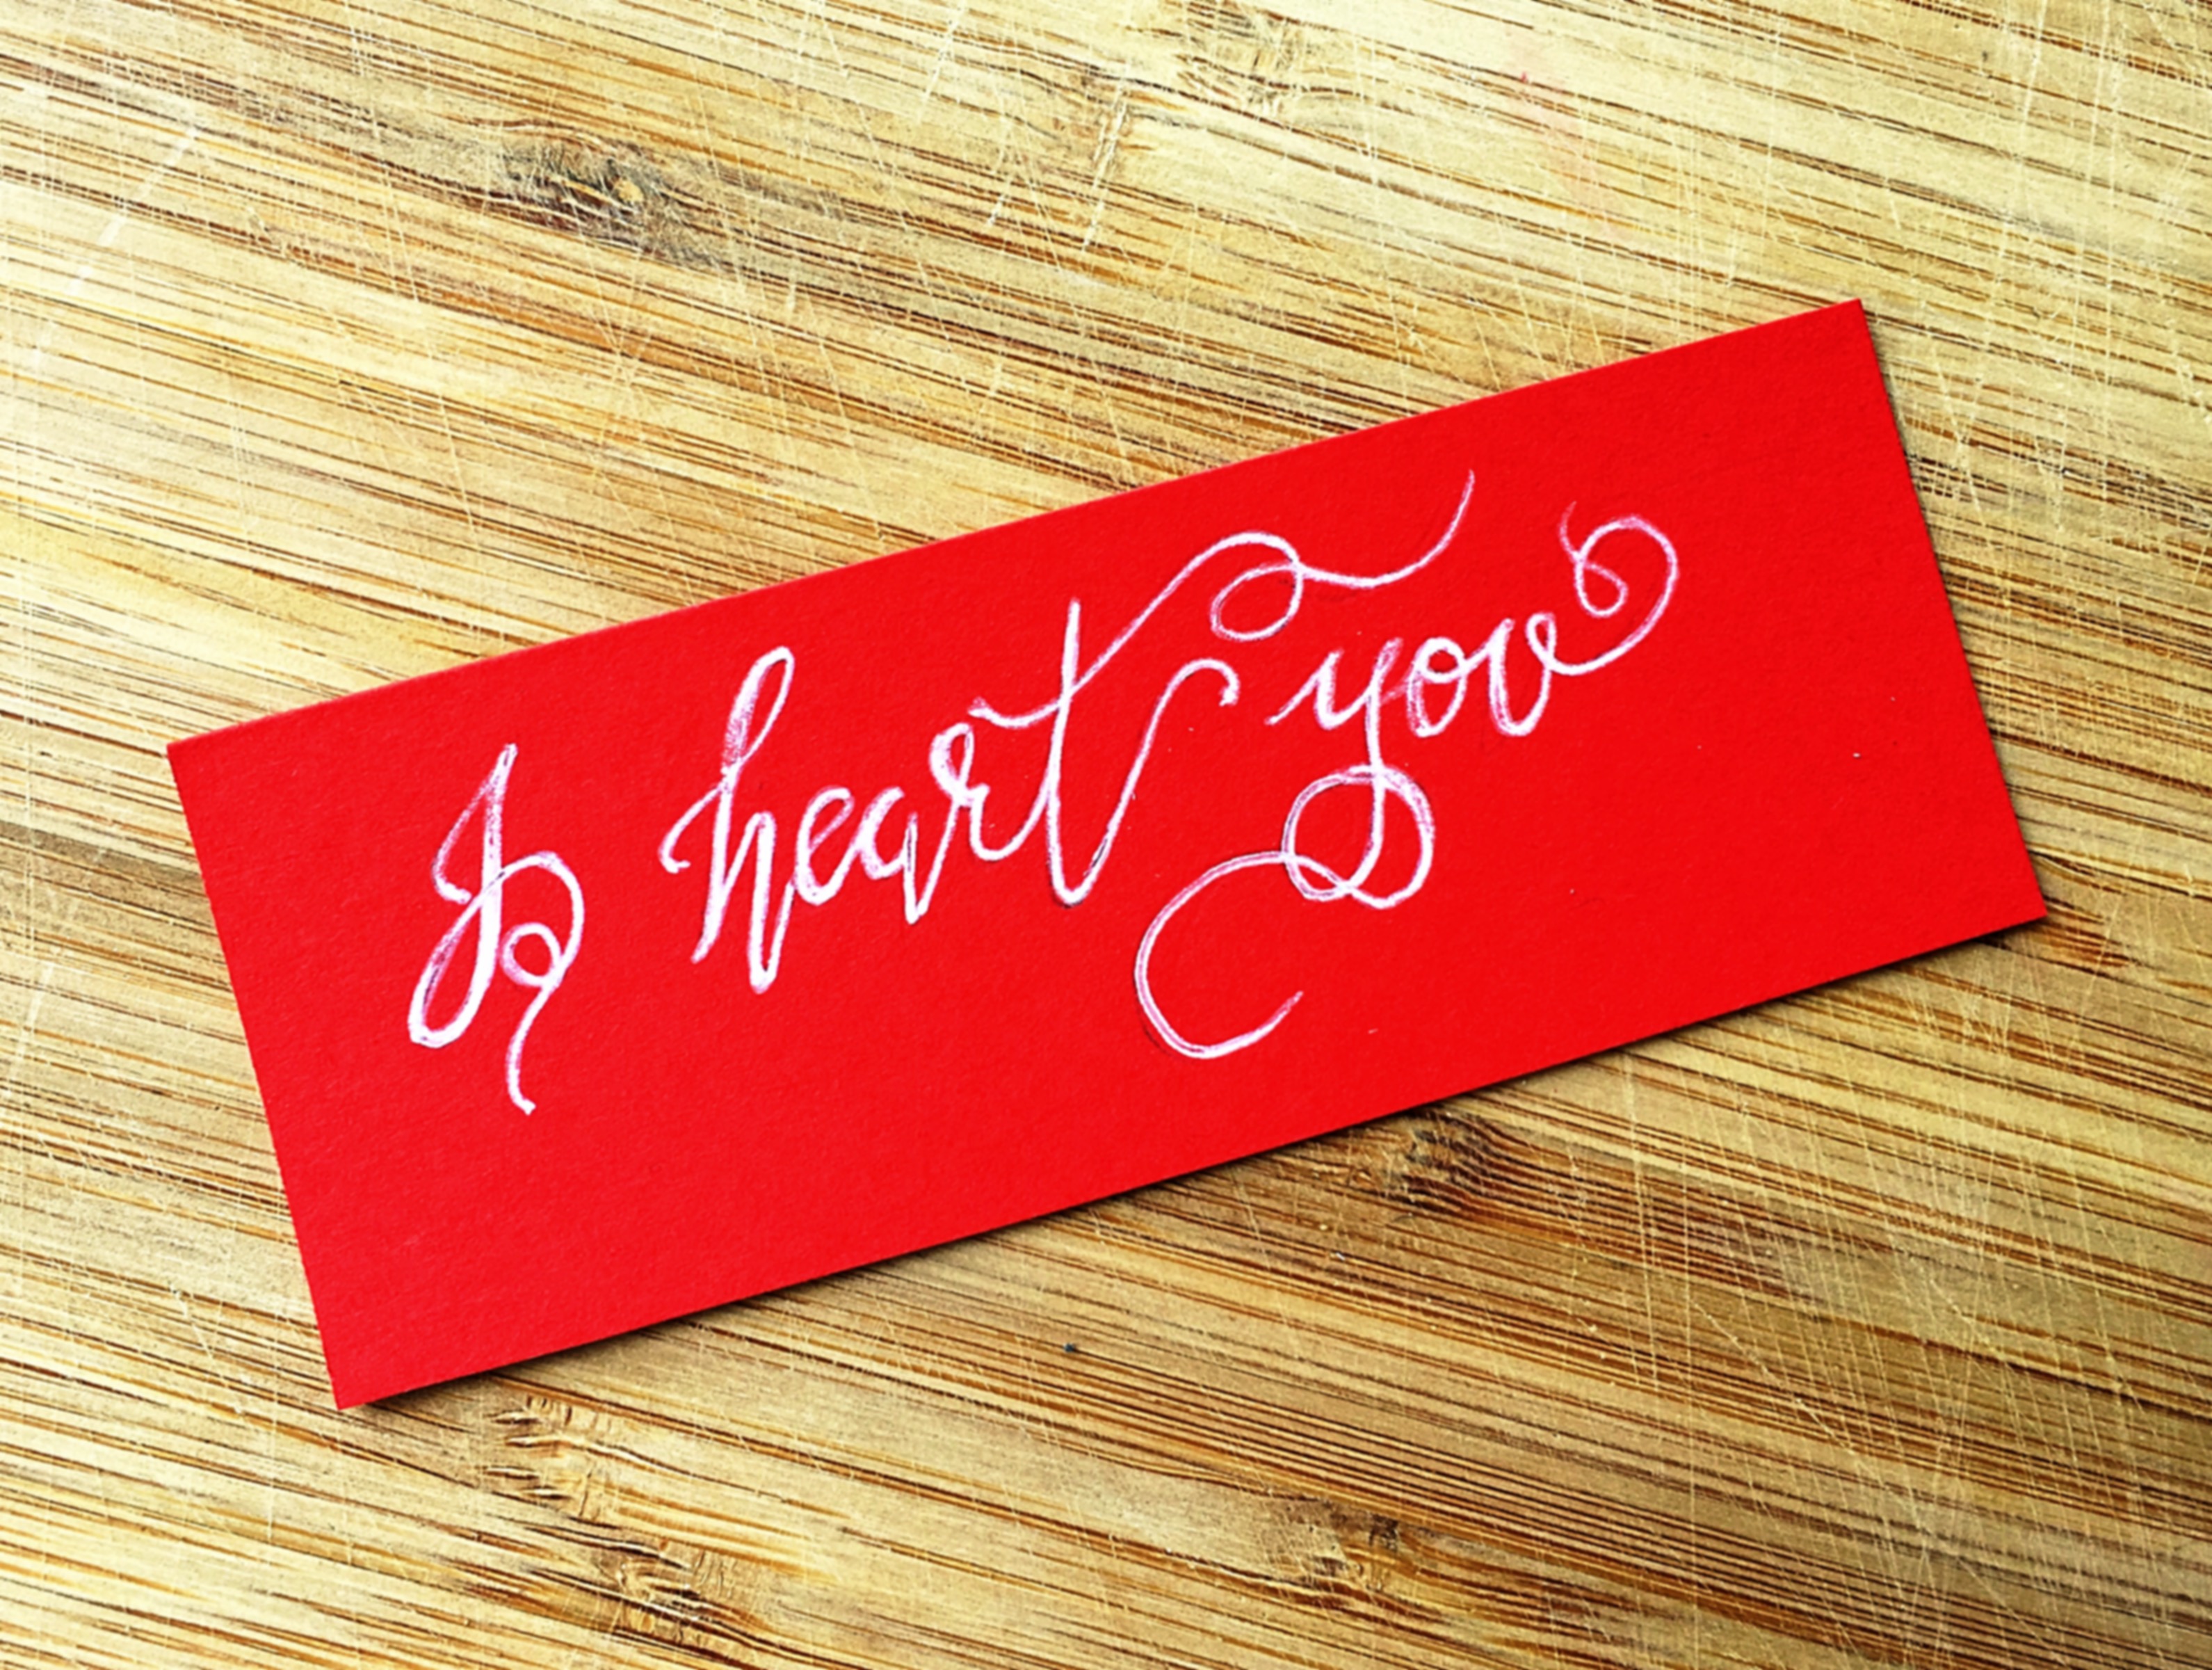 How can a card be complete without a message! I cut out a section from red cardstock of dimensions 8X3cm to scribe my love note using White Uniball Signo Gel pen with faux calligraphy. I glued this tag onto the jar next to the twine knot to finish my project.
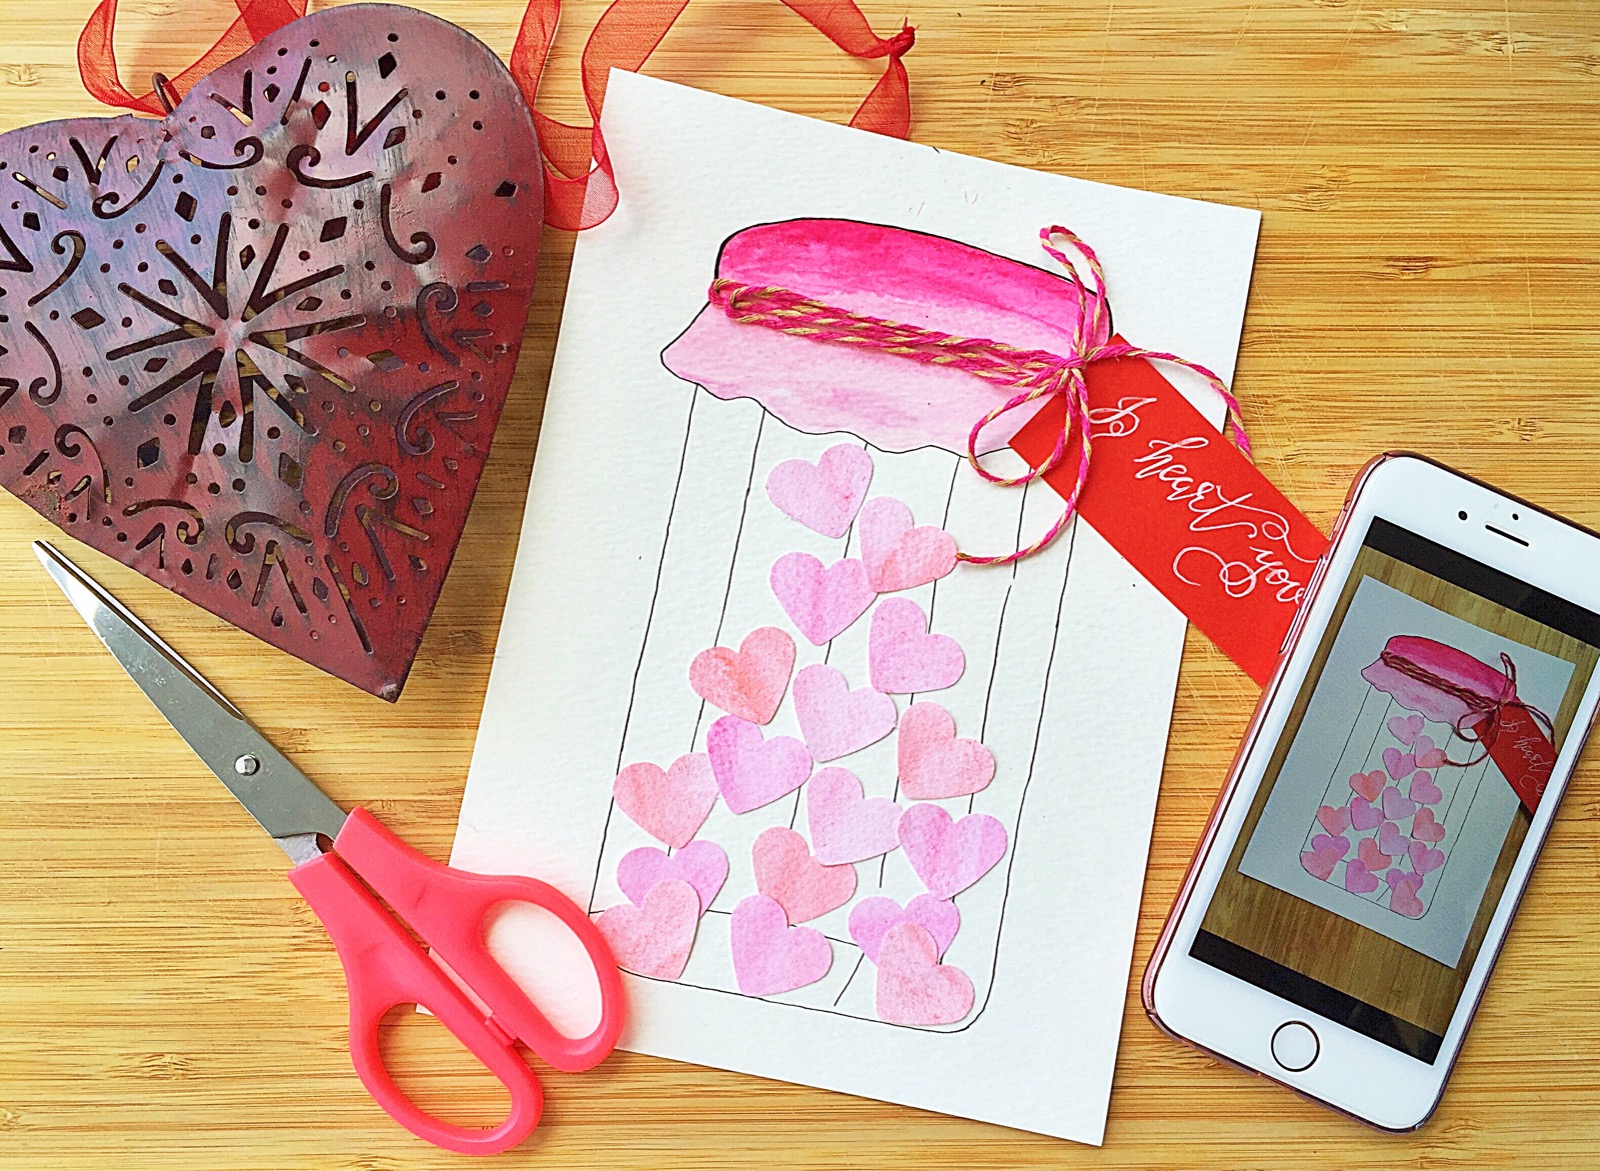 Doesn’t this jar of hearts DIY card looks super fancy! I hope this tutorial has inspired you to make one of your own too. So go ahead, get a little crafty and express your unconditional love this Valentine by DIYing. You can always share your works with me by hashtag/tag @lifeathon on Instagram.
Cheers
Drishti