
Spring is ringing our door bell. From the past few days it feels quite like spring, the sun is up all bright and birds are chirping away in glory. Just that it could get a little warmer! In honour of spring and Easter, today’s tutorial is all about creating a cheerful Easter inspired Gouache wreath with eggs and spring blooms. So, follow this easy tutorial to brighten up your home this Easter season.
SUPPLIES
{This post contains affiliate links}
- Gouache Paint ( Royal Talens )
- Brushes ( Escoda Reserva 2 and 4 )
- Compass or anything circular for outline
- Watercolour paper
- Pencil
STEPS
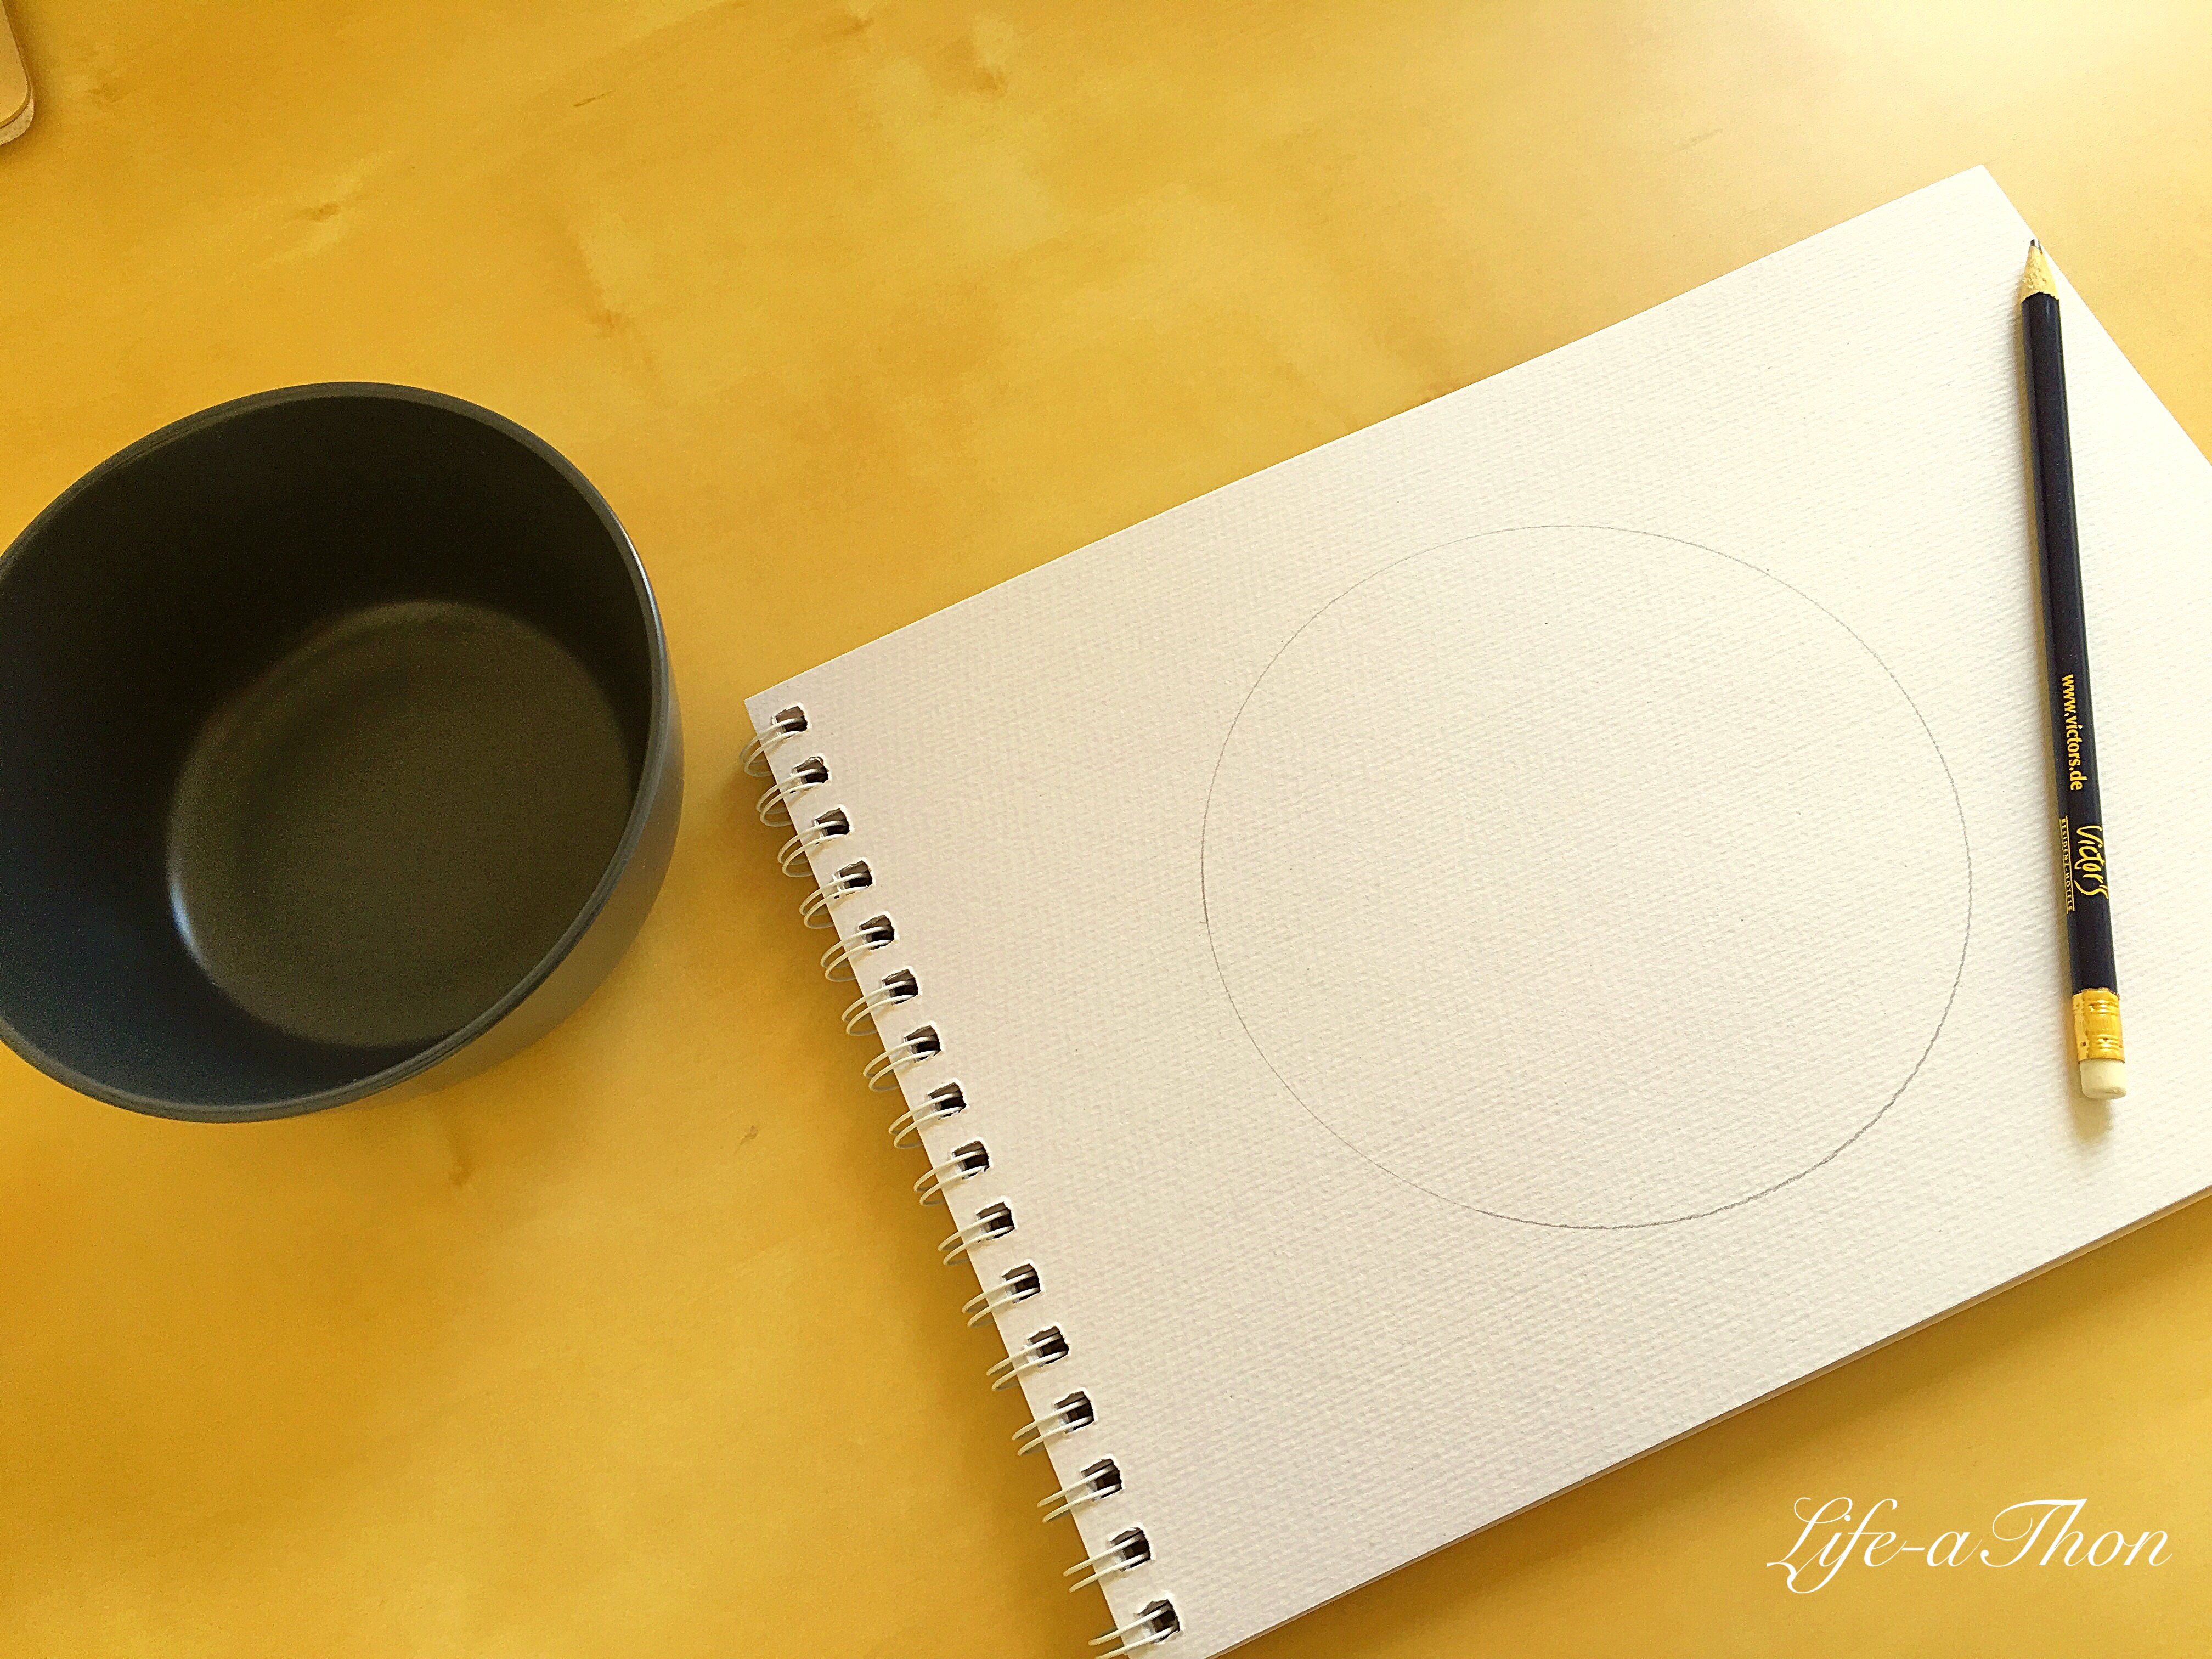
Begin by using a HB pencil to trace out a circle like the one above with any circular object. You might use a compass if you wish. This will serve as the base for wreath. I have used a soup bowl for making a circle.
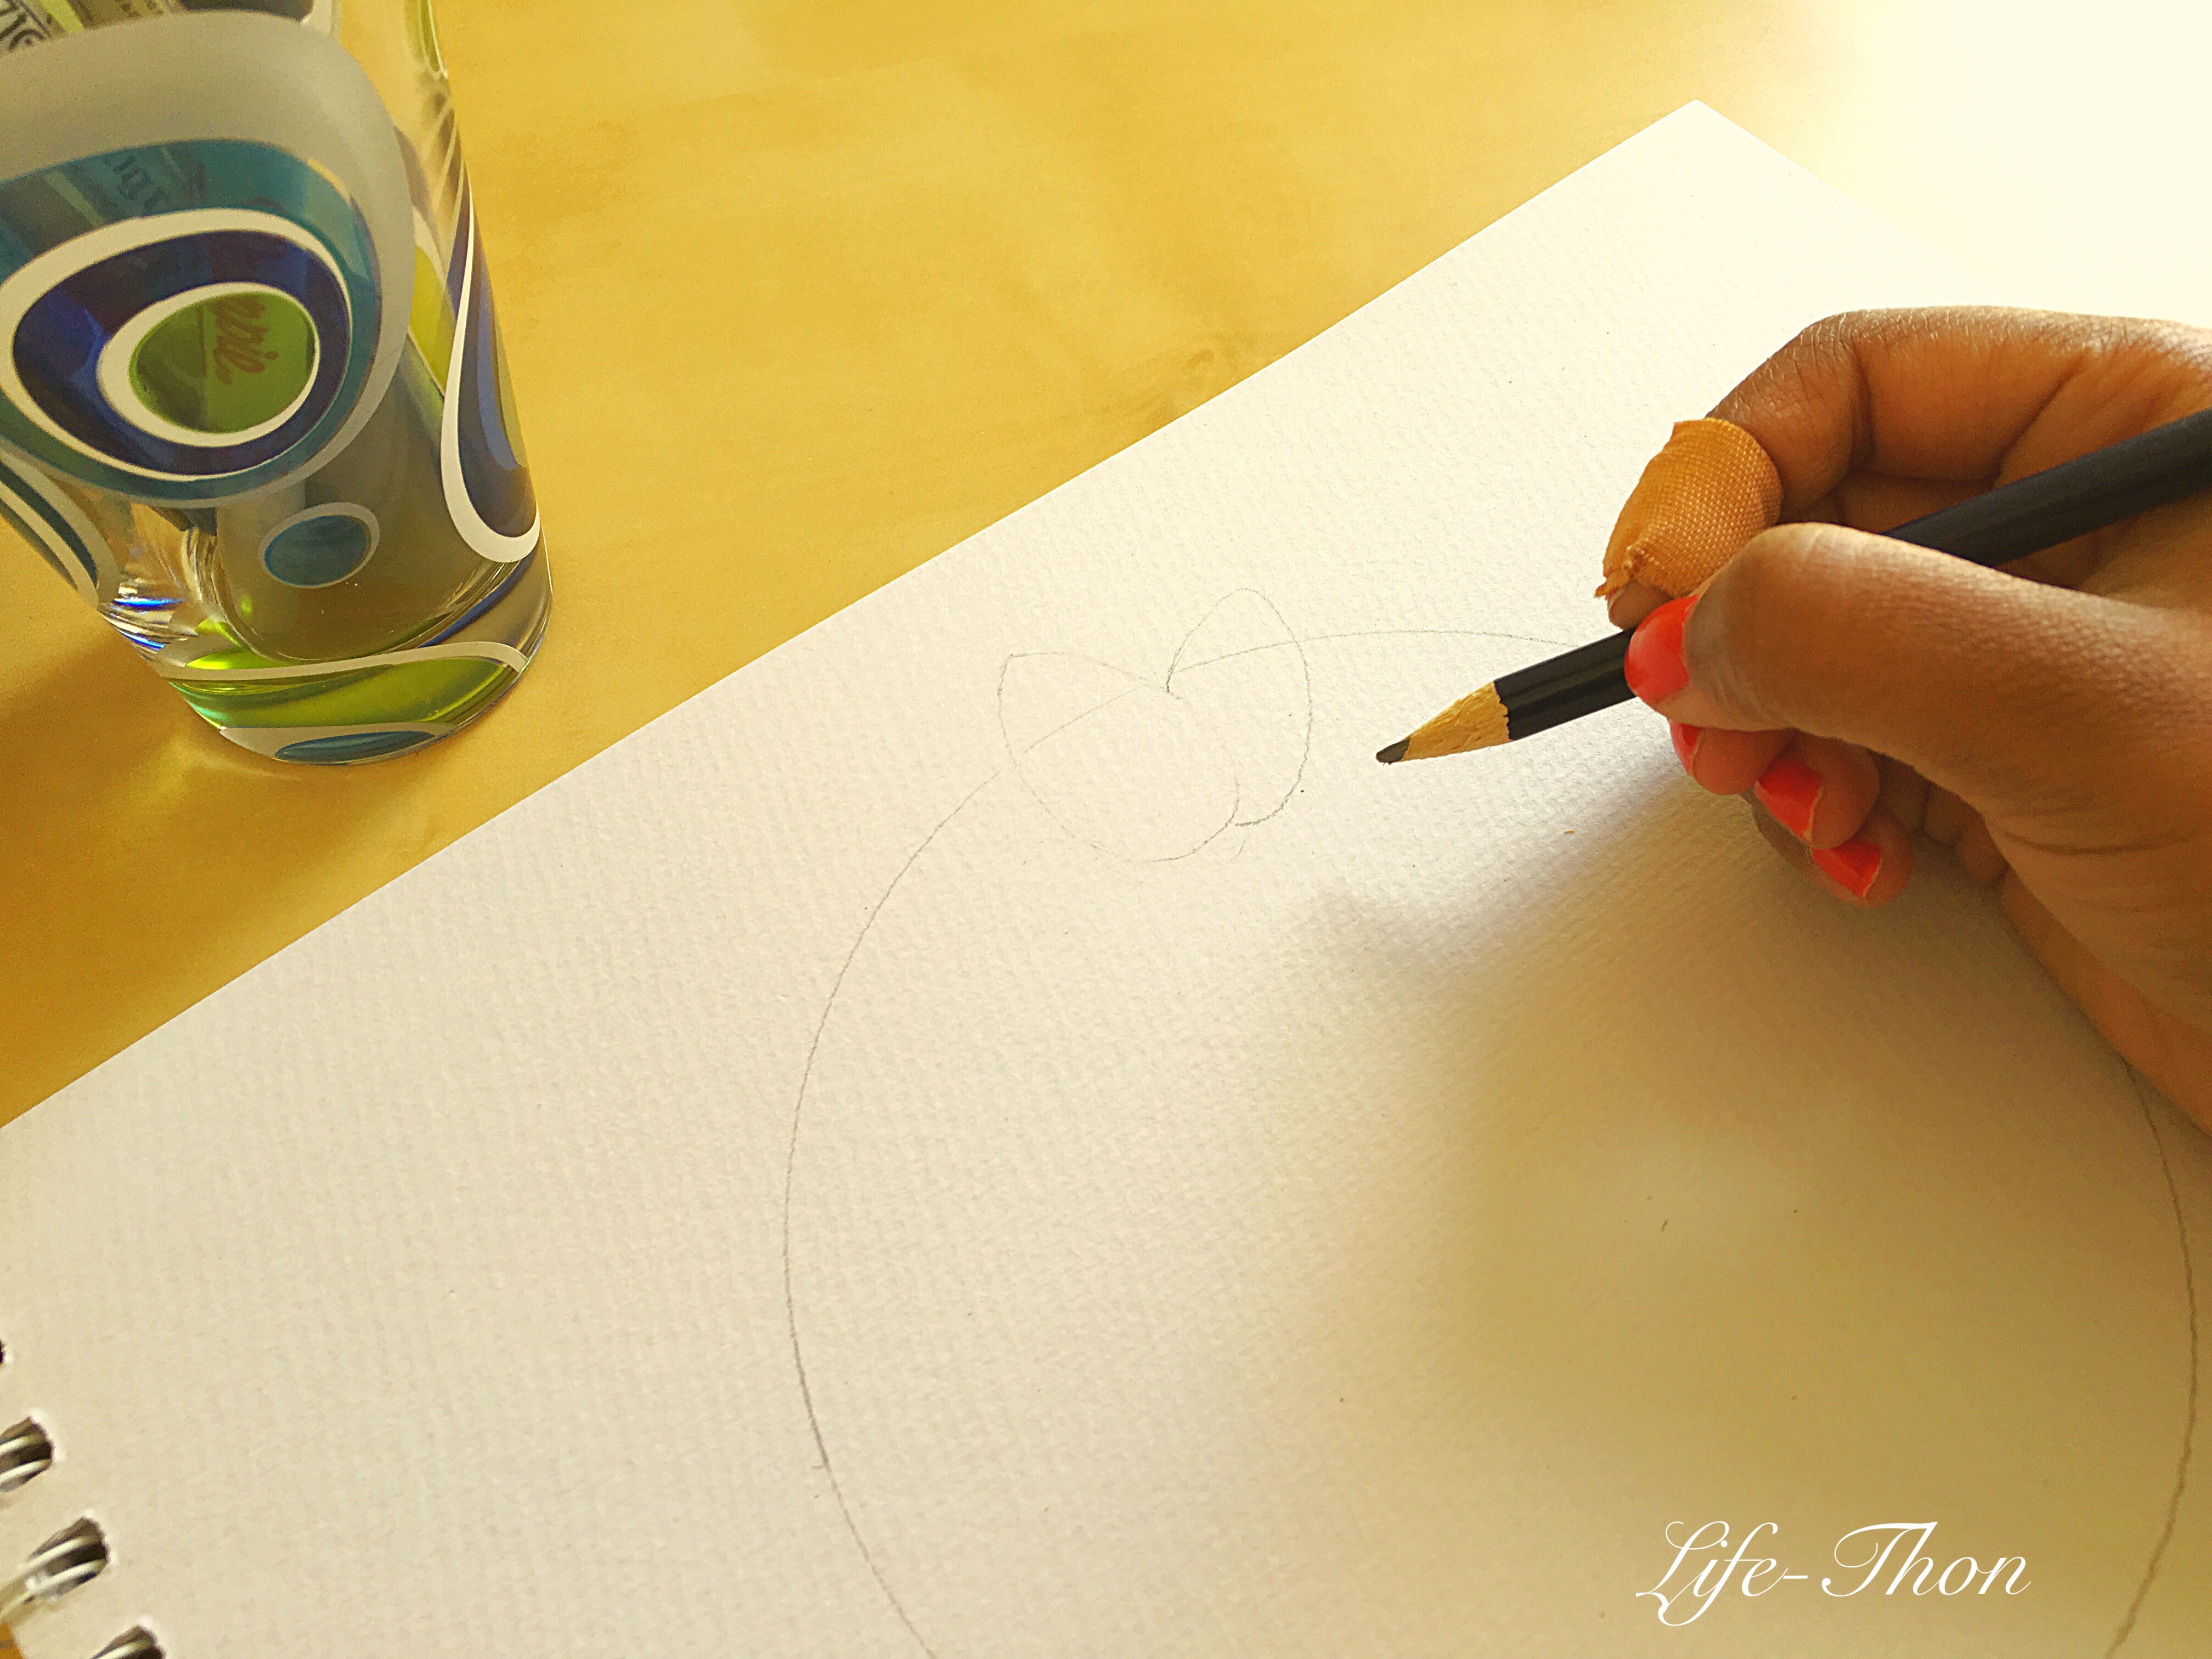
No Easter is complete without eggs. Let us now fill the circle by drawing some oval shaped eggs at irregular intervals. Ensure to keep gaps in-between the eggs for filling up with leaves and branches. (P.S – Do not mind the bandage on my finger, kinda injured myself at the kitchen haha! )

Next, we will draw some botanicals. I made some leaves to fill up the empty spaces. Continue until you fill along the contour of the circle with repeating illustrations to cover all the gaps between the ovals. Take a step away from your seat and check out your artwork from a distance if it needs any additional fillers or any corrections. This tiny practice has always helped me to rectify any unseen mistakes.

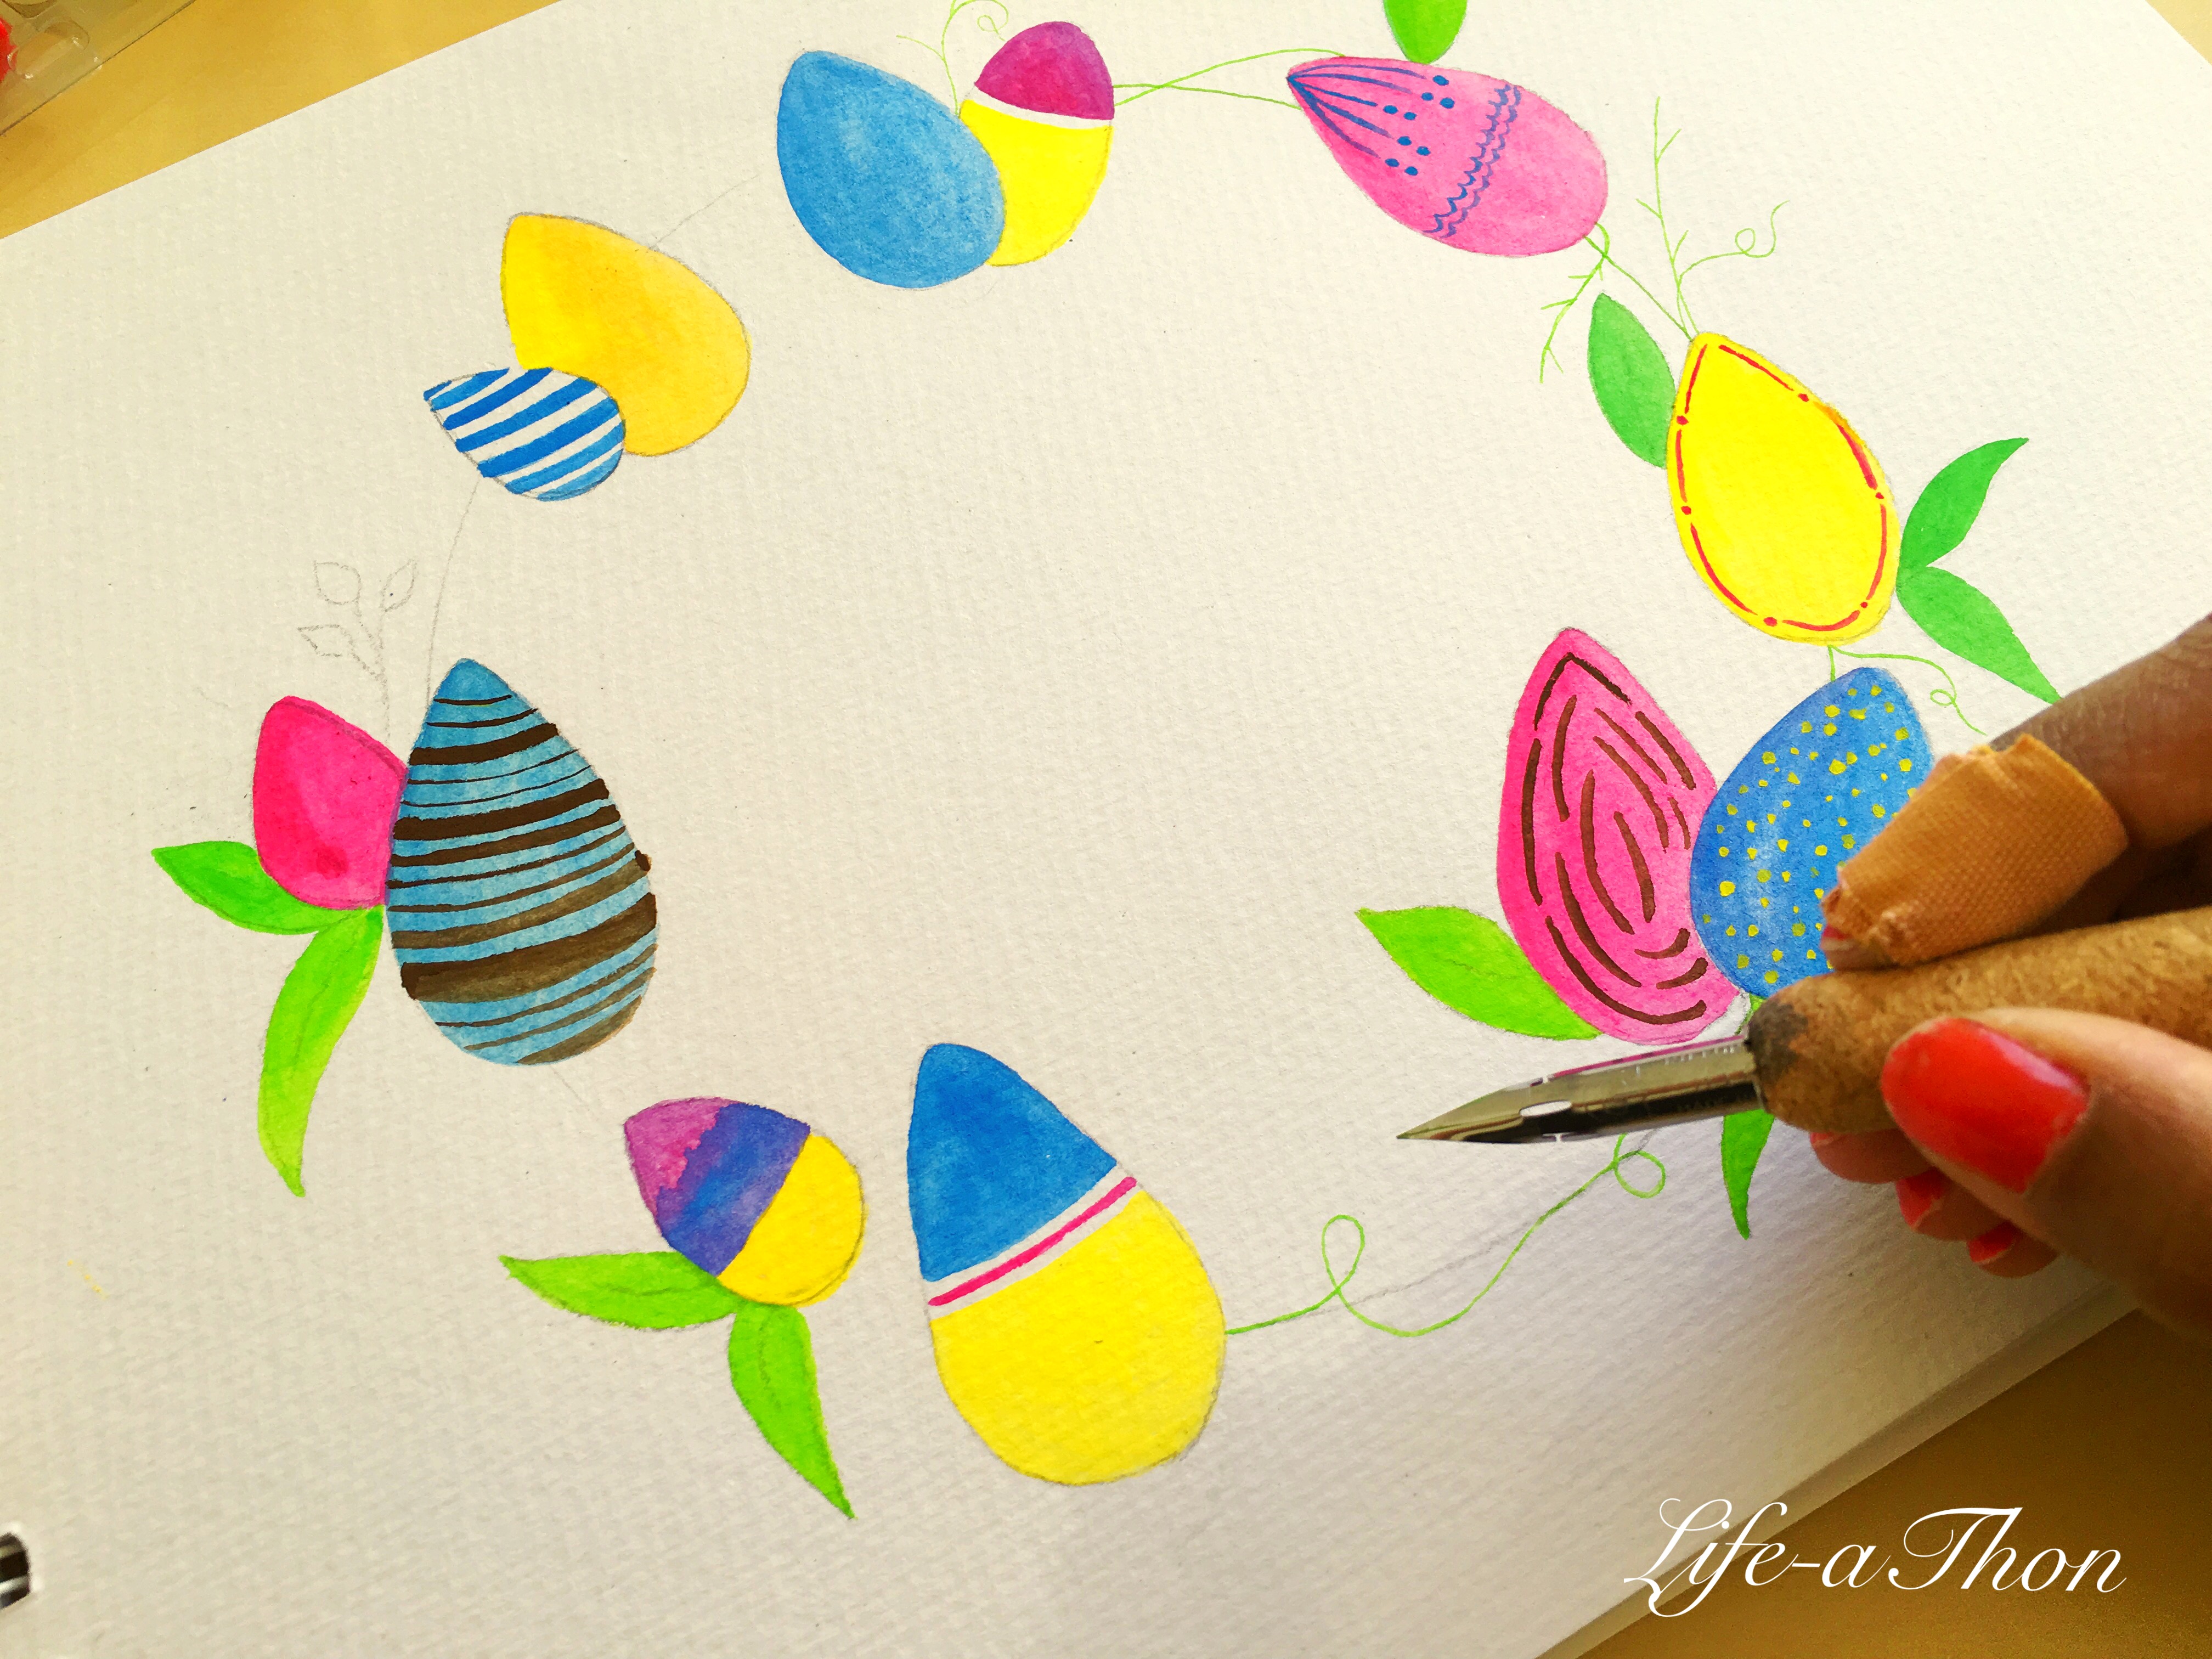
Since it is spring I want my colour palette to be vibrant and zingy. I used Ultramarine, Deep Rose, Viridian Green and Yellow Ochre from the Royal Talens Gouache Palette as my color choice. I try to fill up one colour at a time as this helps to save time and color too.
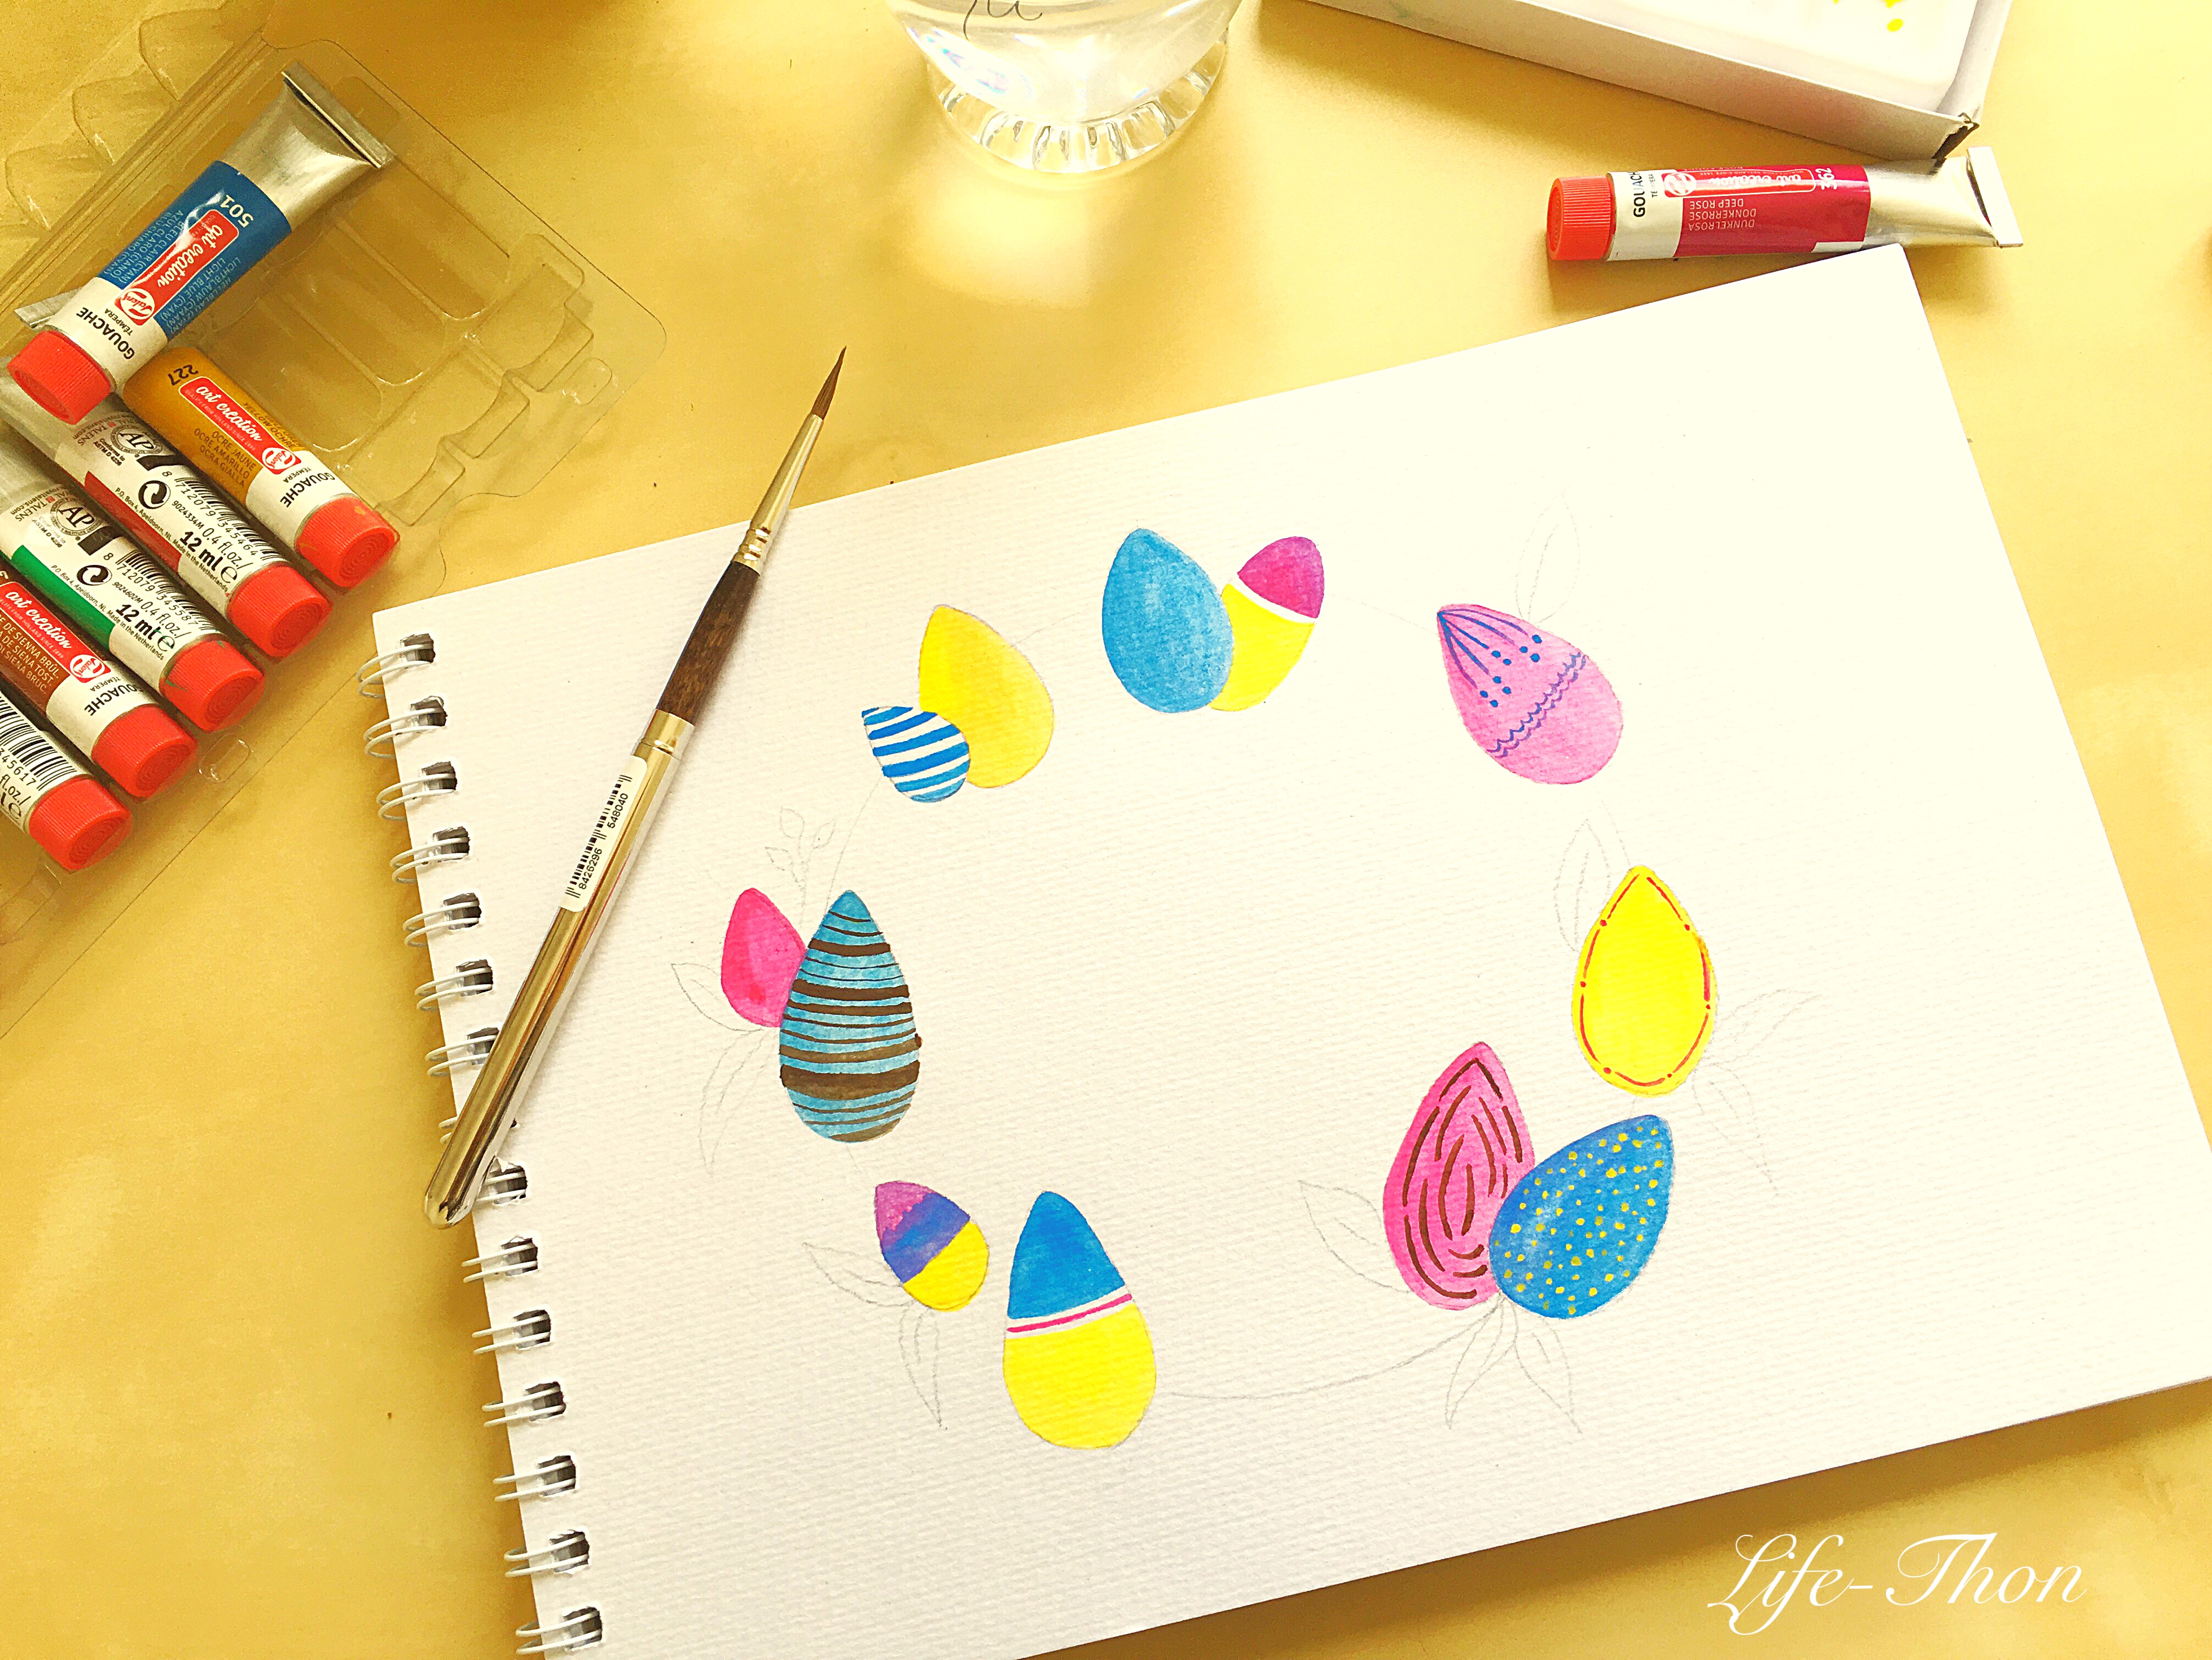
Feel free to explore new patterns for your eggs. Mine looks like this. You can always get total wild in choosing any design as nothing is wrong!

Next fill up the leaves with the brightest shade of green as you want your illustration to be bright and cheerful.
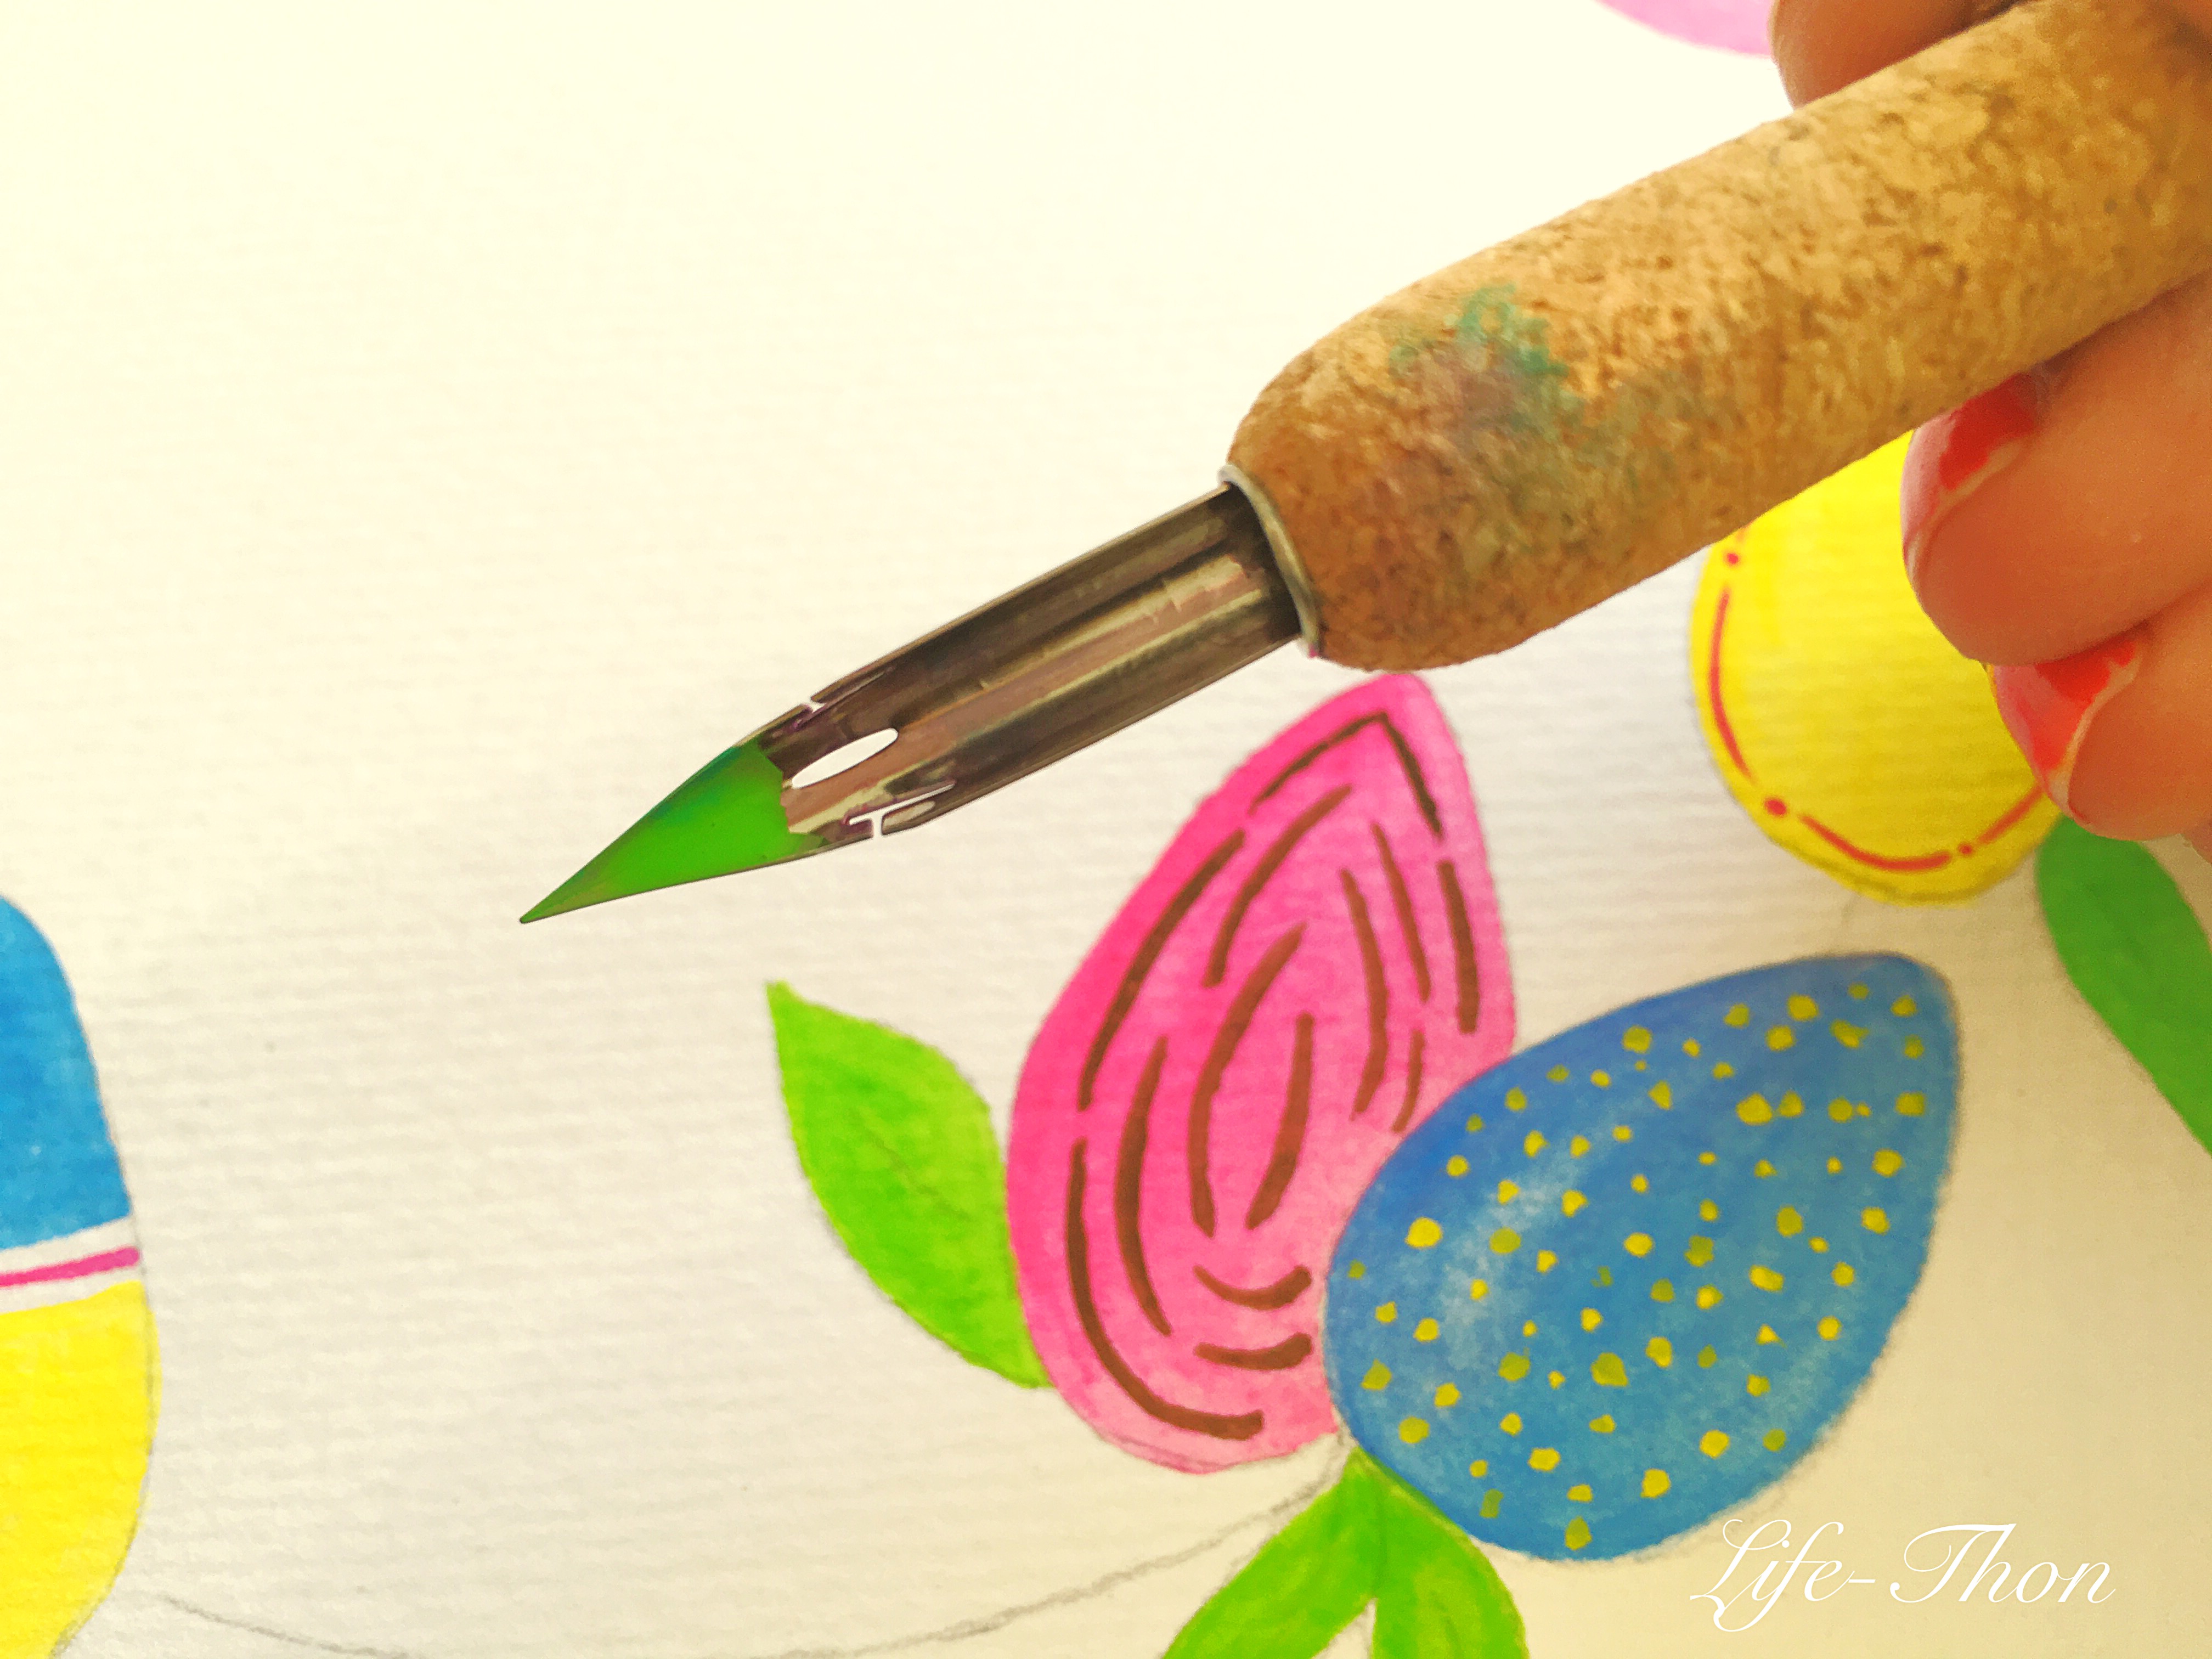
To make the branches I opted for Gouache using a dip pen as it is pretty opaque and of course super neat when teamed with a dip pen. I used Nikko G nib for this illustration as it is perfect for drawing. Moreover gouache calligraphy provides an awesome supplement if you are using Gouache as a medium for your painting. Its simple as ABC to do Gouache Calligraphy. Squeeze some paint onto your palette and add 2-3 drops of water and mix to get a dense mixture. Use a paintbrush to rub a little amount of pigment into the nib of your dip pen and bingo!!! you are all set to write. If you run out of color on your nib, fret not! Just dab some more color into your nib using a brush.

Here is a closer look of the green branches I created using the dip pen. Doesn’t it create beautiful thin hairlines?
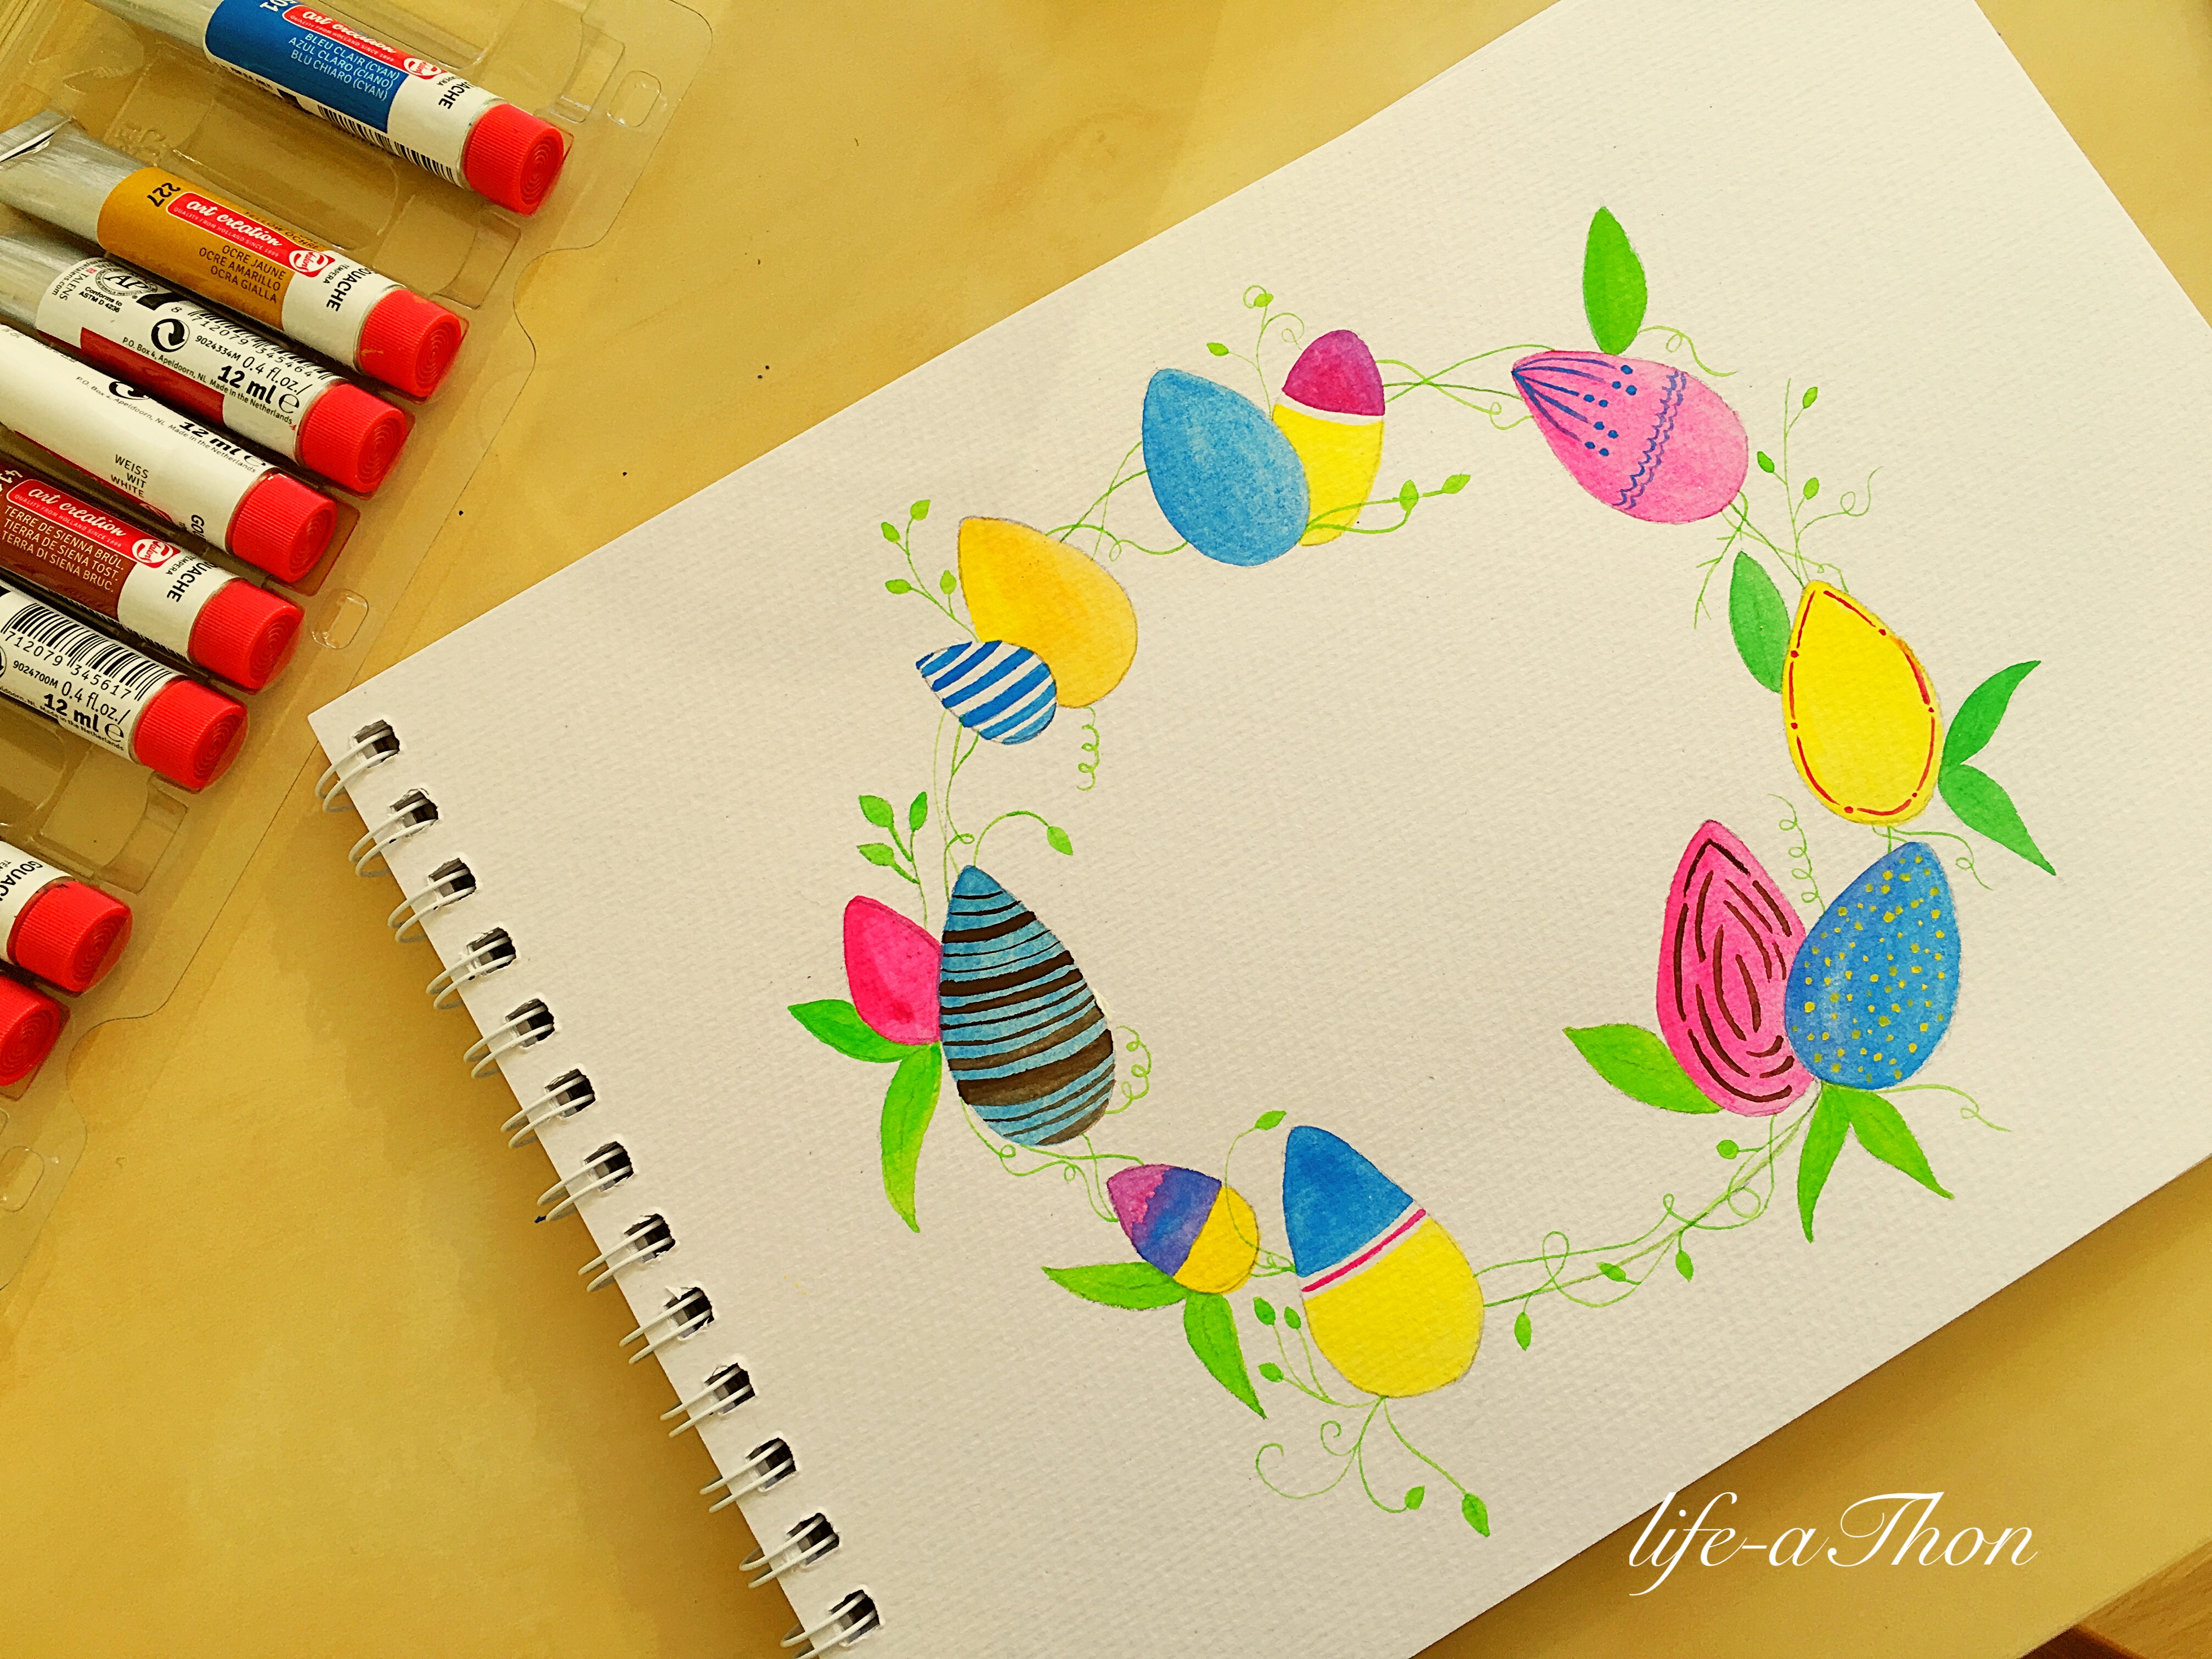
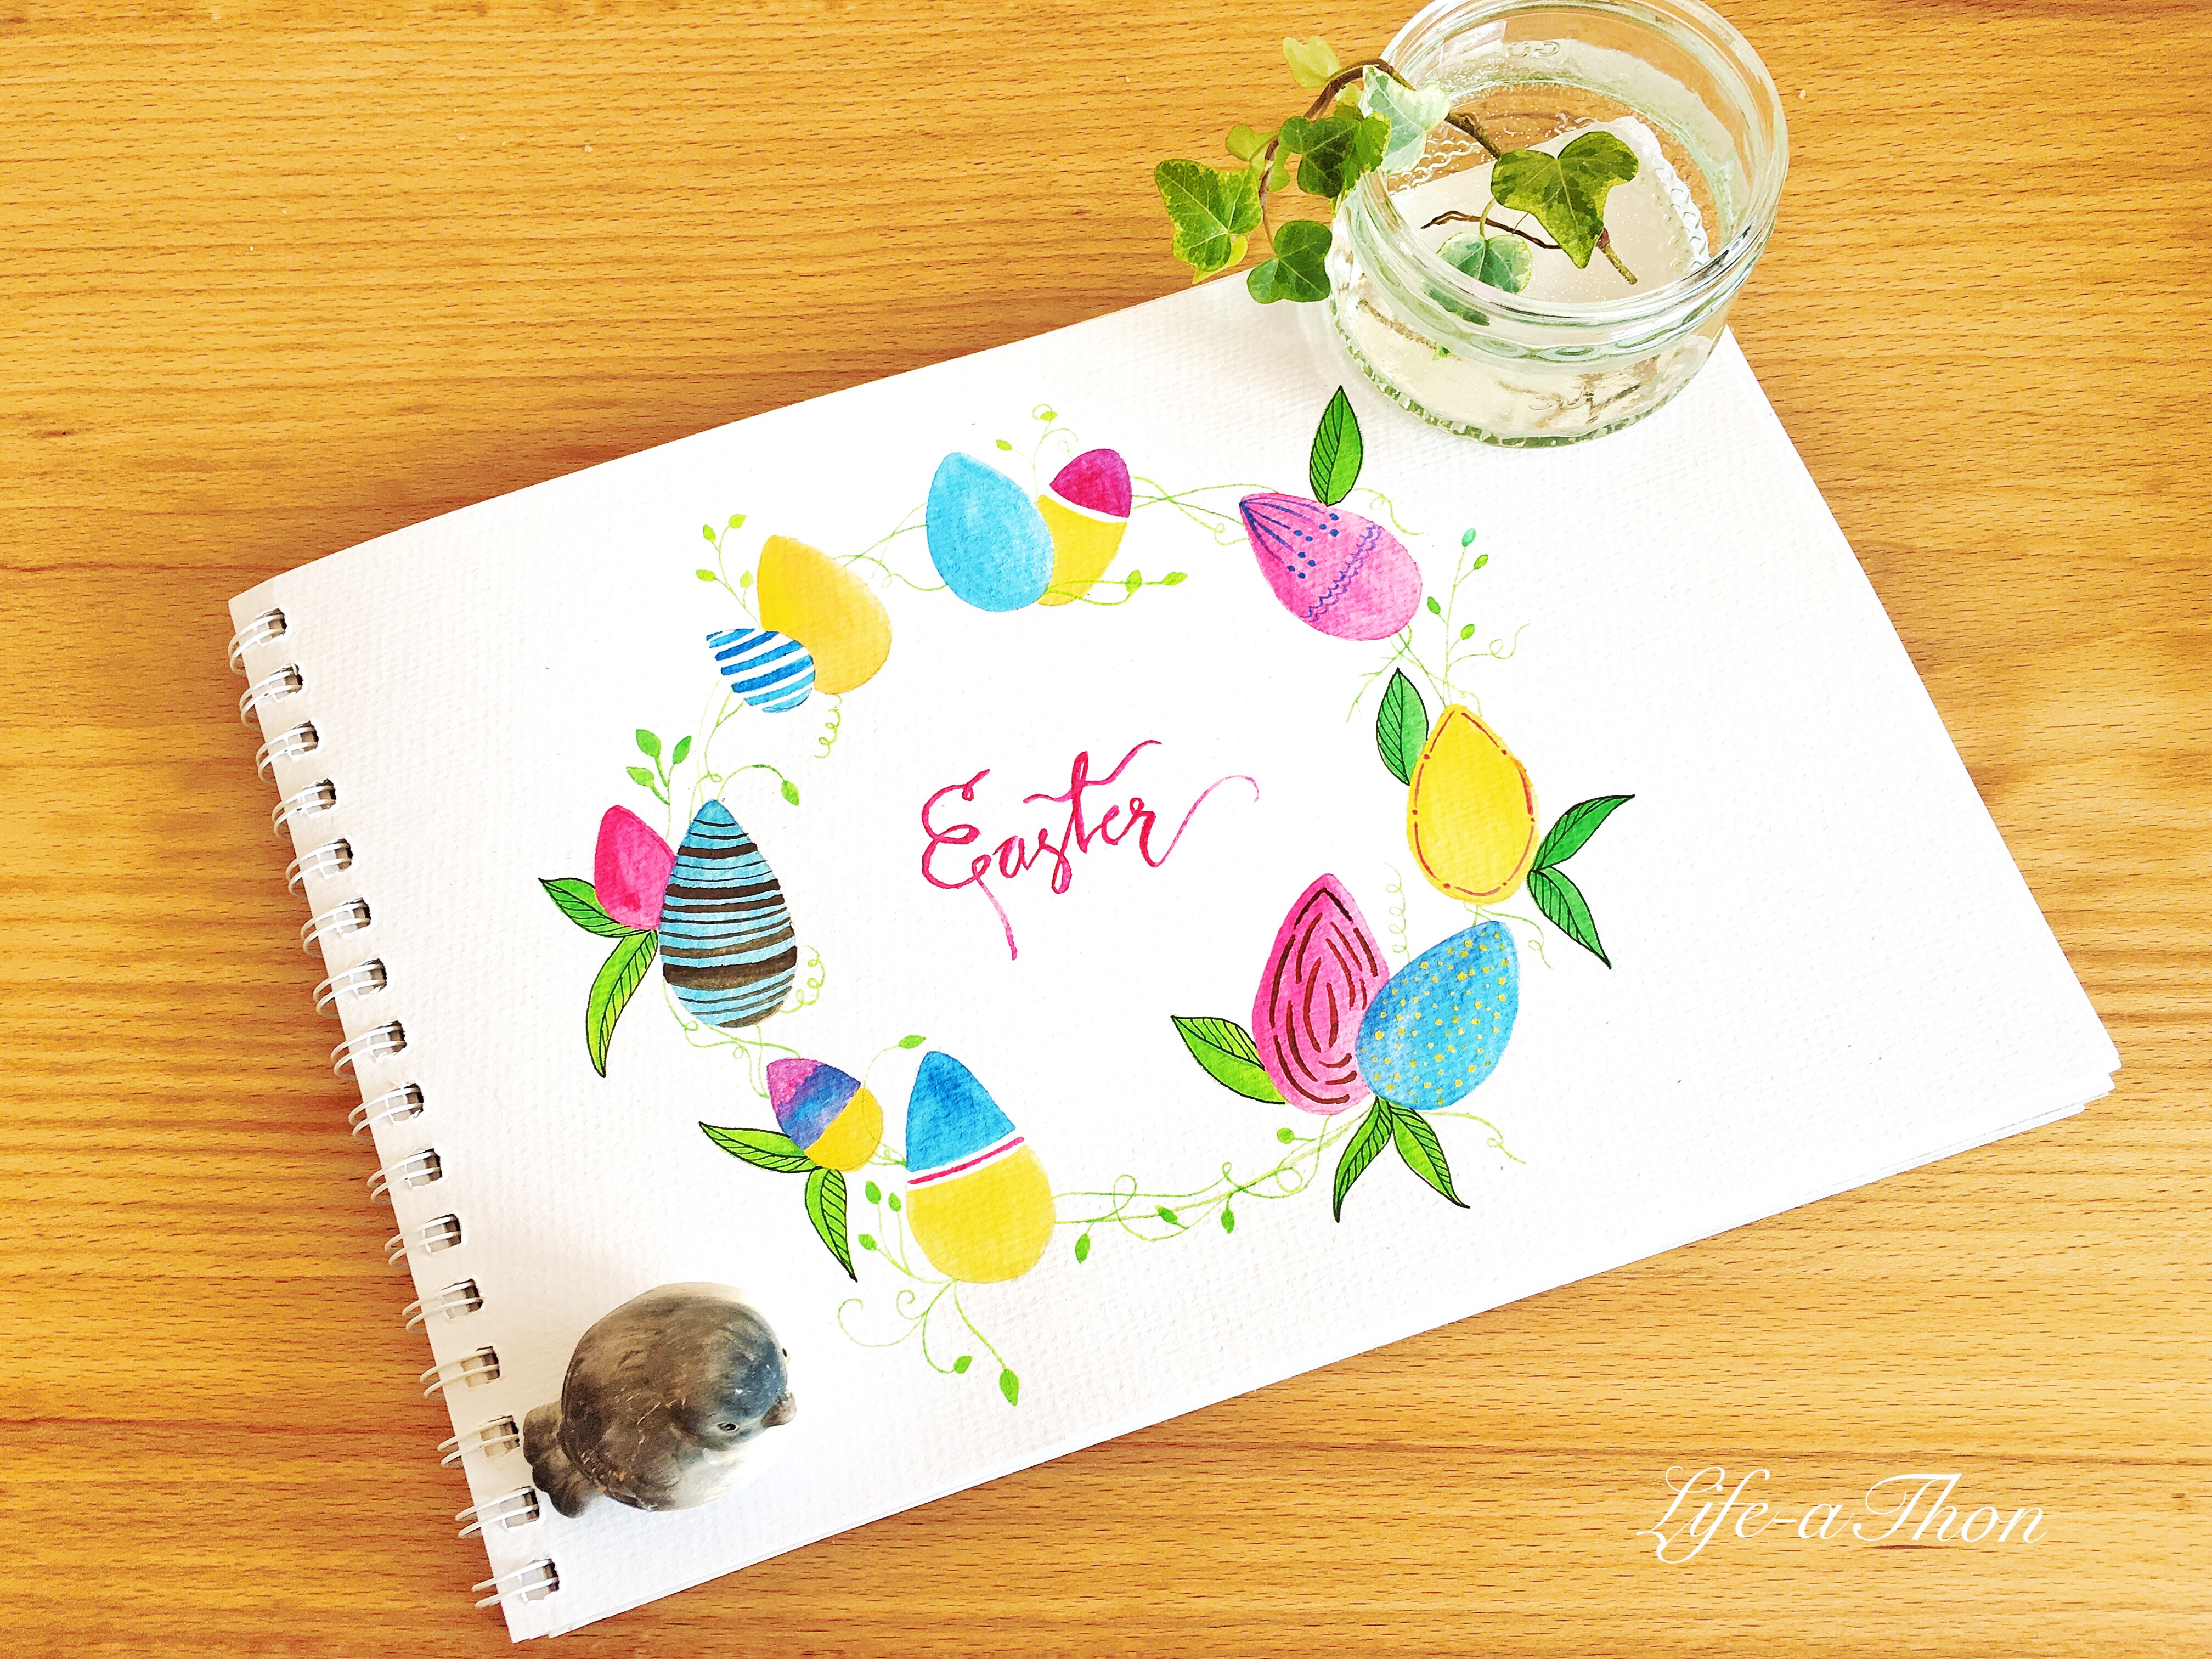
This is the finished look of your Easter inspired wreath. Pretty cool huh?
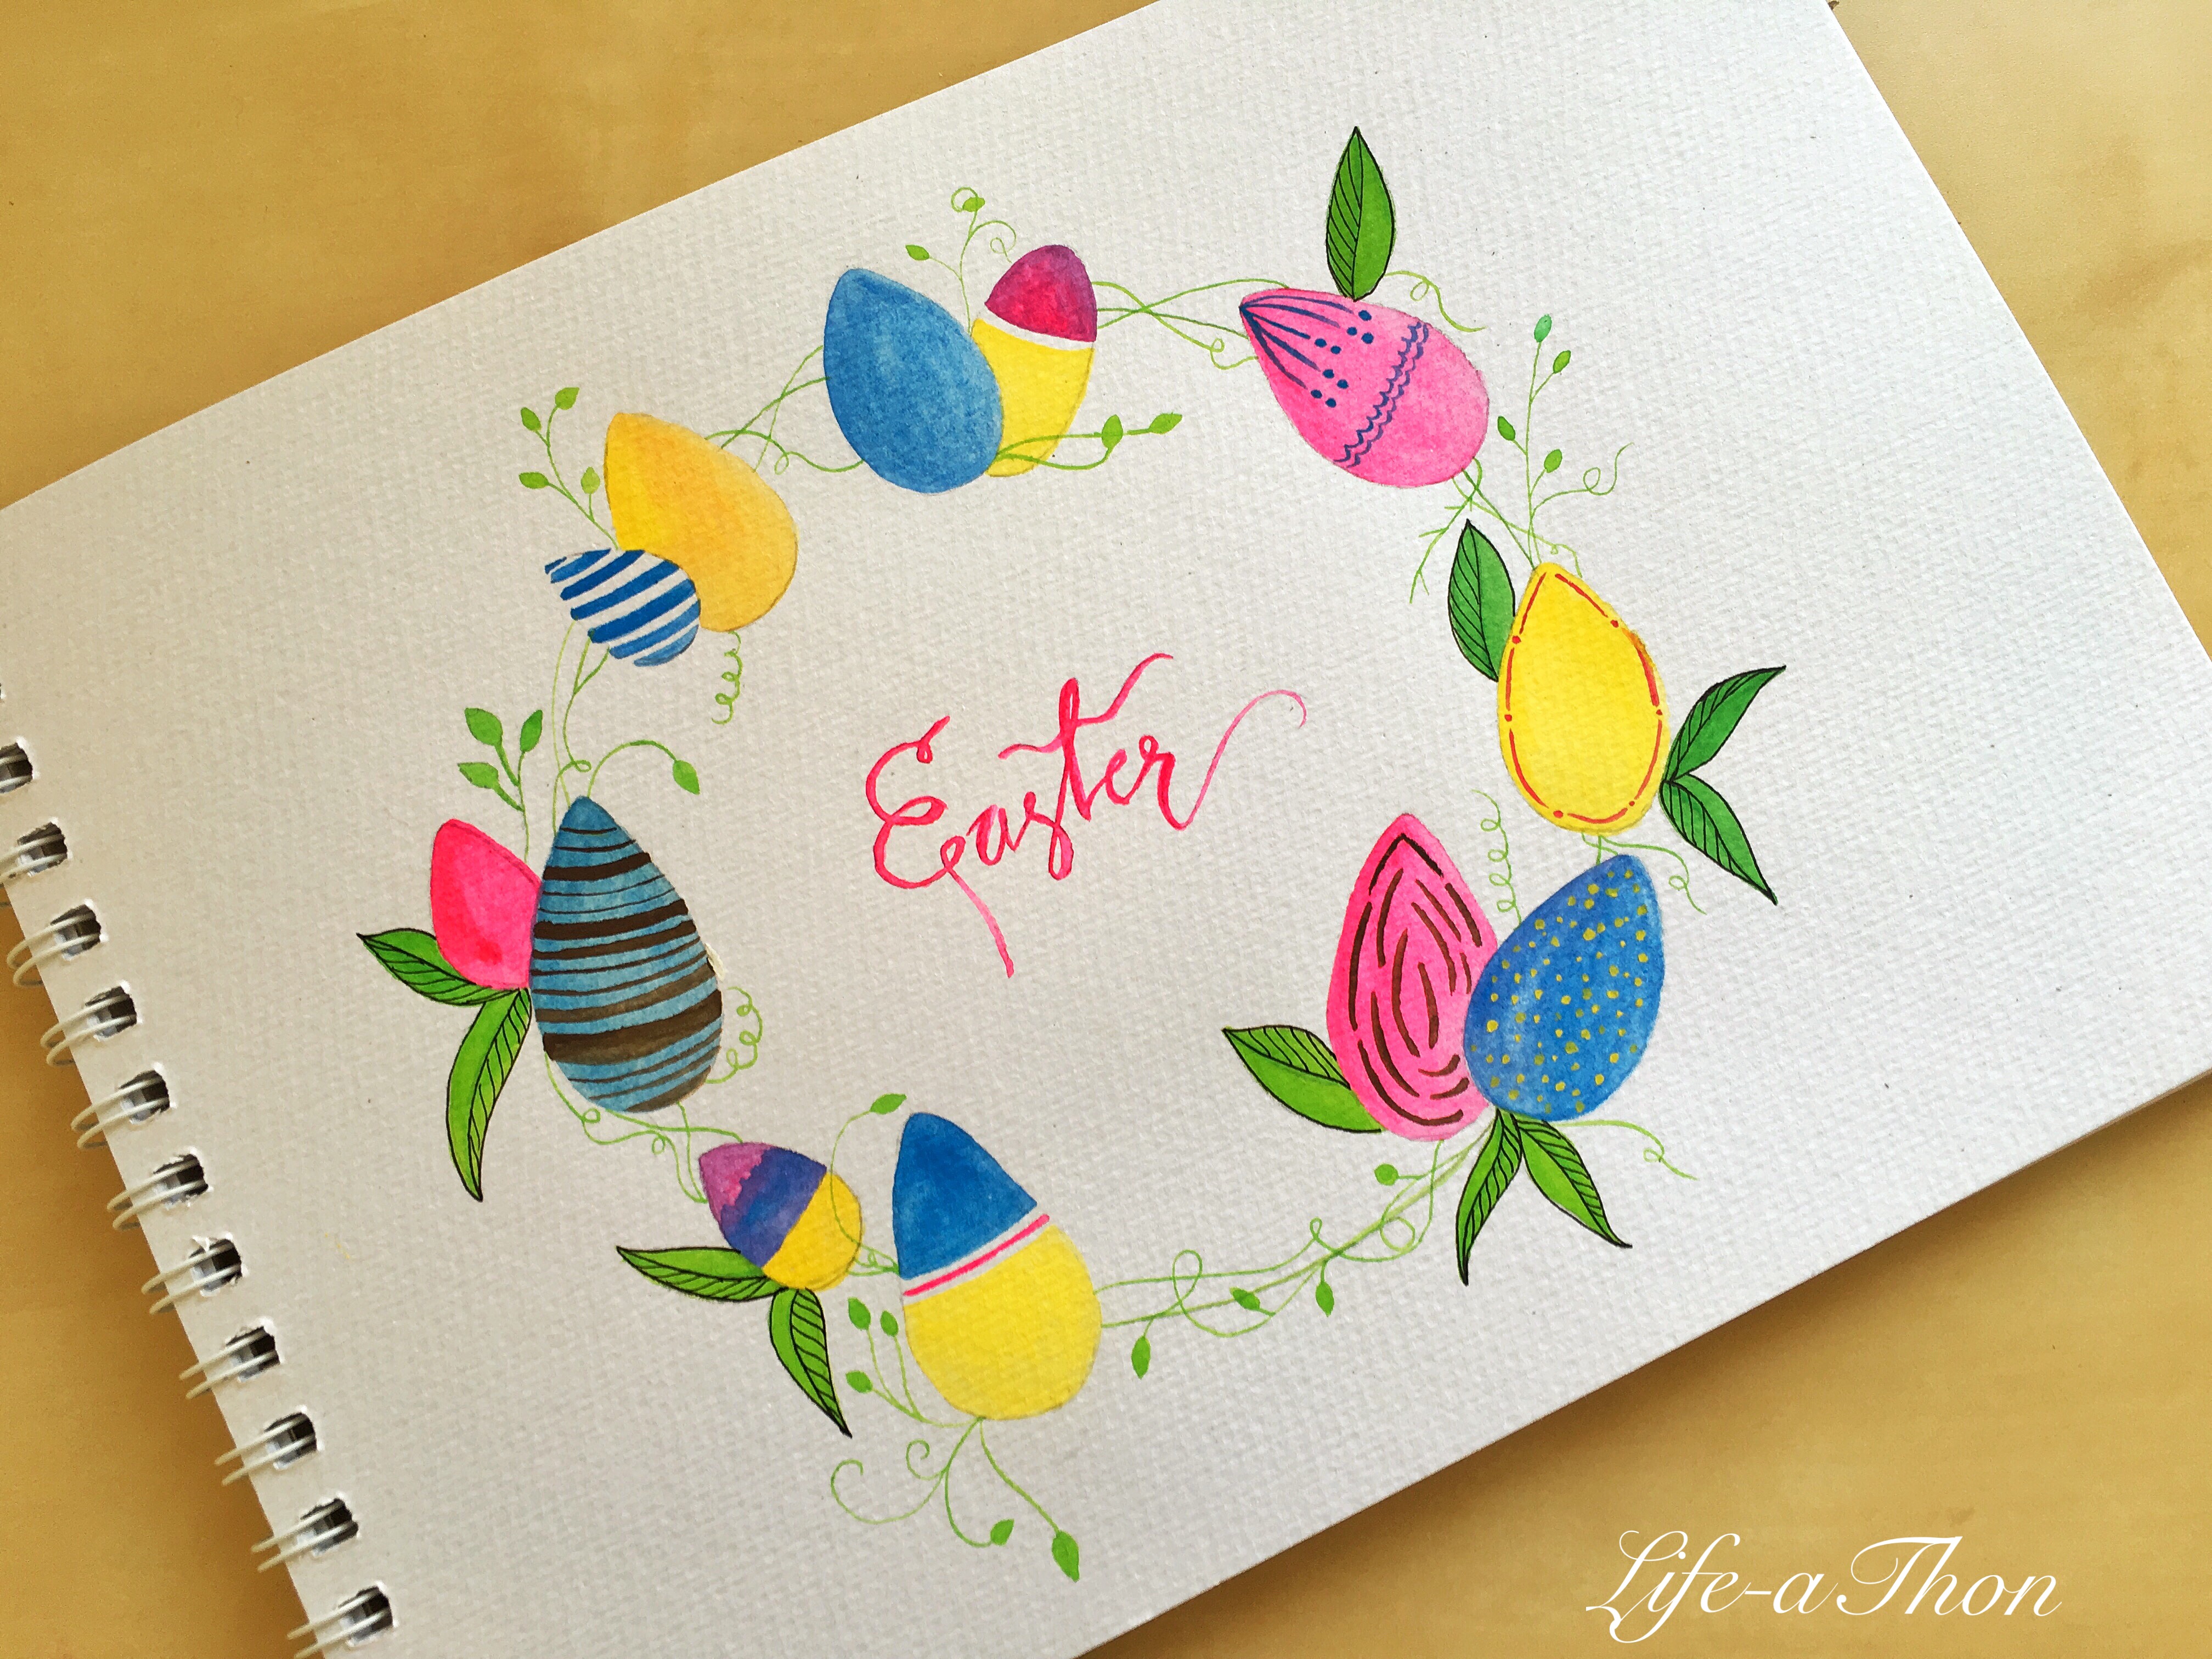
You can also write a little note inside the wreath as shown above. I used brush calligraphy technique for mine.
IMPLEMENTATION SUGGESTIONS
- You can frame this little piece of art and decorate your mantelpiece to welcome the lovely spring.
- You can gift it as a card for your friends for Ester
- This wreath is perfect to create an invitation for your friends and relatives for an Ester get together. You can write the invitation message inside the wreath.
- You can use it to decorate a nursery.
I hope that you will give this tutorial a try. If you have any questions or suggestions regarding this tutorial please feel free to comment. Thanks so much for stopping by and reading. Have a Great Ester ahead.
Cheers
Drishti