
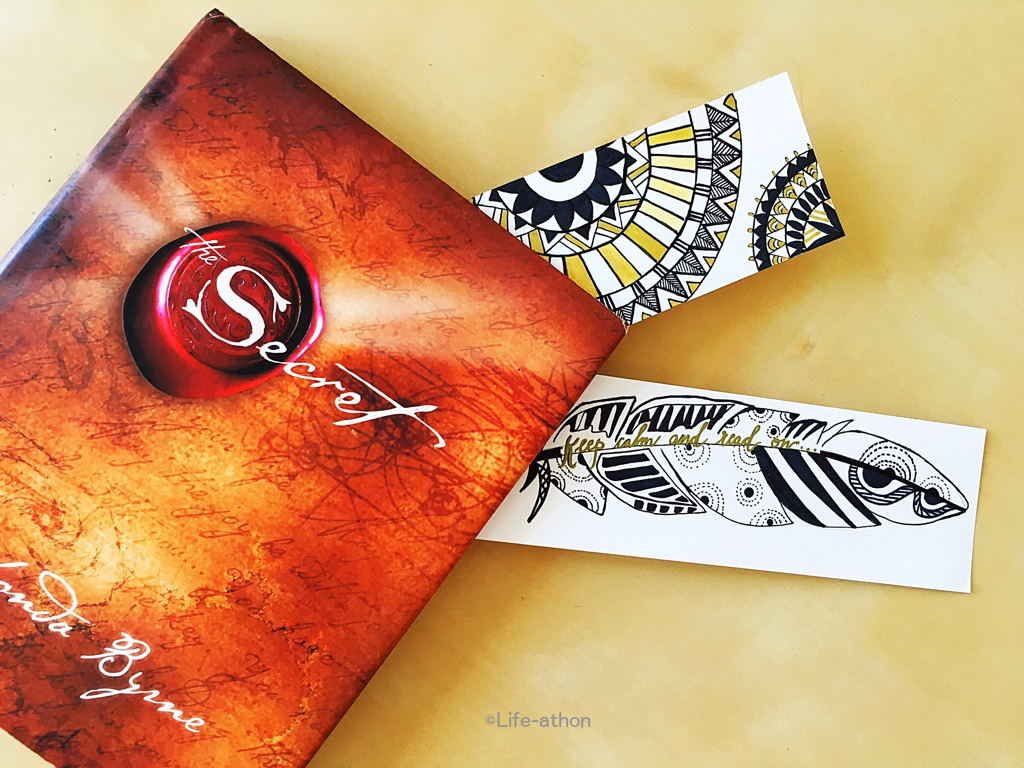
Everybody loves to read be it magazines, novels or some recipe book. My love for books developed as a kid when I used to eagerly wait for grandmum to gift me a story book every month. I used to be lost in the fantasy world and sometimes even imagined that fairies and elves are for real. As a kid my favourite bookmark was a pencil as it was the closest thing lying around and was also a cheaper alternative compared to the fancy ones which cost a fortune.
In today’s tutorial I shall bring you a new way to create your own inexpensive and chic bookmarks just for keepsake or as a gift to anyone near or far. This tutorial is divided into two parts. In the first part I will be showing you two designs created solely using pen on paper technique. In the second part I would use watercolor techniques to create bookmarks. So lets get started.
SUPPLIES
(This post contain affiliates)
- Paper ( Use any thick card stock paper or watercolor paper)
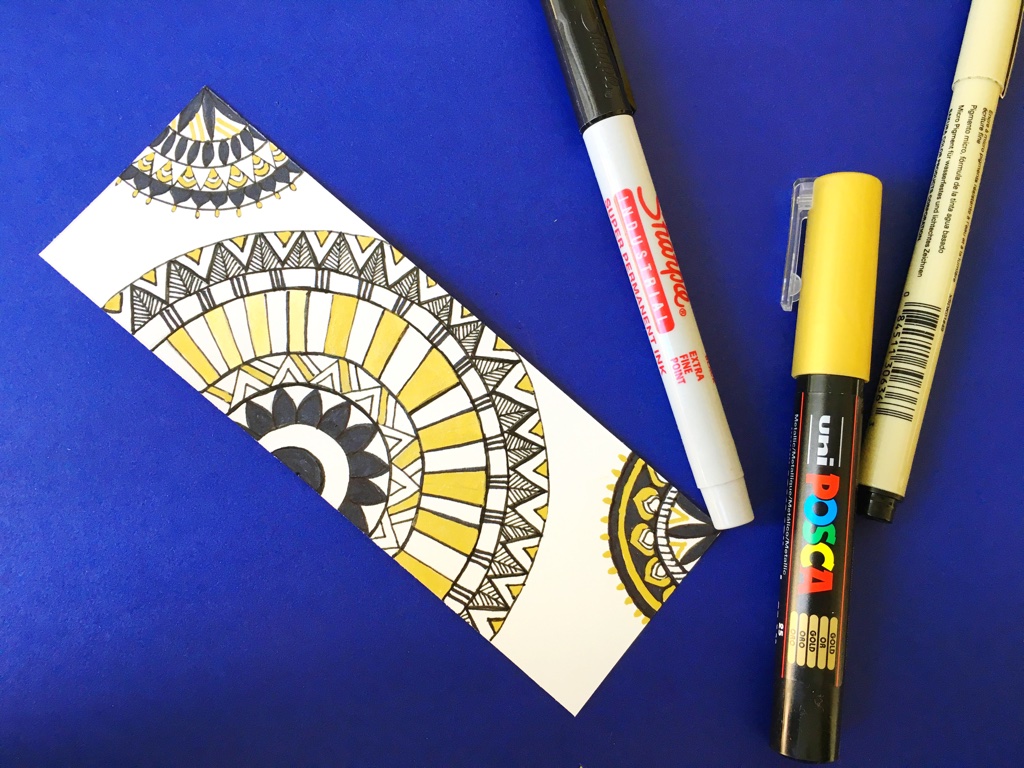
- Uni Posca pen in Black and Gold
- Micron Pen
- Scissor or paper cutter
- Compass
STEPS

First thing first, get all your supplies handy. Start by cutting out a few pieces of 2″x6″ as shown above. I used a paper cutter to cut the pieces as its more uniform as compared to scissors.
Mandala Style Bookmark
This Unique styled bookmark is for the geometric enthusiast. Just some fun facts : Mandala is derived from the Sanskrit word “Mandal”- a circle which is a spiritual symbol in Indian mythology associated to the universe. They symbolise the notion that life is never-ending and has been used as a source of meditation.
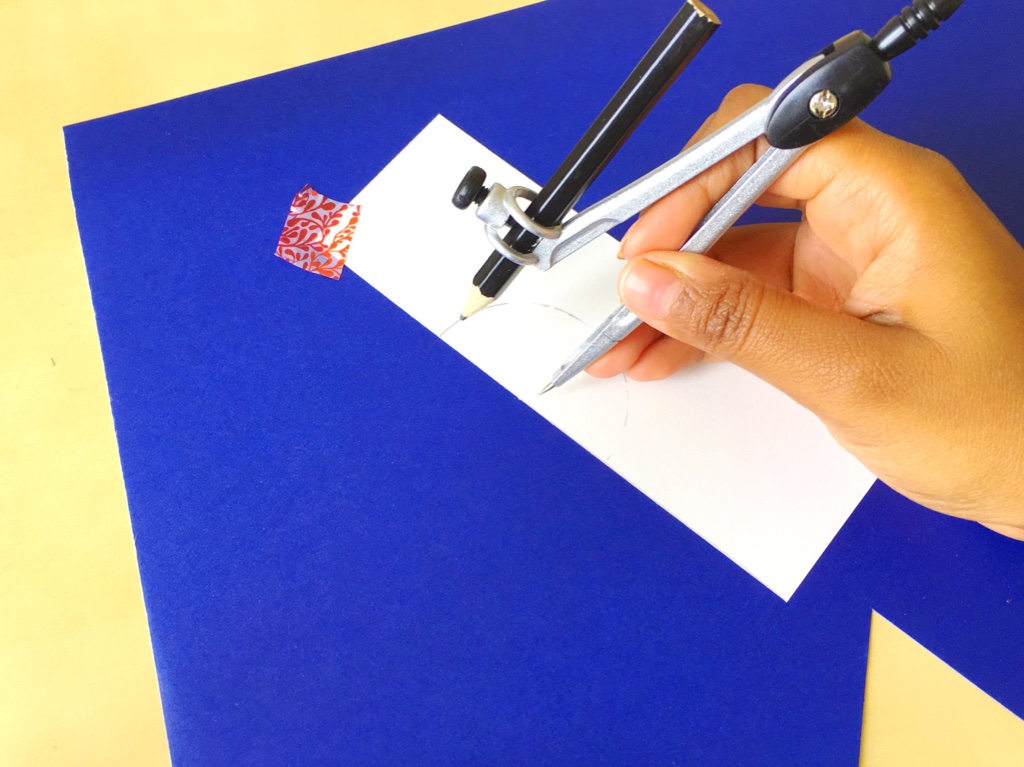
Using the midpoint of the vertical side of the paper as the centre start drawing semi circles using a compass of progressively increasing diameters.

The circles would look like this as shown above. Ensure to keep circles close to each other.
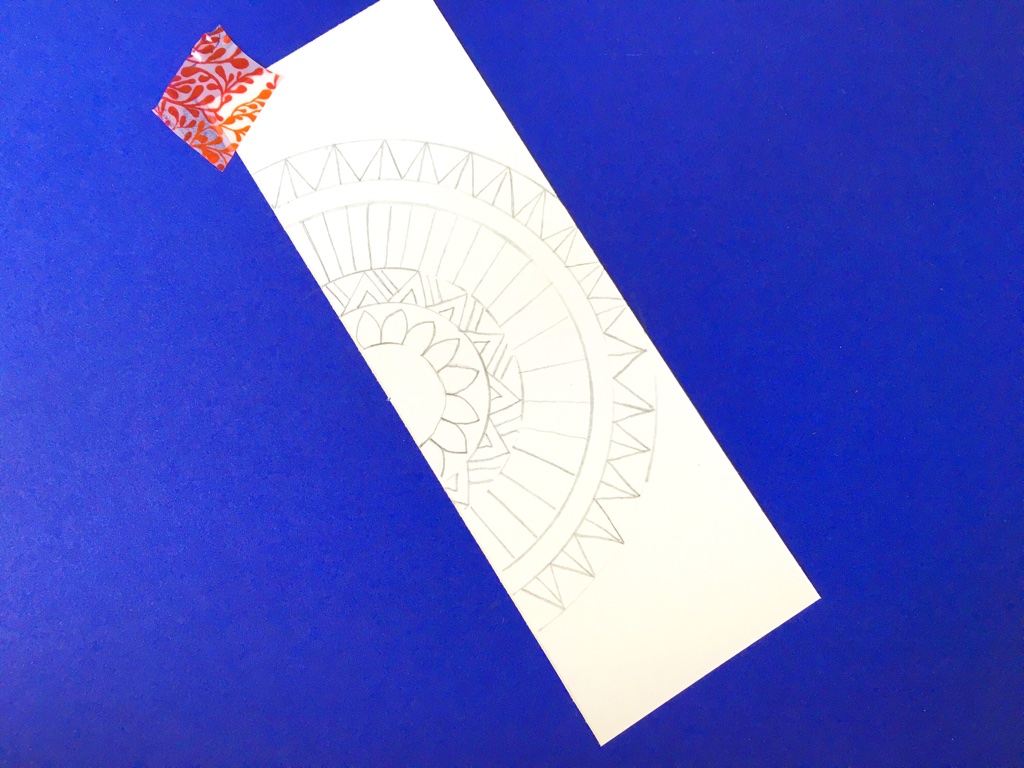
Now let us fill up the mandala with pattern. If you are not confident, try to make a rough outline with pencil first.
The time lapse video will help have a detailed look on how I created the pattern.
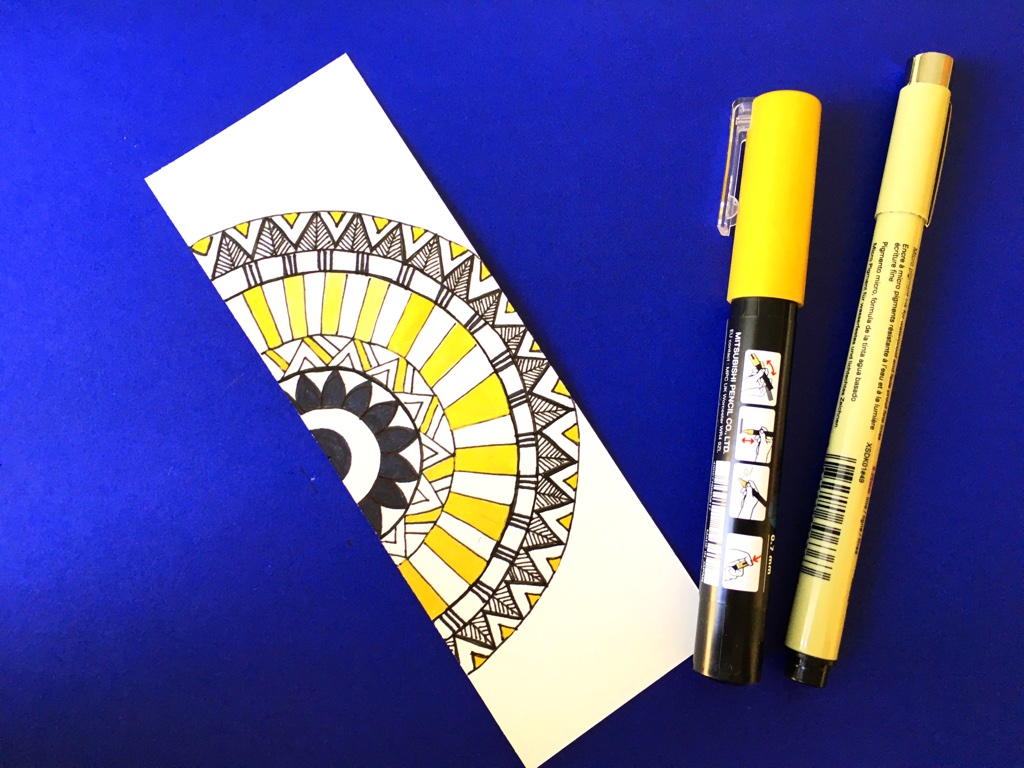
I chose to use black and gold for my mandala because of their symbolic meaning. Black signifies deep thinking and individuality and gold is for learning , wisdom and happiness. This totally fits with the bookmark theme and its purpose. And who doesn’t like black and gold heavenly combination?
I used Black and Gold Uni Posca PC 1M paint marker to trace over my pencil outline. Try creating any pattern of your own or you can feel free to create something similar to mine. Don’t stress about making the patterns perfect as it is supposed to have a handmade look.
I created some additional circles on the top and bottom corners as I found some negative spaces. P.S always try to minimise the negative spaces in your artwork.
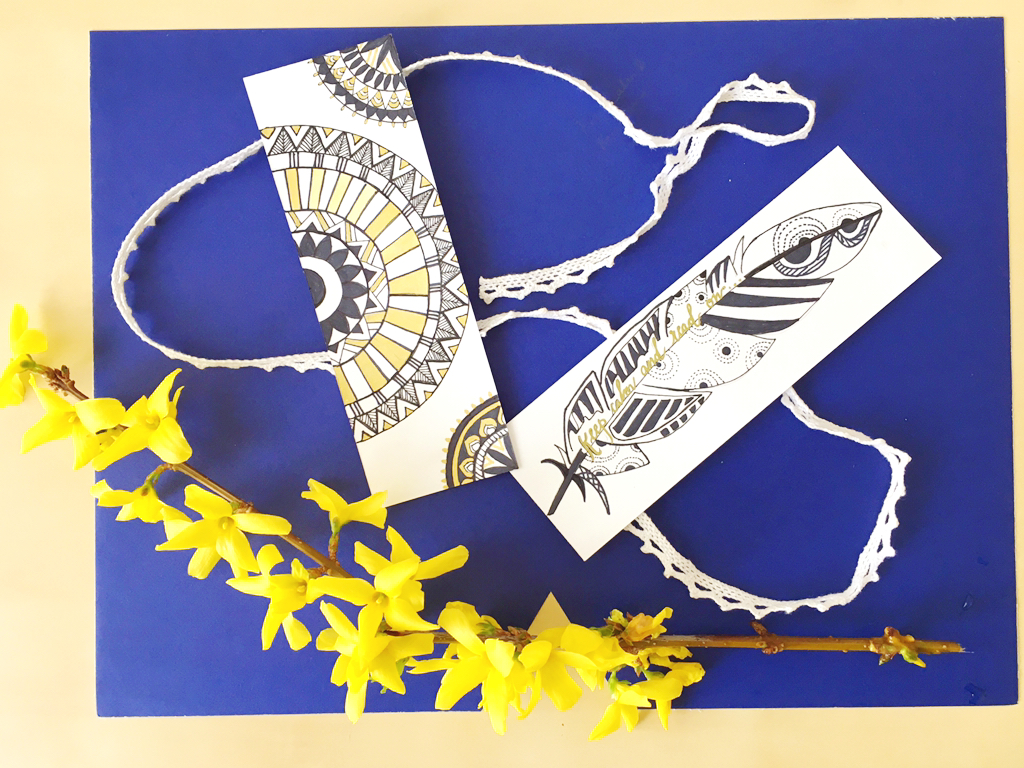
And Tada !! Your first handmade chic bookmark is ready. I am sure the recipient of this gift or yourself would love the bookmark for the fact that you used your creativity and energy in it.
Boho feather bookmark
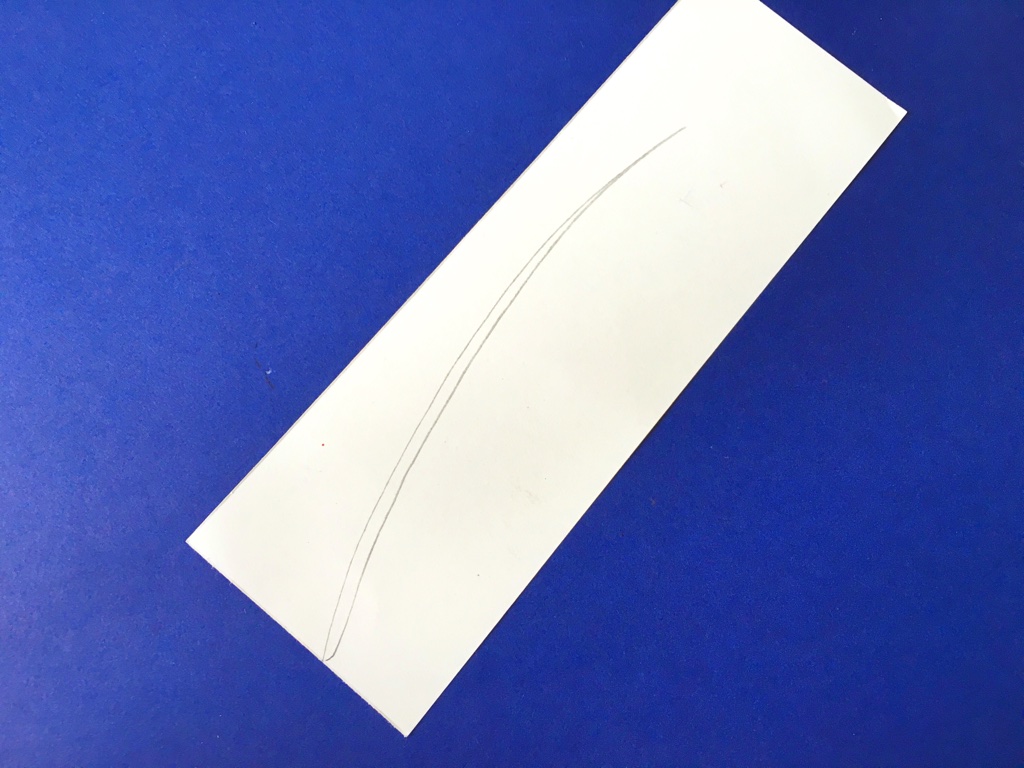
We are going to create a dainty boho feather for the second bookmark. I love creating nature inspired elements in all my artwork. Begin by creating a tapered curve line as shown above.

Next draw some small feathers just a few centimetres from the bottom of the curved line. And then add feathers along the curved line in an oval shape. Feel free to follow my example as shown above.

You are done with the pencil now.Get a fine tipped Micron pen or any dip pen to trace over the outline of the feather illustration. We want the outline to be fine hairlines. For filling in patterns inside the feather , I use Uni Posca pens. Create dots, convoluted lines or anything boho to fill in the feather. I try to keep it minimalistic by using just black ink.
Don’t forget to erase the pencil line.
To add a wordy element to the feather, I used gold ink to to write a small reading related quote on the quill of the feather. You can use any bright color to create a contrast with the black ink. Isn’t it as easy as ABC?
Both these patterns are very easy to create and yet so unique.
I hope you have enjoyed this fun little tutorial as much as I did. My second part of DIY bookmark will be more focused on watercolor illustration. Do let me know which bookmark is your favorite? Hashtag me at instagram to share your work.
Cheers
Drishti