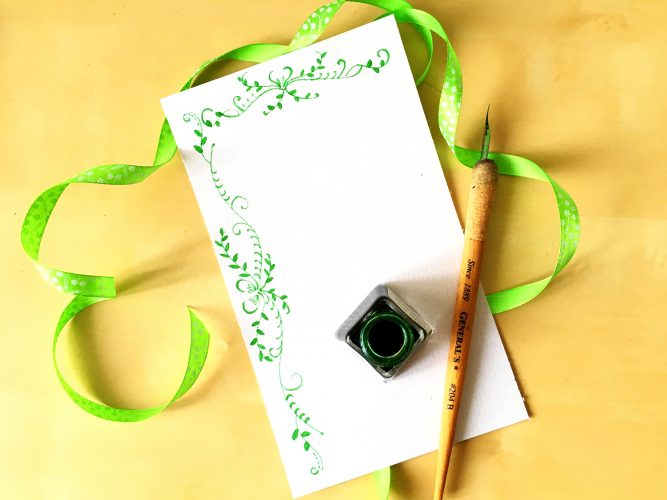
Adding borders to any piece of paper such as cards , gift tags or notebook helps to transform it from something ordinary to something totally extraordinary. The other day my dear friend was crazily searching for a less complicated design motif in the internet as an inspiration for her card but was not much successful with it. To be very honest all design motifs without proper instructions might look a bit intimidating. Hence today’s tutorial is a detailed step by step instructions along with a video on how to create a gorgeous floral border to add the flower power to your paper. With this tutorial you can already be a creative superstar among your friends!! So lets get started, shall we?
Supplies
(This post contains affiliates)
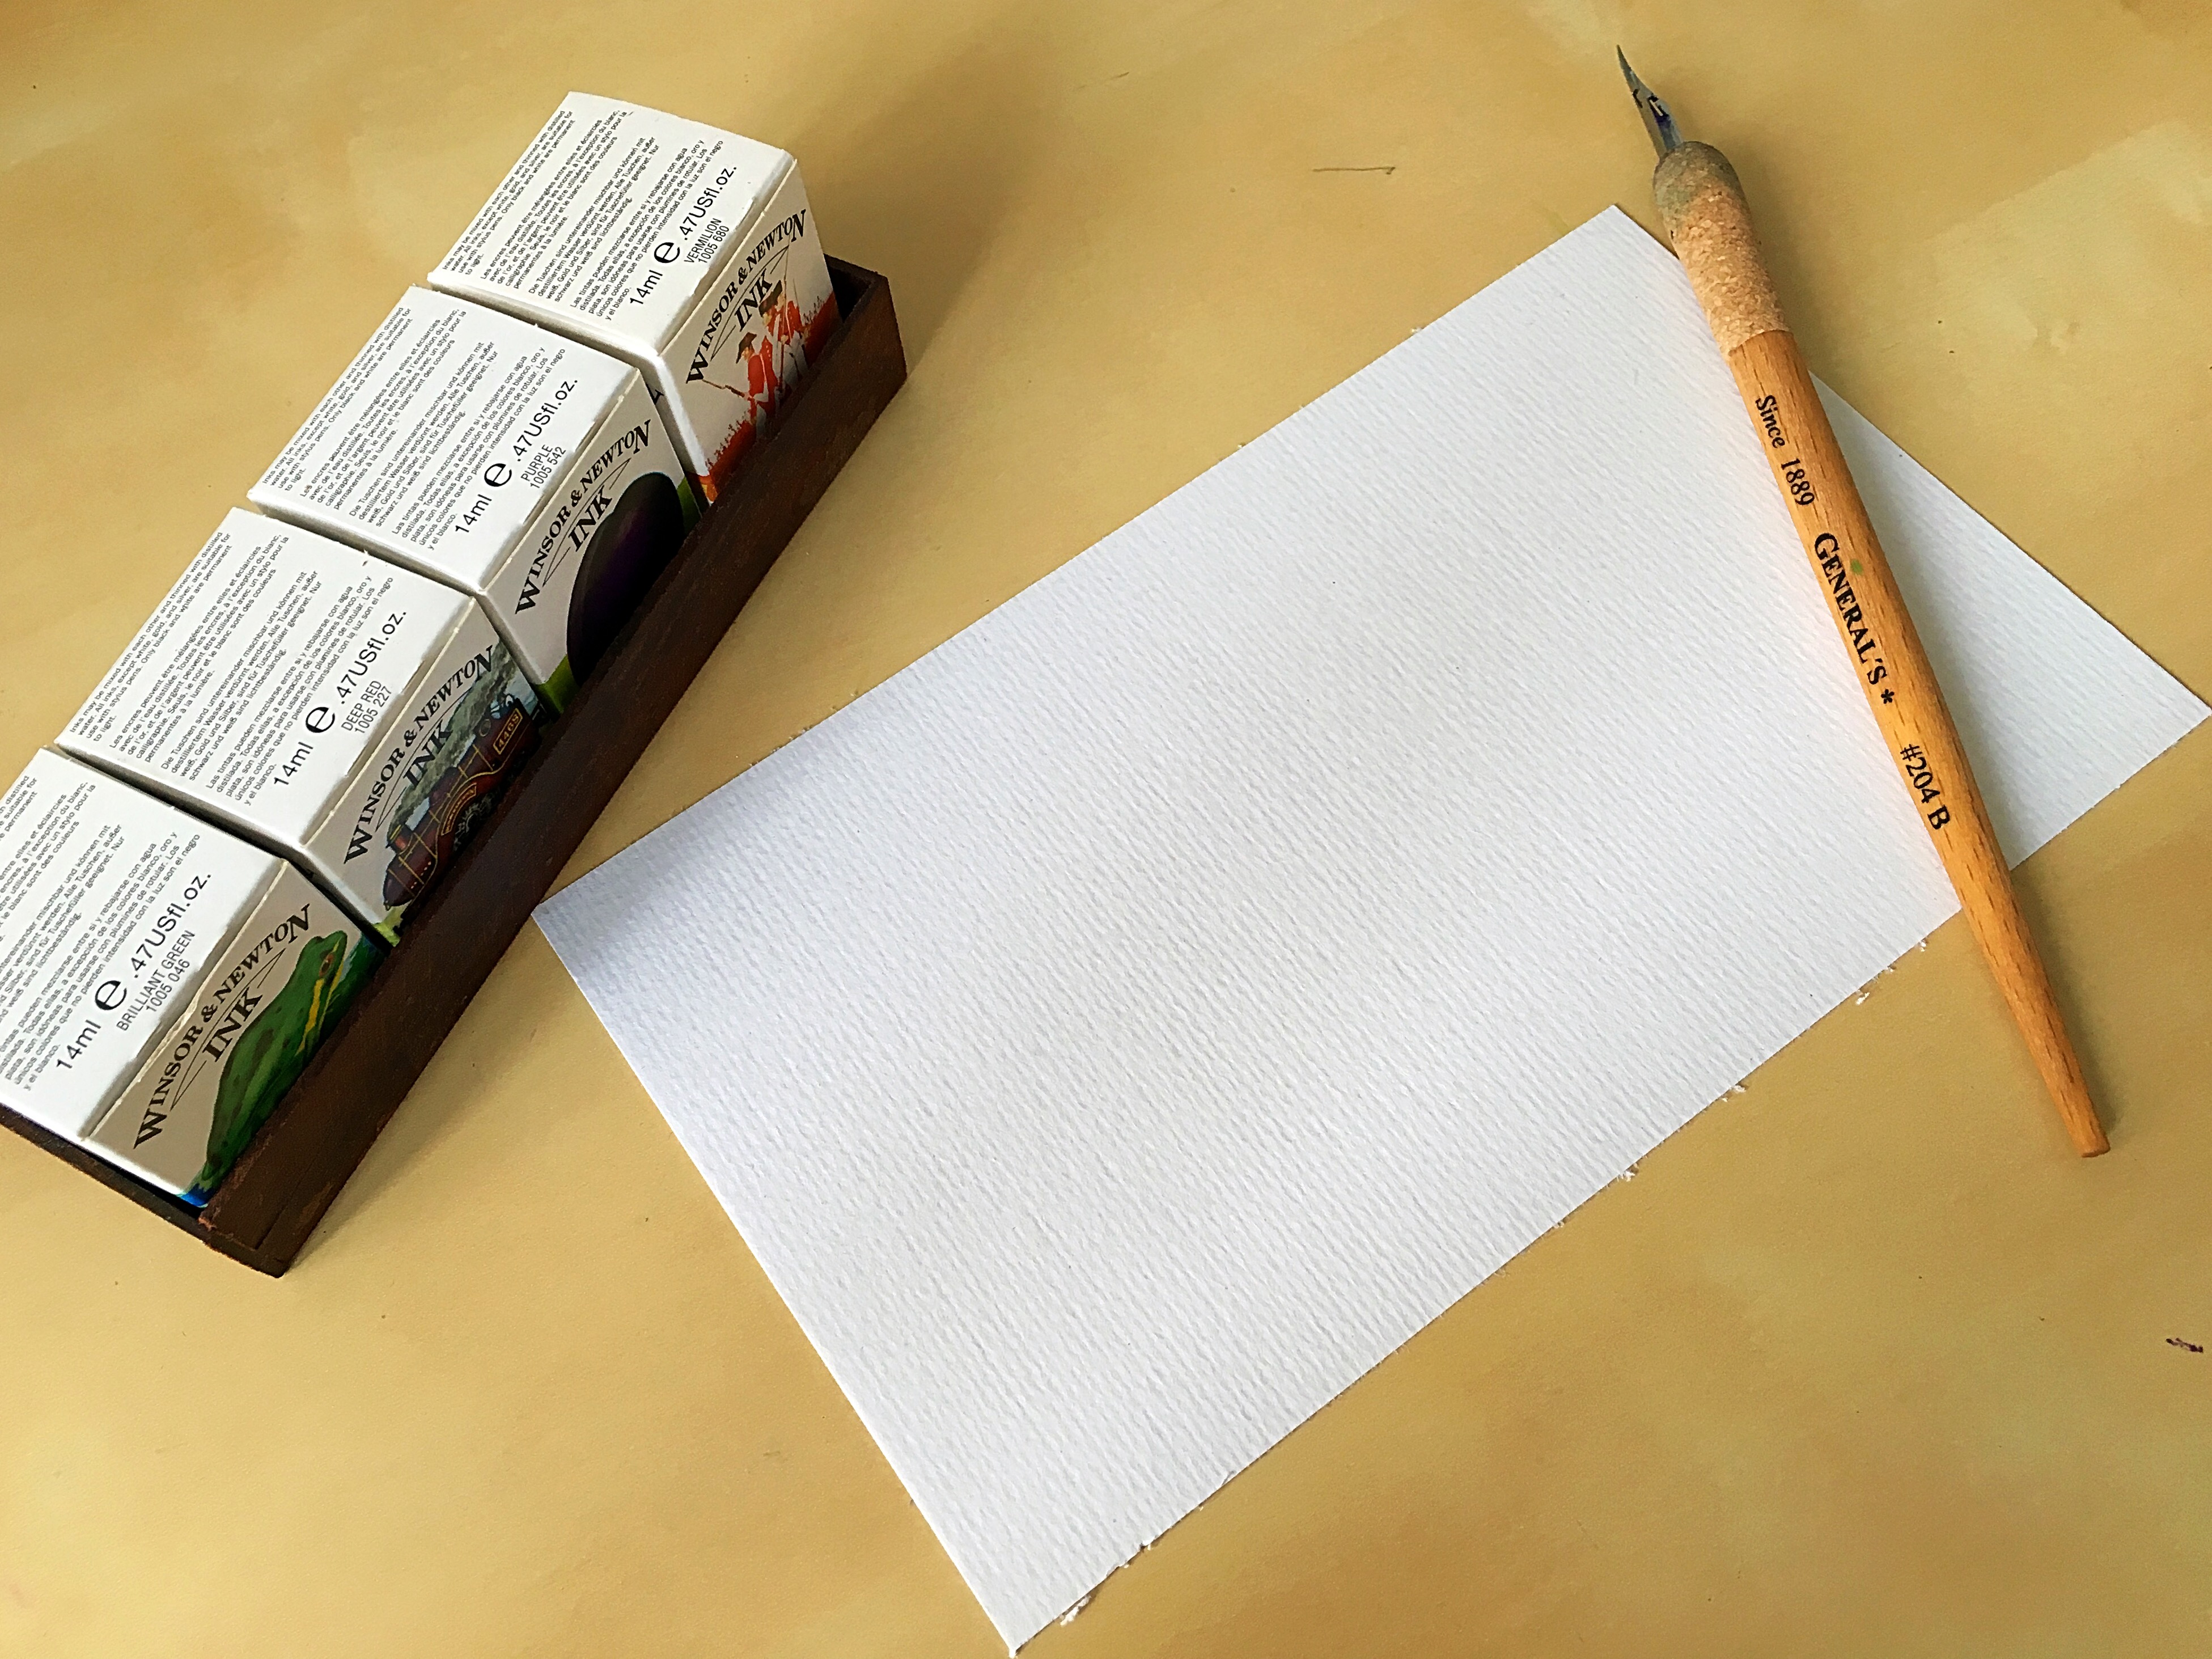
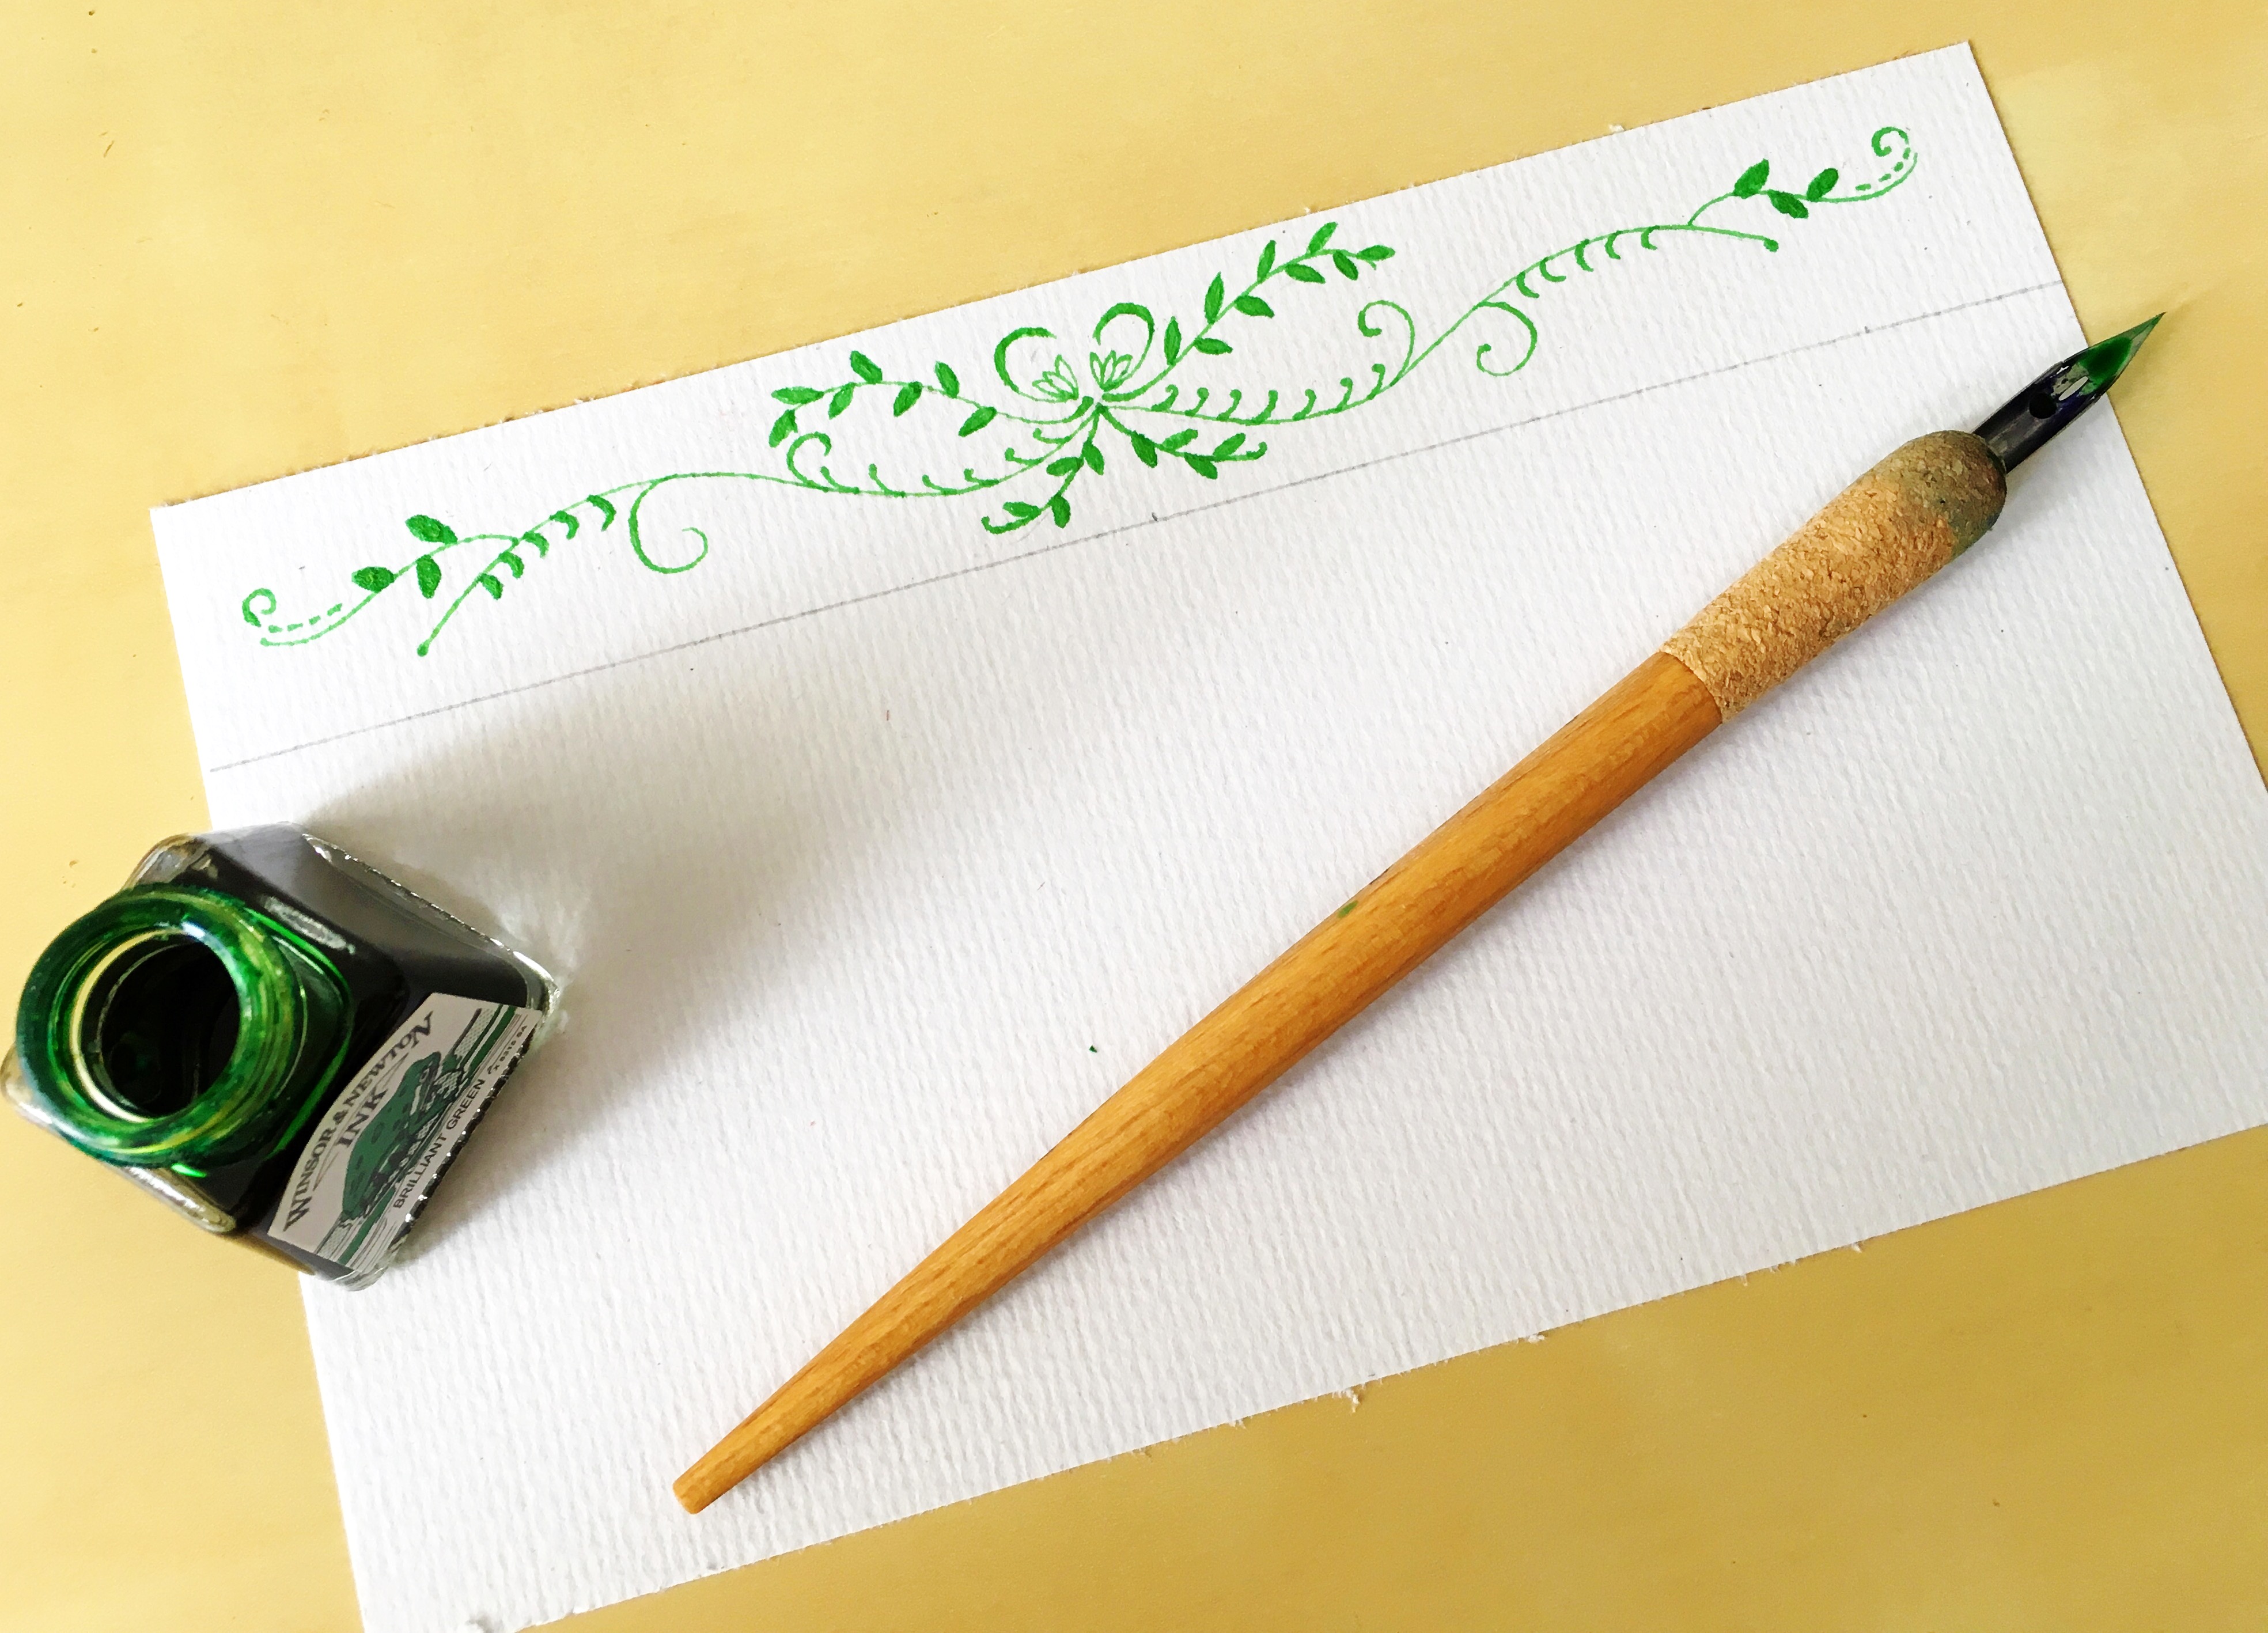
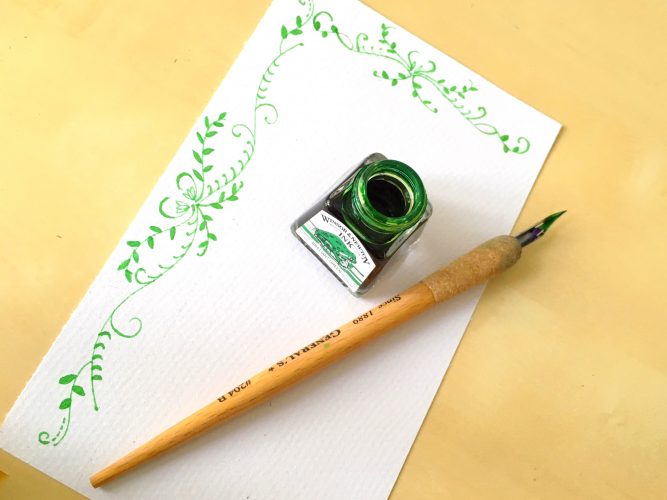
- Windsor and newton coloured calligraphy ink
- pencil
- Ruler
- Calligraphy nib and holder ( I have used Nikko G nib with General’s cork holder)
- Bleed proof paper ( I have used watercolor paper)
Steps
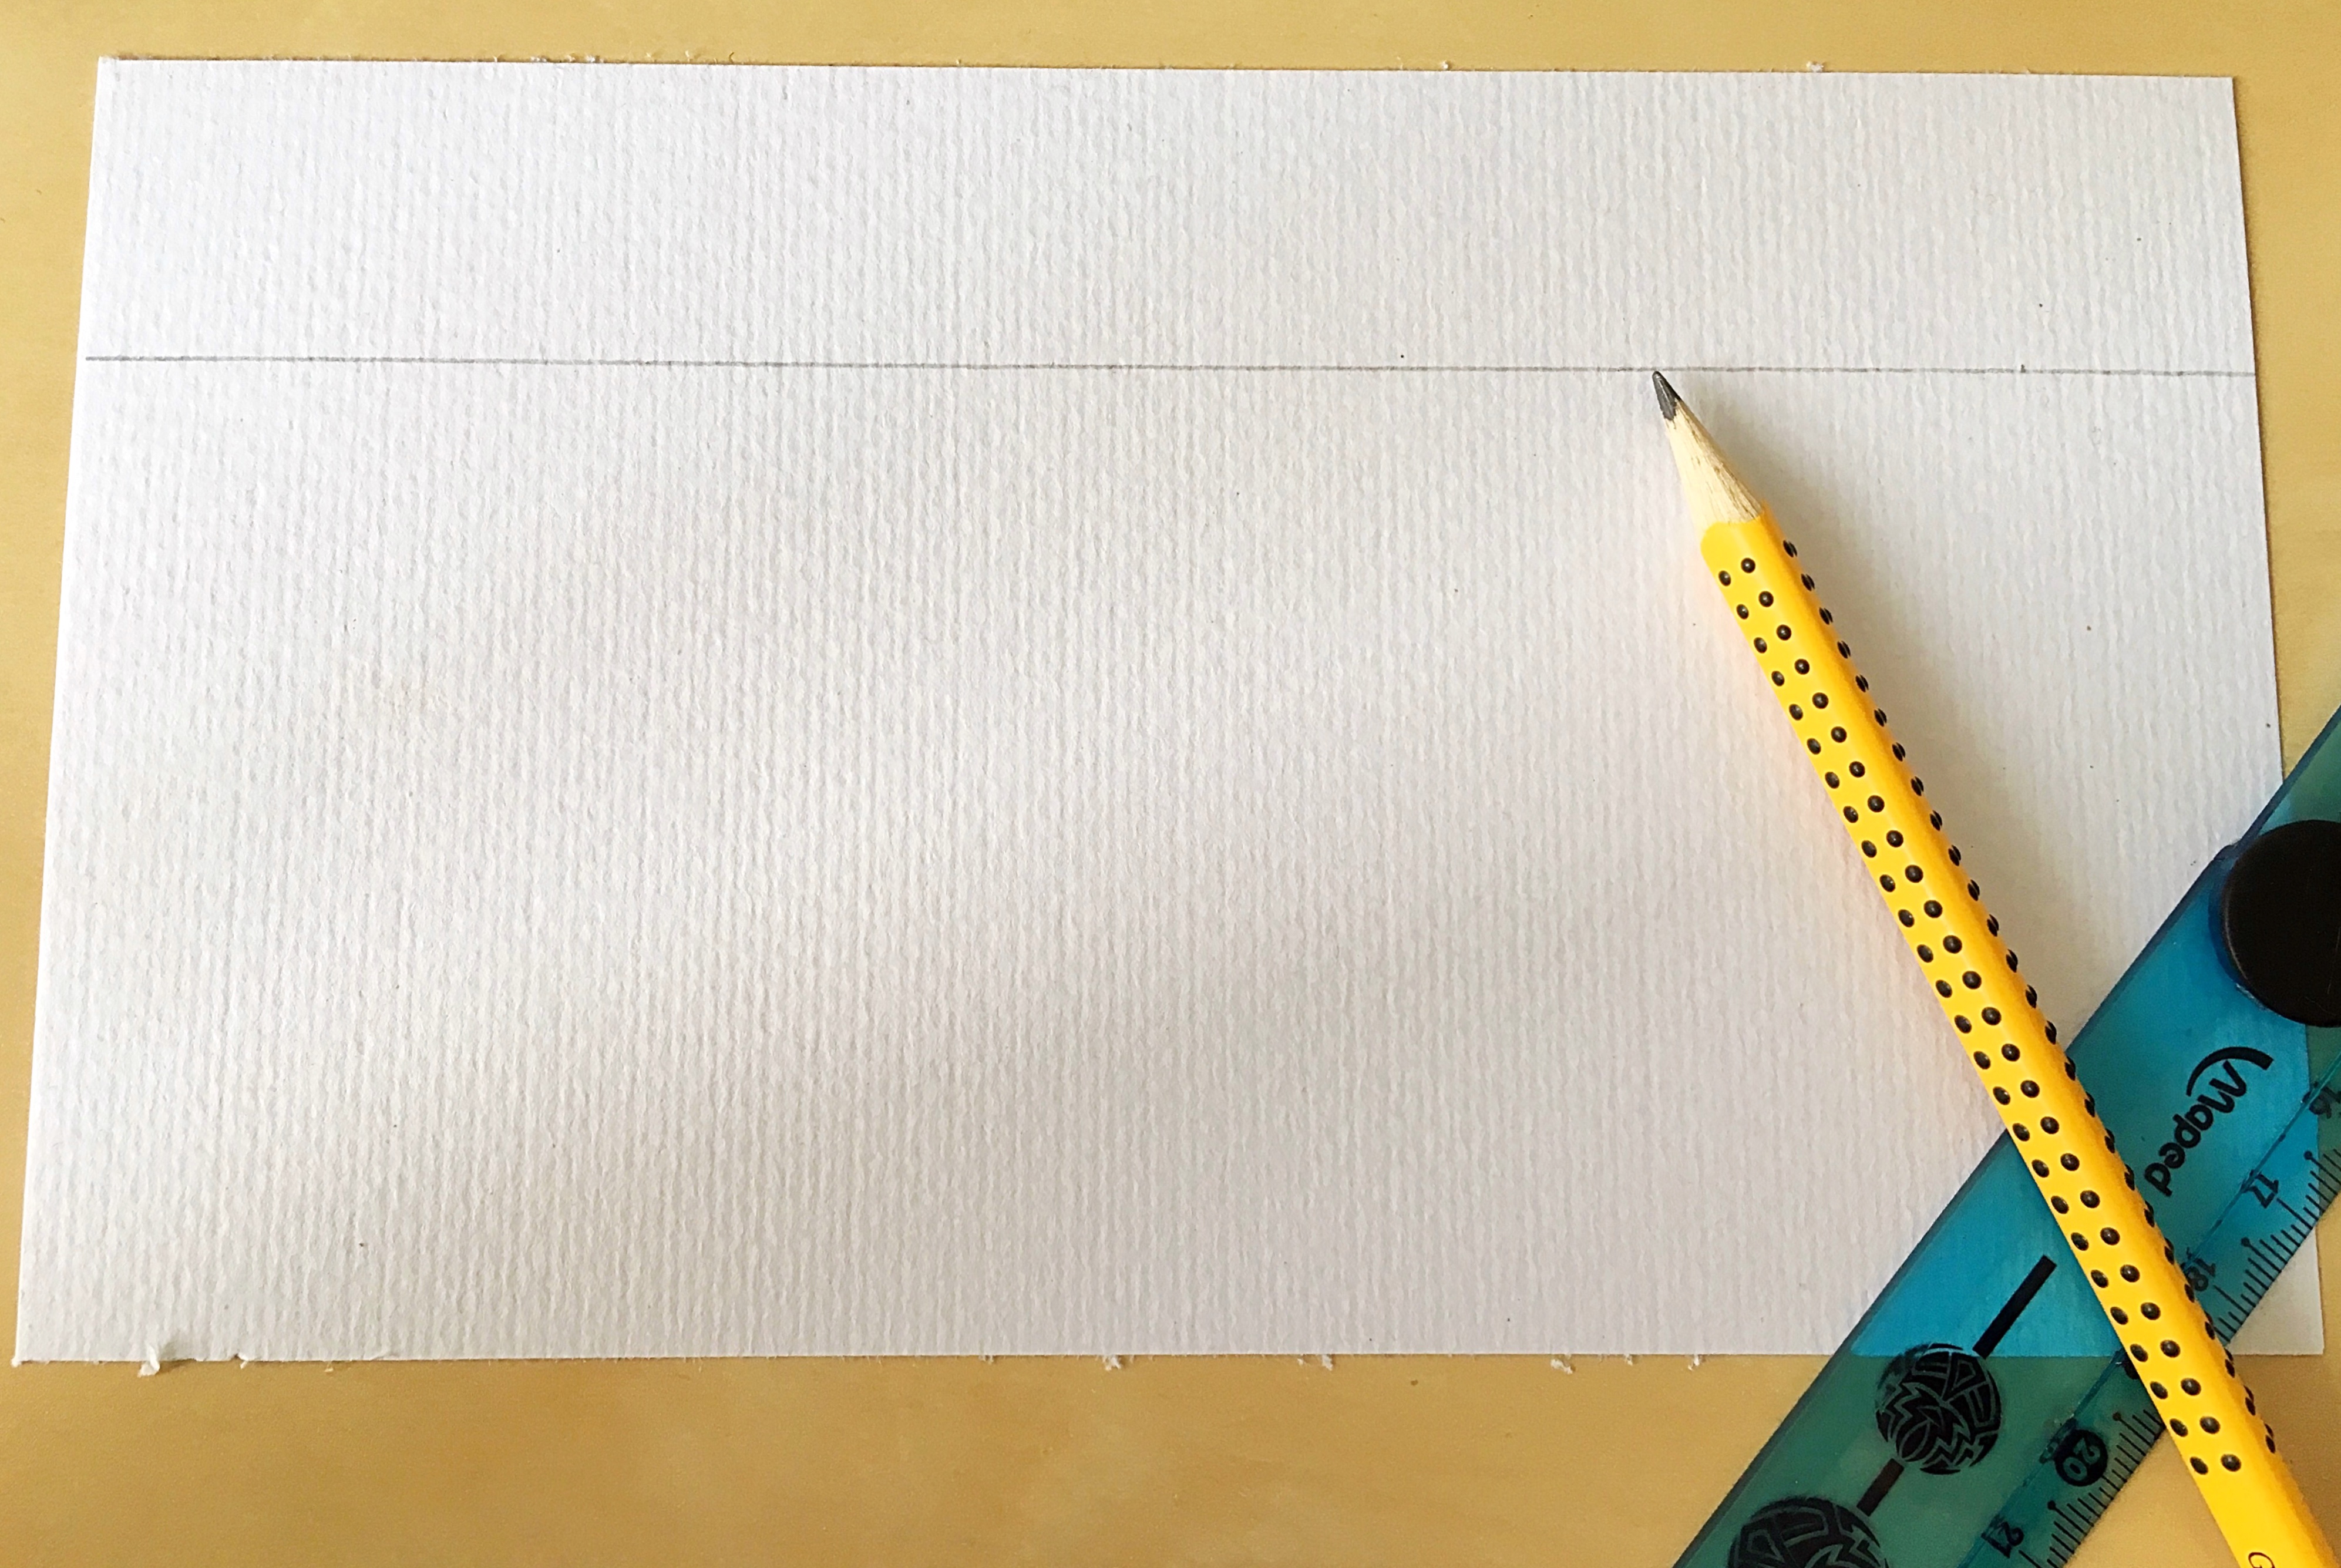
I have used winsor and newton coloured calligraphy ink for my tutorial but you can use any coloured pens ranging from gel to micron. You can use pencil to create a guideline of approx 3 cm on top of the paper. This is the space for you to create your border.

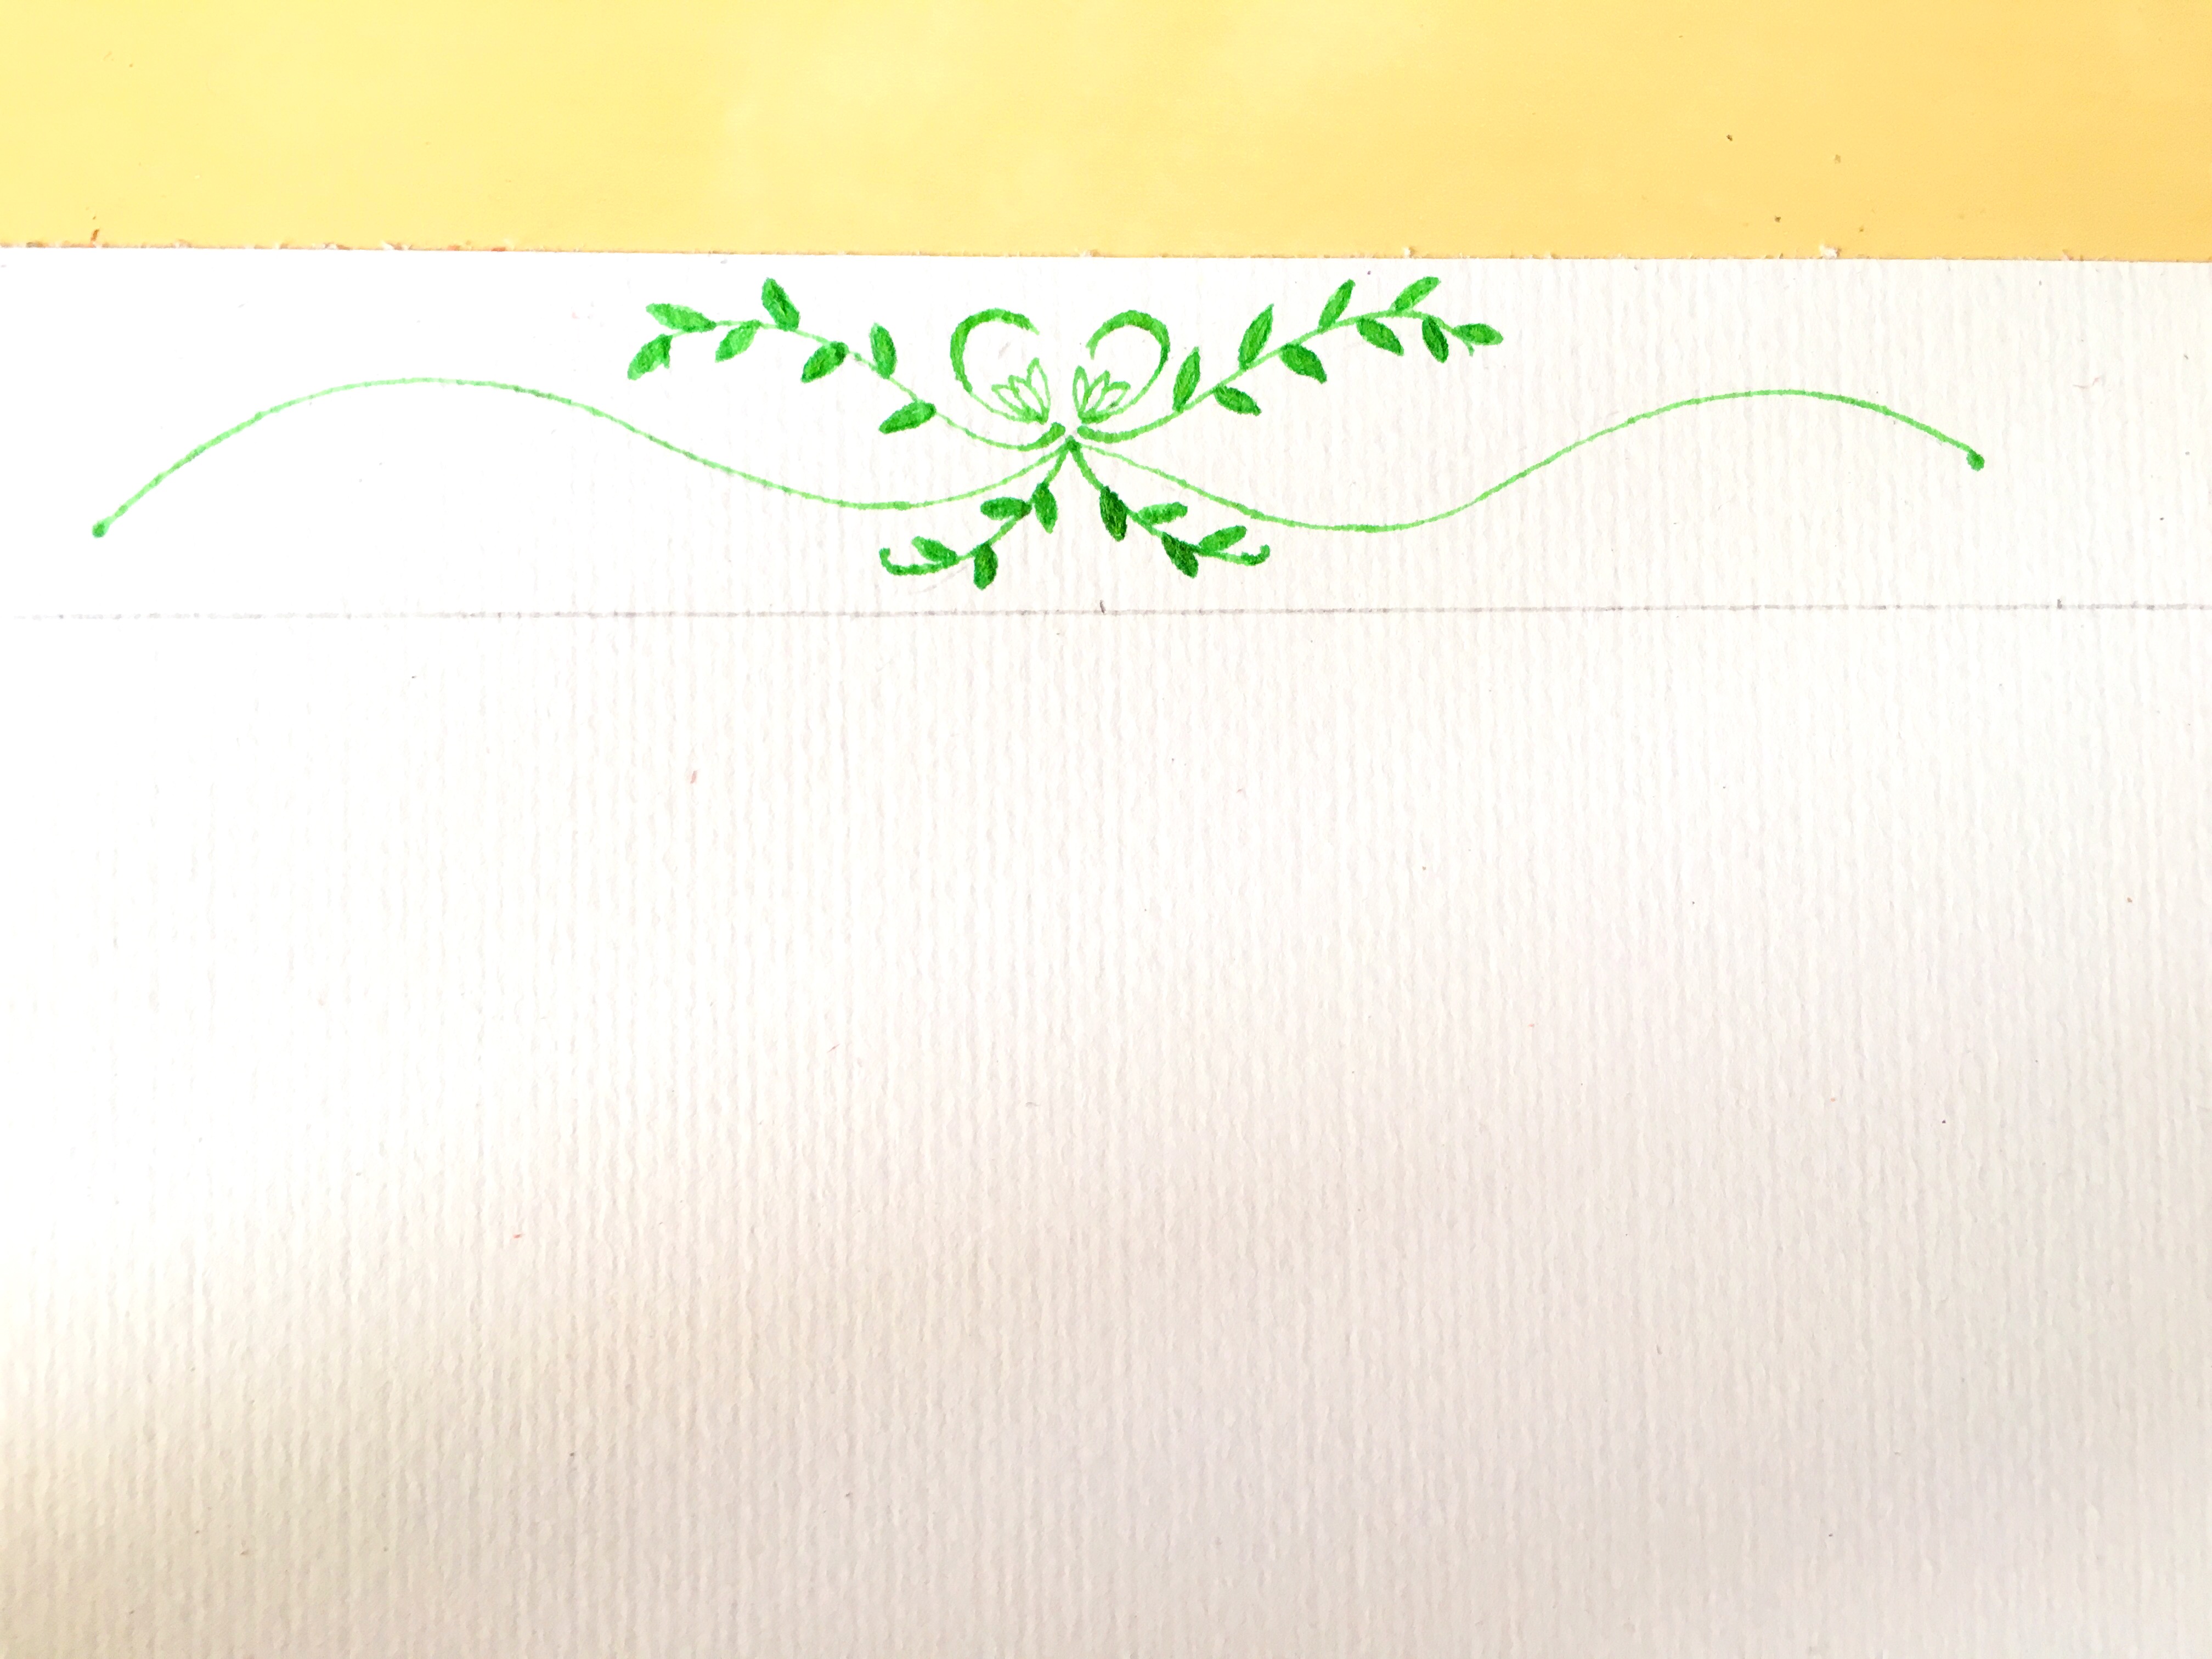
Symmetry is the key element in creating a border which involves mirrored pattern. To ensure this, I always create the mirror image of the element simultaneously. We will start from the center and branch outwards as we proceed. Find the centre point of the paper using a ruler. Start by creating wavy branch spreading outwards from the center in both left and right directions.

Now draw leafy branches emerging diagonally upwards from the center as shown. Then add a little semicircular stem right next to the top diagonal leafy branch.


Beneath the semicircle, draw a teardrop and several pointy petals extending from in teardrop shape. Bingo! you are already done with the middle portion of the border.
Draw a similar leafy branch emerging diagonally downwards from the center.
Key point to every floral border is to add design elements to make it look sophisticated. Add tiny semicolons along the main wavy branch unit the middle. You can also play with size to add larger semicolons at regular intervals. Let your creativity flow!
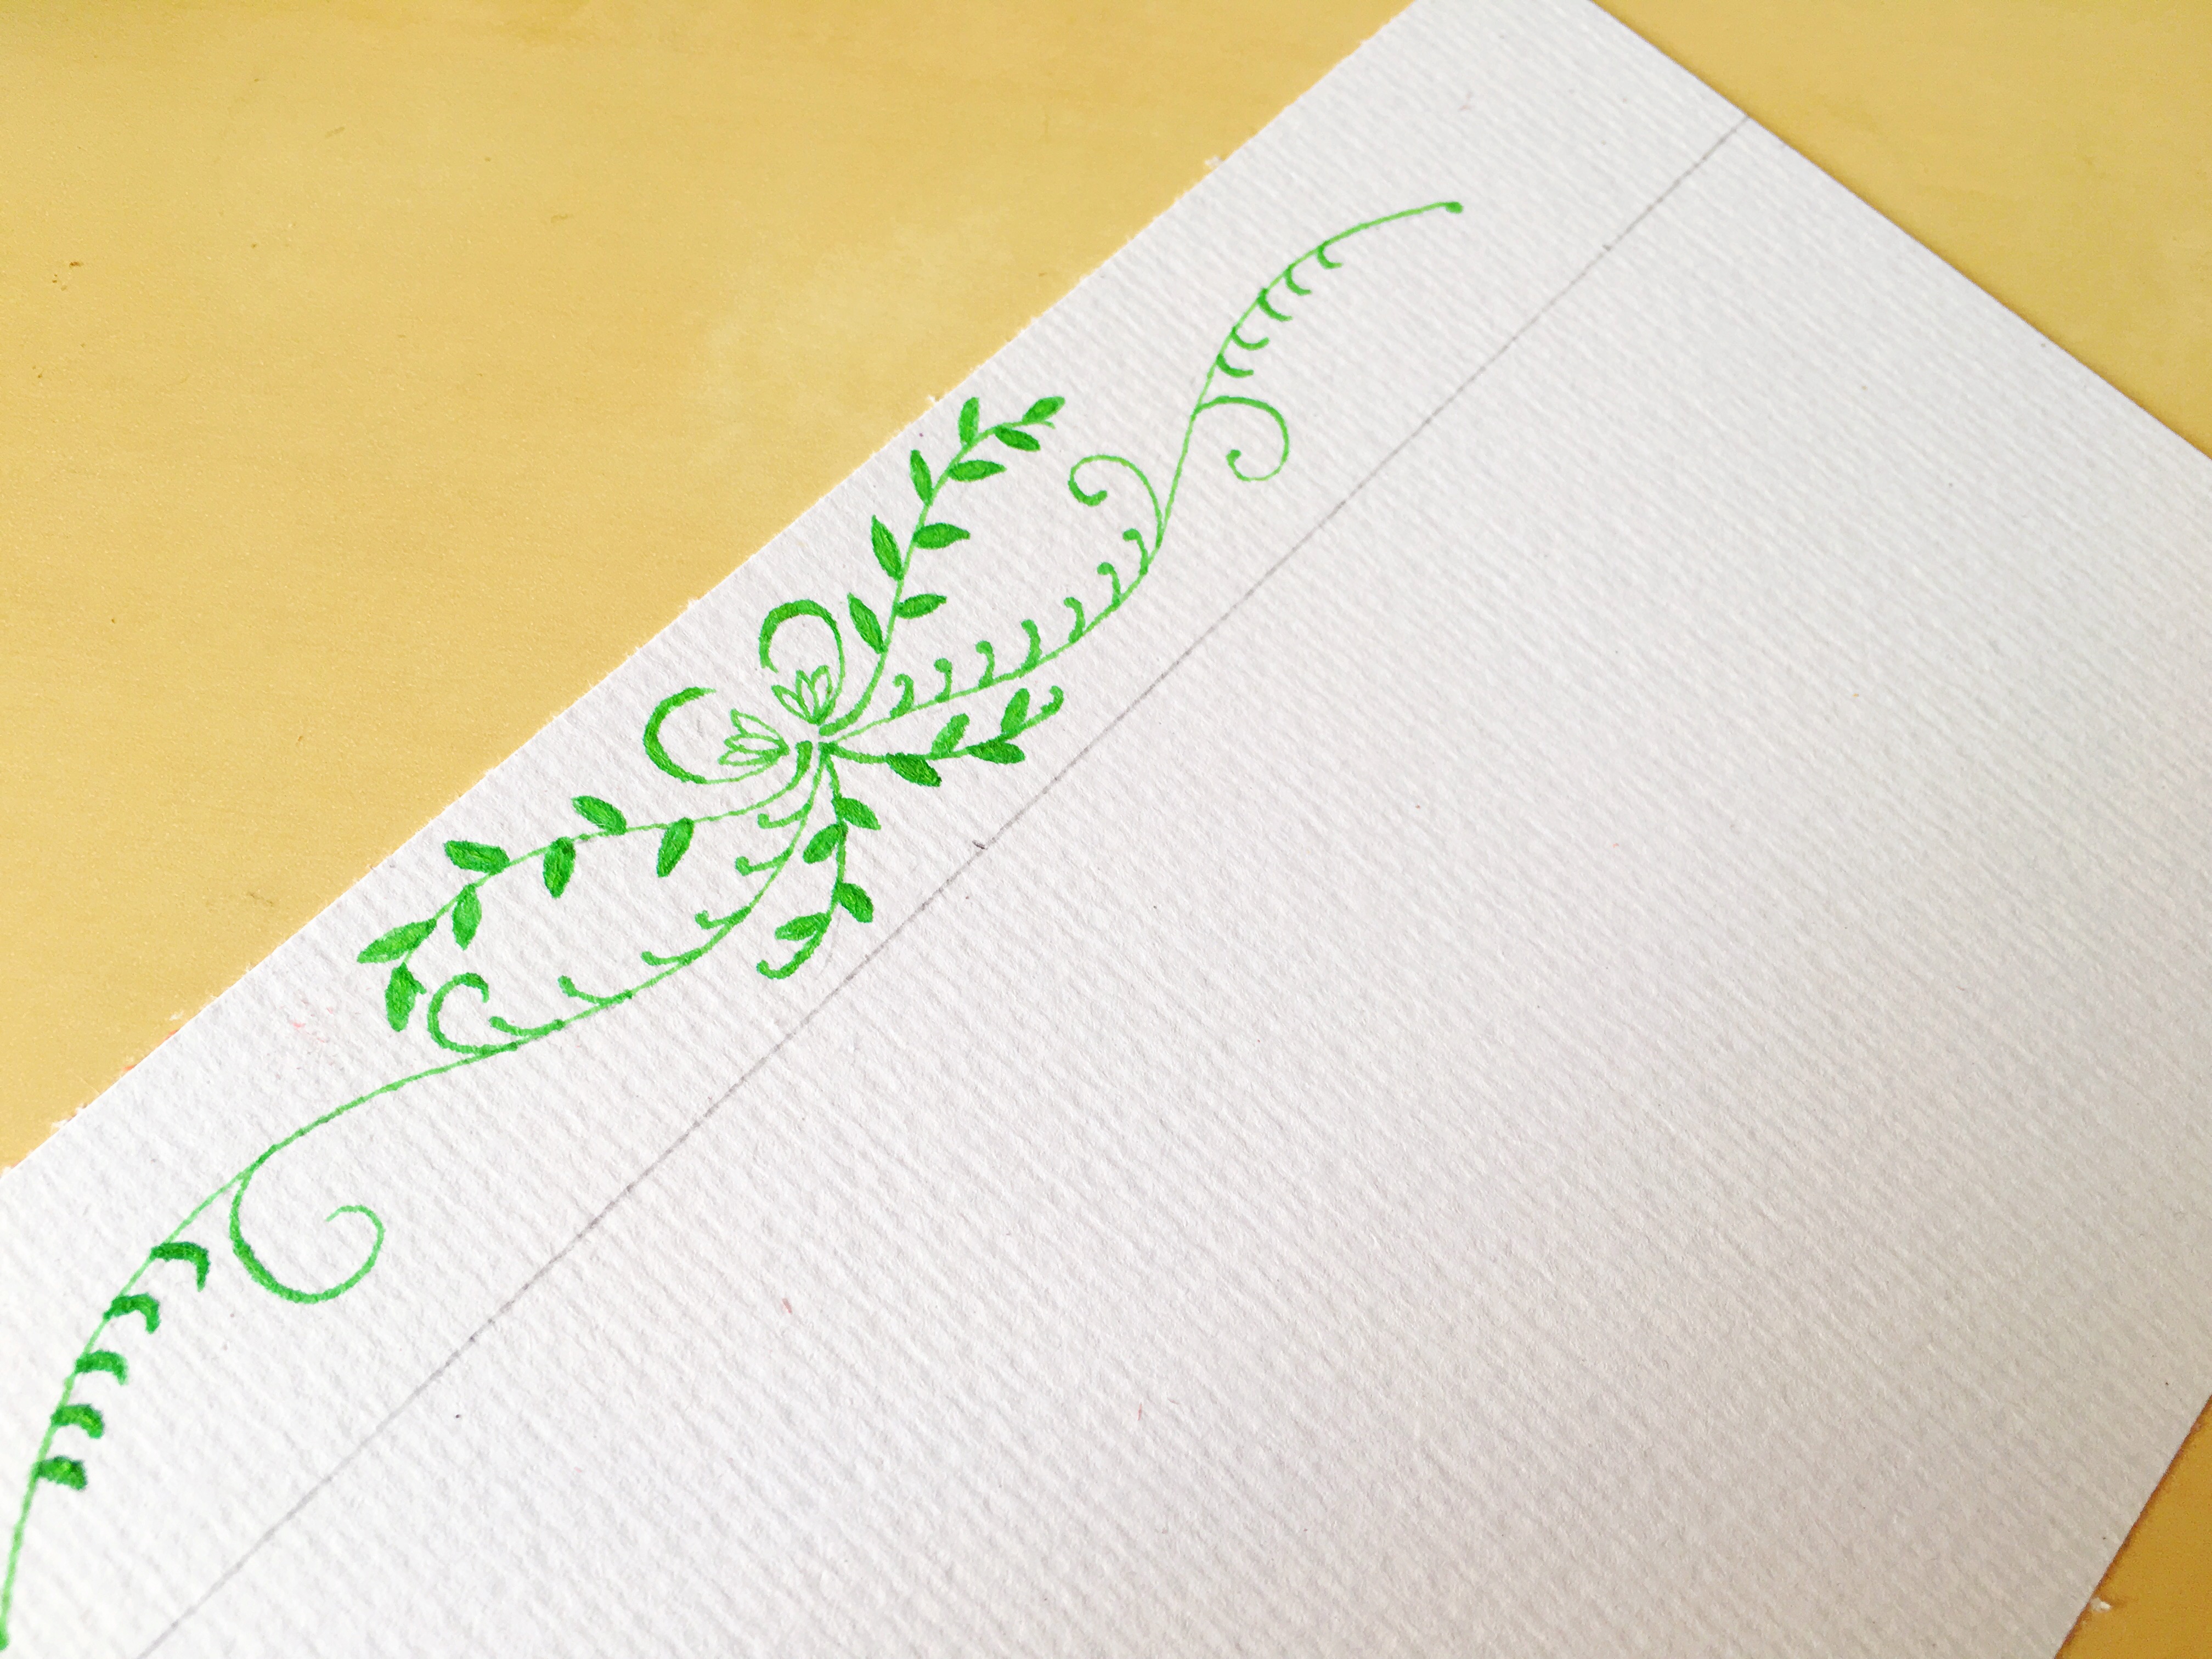
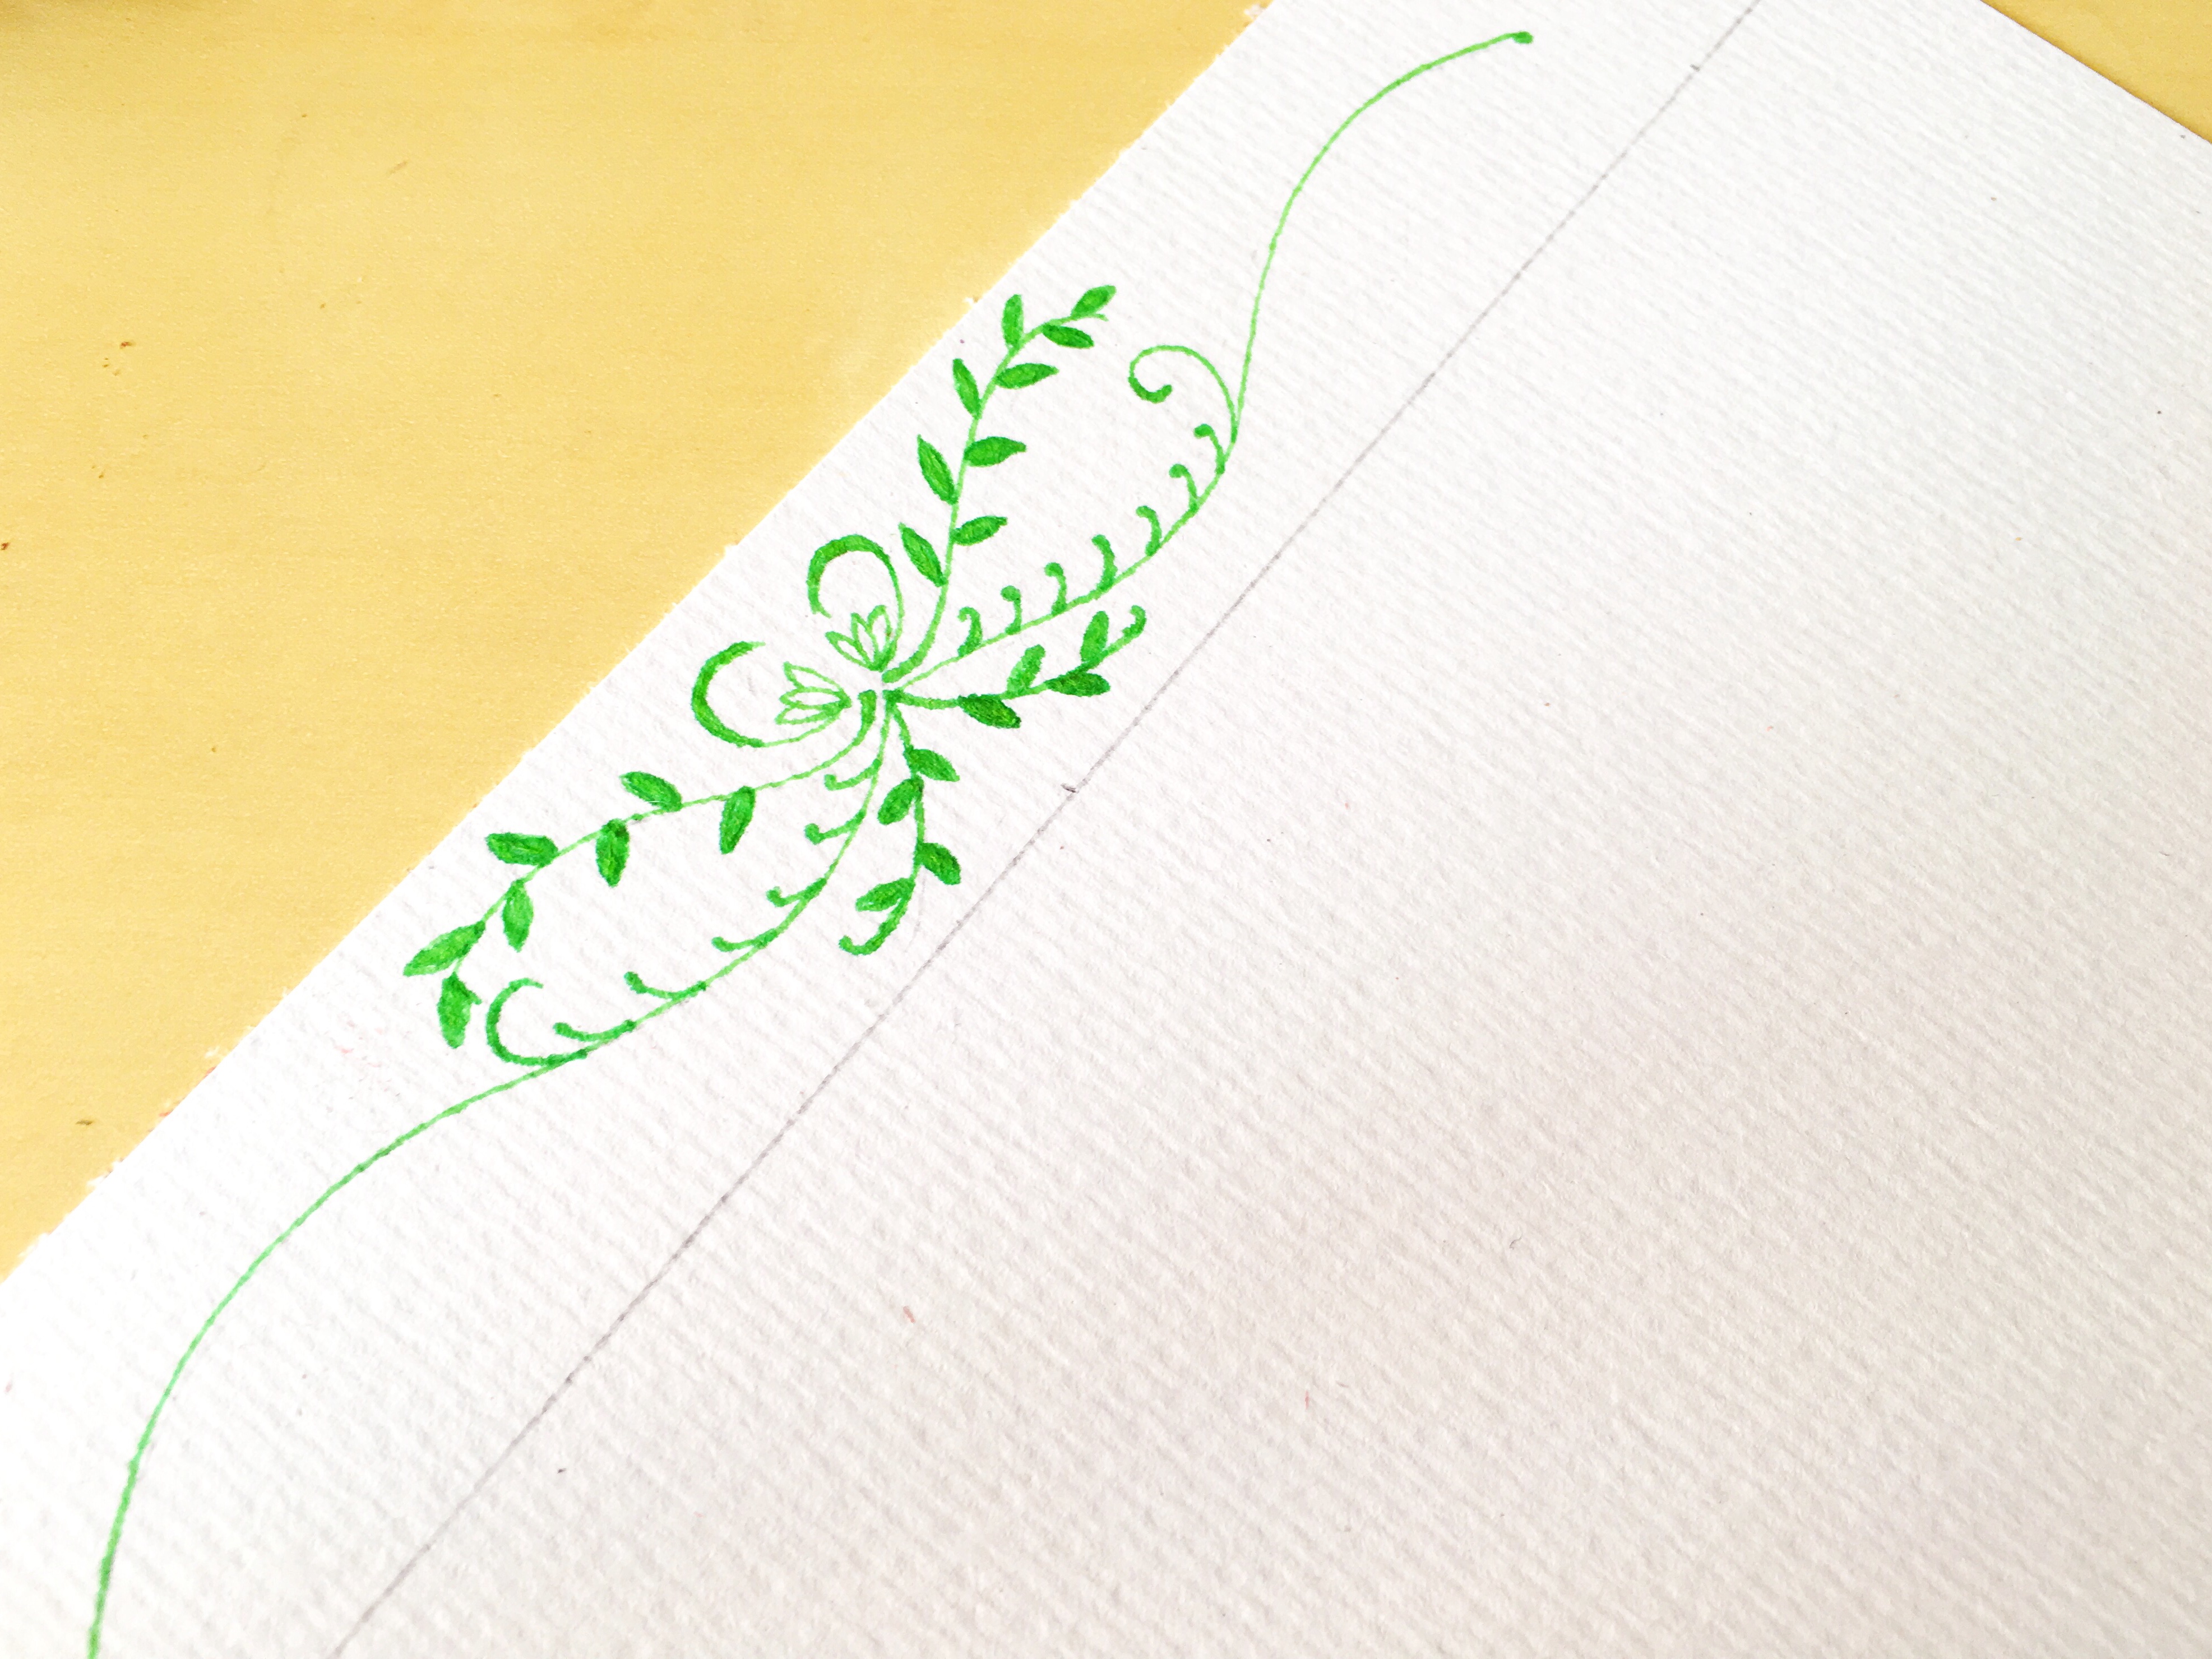
From the middle until the end of the wavy branch you can add leaves, semicolons or some floral elements. In my drawing I continued with semicolons. You can already notice that the motif is starting to look beautiful. keep up your pace!!
Next, its time to sprout another small wavy branch from the end of the longer wavy branch. Embellish this branch with leaves and make a curly end. Repeat the same on both sides. This marks the end of your complex looking yet easy to create floral motif border. You can repeat this similar pattern along the four sides of your paper as well. You can very well add even more detailing to your border by adding some dots , semicolons or floral motifs. Just let your mind do the magic!
If you are using pencil guidelines do not forget to erase them only after the ink of your pen has dried. Now you are a proud creator of a complicated and sophisticated floral border! You can repeat the same with slight changes on the other sides of your paper too as shown above and can write a lovely note inside.
I have also created a video because its easier to perceive things when we see!
I hope that this tutorial has helped you to create something new to implement in your upcoming projects such as bookmark, envelope, gift tags , cards etc etc. Do share it with me on instagram with the hashtag #Diylifeathon.