
I love Autumn simply because the nature turns into the most magnificent warm toned color palette. I have been lucky to have witnessed the first ever proper fall season this year as I have moved to Freiburg, Germany and its gorgeous. What strikes you first when you think of Fall? For me it is definitely pumpkins, acorns, colorful leaves, twigs and many more. So keeping in line with the Autumn trends, today I am going to do a watercolor fall artwork tutorial including various fall elements. So get your supplies and let us get started.
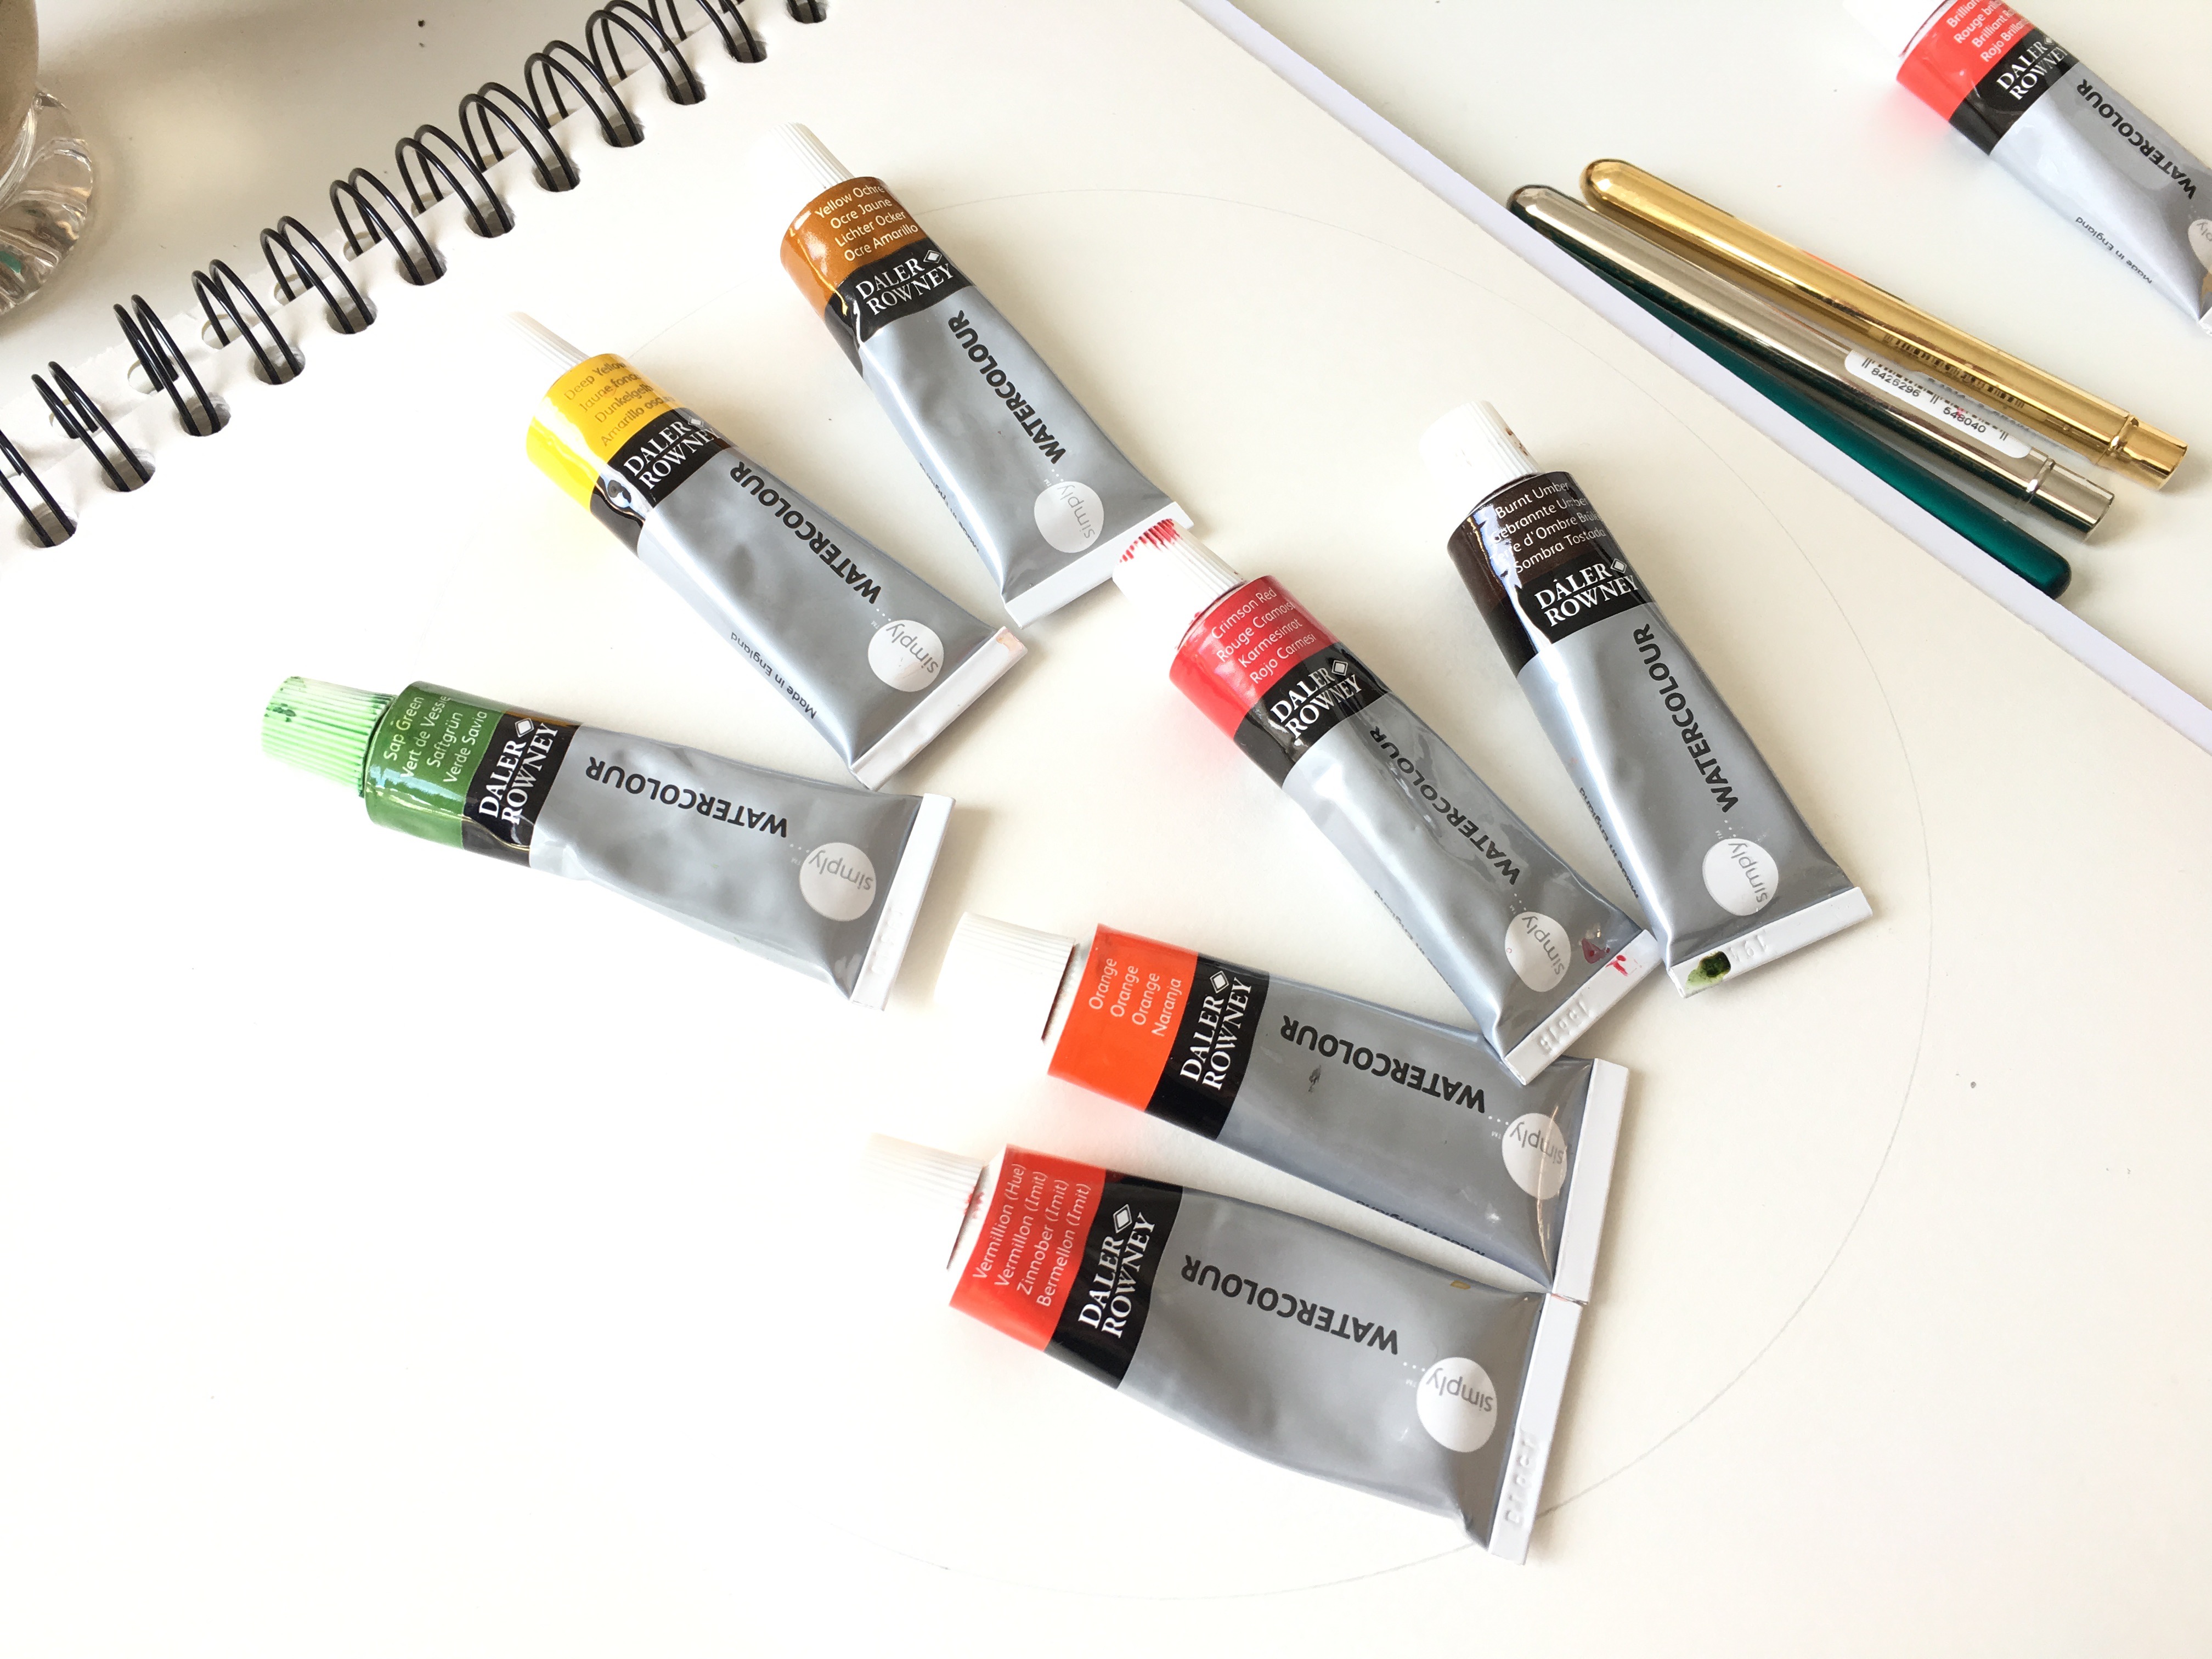
Supplies
- Watercolor paint
- Watercolor paper
- Brushes
- Clean water
- Pencil
- Quarter sized plate
Steps
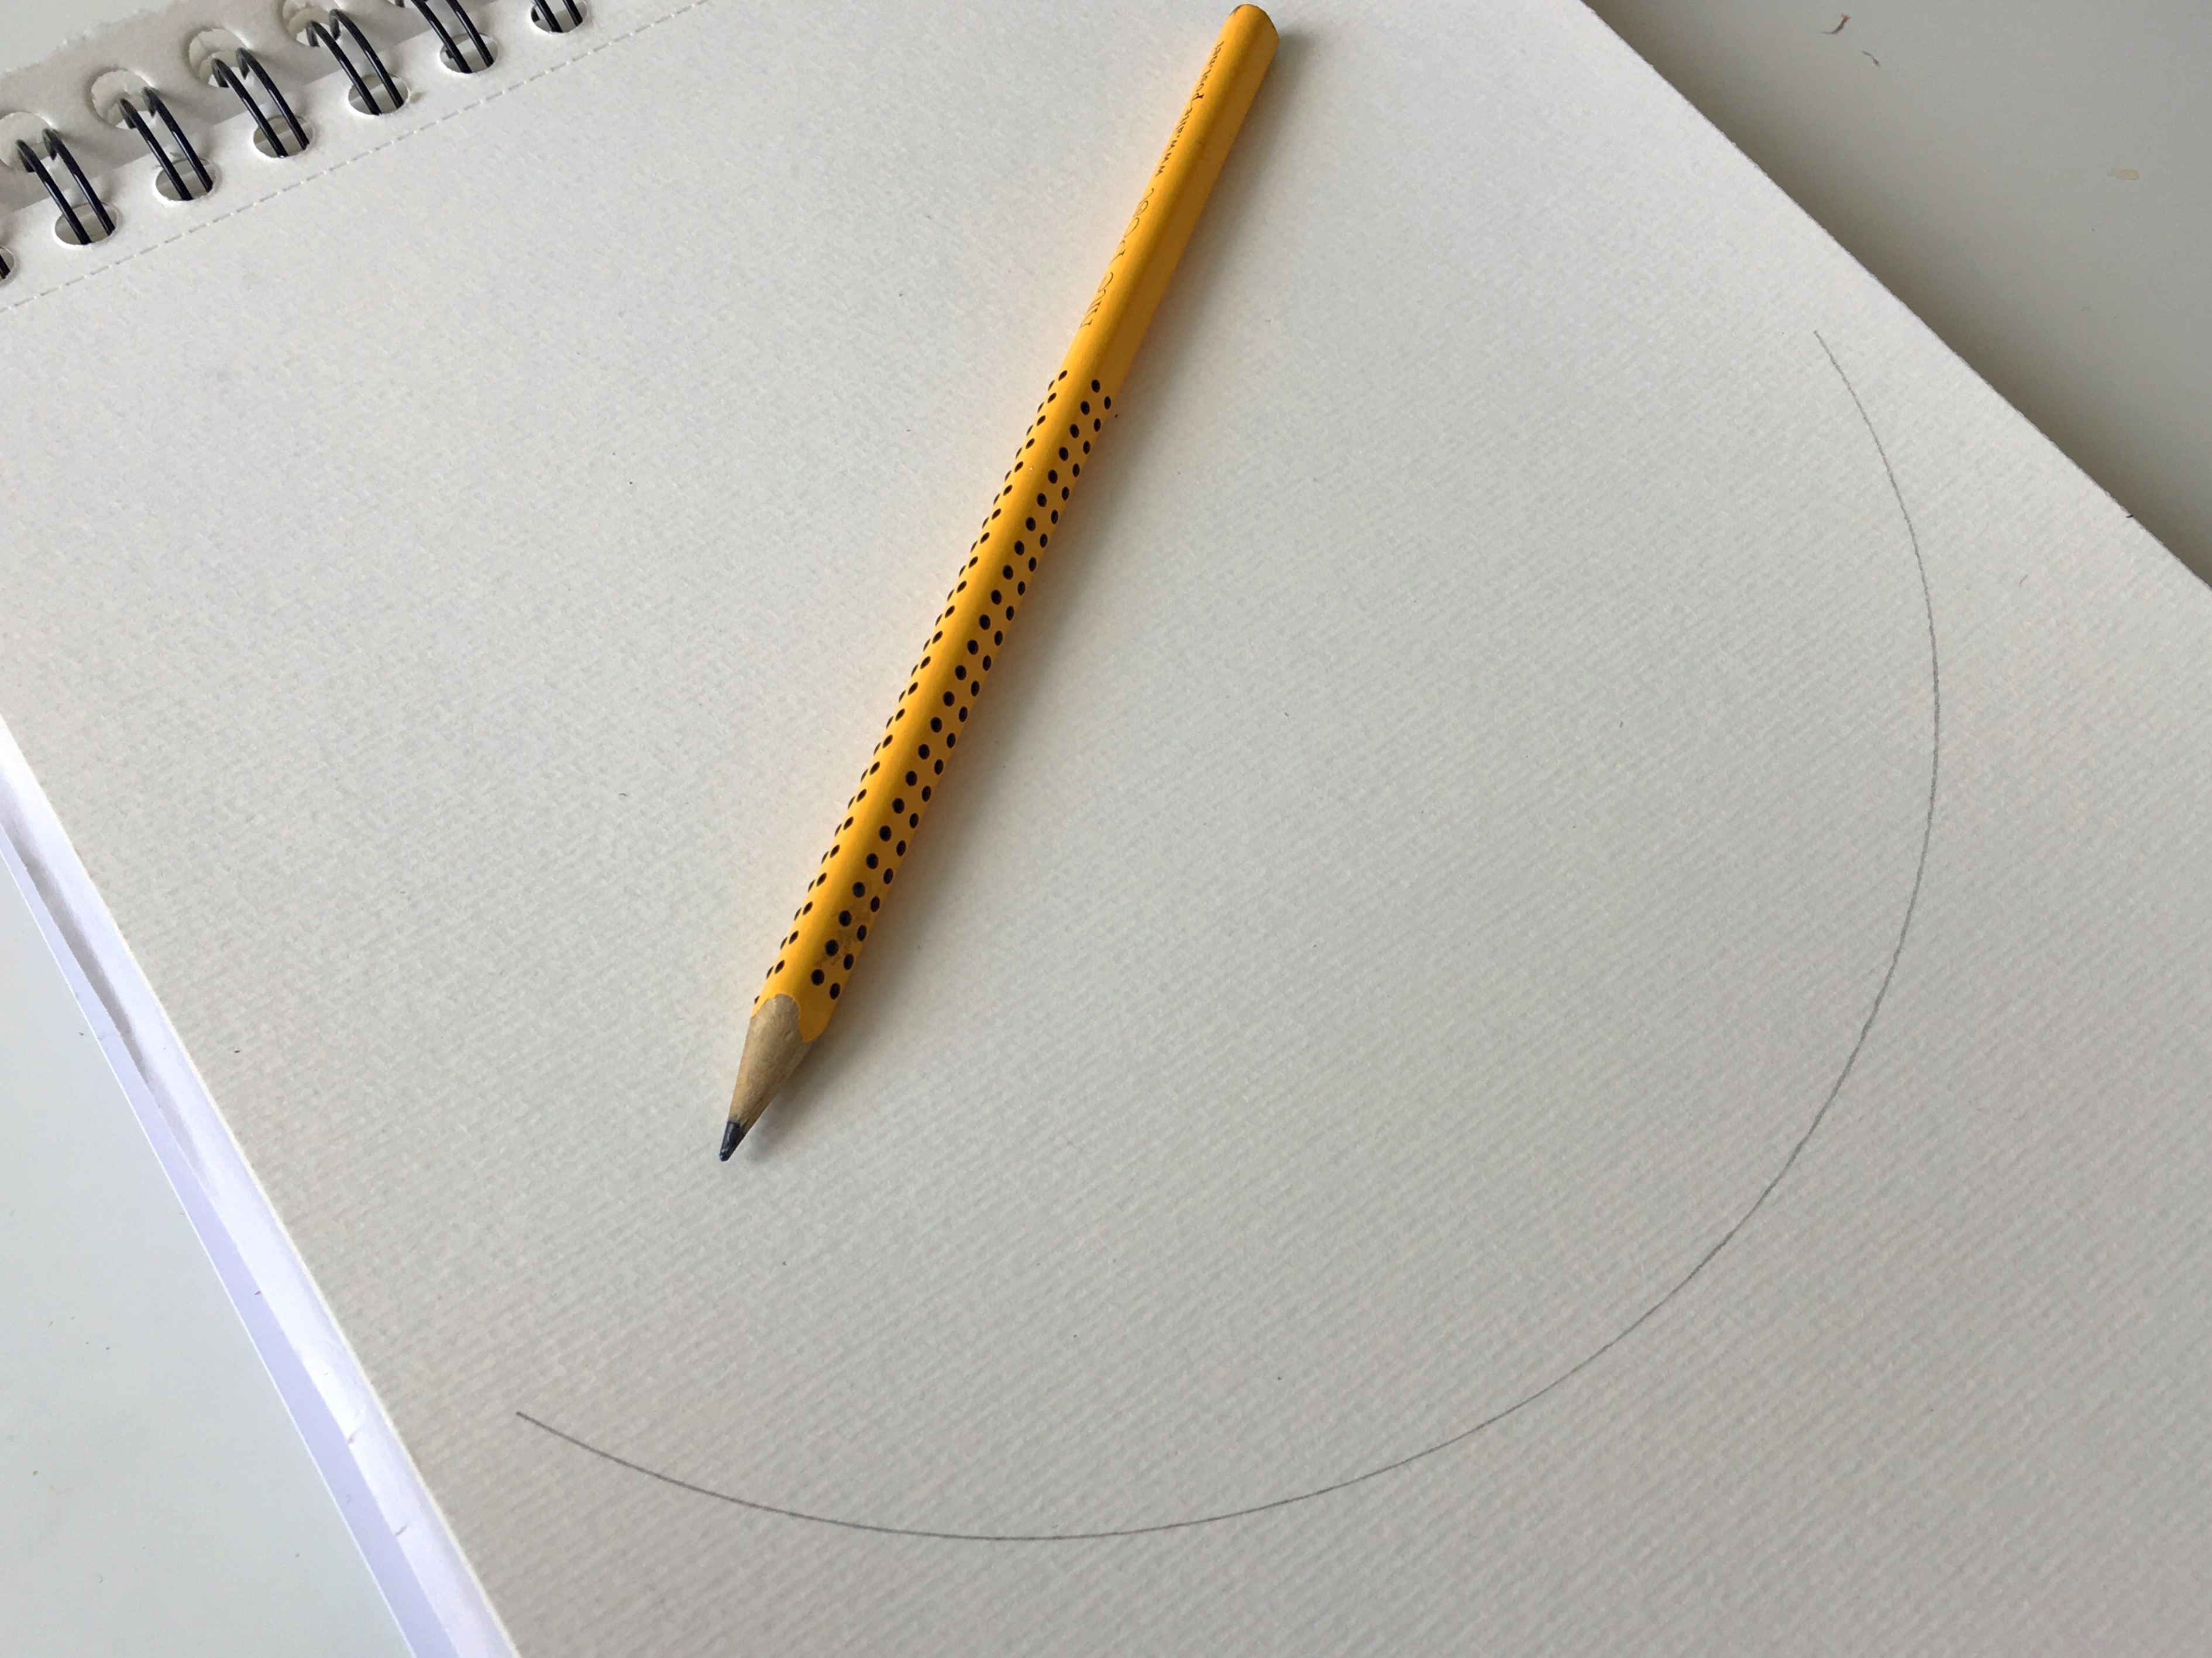
First of all draw a rough outline of a semicircle using a quarter sized plate. This would be the guideline for our artwork.
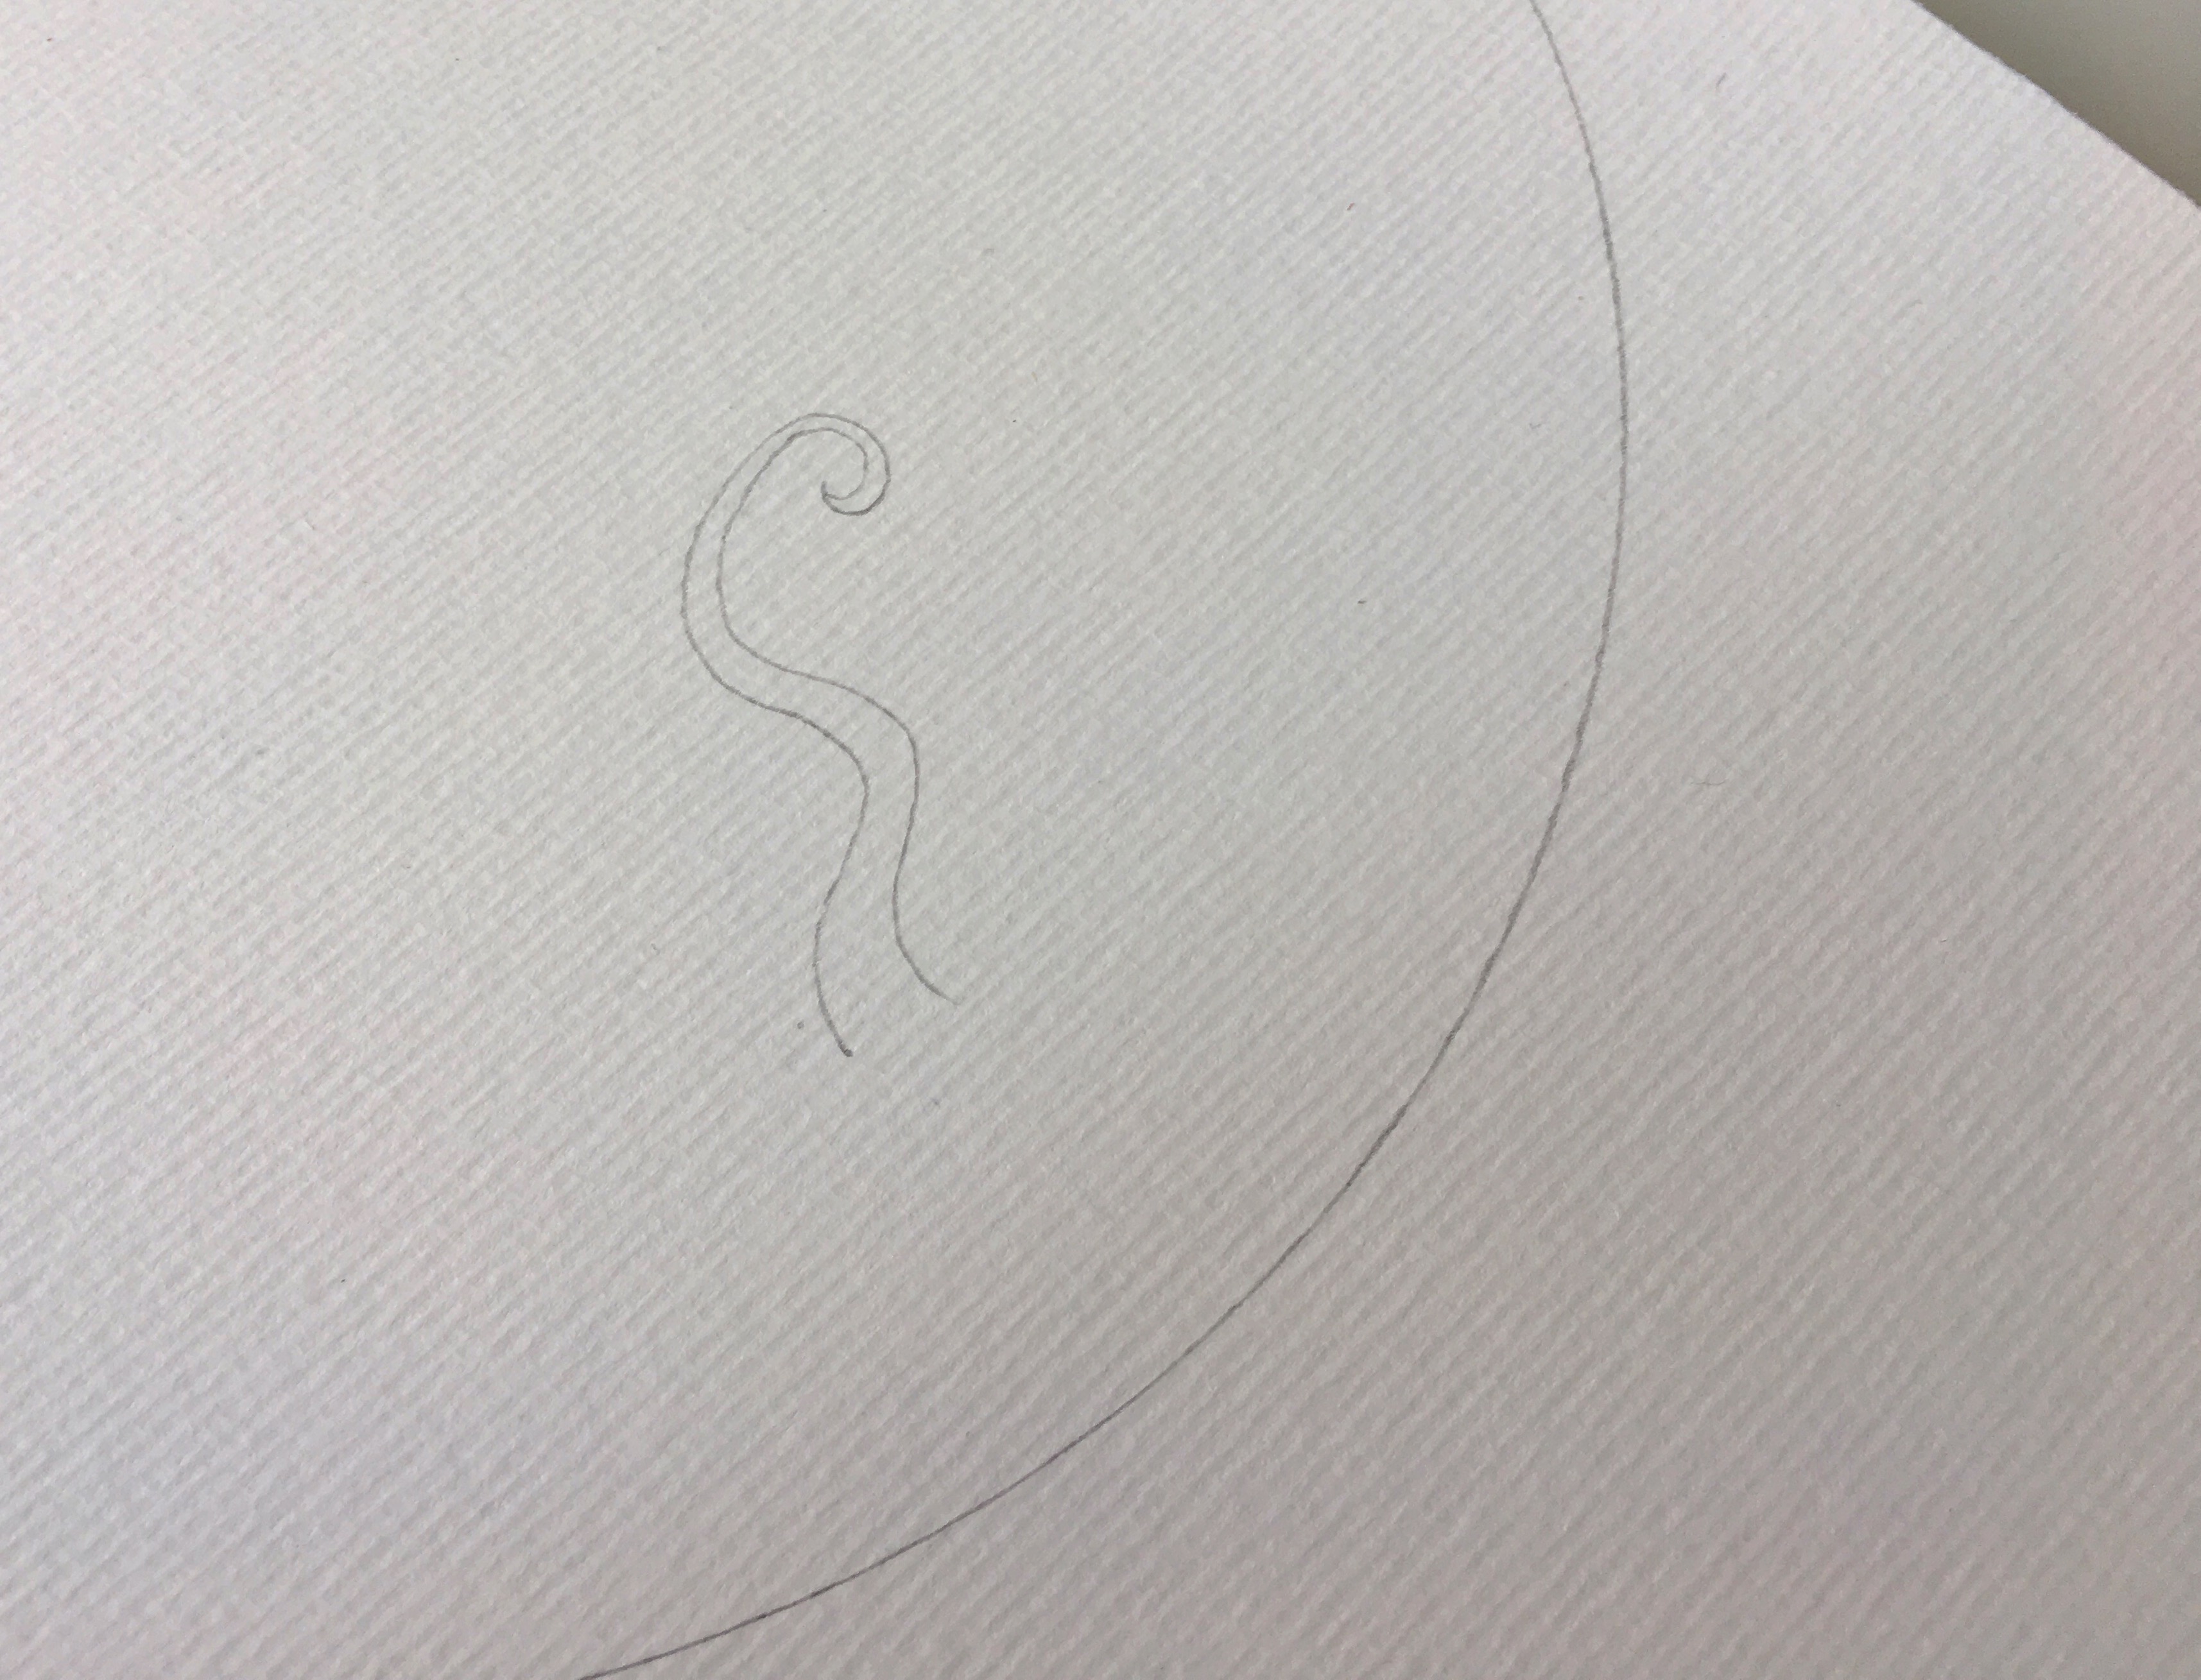
Who’s ready to doodle pumpkins? Let us start by drawing a S-shaped double line as shown in the middle of the semi circle. This will be the stalk.
Next draw a circle around the base of the S-shaped stalk. Don’t worry if your circle is not perfect! By right, it should not be perfect (giggle)

Now extend curved lines from the base of the stalk to the outer edge of the pumpkin as shown. Tada! We are done with the rough sketch.

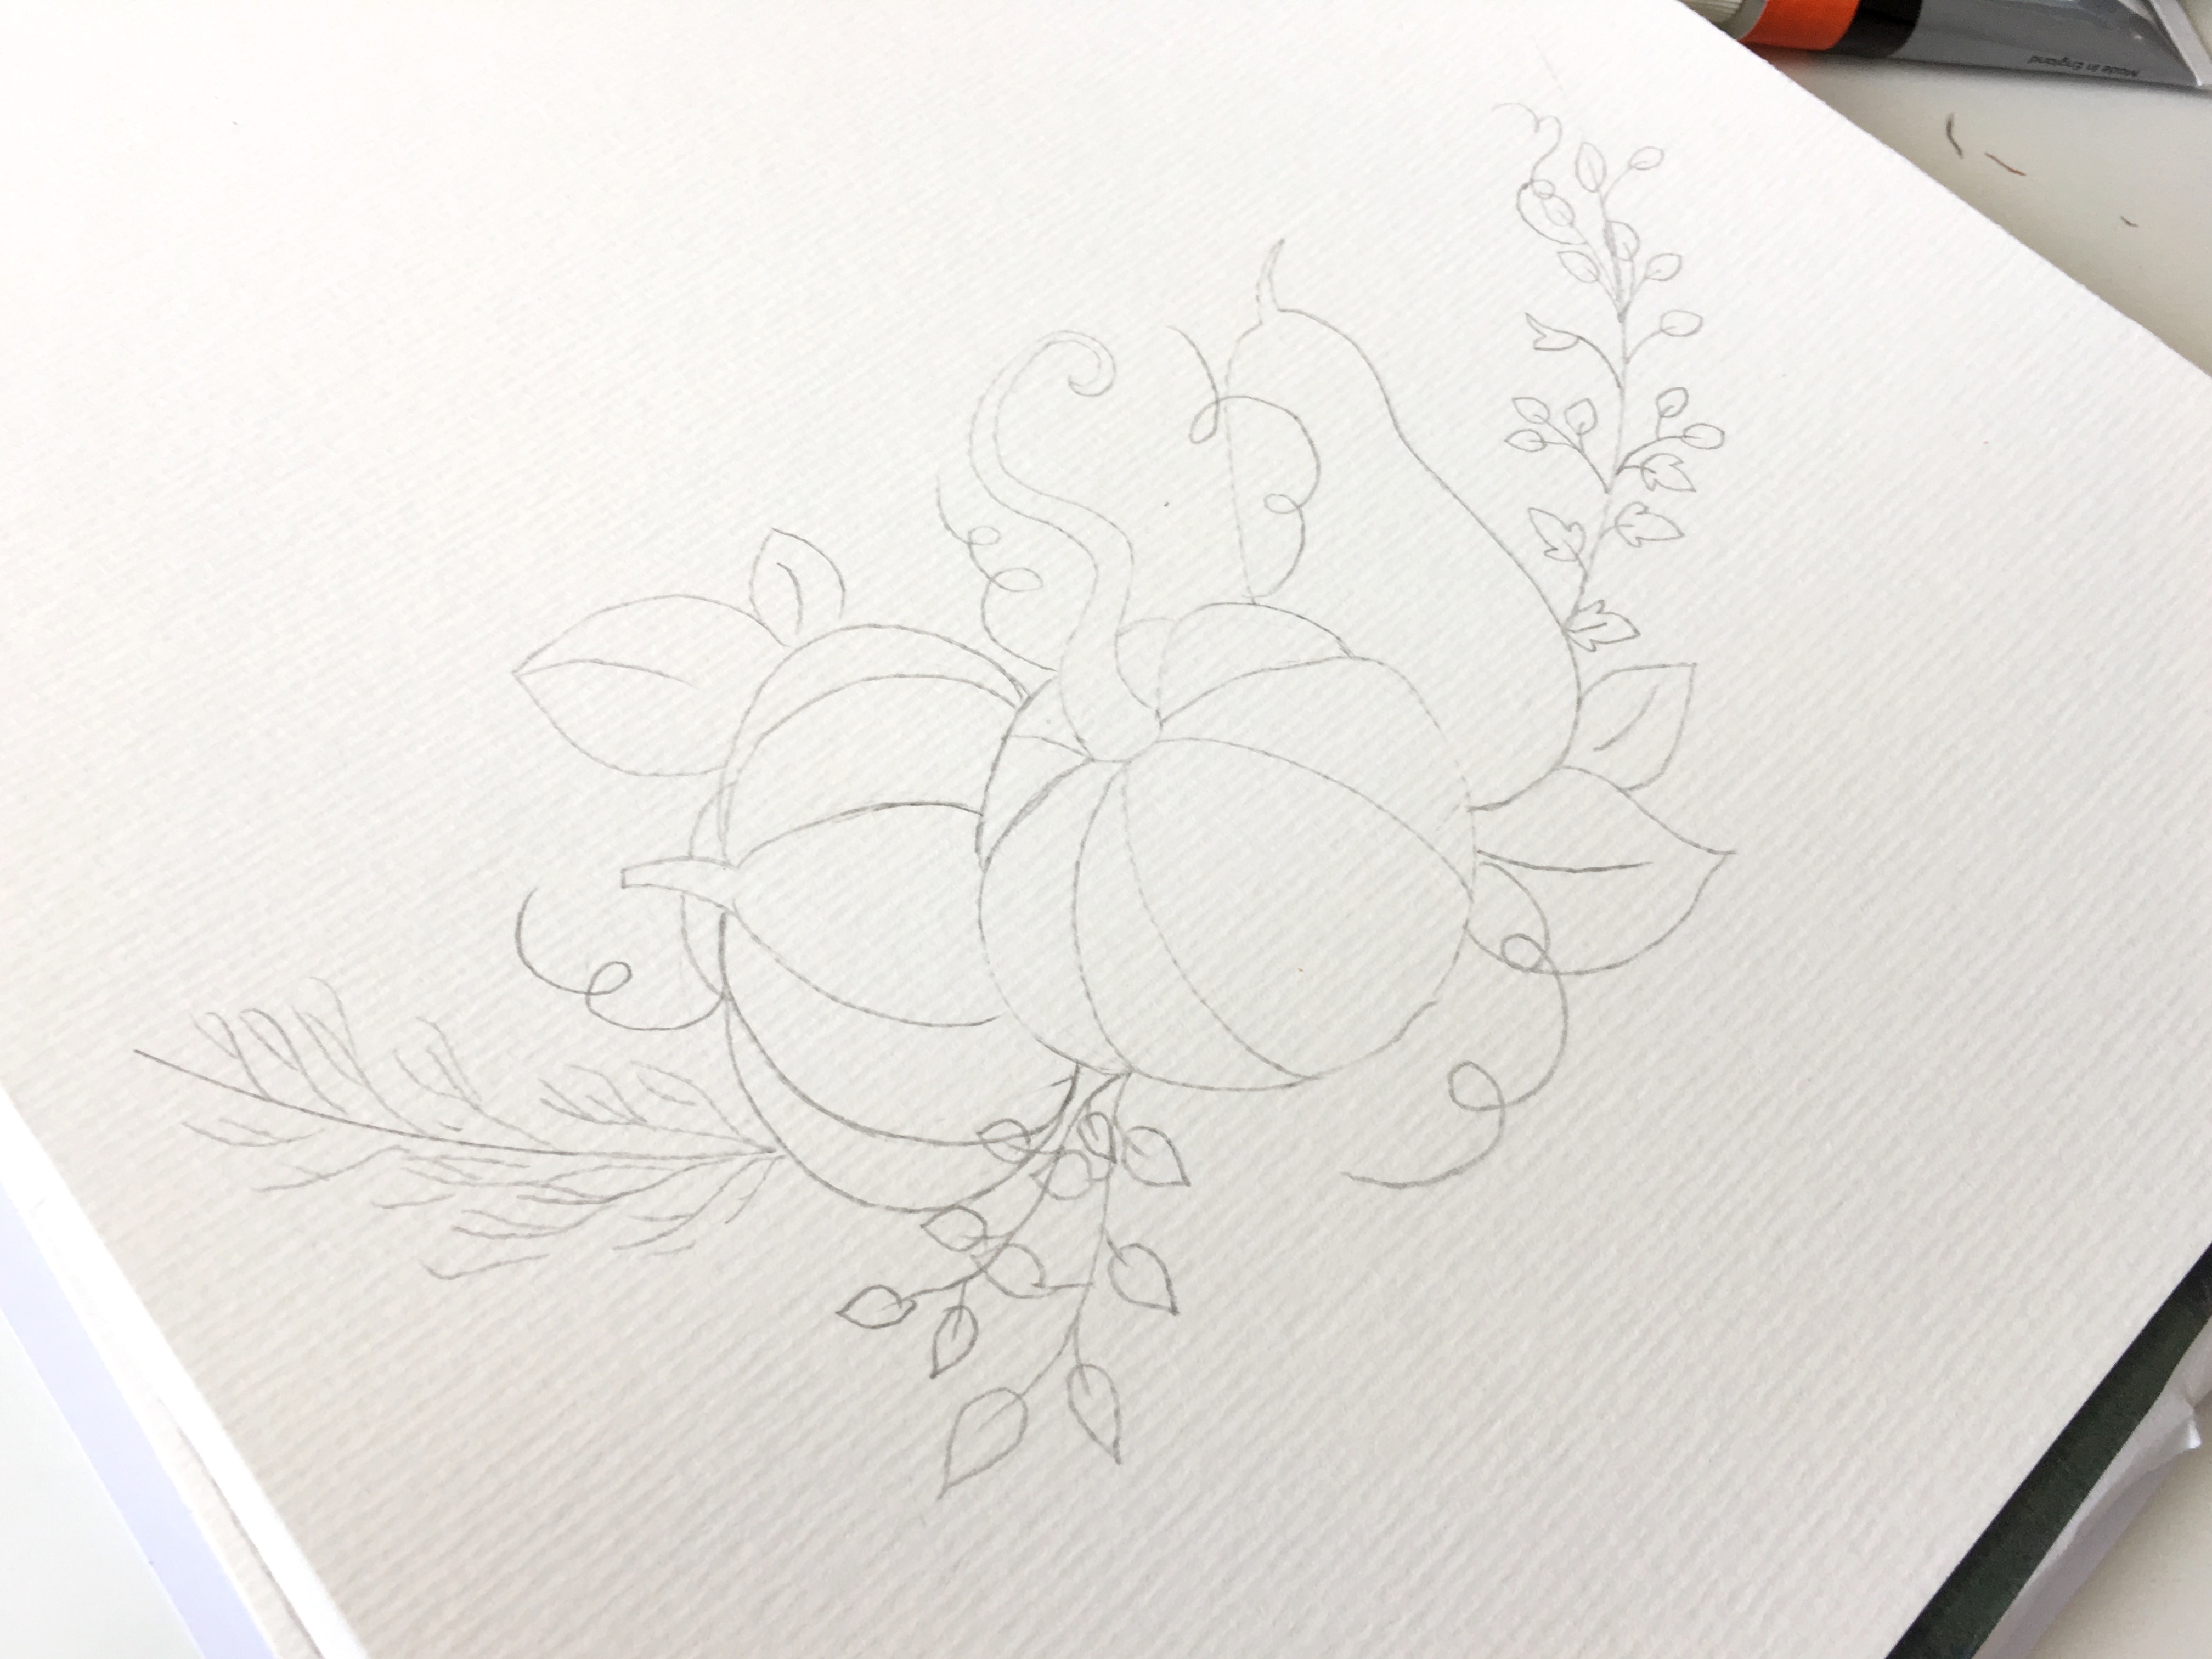
Now we slowly proceed with the next element – bottle gourd. Though it is not my favourite veggie, it looks pretty when teamed up with pumpkin, doesn’t it?

Let us add another pumkin facing left hand side. Follow the same procedure as we used to create the first pumpkin.

Furthermore we add some supporting elements such as leaves, twigs and branches to the artwork. Now we are all set to create magic with our colors.
Choosing the right color palette is very most noteworthy specially when we plan to paint with lots of blending technique. I chose warm toned colors such as yellow, burnt sienna, sap green, vermillion, orange, primary red to name a few.
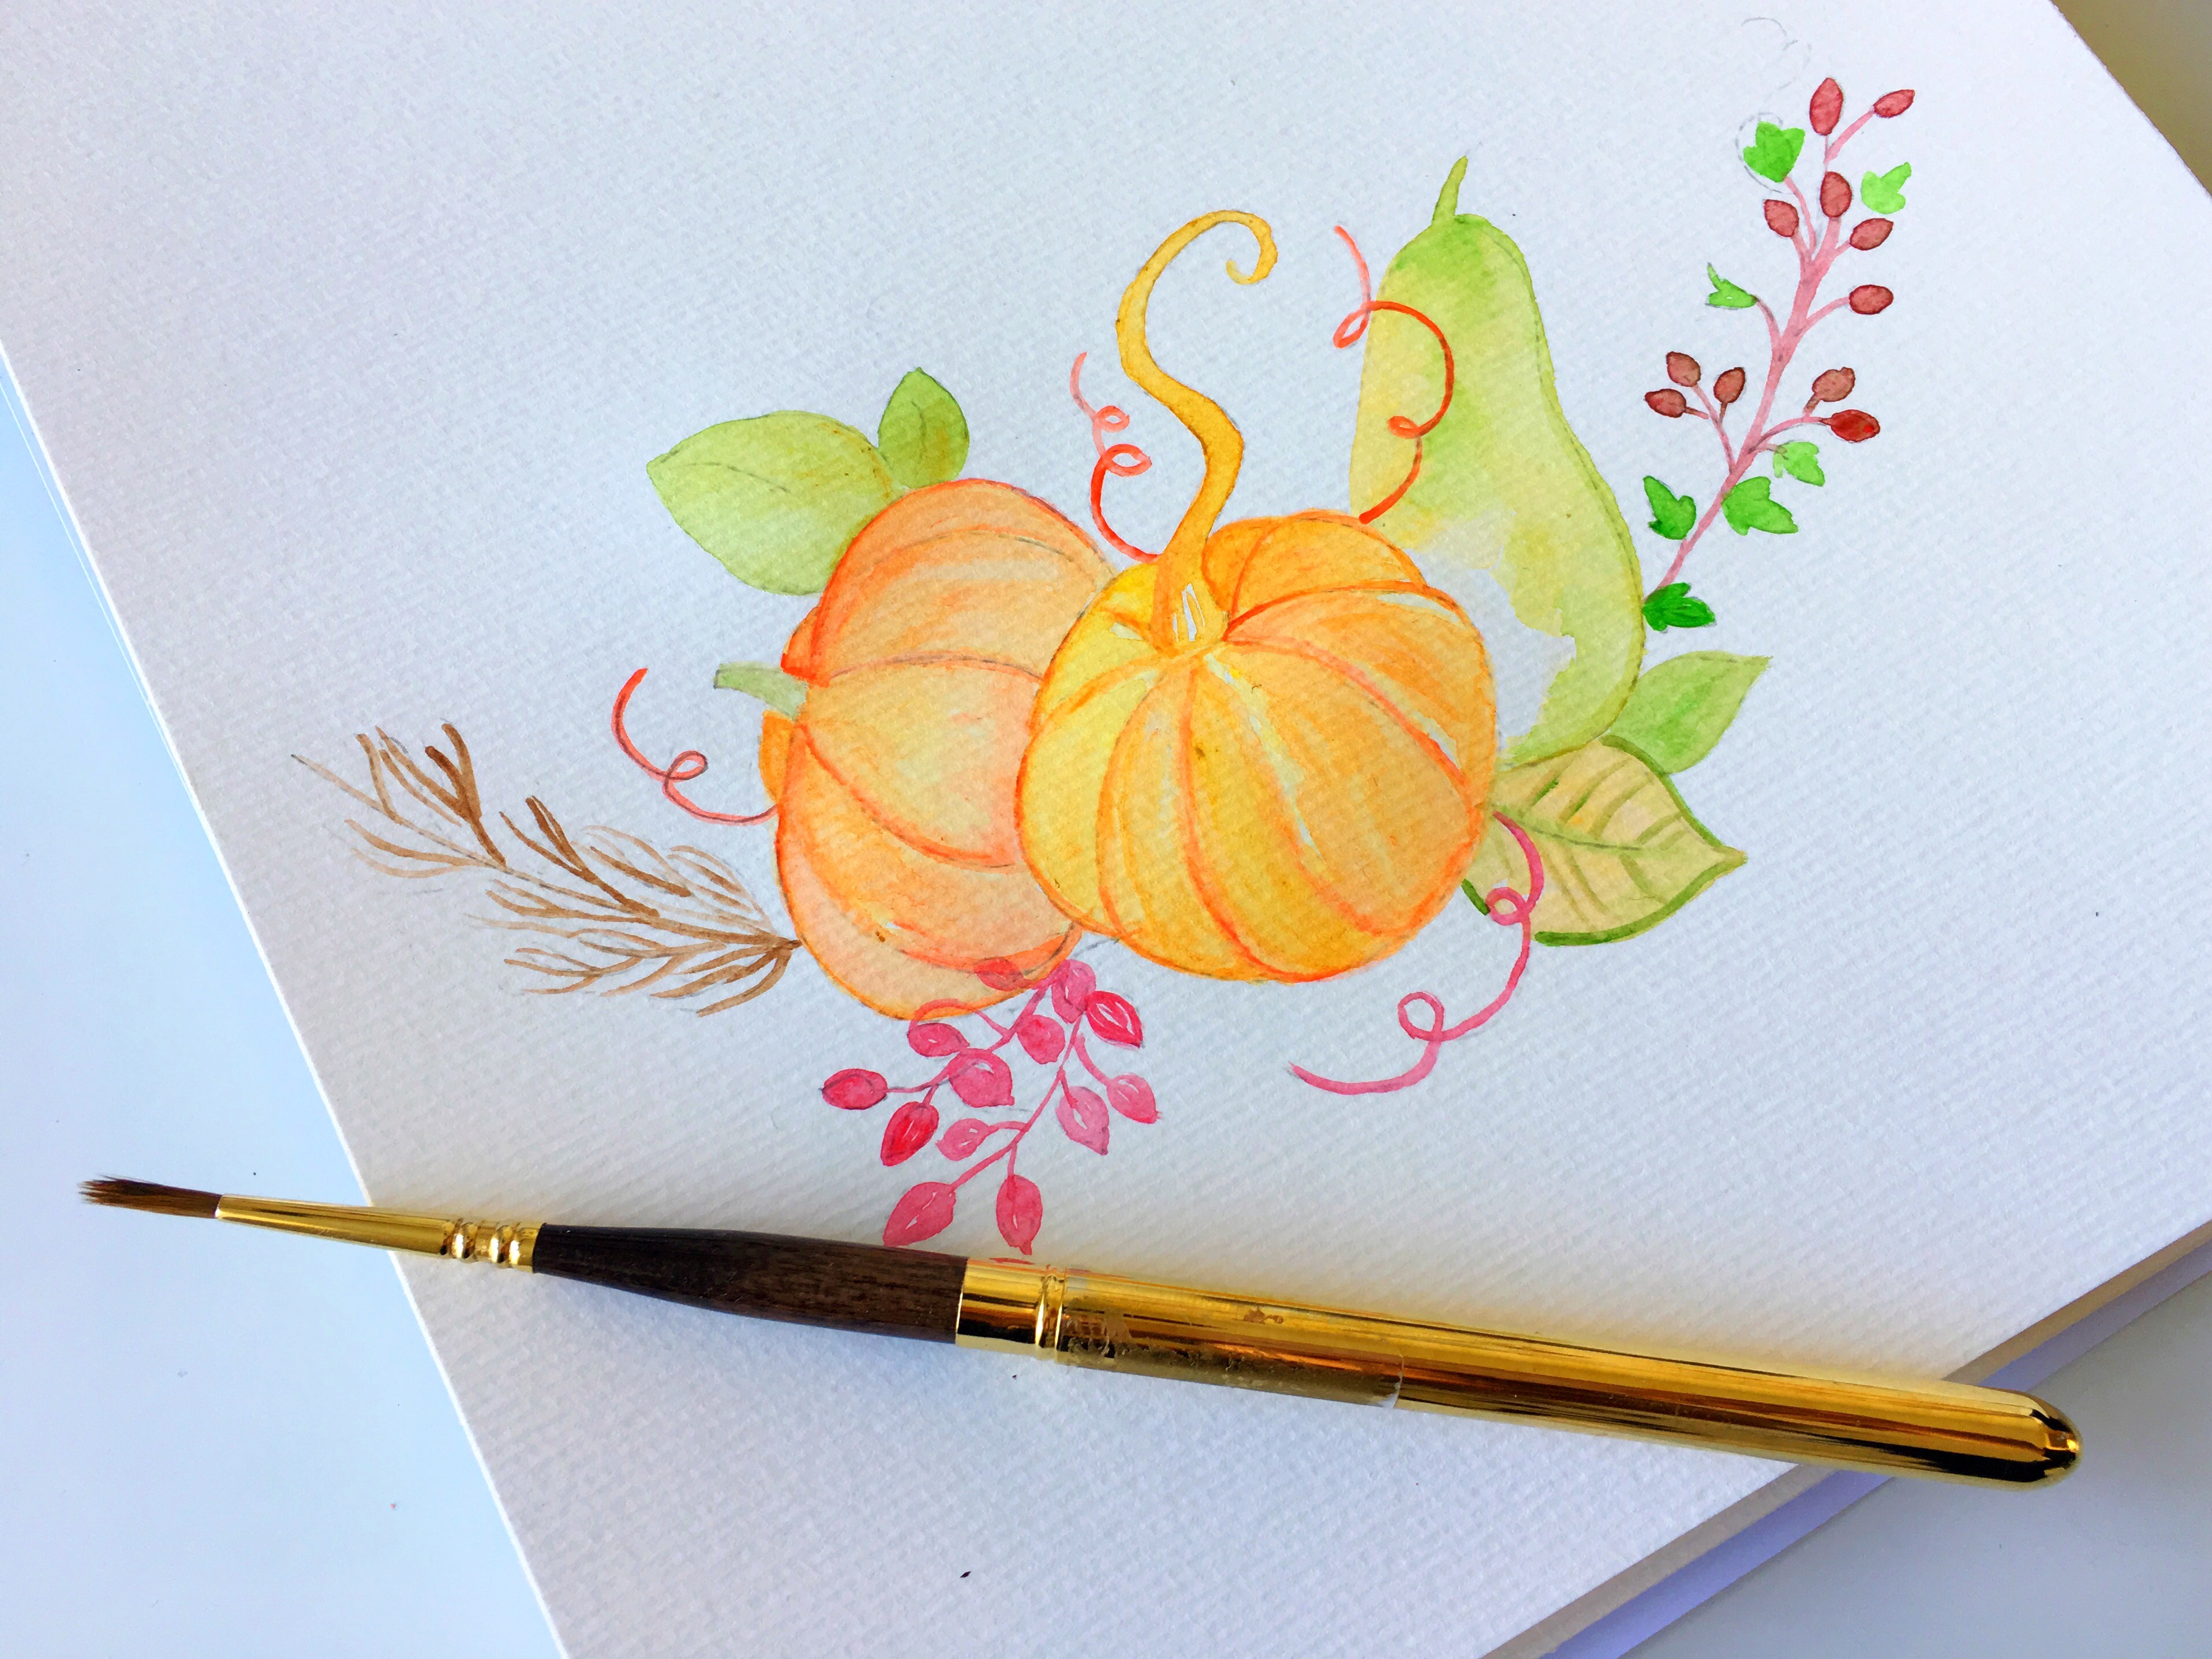
Start with coating the pumpkin with a thin water wash. I added yellow ochre pigment immediately, hence the color spread out automatically. Add the second color (I choose red) around the edges of the inner lines while the paint is still wet so that it blends in beautifully.Darken the edges to create a depth and allow it to merge in automatically with the yellow. The trick is paper should be always damp to create a loose watercolor painting. Check out this timelapse video of painting the pumpkin and the gourd. I hope it is easier to comprehend.
I have a bonus video tutorial of watercolor fall leaves artwork I created for my living room decor. You can use similar technique to create leaves as supporting elements for your artwork.
Now add plenty of colors to the supporting elements in warm tones. This will help your artwork to be vibrant. And there you go, a simple fall artwork is ready within 30 mins.
Conclusion
In conclusion, You can add a quote to it or simple frame it and decorate along with your other fall decorations. I hope you enjoyed this watercolor fall artwork tutorial as much as I enjoyed creating it. It is easy, super fast and yet beautiful! Get creative and use these elements to create amazing artwork. Make sure you hashtag #lifeathonblog to share your pretty stuff with me.
Cheers