
We all love creating representations of various elements of nature that we see in our day to day life. Succulents are my new obsession for the only reason that they are gorgeous. But unfortunately I manage to kill a few of them from time to time. So I decided to create the watercolor version of these pretty succulents which would be the perfect indoor greenery with a handmade touch. And of course who doesn’t love to own a plant you can’t kill?
In the first part of the tutorial, you’ll learn how to draw and paint these eye-catching rosette succulents called Echeveria( P.S : I had to google up to find the right name). With distinct shapes and color variations in each leaf, the combination of hard and soft edges and lines will result in a beautiful composition even before you realize and trust me this knowledge will come in handy!
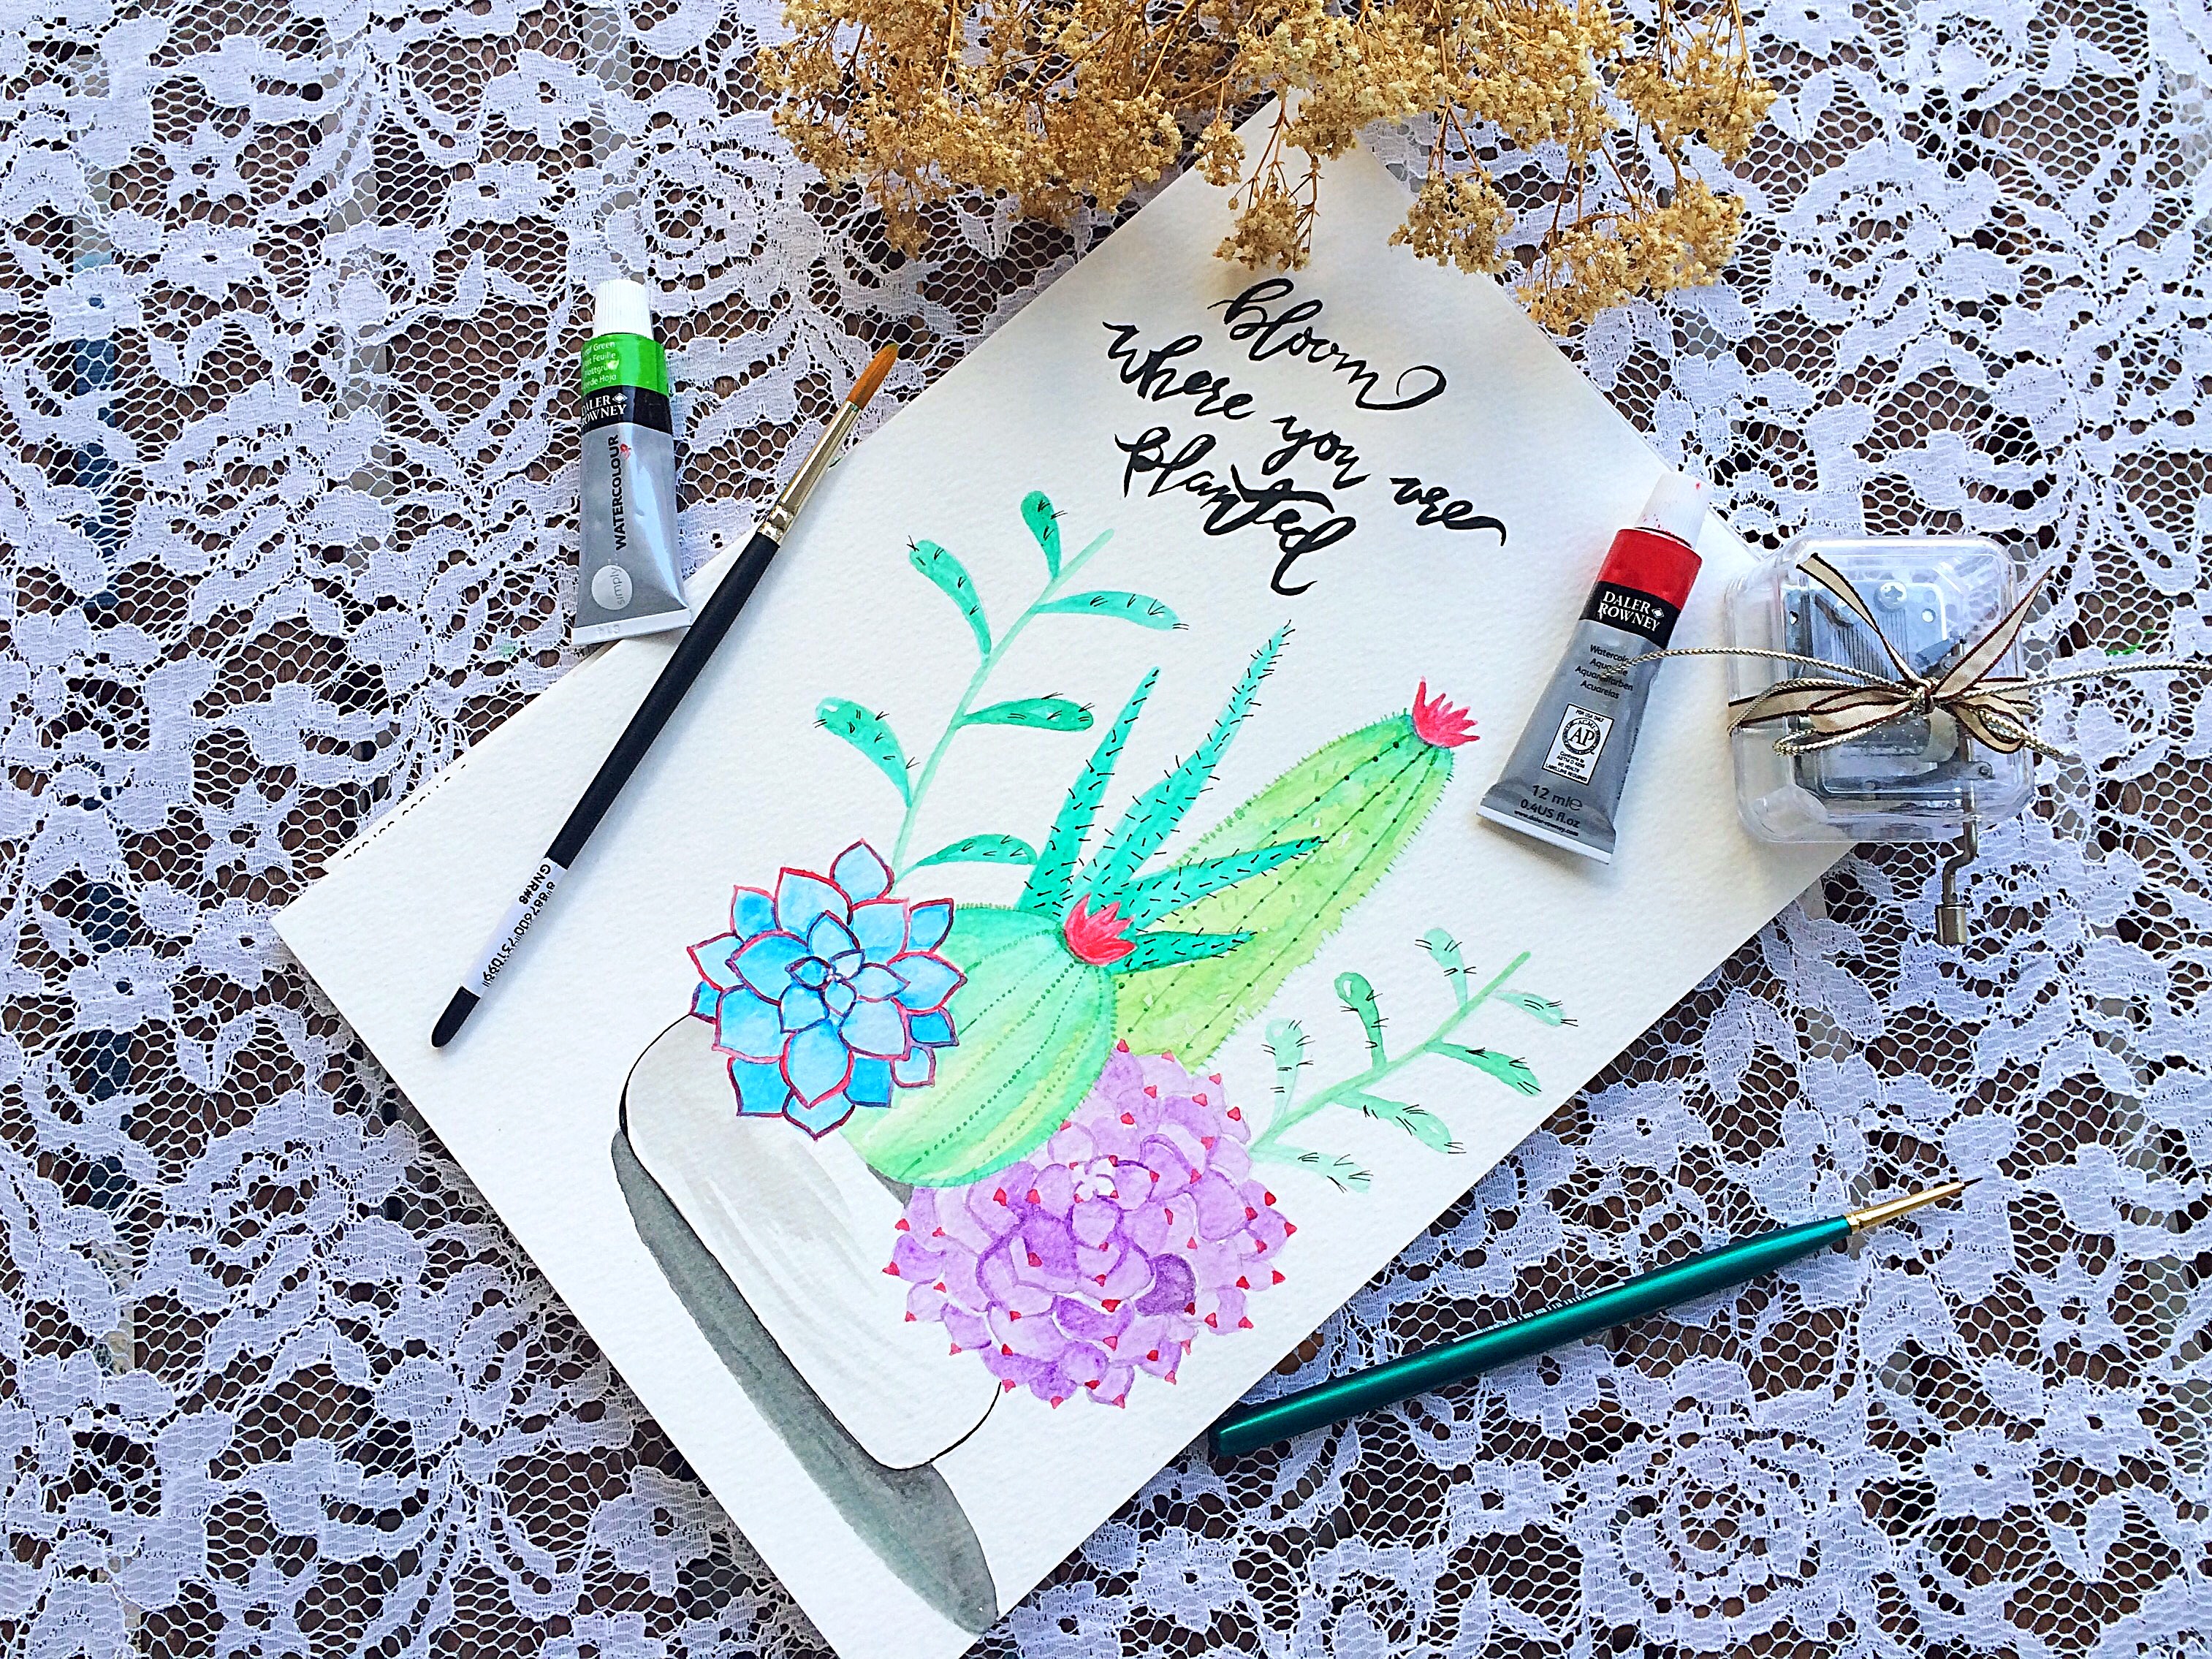
Supplies
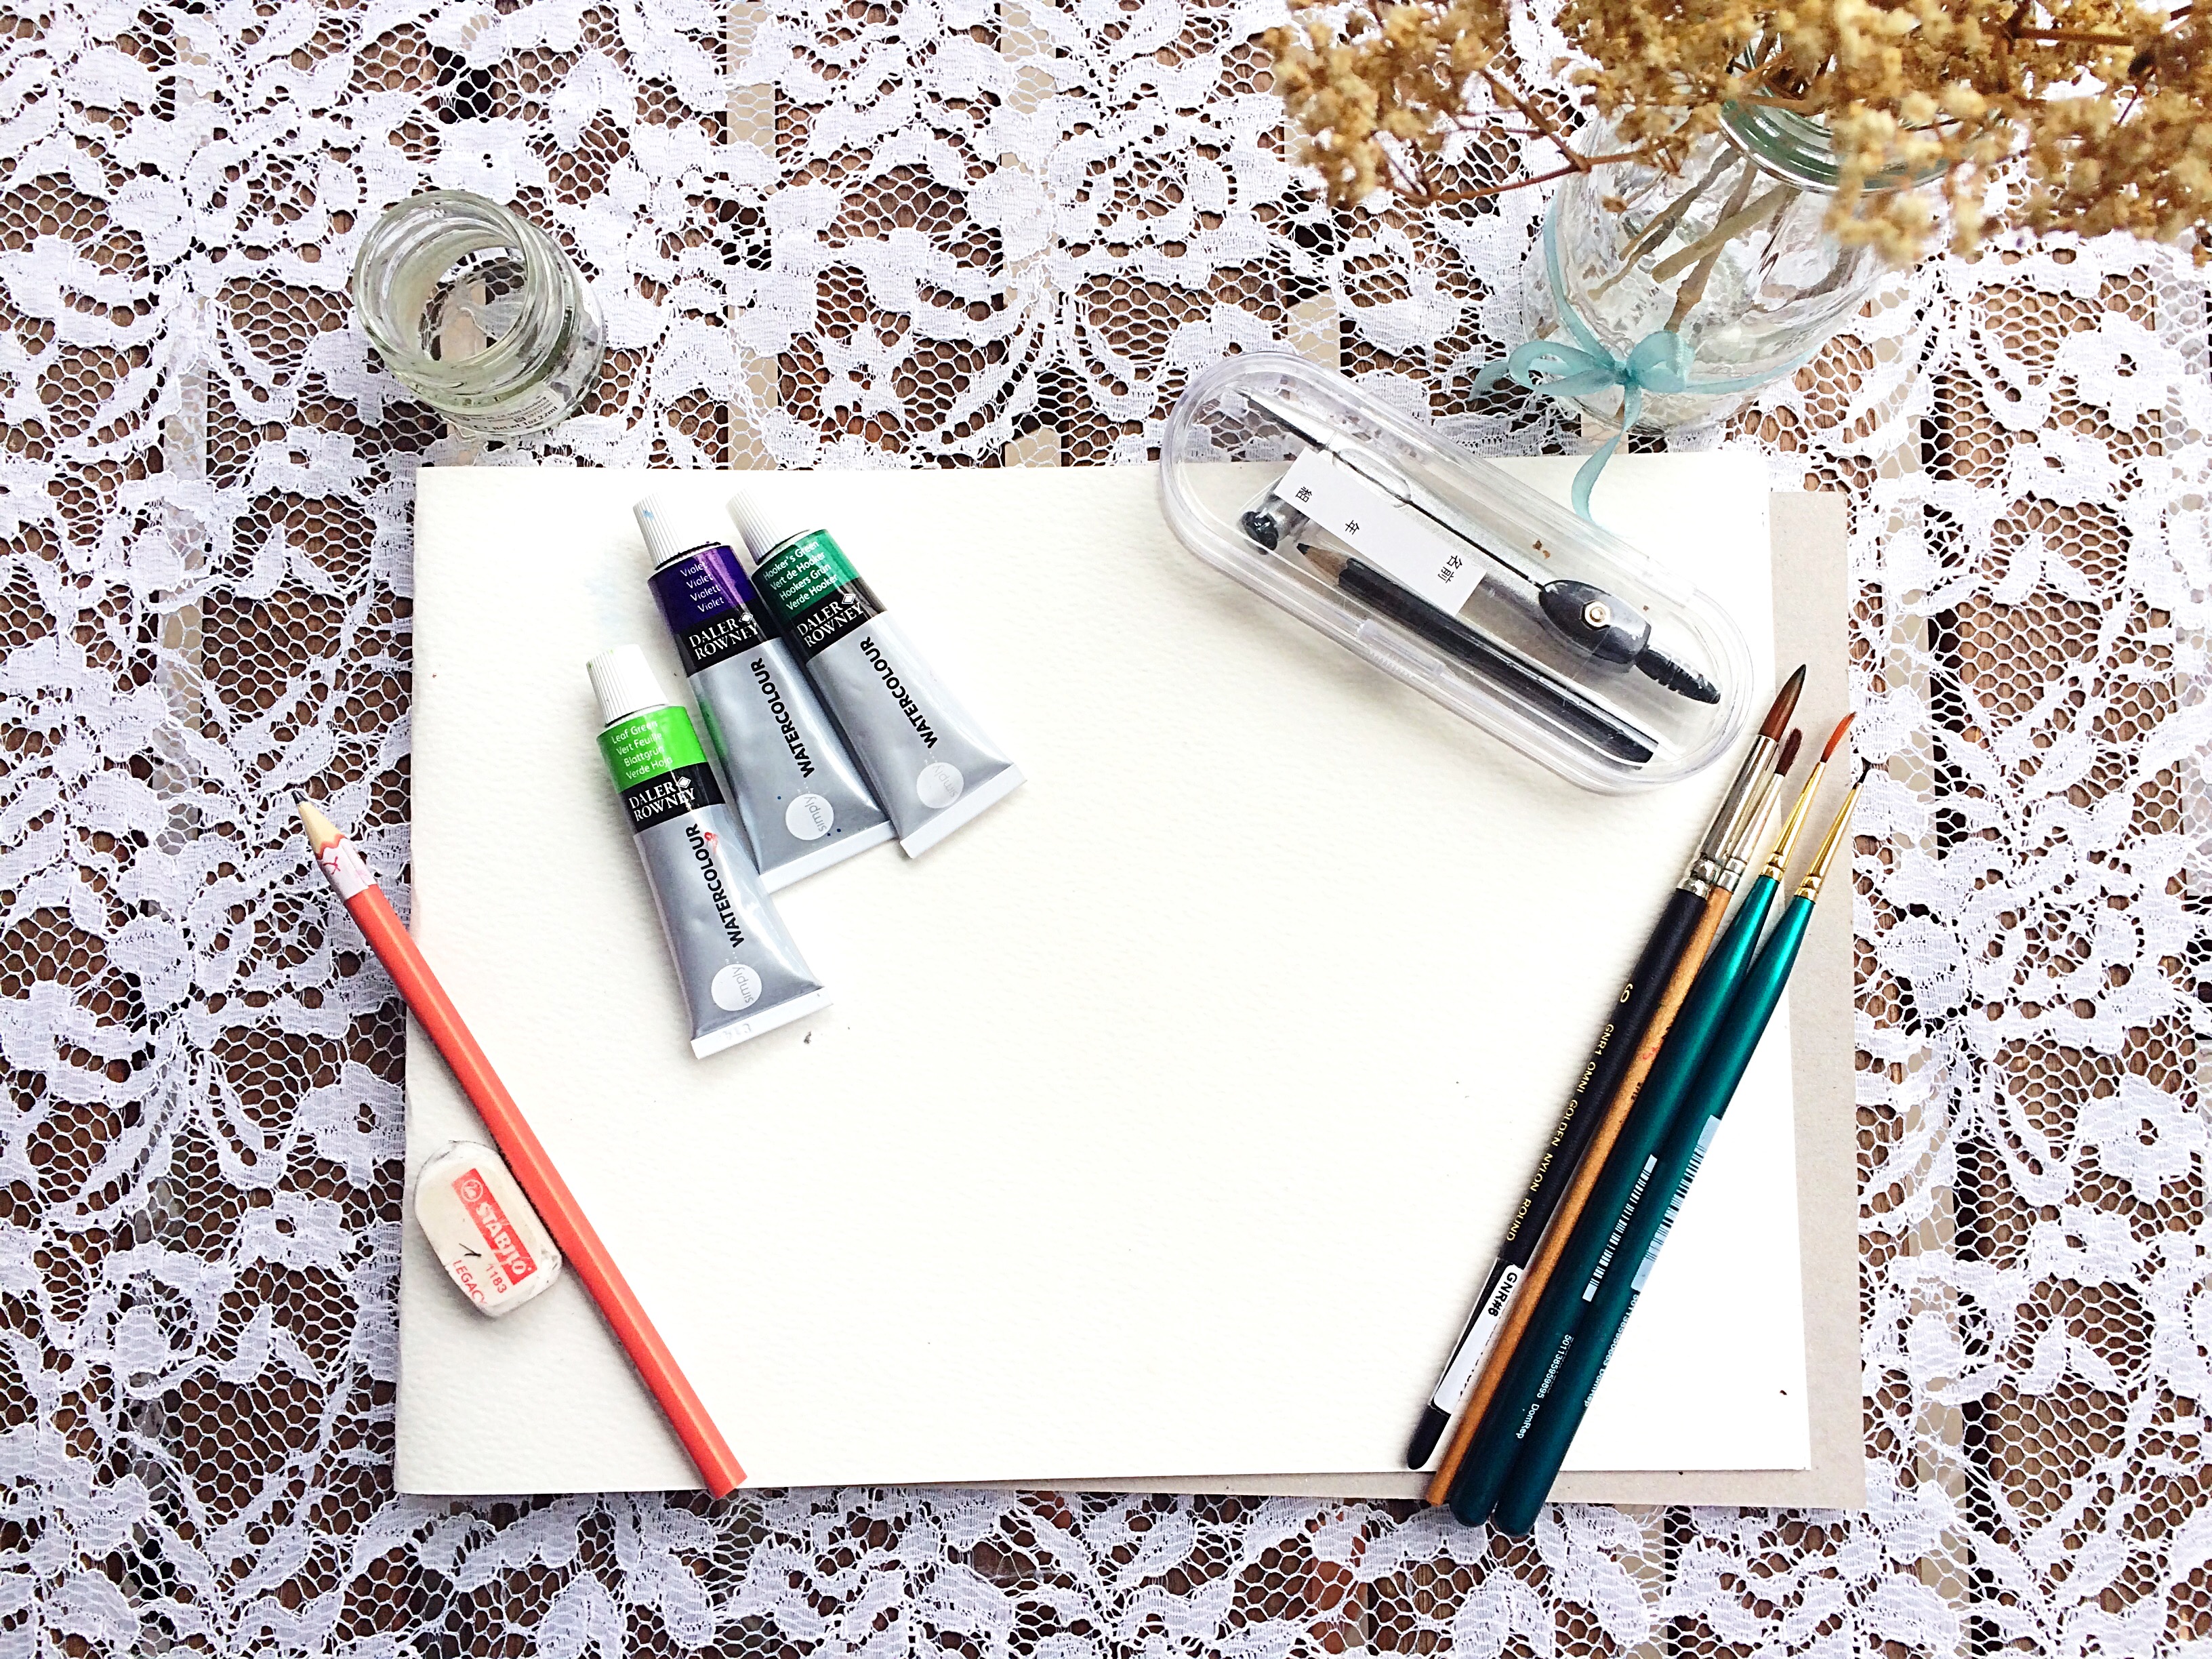
- Watercolor paints by DalerRowney ( I will explain the colors used for each succulent in the instructions)
- Pencil
- Circular object to outline
- Paint brush ( round size 6 and spotter brush for fine detailing)
- Palette
- Watercolor paper- (I am using 140lb cold pressed paper , 225 gsm)
- Water
- Micron 01 pens
Steps
Esheveria : Tender Green Velvet Rosette Succulent
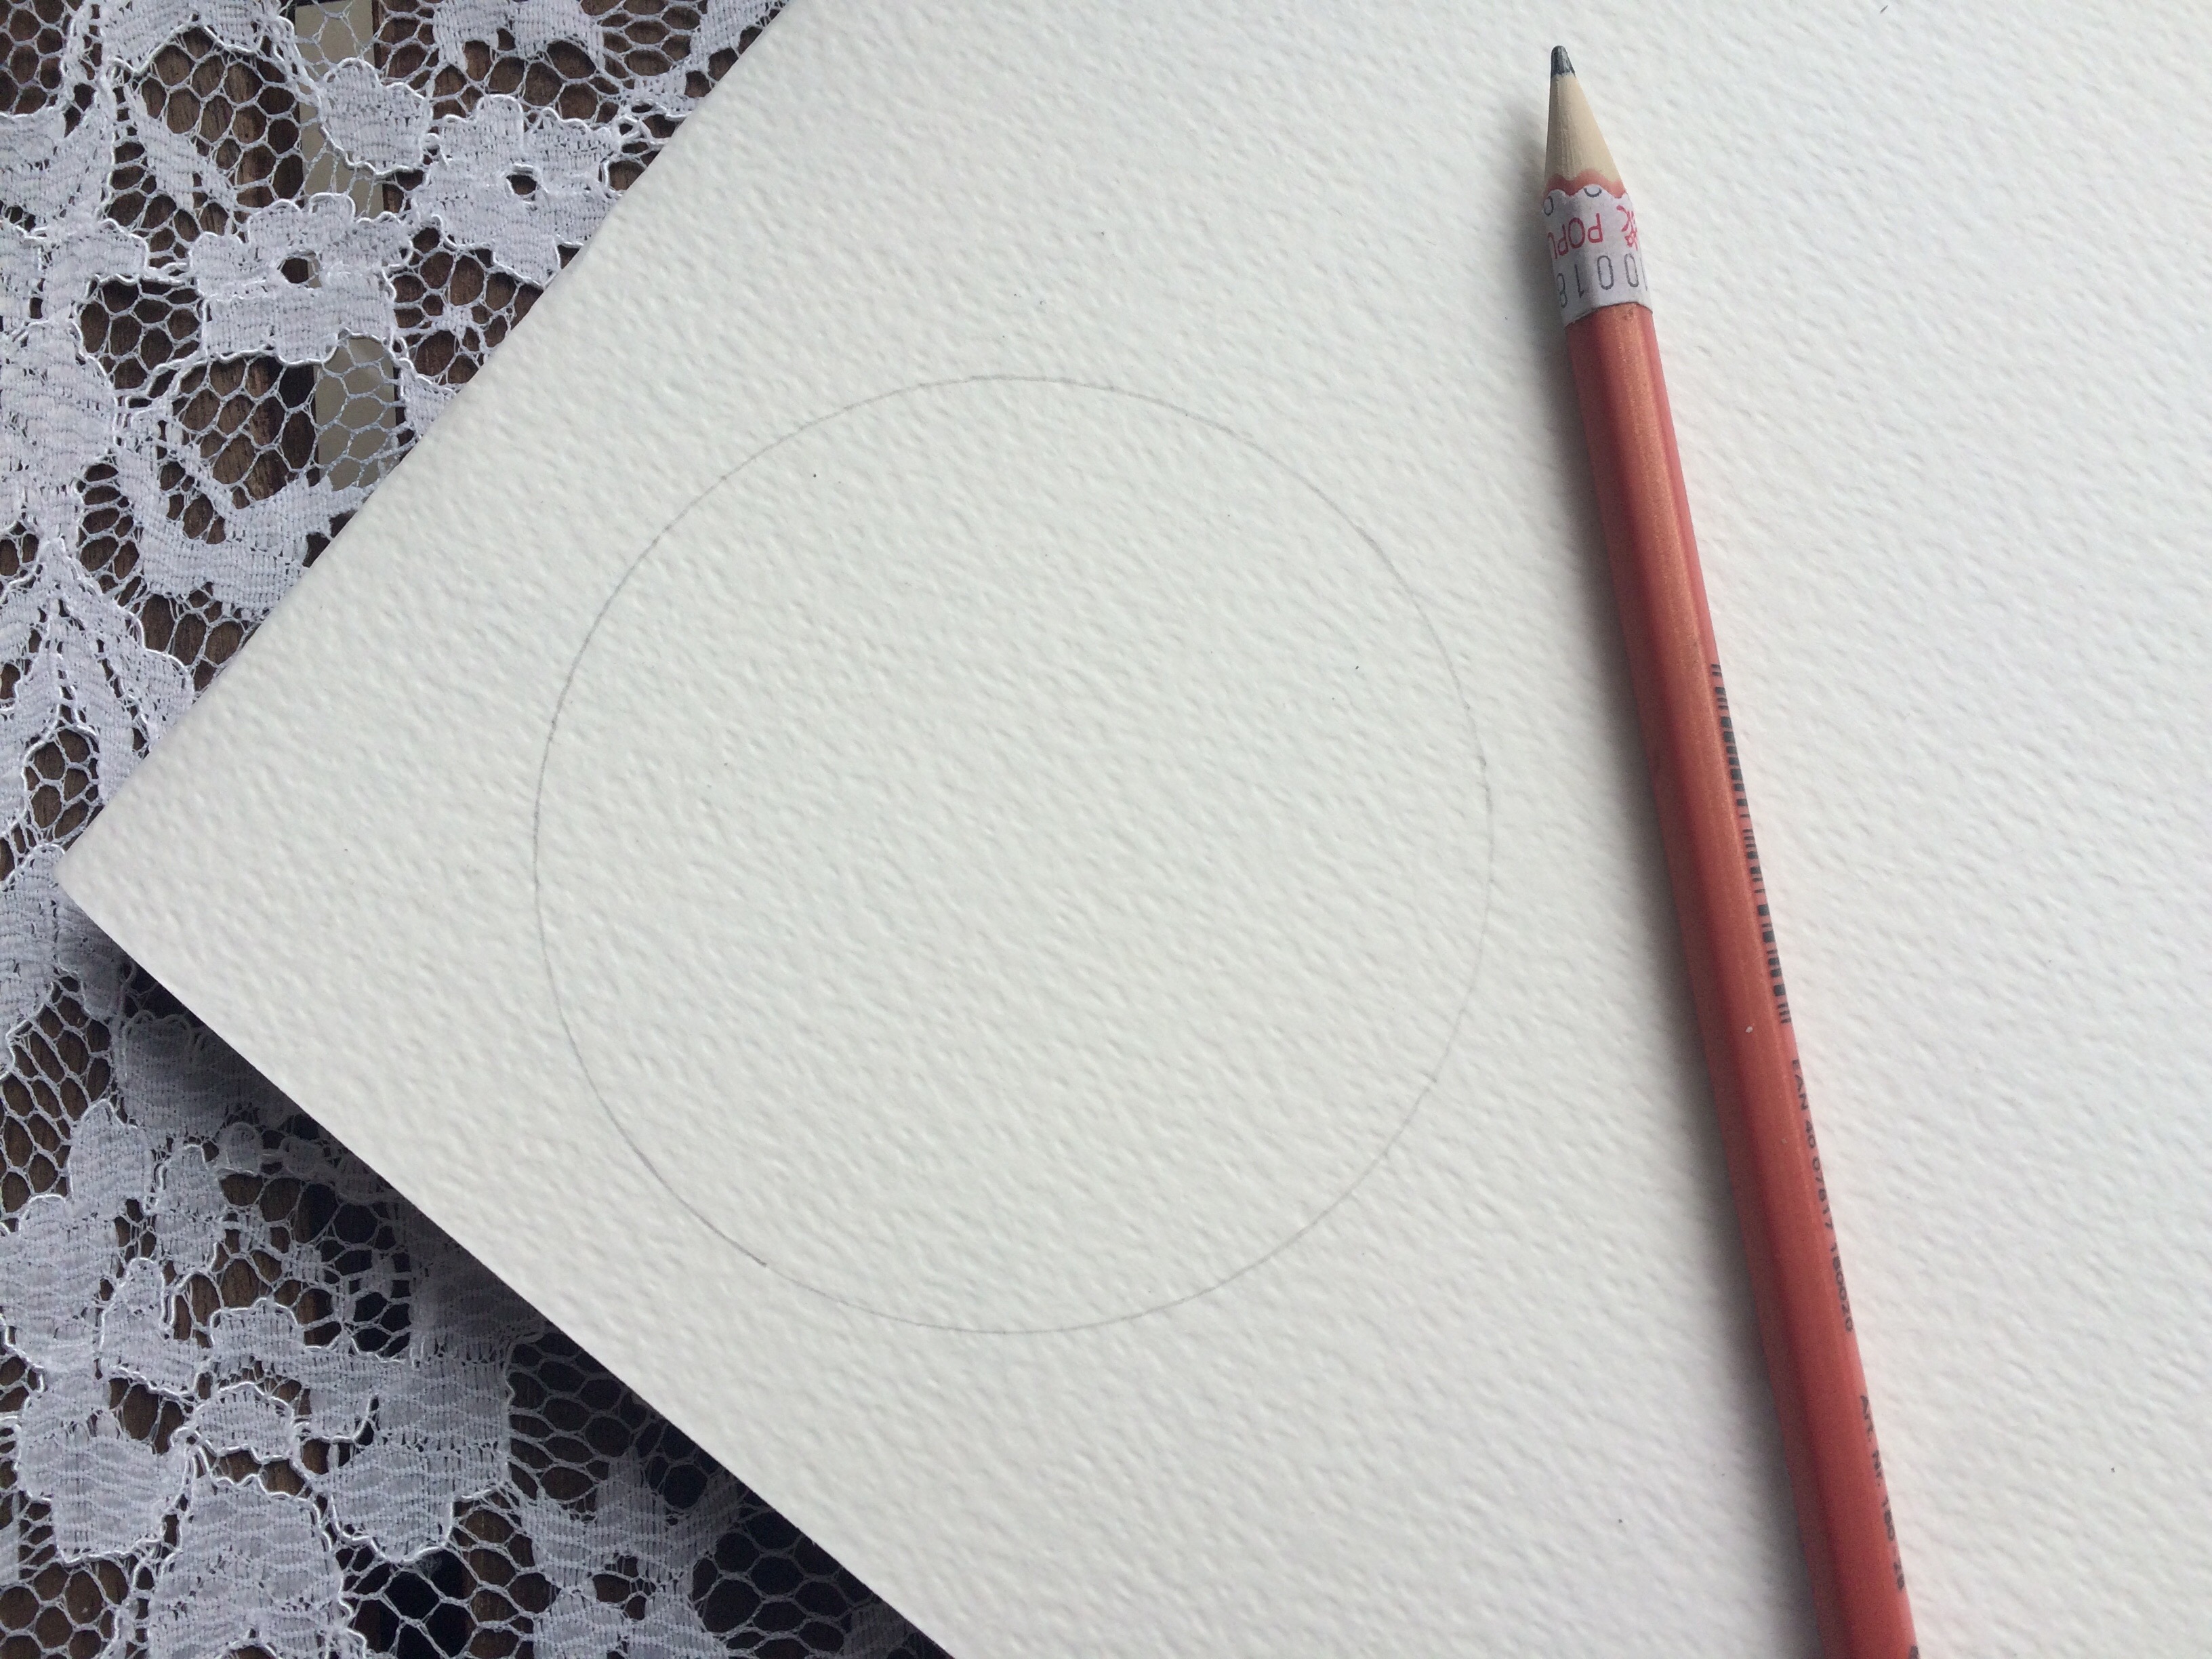
Begin by using a HB pencil to trace out a circle like the one above with any circular object. You might use a compass if you wish. This will serve as the base for your rosette succulent.
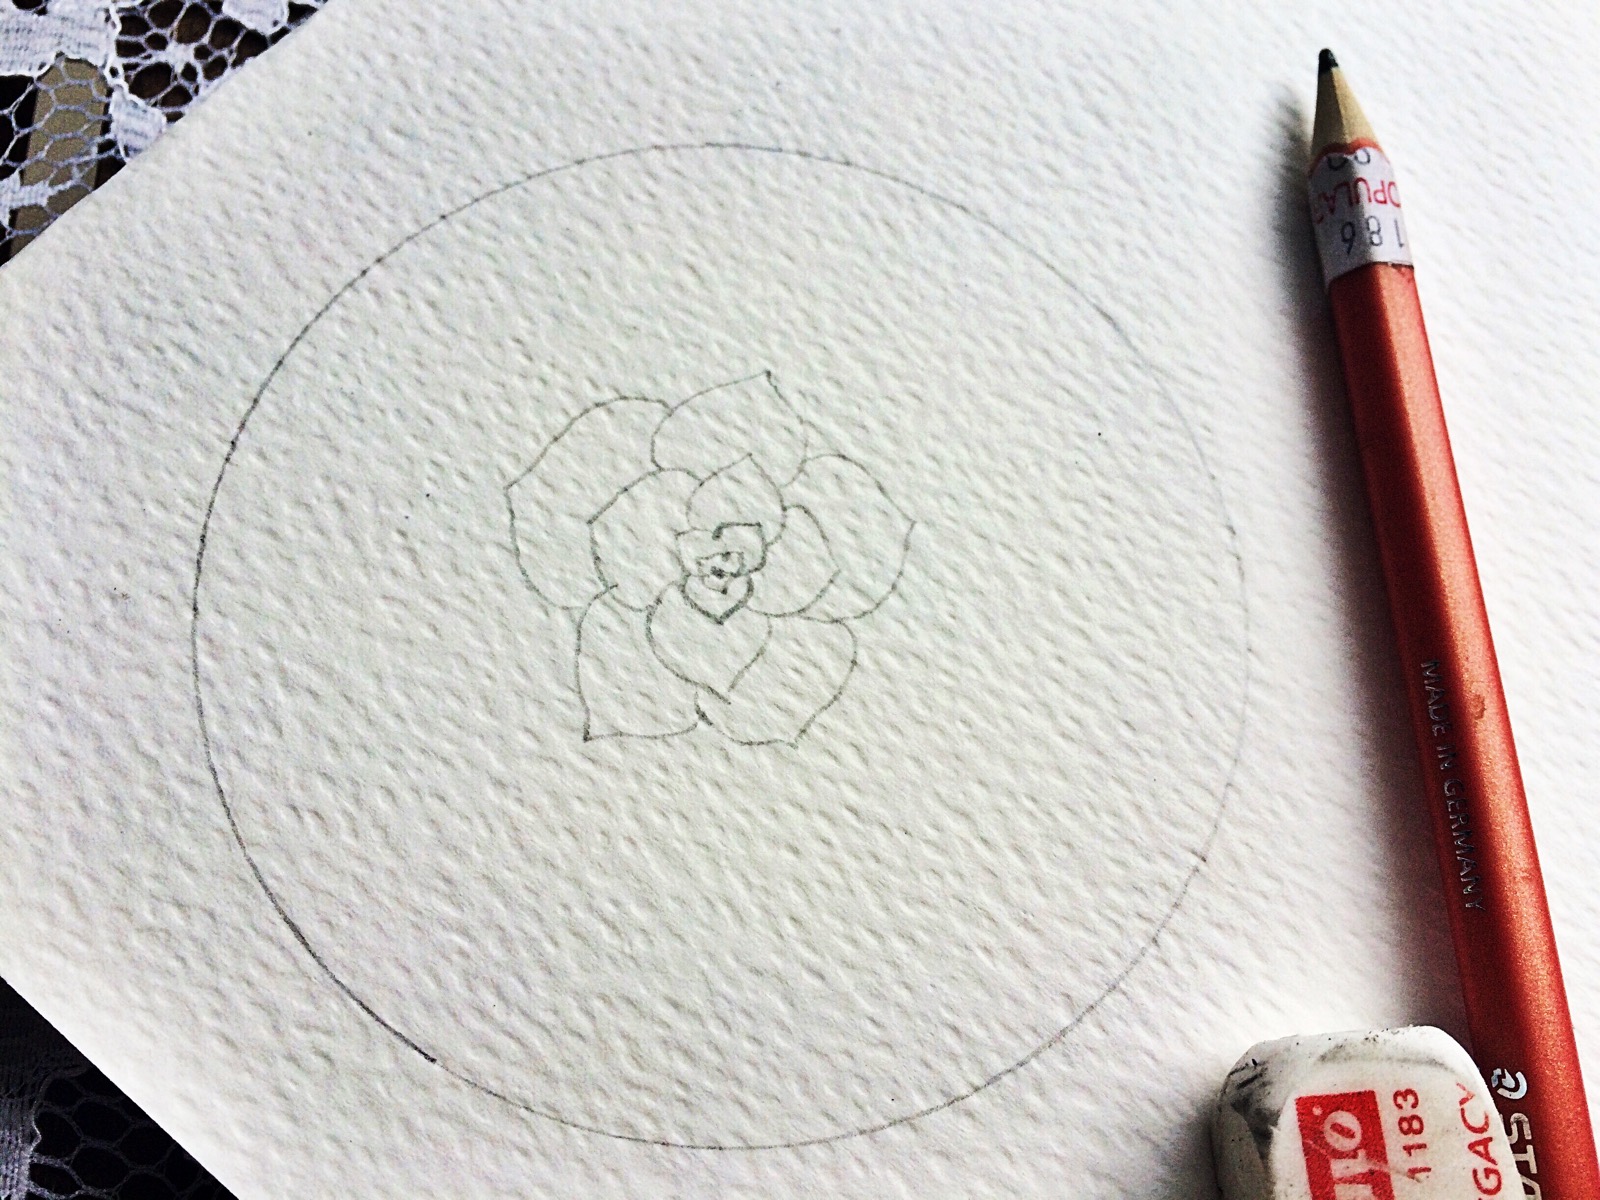
Next draw a small circle at the center of larger one and start drawing leaves in concentric manner. Make sure you increase the width and size of the petal progressively until you touch the perimeter of the outer circle.
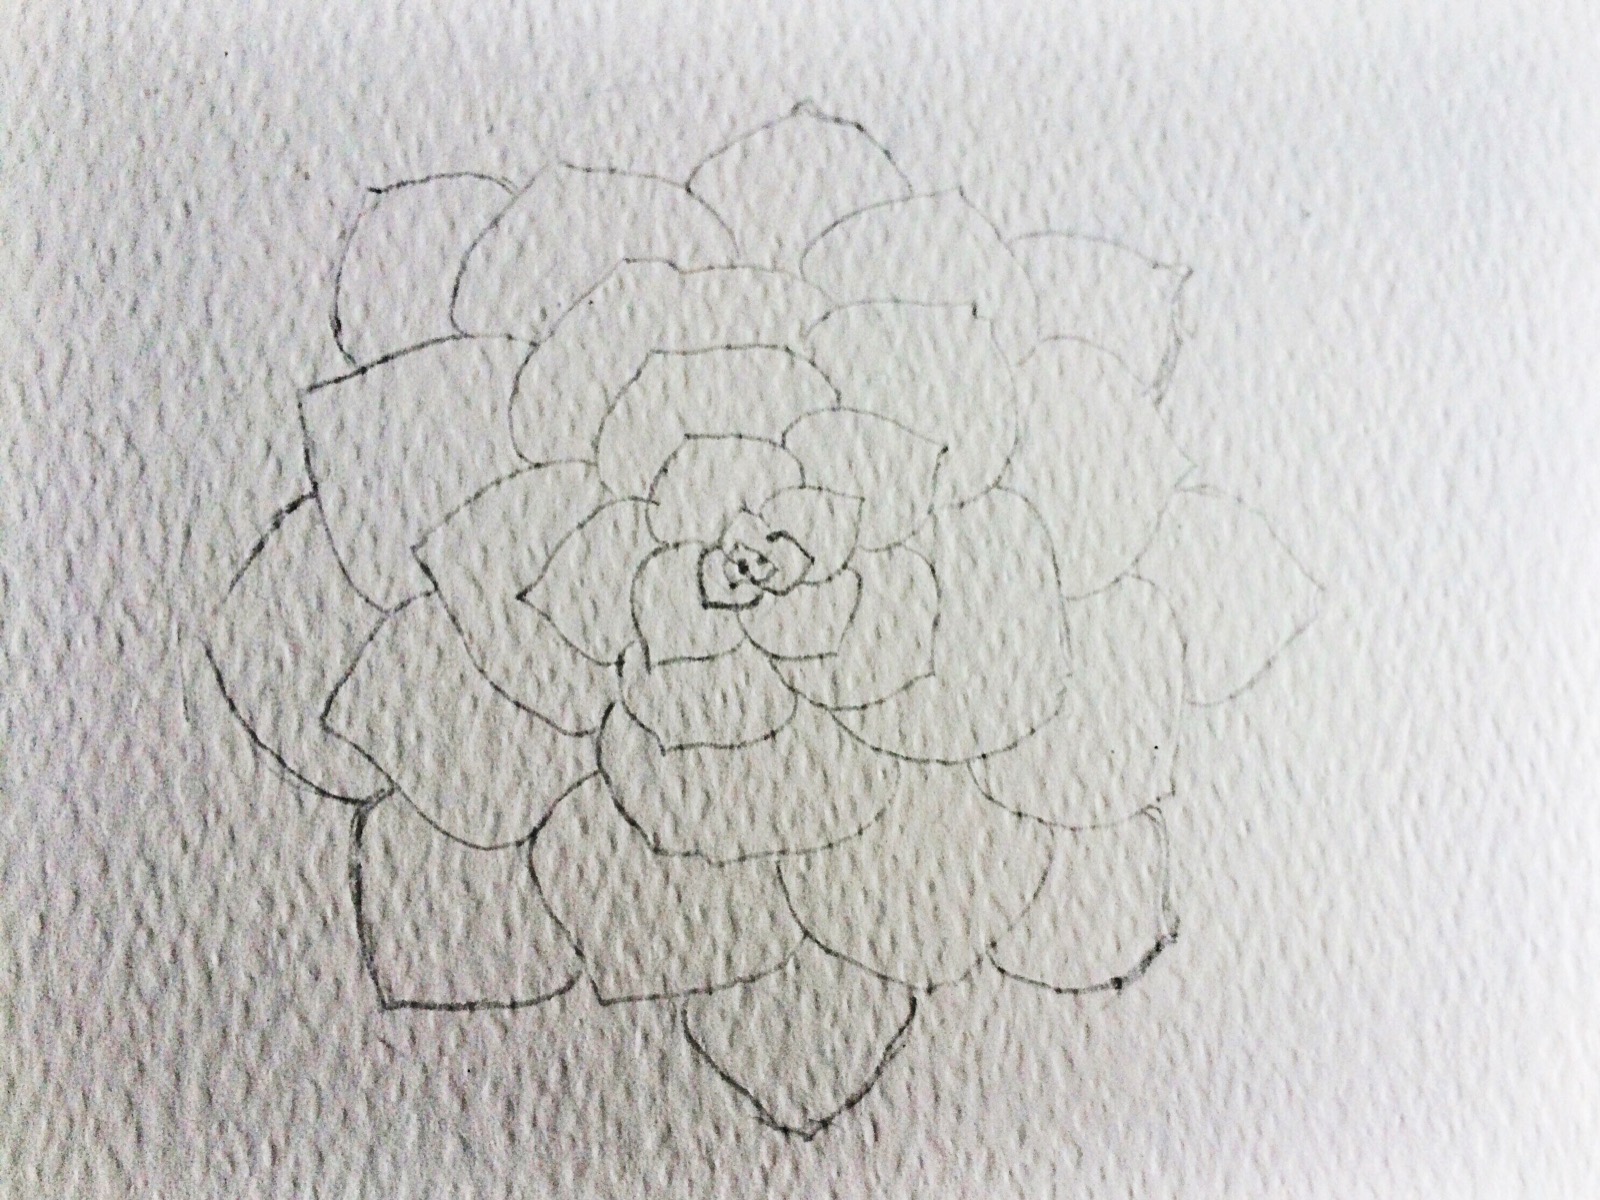
At this point, you can call it good and proceed to add color.

I first coated the individual leaf of the succulent with a light wash of Leaf Green color using a round size 6 brush leaving areas of white at the out edge of the leaf to be later filled by a different color. Make sure you give individual attention to each leaf, sound boring and tedious but trust me this will give you magnificent results.
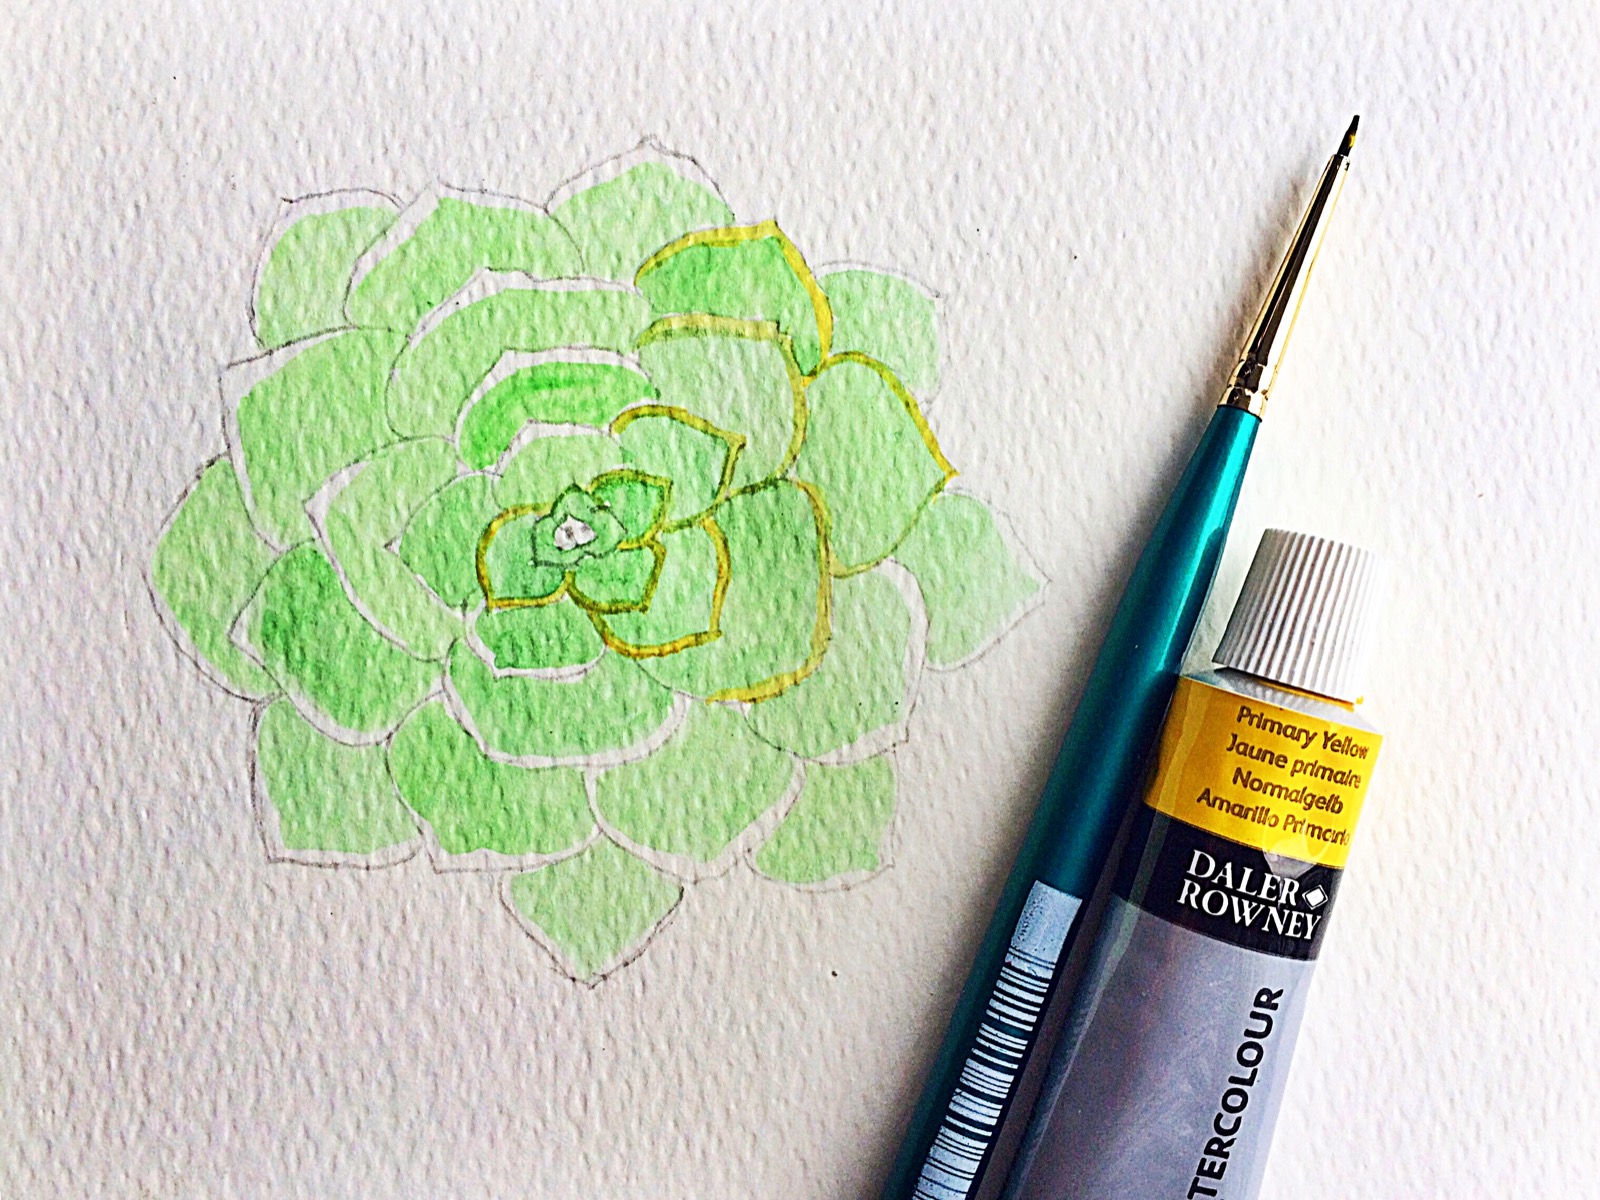
Once you are done with you first green wash, now it’s time to fill the outer edge with a yellow line. I used Primary Yellow to outline the leaves to create a crispy touch with a spotter brush.

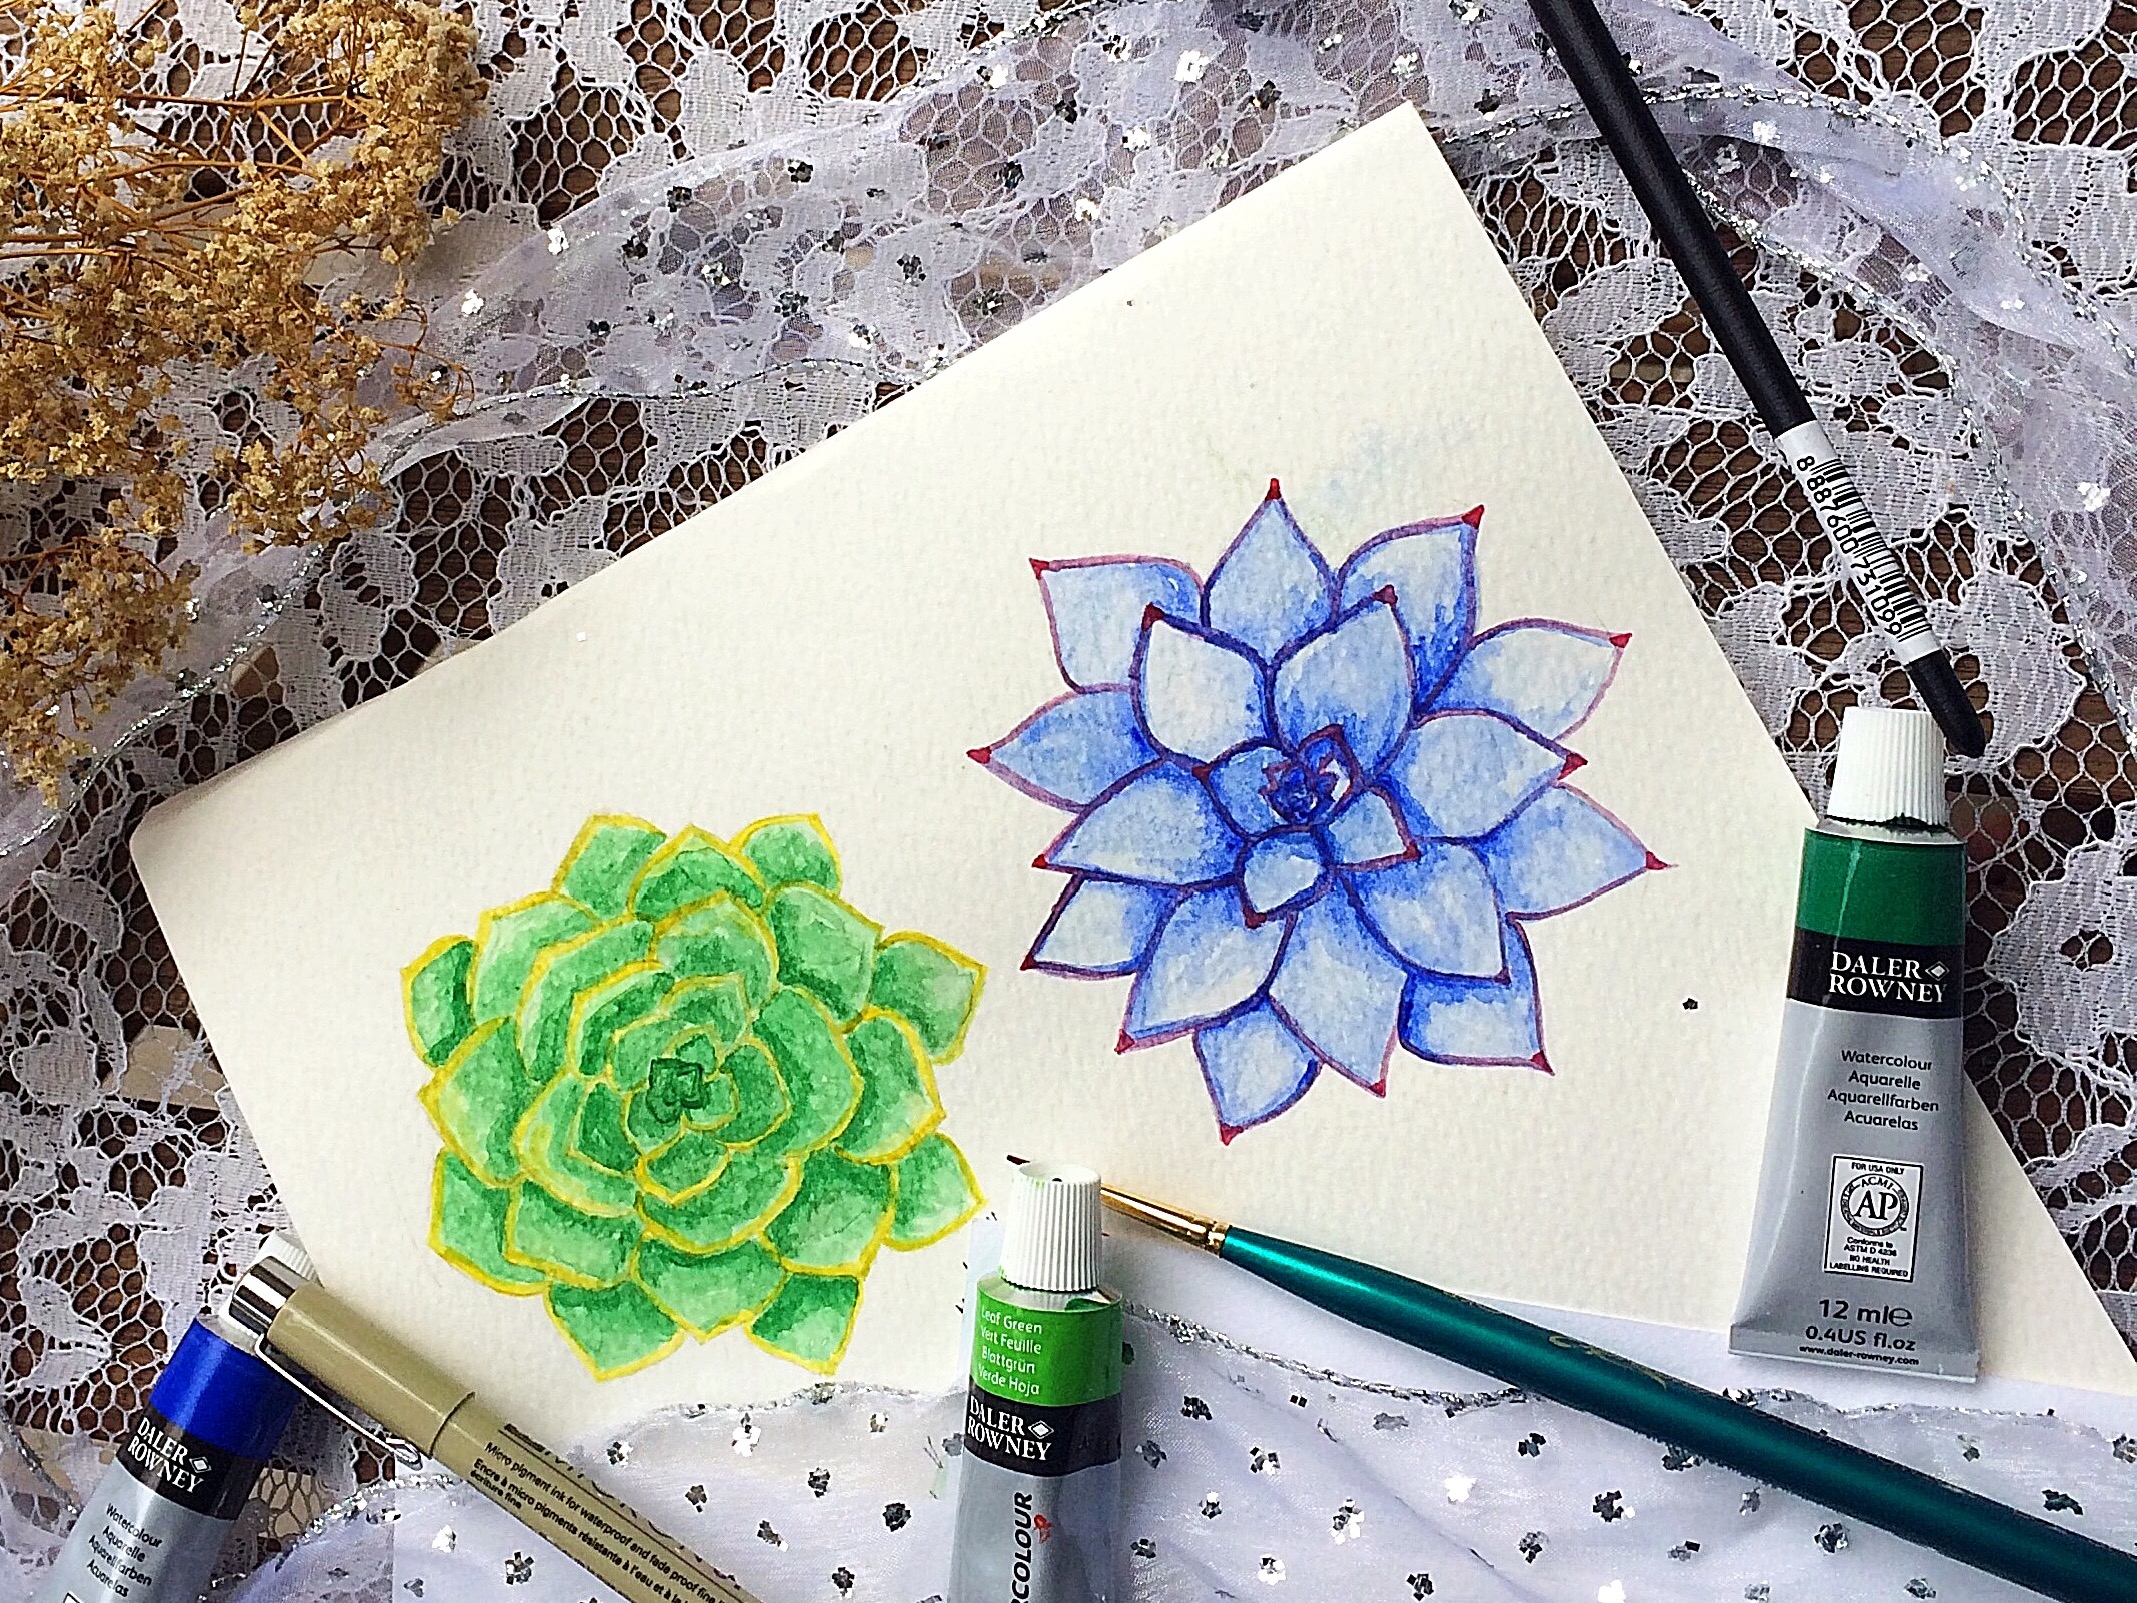
Now it’s time to do a bit more of blending to create the light and shadow effect. I used Hooker’s Green to create the shadows around the corners and the inner edge of the leaves. Each leaf mainly consists of 3 colors: Hooker’s Green ( inner edge) + Leaf Green ( center) + Primary Yellow( outer lining) beautifully blended and mixed. Make sure your leaf surface is sufficiently moist to get the best results of blending with a round medium sized brush. And there you go , the finished Green velvet rosette succulent !
Esheveria : Blue Star Rosette Succulent
The next succulent I am going to show you is just a blue version of the previous one but with pointy leaves as shown below. As you have already mastered how to draw succulents by now I will directly move to the coloring guidelines.
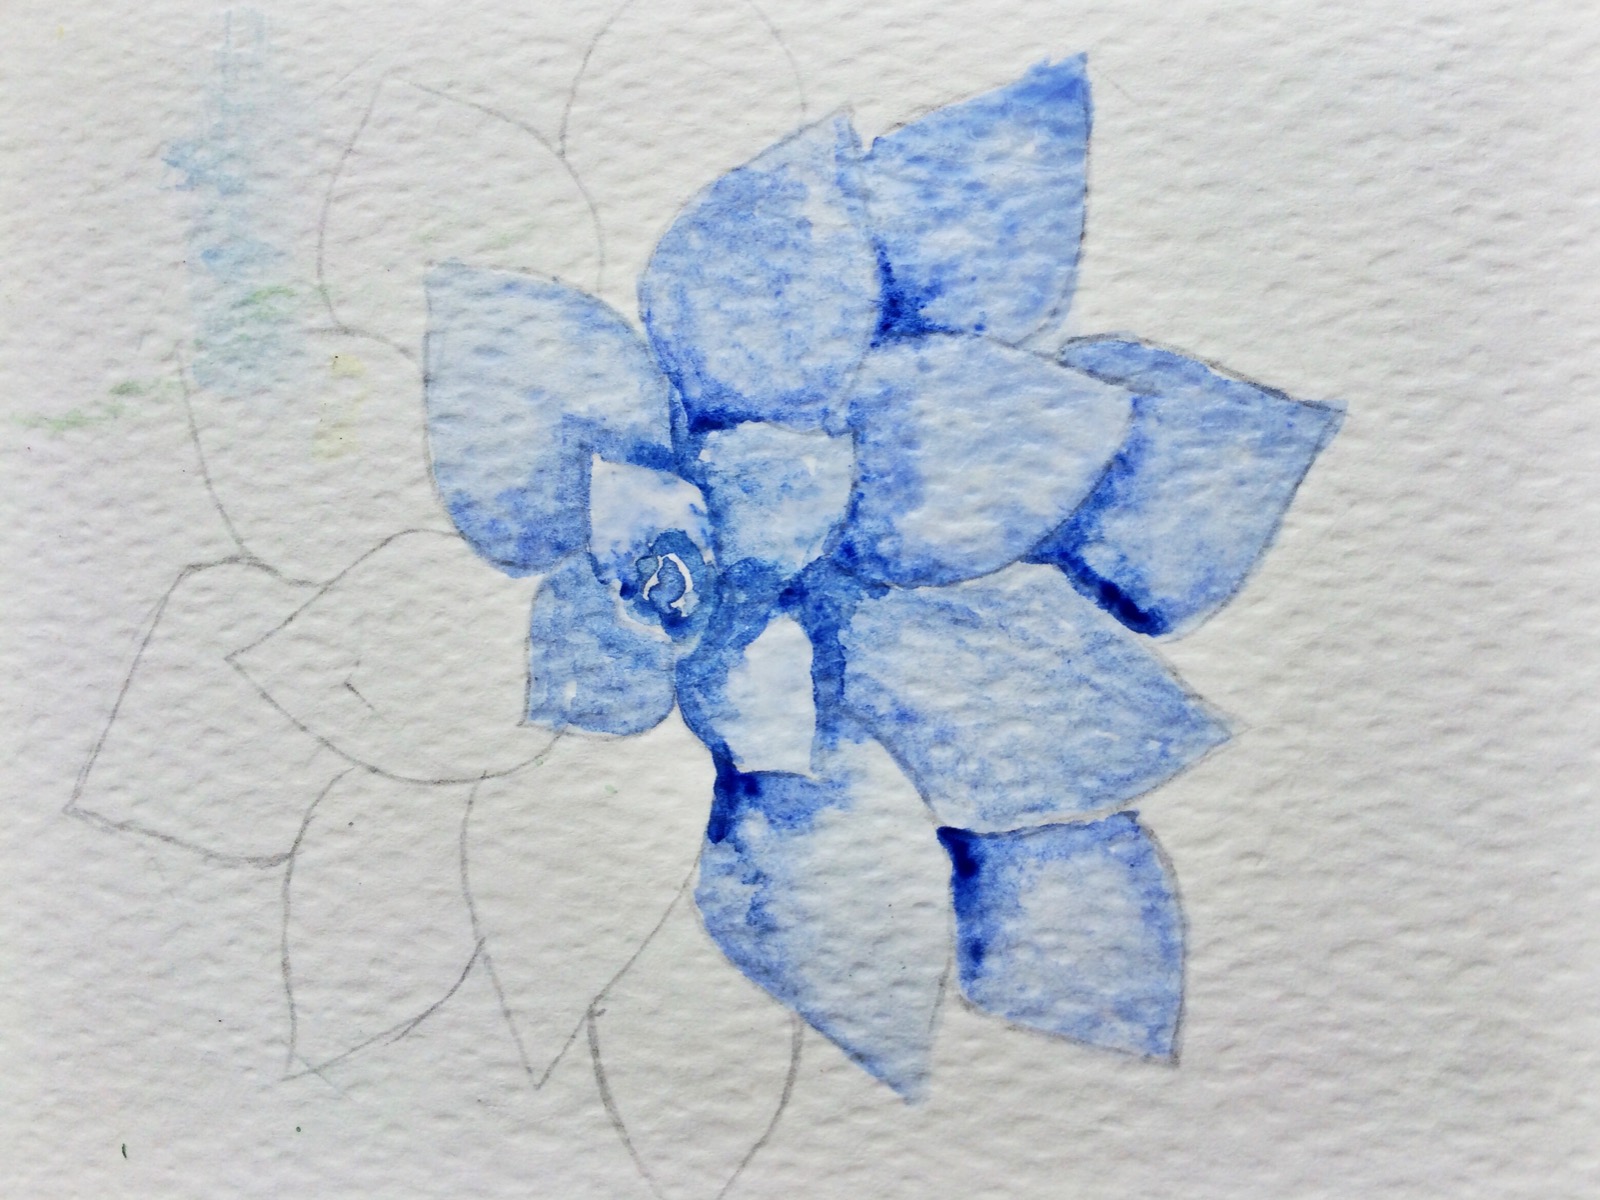
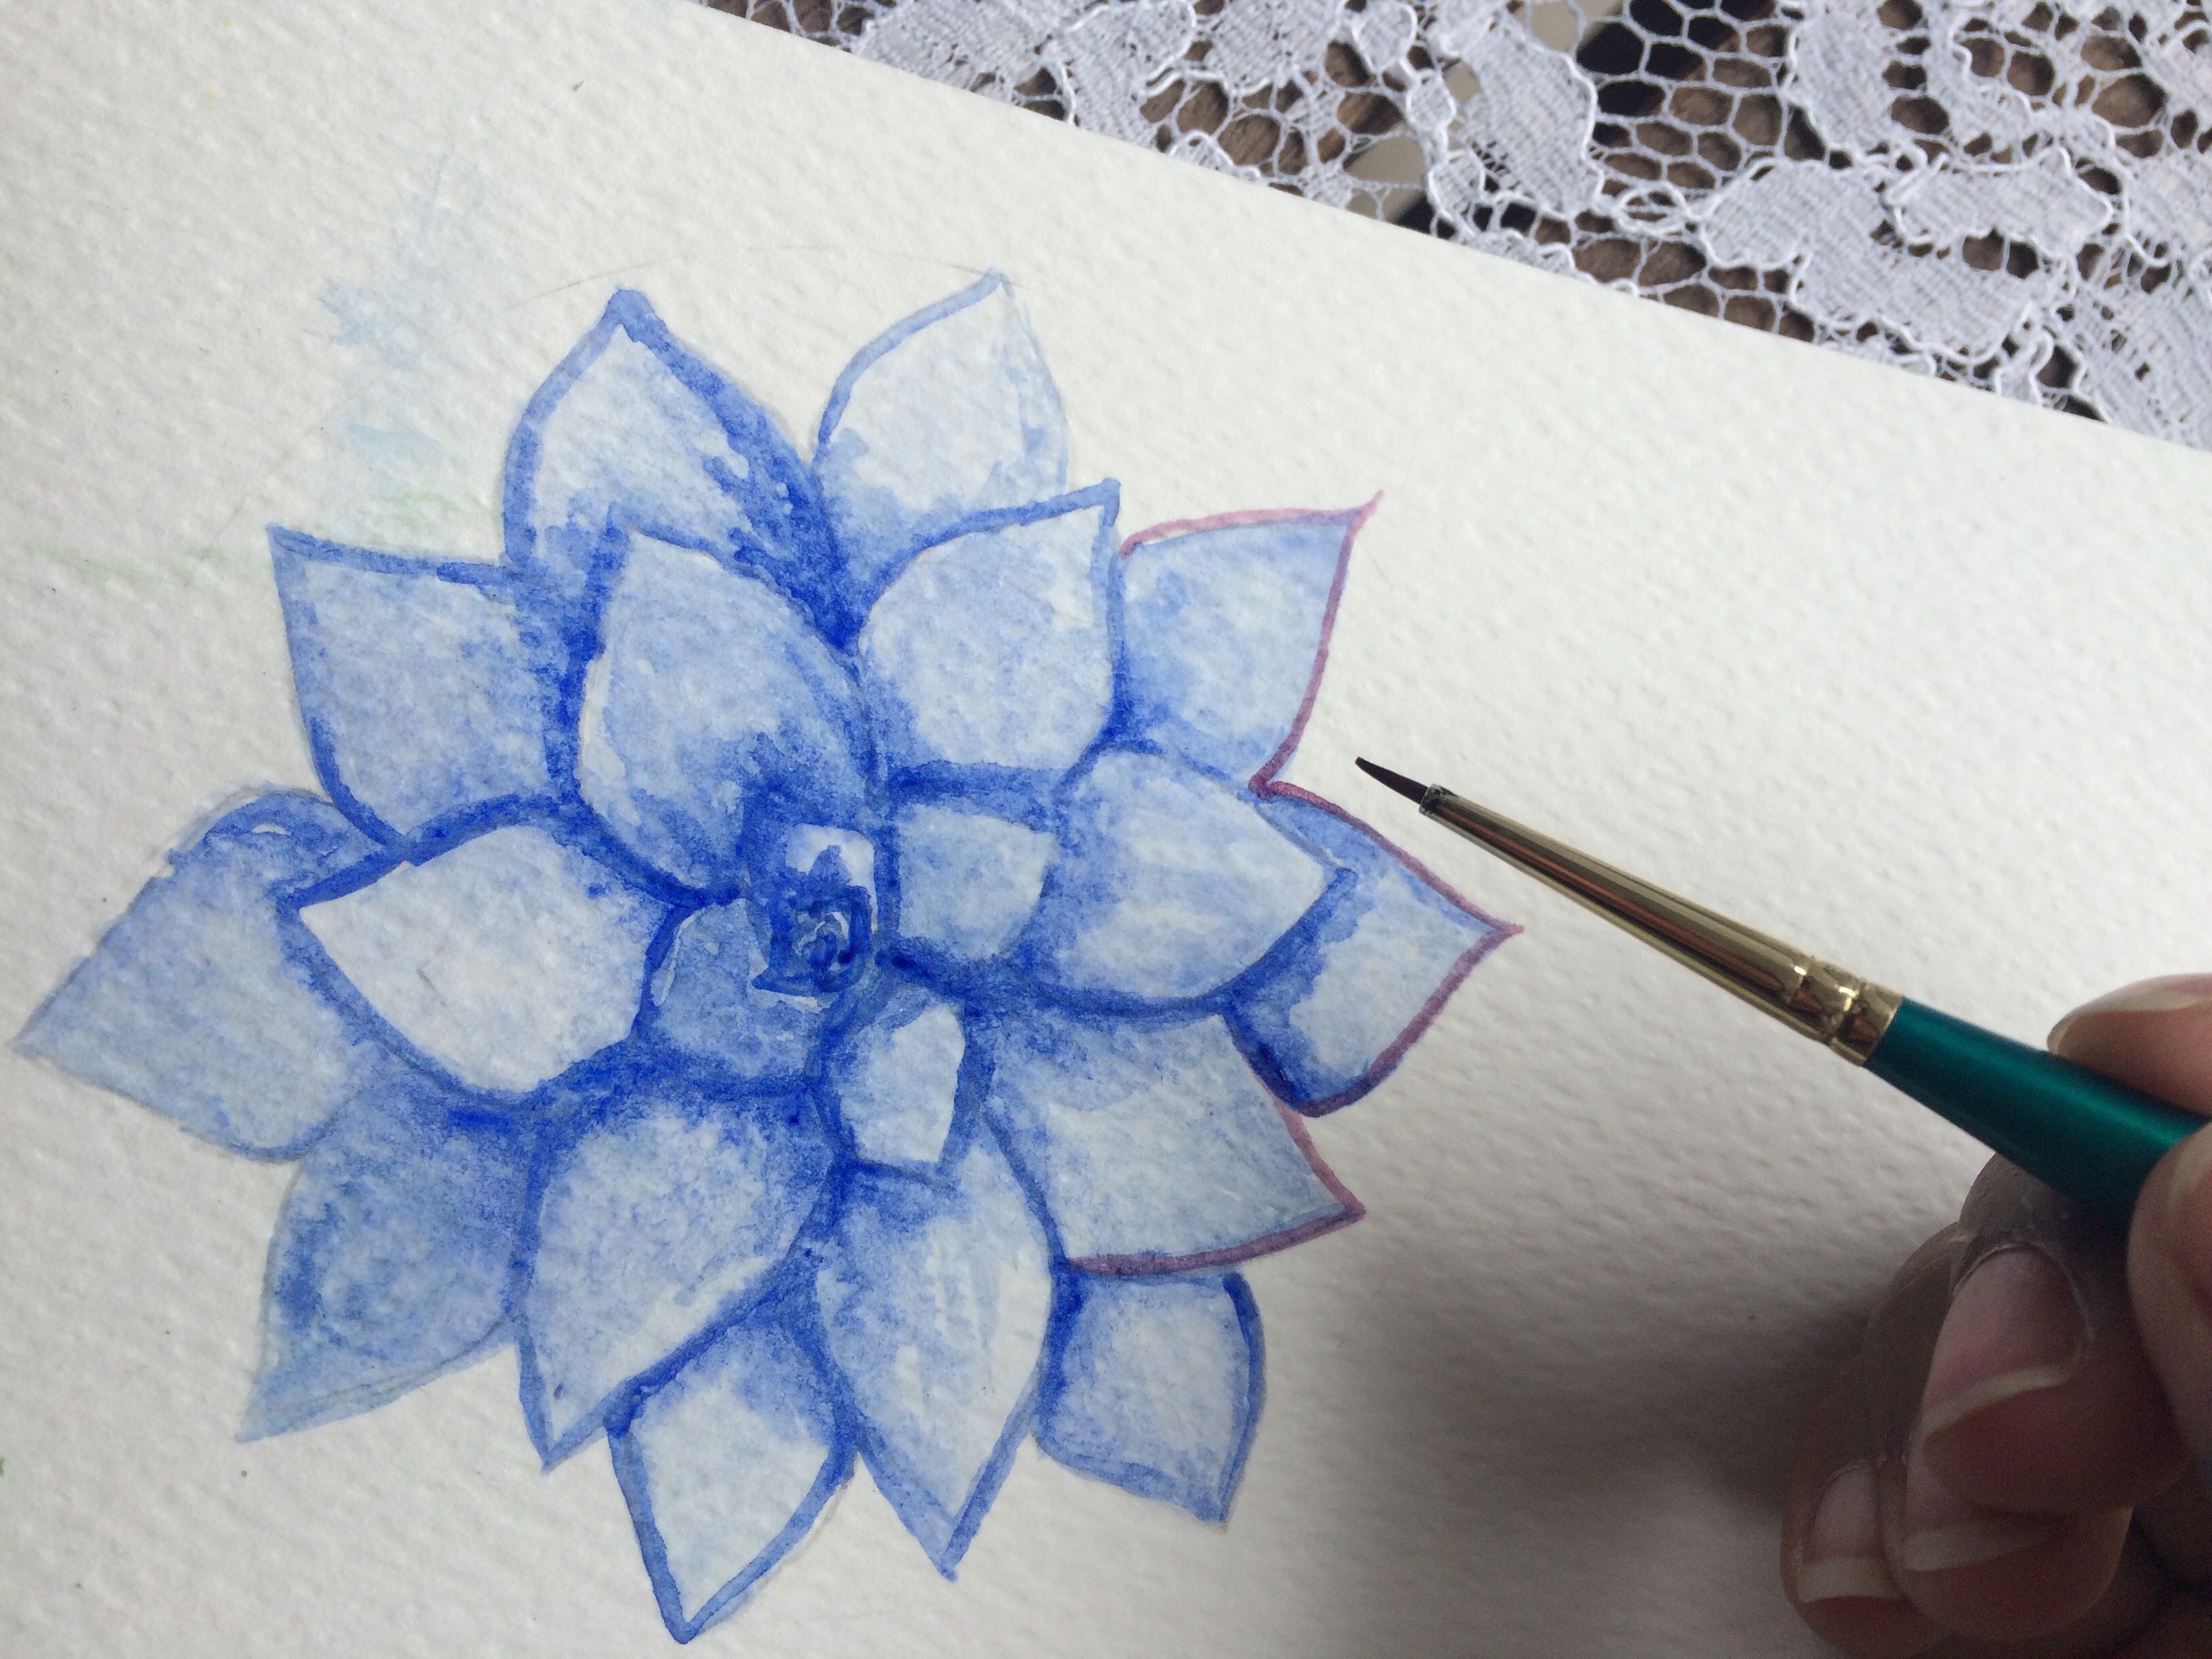
Start with giving very light Ultramarine wash to the leaves. Since we will outline the leaves with a darker color, we do not necessarily need to leave white spaces on the outer edge. Proceed to outline the succulent leaves with Crimson red using a fine spotter brush.
Create the shadow around the inner edges and the corners using more of Ultramarine and less water in your second coat. Do not forget to keep the surface moist for best results.
Tada!! You have your little succulent creations ready for display.These succulents are multipurpose and you can use them in a plethora of projects.
Implementation suggestions
- You can combine it with several other types of succulent to make a framed artwork
- Create a lovely succulent wreath ( to be covered in the next tutorial)
- Making a simple card or handmade bookmark
- Make a motif to decorate the cover of a book or journal.
- Fabric! Make a pattern, upload it to a customized printing site like Zazzle or Society 6, and have your artistic floral pattern come to life as a cushion cover, table mat or tote bag.
Check back next week to learn to paint two new varieties of succulents and how to incorporate them to create wreaths and illustrations in the part 2 of this tutorial duo.
I hope my today’s tutorial inspired you to grab you paintbrush. Please share your project with me in my instagram.
Cheers
Drishti
Very helpful, thank you! xo
Make a more new posts please 🙂
___
Sanny