
This is the continuation of the woodland animal illustration tutorial. By now, I presume that you have already sketched or downloaded the cute deer fawn illustration. If not, then quickly head to Woodland animal illustration tutorial- Part 1 and get it done rightaway. Today’s tutorial is all about using different coloring techniques to create your woodland animal painting. I prefer to use both gouache and watercolor for this painting as it plays beautifully when combined together. If you would like to discover more gouache related tutorials , make sure to check this blog. But first things first, let us get started with our today’s painting.
Supplies
- Watercolor (I am using Daler Rowney )
- Gouache ( I am using Royal Talens)
- Spray bottle of water
- Kitchen towels
- Spotter brush
- Flat wide brush
- Watercolor Paper ( I would recommend using at least 300gsm watercolour paper )
- Clear water
Steps
Deer fawn
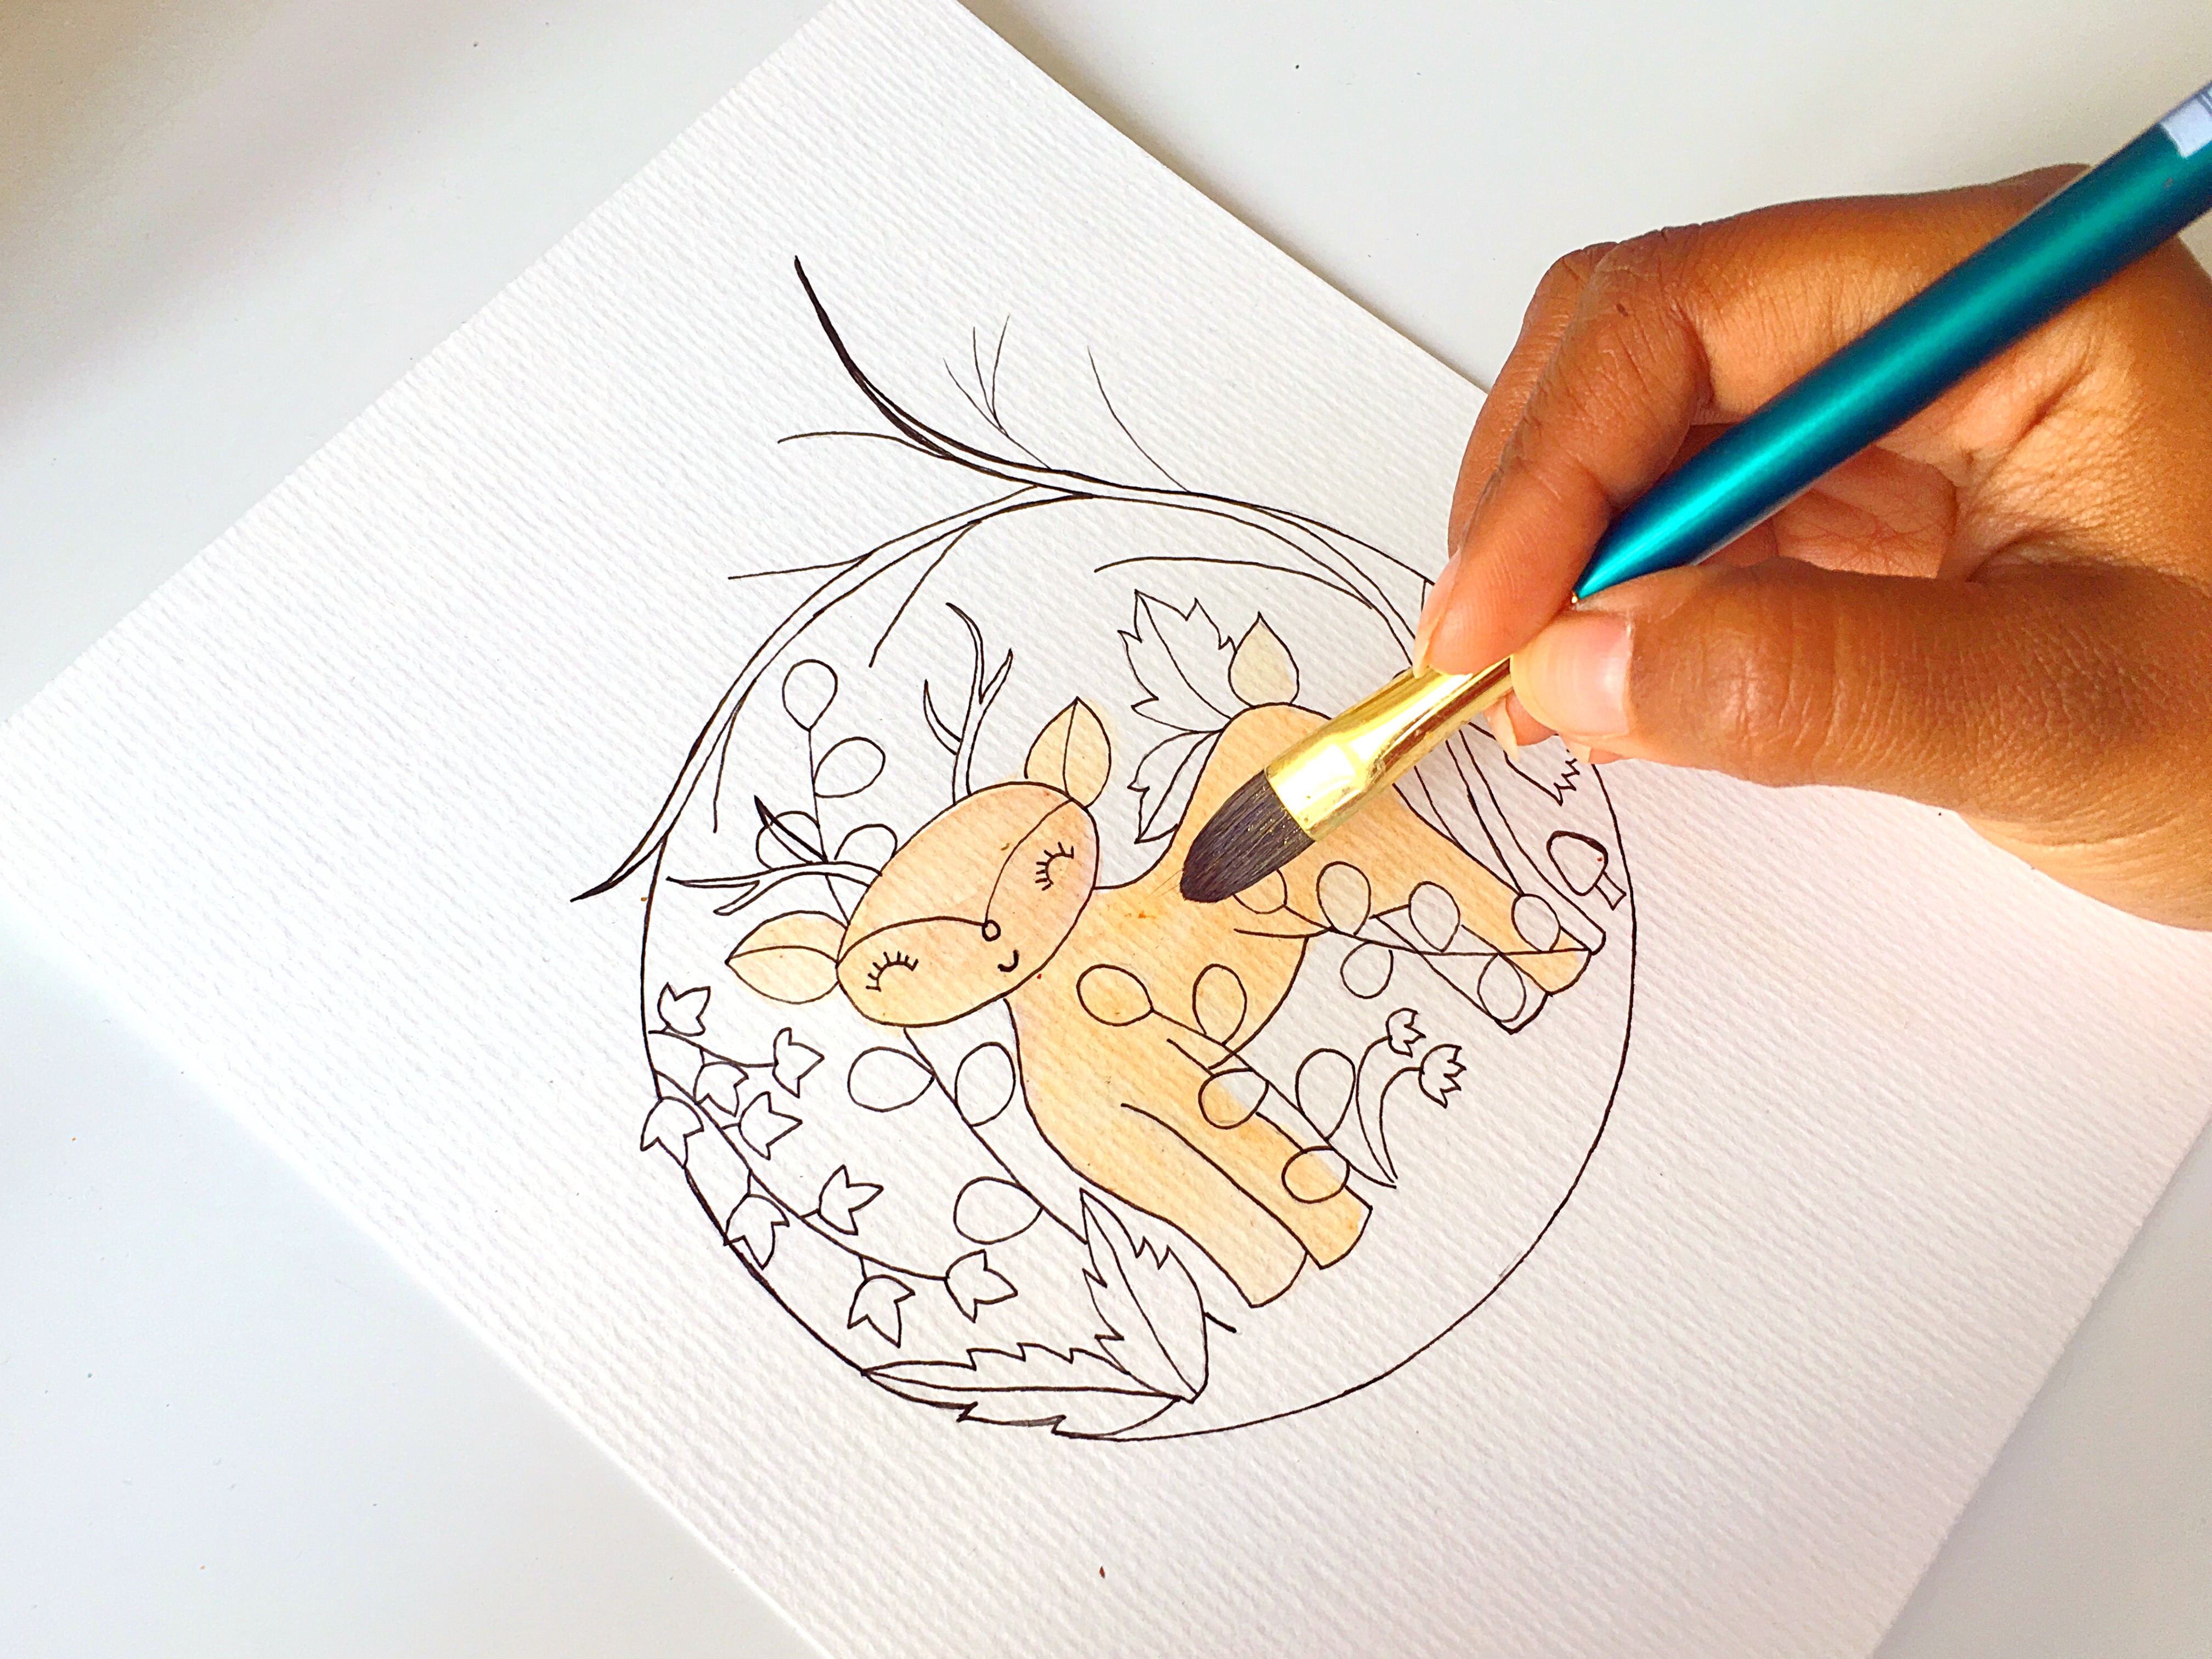
First of all, let us give our deer a light spray of water.

Squeeze a tiny bit of brown watercolor pigment onto your palette and mix it with water to obtain the lightest shade of brown. While the paper is still wet, lay down the brown pigment throughout the body of the deer using wet-on-wet technique with a flat brush.
Crumble a kitchen towel and quickly dab certain areas which you prefer to highlight such as the belly, cheeks etc. This is called lifting technique.
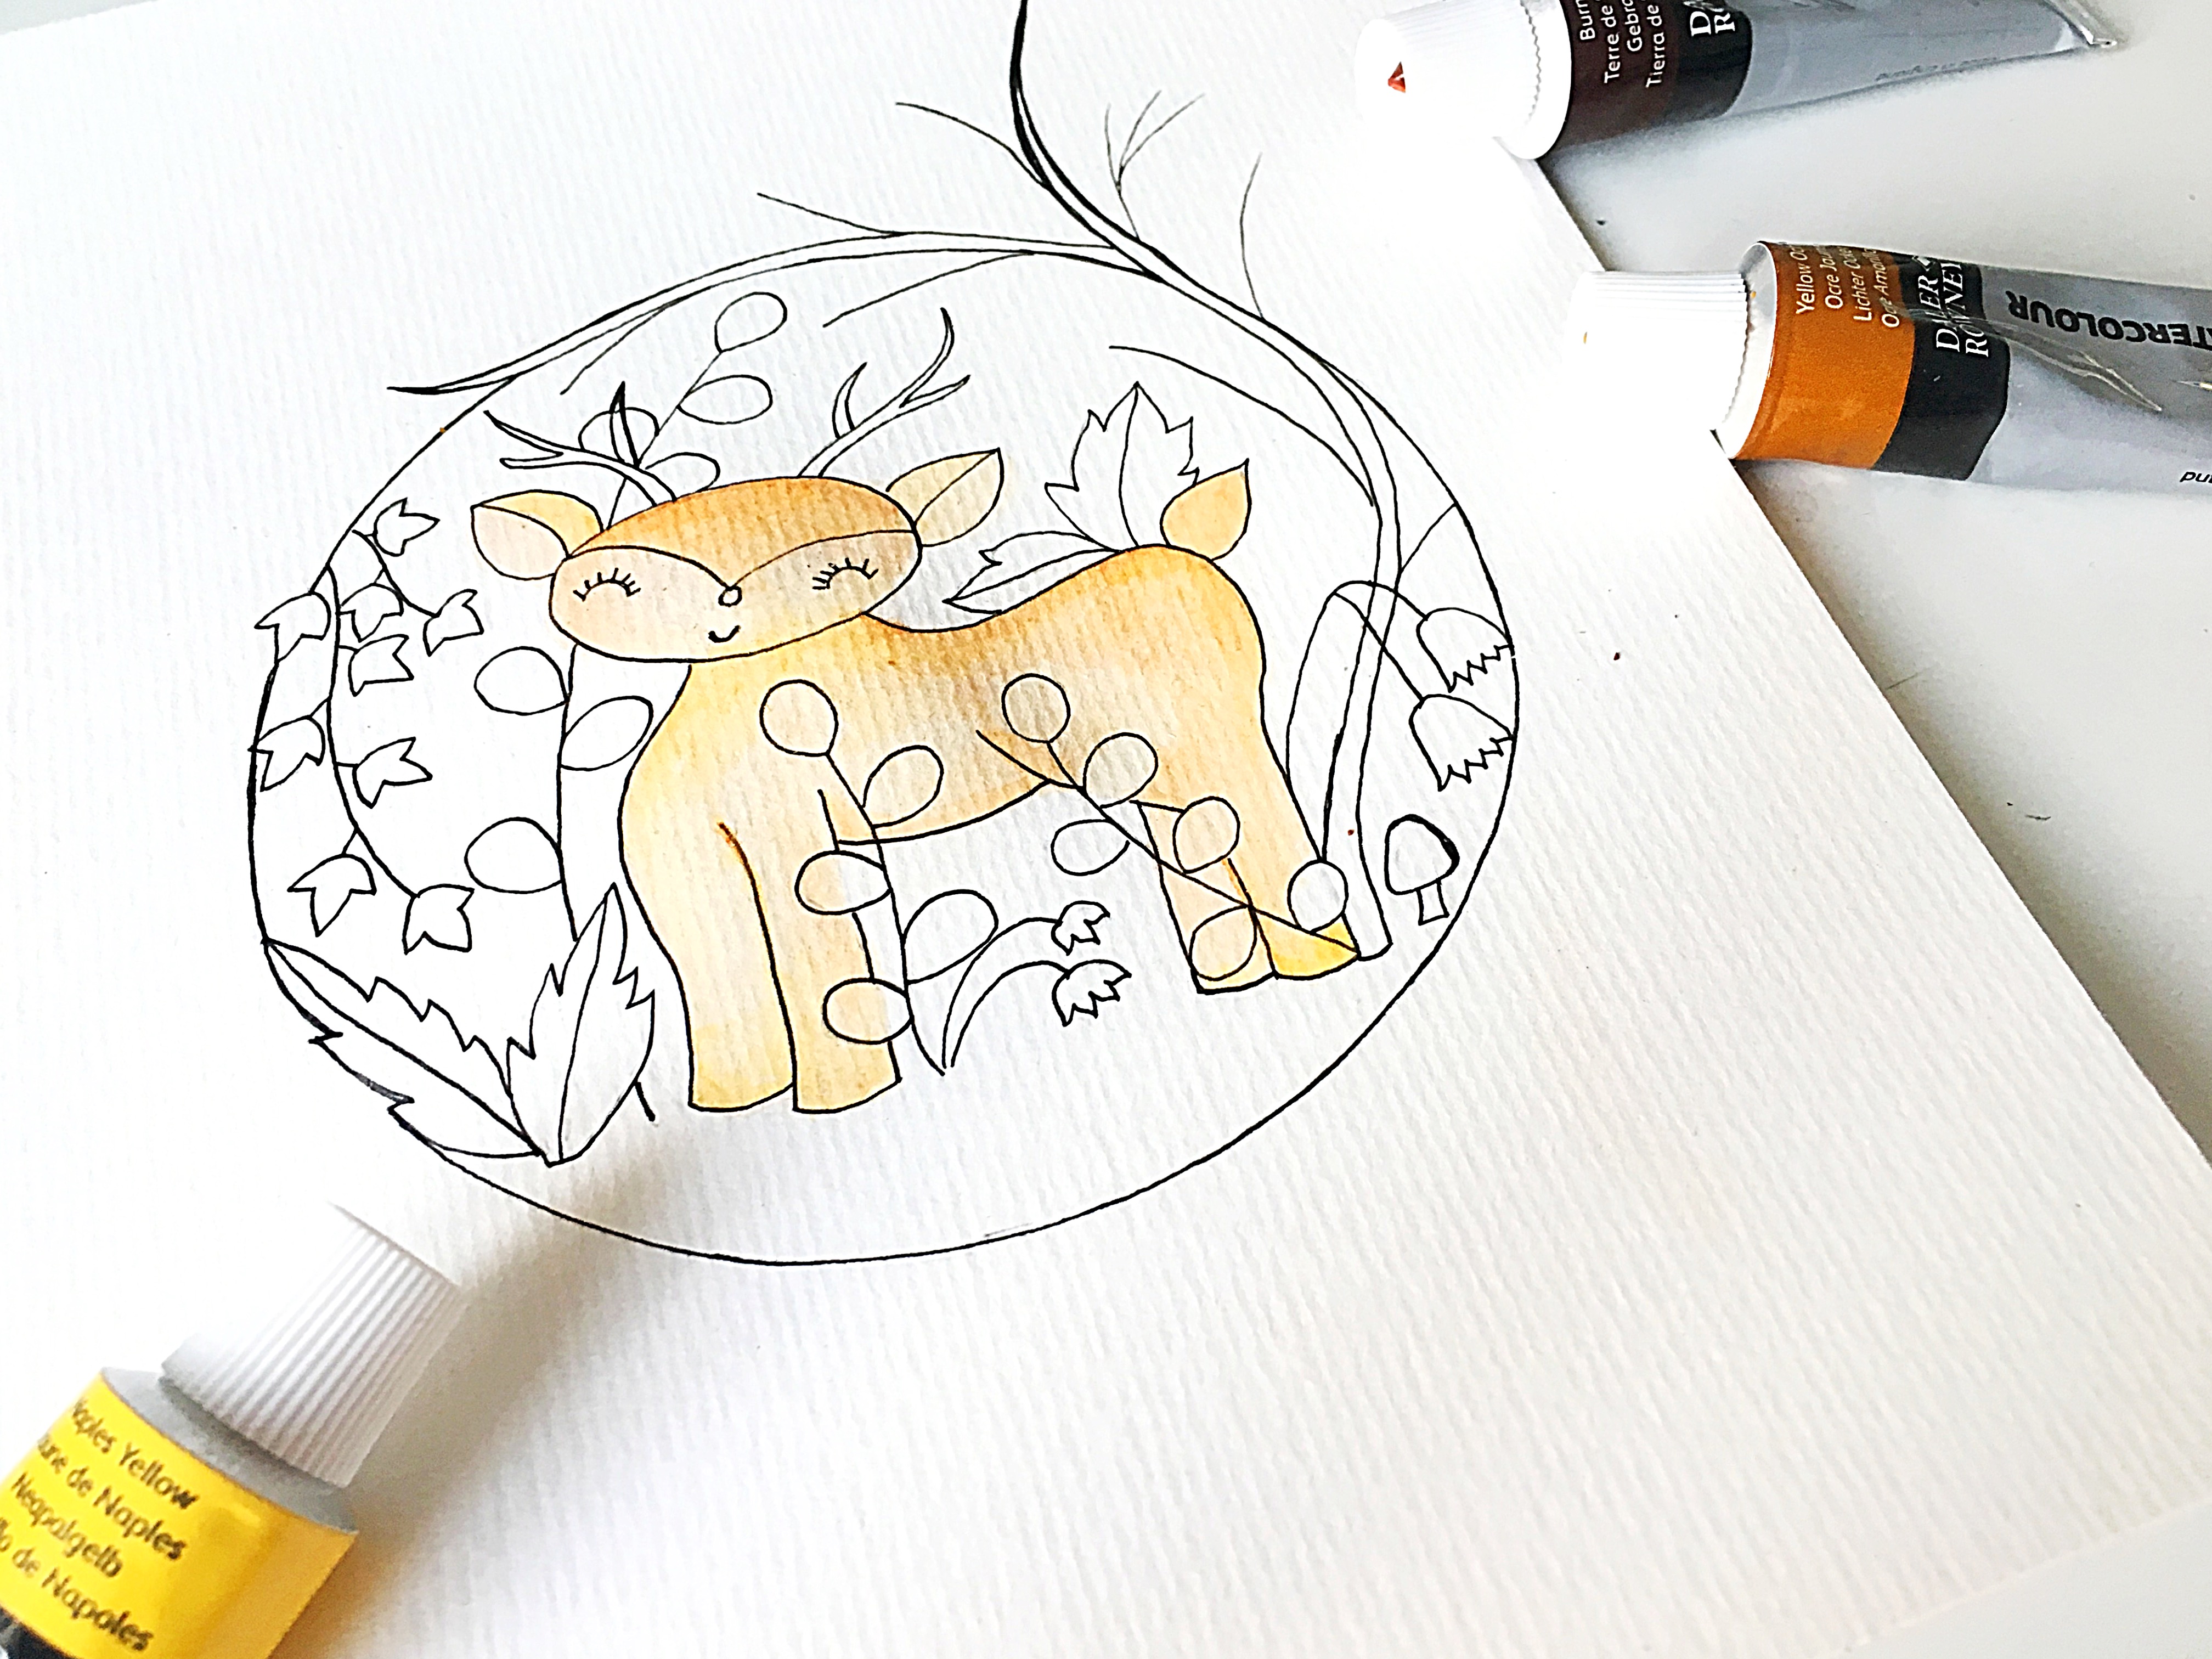
Now that you have a base, consequently start building up layers of color onto the body such a yellow, dark orange etc using gouache paint. Ensure to use lesser water with every layer to get an opaque image.

Furthermore, mix some brown and dark shades of yellow ochre to create the fur using a spotter brush. Make sure you make tiny strokes. Continue adding the fur in clusters as shown below. I love how gouache gets so pronounced with layering technique.
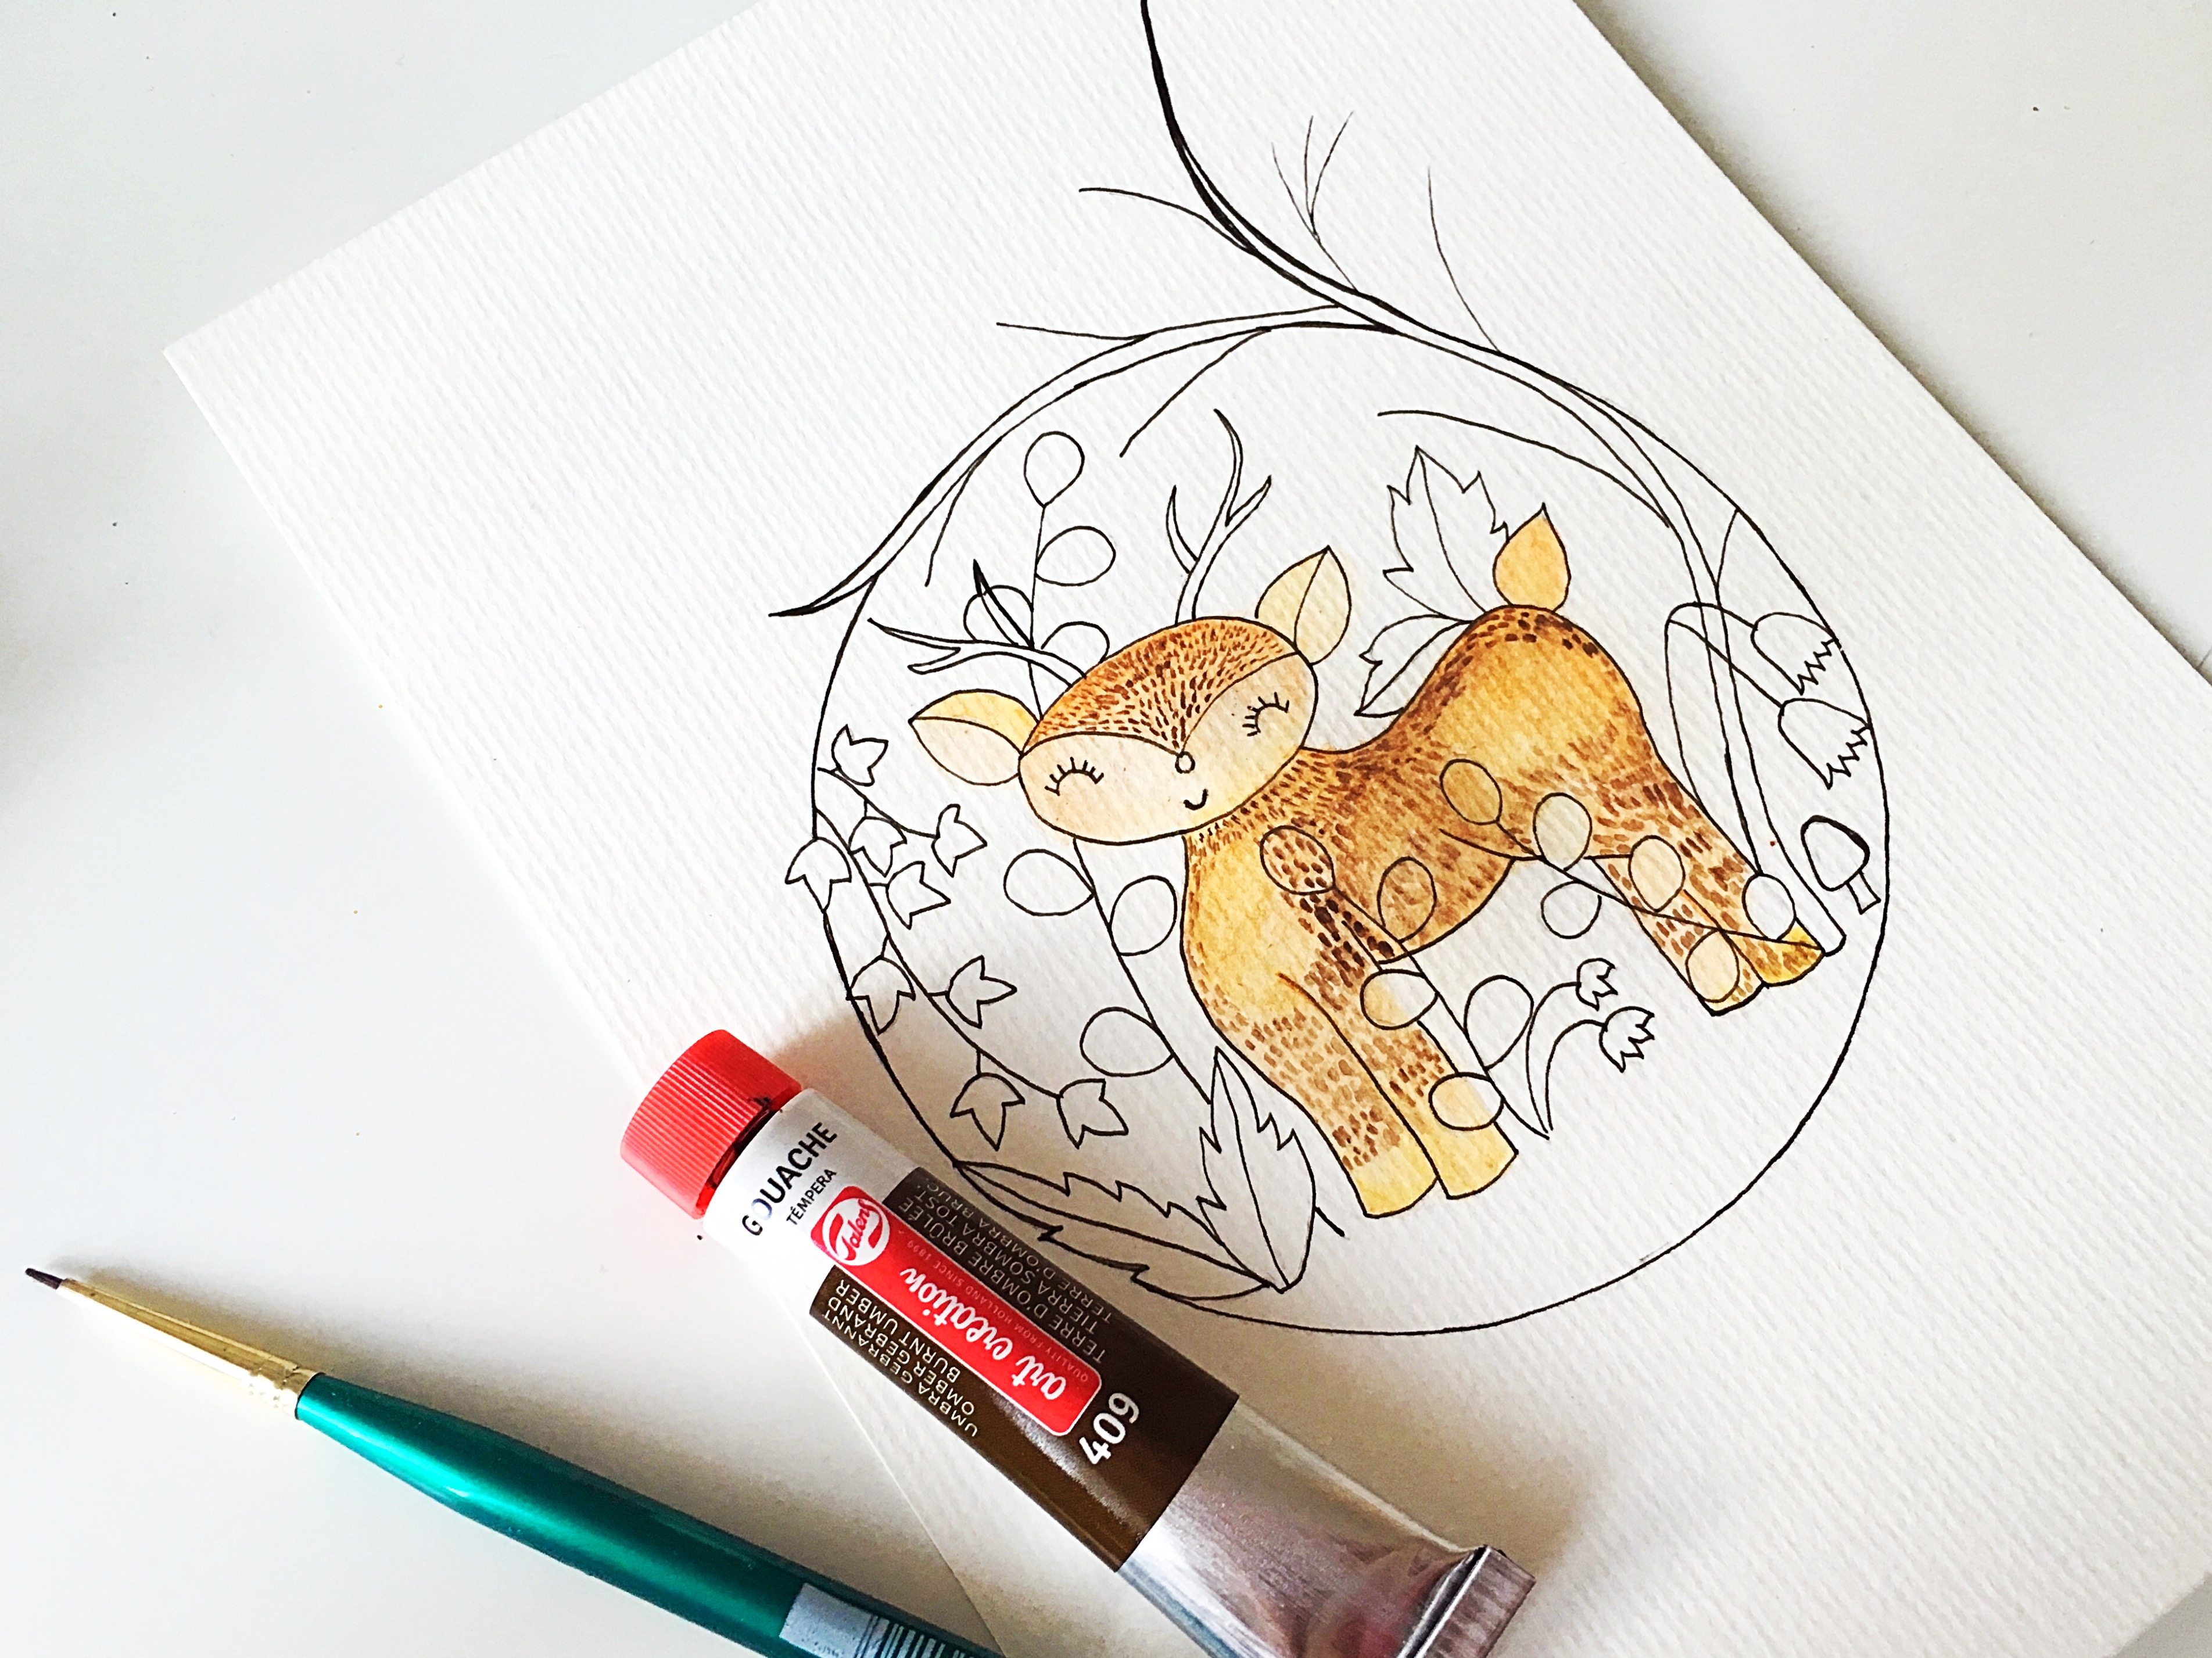
Now let’s add a third layer to the painting to highlight the ears, nose, legs and corners using the yellow ochre using dry-on-wet technique. Ensure to use black gouache to add details such as eyes, nose and mouth. This is when the deer fawn really comes to life!

Optionally, with a spotter brush you can create some tiny polkas on the body of the deer using white gouache. (I have however skipped this step)
Botanicals
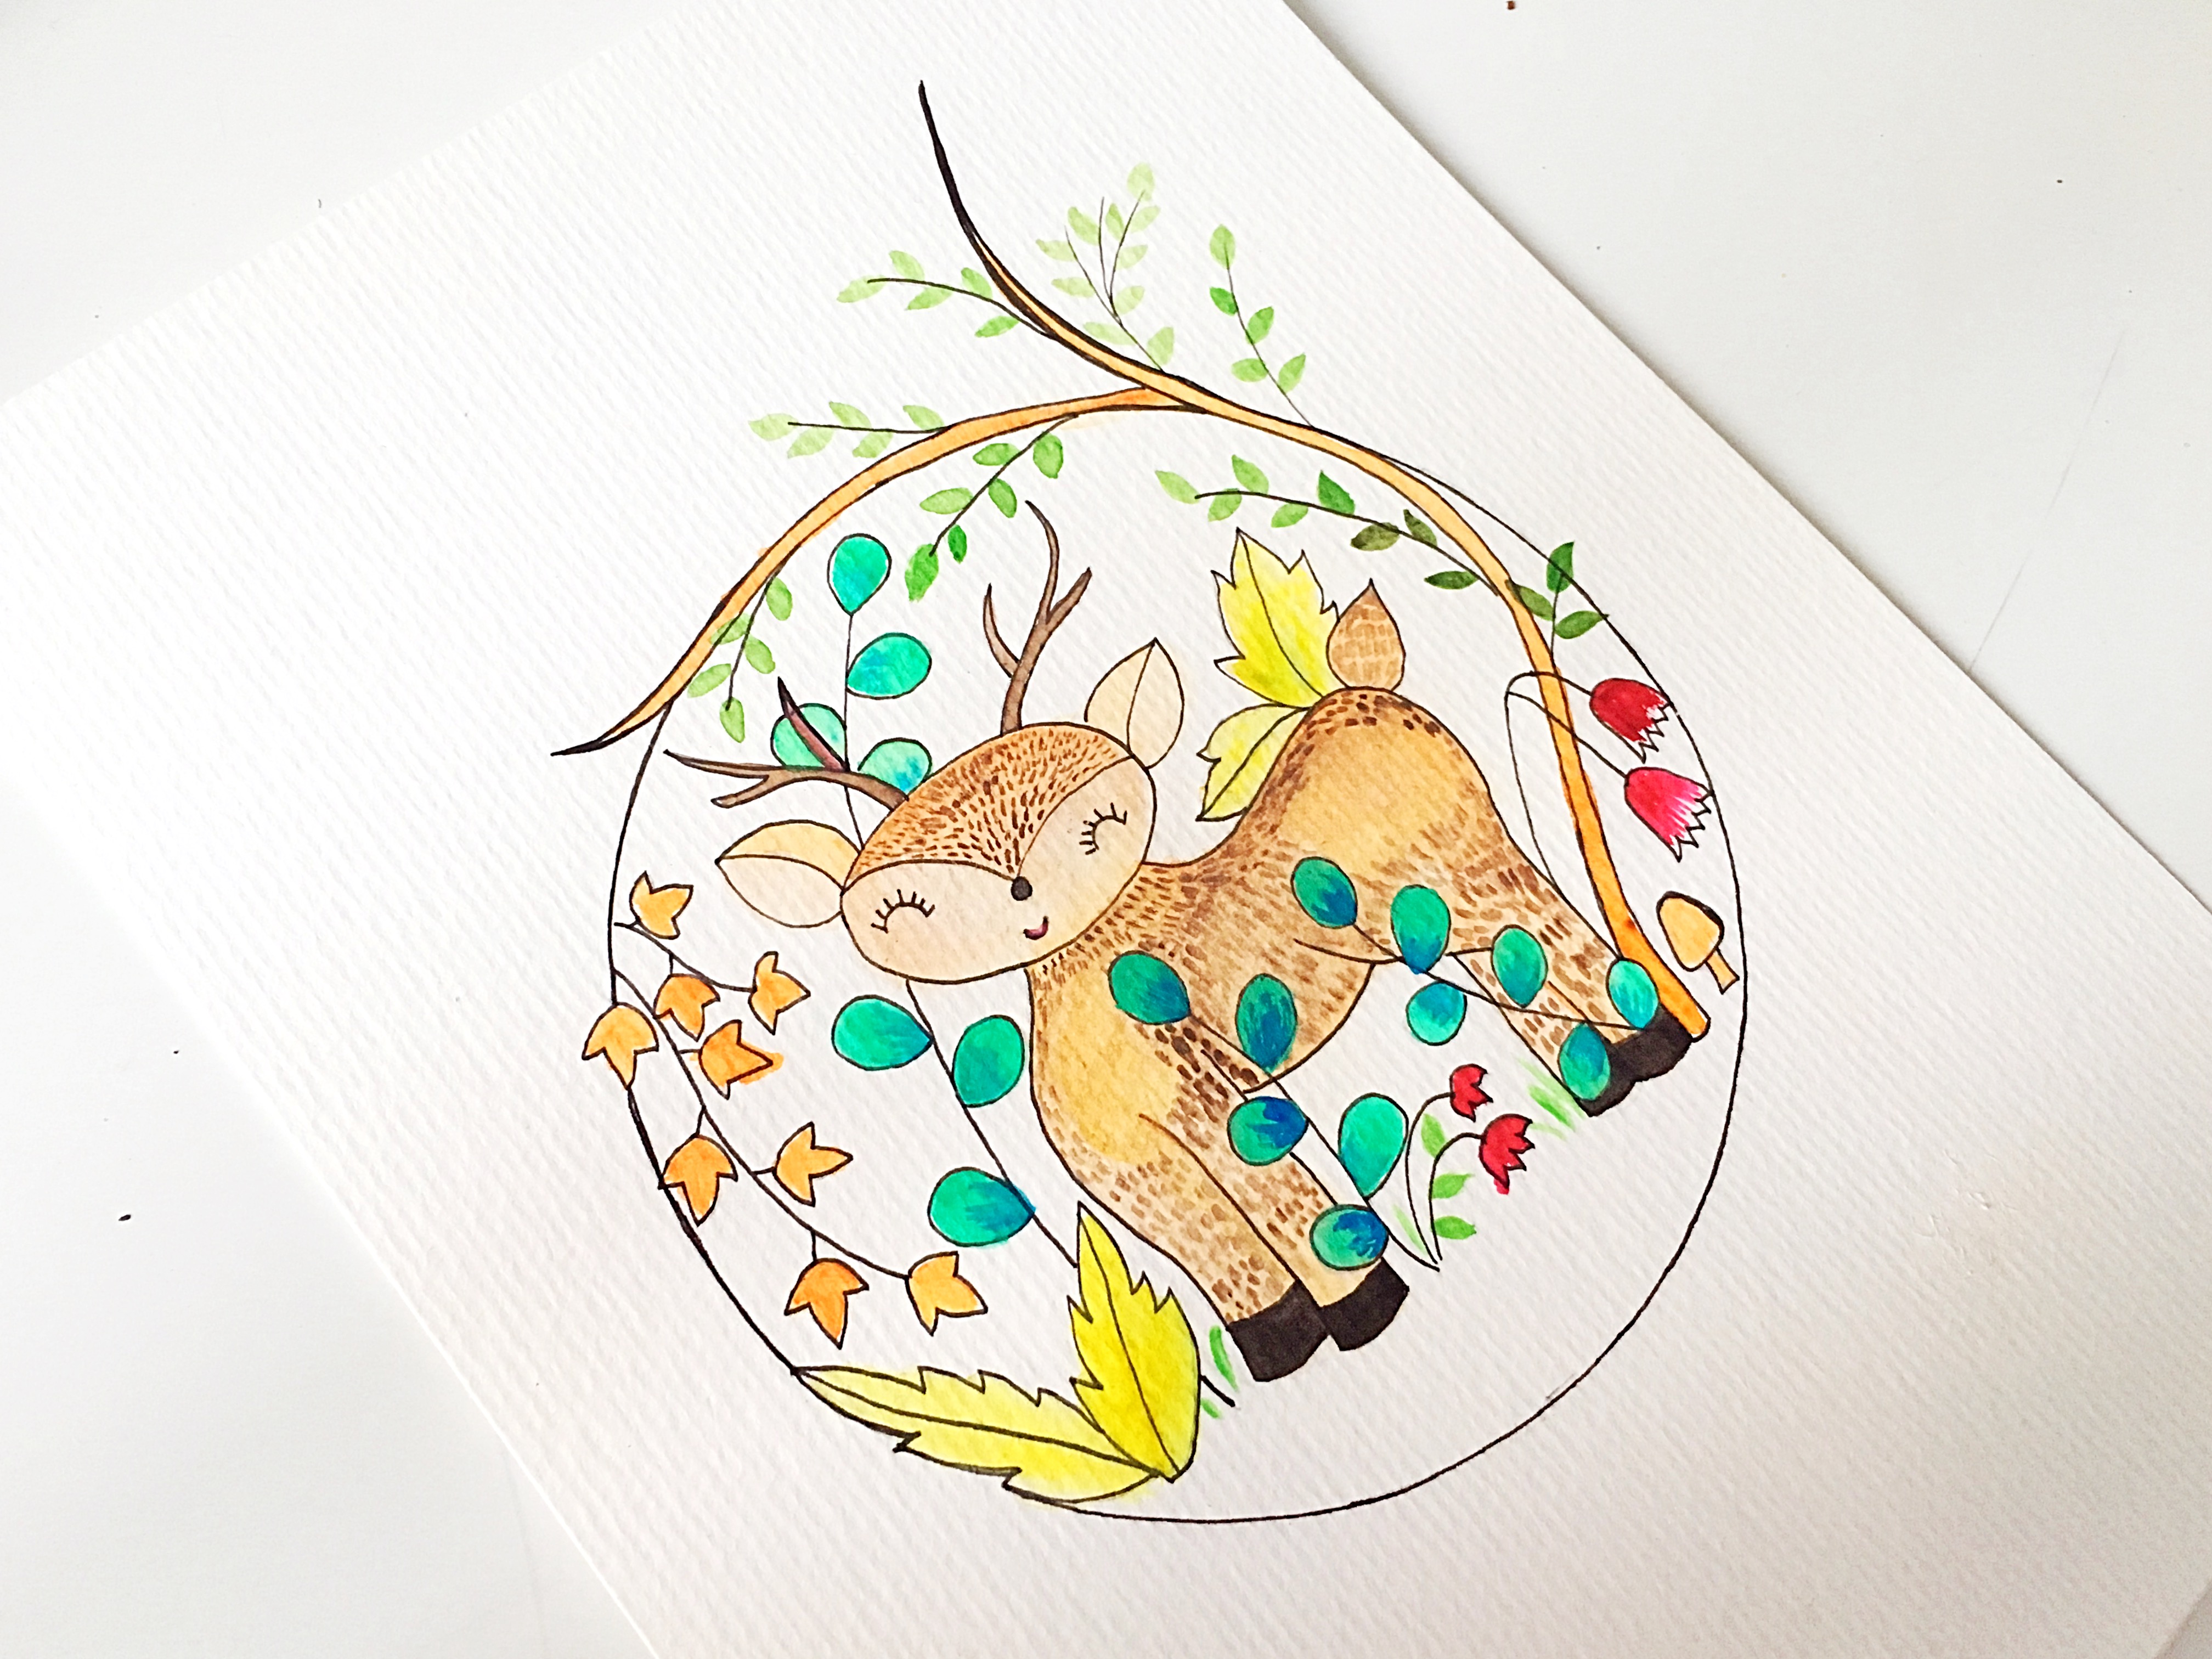
In conclusion, let us add some forest elements to our woodland animal painting. Since it is spring in woods, I would keep my illustration lively and add vibrant hues. Go creative and add lots of color to the botanicals and florals as shown below to create a cohesive painting. Follow your instincts, experiment with different watercolor techniques, play around with gouache and get those creative juices flowing! Gouache and watercolor is one of the most flexible medium and you can never go wrong with it.
Implementation suggestion
- Gift it to an animal lover buddy of yours as a greetings card
- Hang your hand painted artwork on your workstation and be a proud creator.
- Turn it into a vector or clip art and use it in your kids party decor supplies( If you are into artwork digitalization)

I hope you enjoyed today’s tutorial on woodland animal painting, learnt how to paint using different watercolor techniques in a single painting and will therefore try to create something similar this weekend. Please do not forget to share your creations with me by #Lifeathonblog in my Instagram. Have a great weekend and happy creating!
Cheers